elasticsearch 单机模式、kibana 自己安装试过
一、elasticsearch 安装
1、下载elasticsearch8.3.3 上传到服务器
解压到安装目录:/opt/server
tar -zxvf elasticsearch-8.3.3-linux-x86_64.tar.gz -C /opt/server
2、修改文件夹名字:
mv elasticsearch-8.3.3 es8.3.3
3、创建数据和日志存储目录名字
mkdir /opt/server/es8.3.3/data
mkdir /opt/server/es8.3.3/data/es-data
mkdir /opt/server/es8.3.3/data/log-data
5、创建用户
useradd es
6、给用户赋值权限
chown -R es:es /opt/server/es8.3.3/data
7、配置es jvm.options
cd /opt/server/es8.3.3/config
vim jvm.options
默认:
-Xms4g
-Xmx4g
修改为:
-Xms256m
-Xmx256m

8、配置 elasticsearch.yml
path.data: /opt/server/es8.3.3/data/es-data
path.logs: /opt/server/es8.3.3/data/log-data
network.host: 0.0.0.0
discovery.type: single-node
# Enable security features
下面为启动后生产然后修改吧,或者直接拷贝过去
xpack.security.enabled: true

xpack.security.enrollment.enabled: true

# Enable encryption for HTTP API client connections, such as Kibana, Logstash, and Agents
xpack.security.http.ssl:
  enabled: false
  keystore.path: certs/http.p12

# Enable encryption and mutual authentication between cluster nodes
xpack.security.transport.ssl:
  enabled: true
  verification_mode: certificate
  keystore.path: certs/transport.p12
  truststore.path: certs/transport.p12
9、配置 修改文件句柄数大小
临时修改
ulimit -Hn 65535
ulimit -Sn 65535
永久修改
vim /etc/security/limits.conf
*  soft  nofile  65536
*  hard  nofile  65536
ulimit -a ---查看
10、设置系统所有进程一共可以打开的文件数量
vim /etc/sysctl.conf
vm.max_map_count = 262144
sysctl -p
用户A如果在/etc/security/limits.conf有配置,当/etc/security/limits.d子目录下配置文件也有用户A的配置时,那么A中某些配置会被覆盖。最终取值是 /etc/security/limits.d 下的配置文件的值
soft指的是当前系统生效的设置值,软限制也可以理解为警告值。
hard表明系统中所能设定的最大值。soft的限制不能比hard限制高
-表名同时设置了soft和hard的值
11、启动elasticsearch
未配置环境变量
./opt/server/es8.3.3/bin/elasticsearch
后台运行
./opt/server/es8.3.3/bin/elasticsearch -d
12、打开 浏览器输入 http://192.168.1.50:9200
{
  "name" : "localhost.localdomain",
  "cluster_name" : "elasticsearch",
  "cluster_uuid" : "op9SaoC1Rg6FtCwzrggg9A",
  "version" : {
    "number" : "8.3.3",
    "build_flavor" : "default",
    "build_type" : "tar",
    "build_hash" : "801fed82df74dbe537f89b71b098ccaff88d2c56",
    "build_date" : "2022-07-23T19:30:09.227964828Z",
    "build_snapshot" : false,
    "lucene_version" : "9.2.0",
    "minimum_wire_compatibility_version" : "7.17.0",
    "minimum_index_compatibility_version" : "7.0.0"
  },
  "tagline" : "You Know, for Search"
}
二、kibana 安装
下载 程序文件 kibana
拷贝到安装目录 /opt/server
1、解压:
tar -zxvf kibana-8.3.3-linux-x86_64.tar.gz -C /opt/server
2、修改目录权限
chown -R es:es /opt/server/kibana8.3.3/data
3、重置kibana_system密码
./elasticsearch-reset-password -u kibana_system
把生成的密码 配置到kibana.yml文件中
4、进入kibana的config目录 配置 kibana.yml
vim kibana.yml
server.host: "192.168.1.50"
elasticsearch.hosts: ["http://192.168.1.50:9200"]
elasticsearch.username: "kibana_system"
elasticsearch.password: "************"
i18n.locale: "zh-CN"
5、启动 kibana
cd /opt/server/kibana8.3.3
nohup ./kibana &
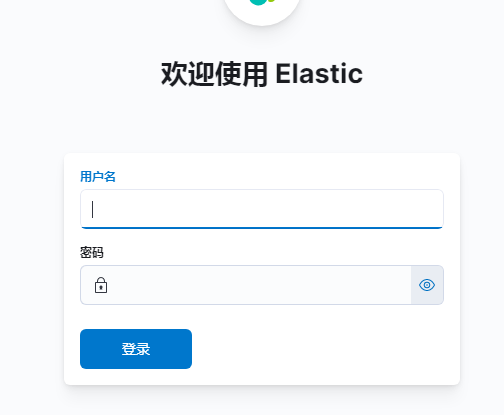
6、进入浏览器http:192.168.1.50:5601
输入用户名密码 elastic/zyIgWSd1****A30aL9T0H

 浙公网安备 33010602011771号