gitlab的安装
一、下载准备
1 2 3 4 | yum install -y curl openssh-server openssh-clients postfix cronie policycoreutils-pythonsystemctl enable postfixsystemctl start postfixwget https://mirrors.tuna.tsinghua.edu.cn/gitlab-ce/yum/el7/gitlab-ce-10.0.0-ce.0.el7.x86_64.rpm |
二、安装过程
1 | # yum install -y gitlab-ce-10.0.0-ce.0.el7.x86_64.rpm |
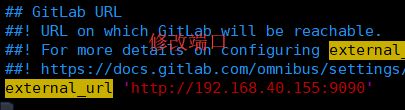
修改gitlab配置文件指定服务器ip和自定义端口:
#vim /etc/gitlab/gitlab.rb
#gitlab-ctl reconfigure (需要几分钟)
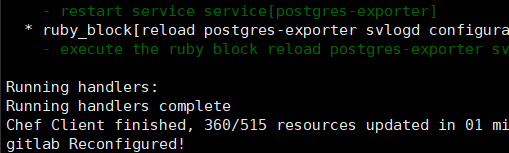
#gitlab-ctl restart (启动成功)

三、浏览器访问ip+端口
容易出现502网关错误,换一个端口,重启gitlab,多刷新网页几次
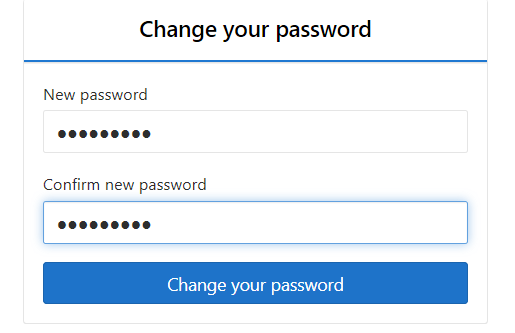
1、设置密码
2、root登录+上一步的密码
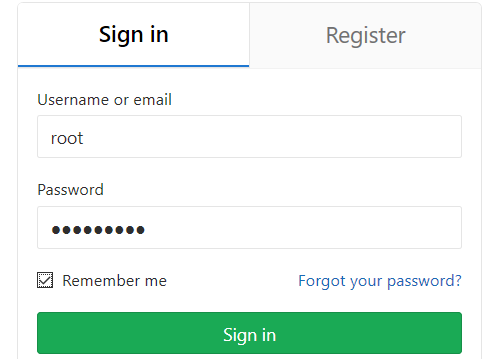
3、登录成功
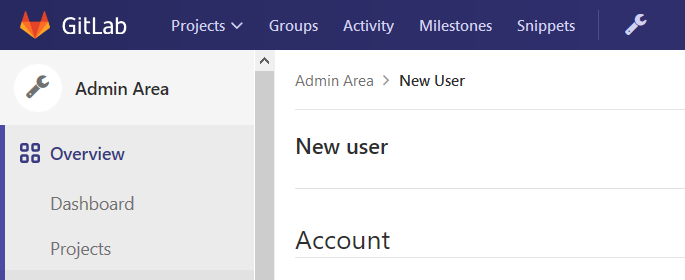
4、创建普通用户,并设置初始密码,普通用户第一次登陆时,系统会自动让其改密。

四、汉化
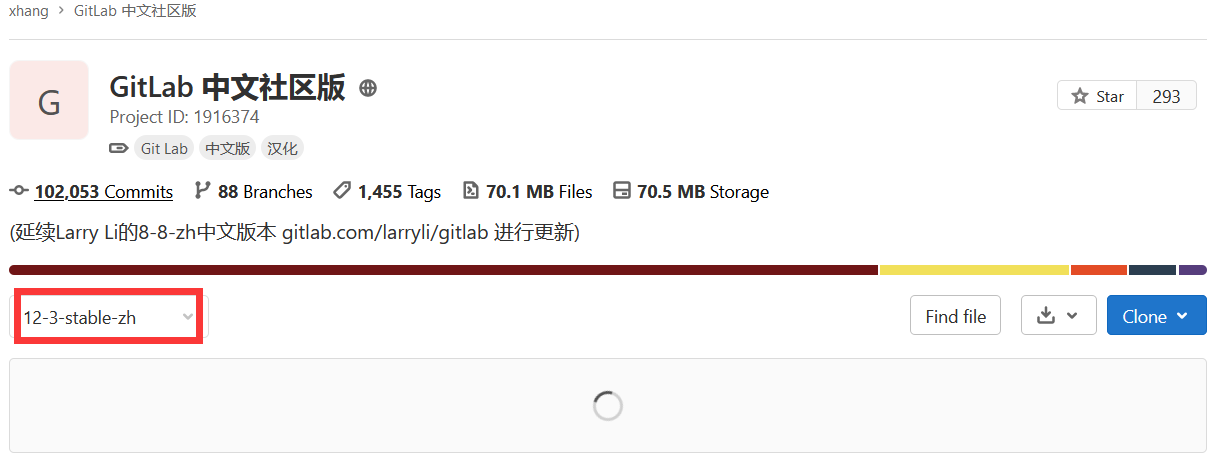
1、克隆最新版汉化补丁仓库
1 | git clone https://gitlab.com/xhang/gitlab.git |
2、查看当前gitlab版本并且获取对应版本的中文补丁
1 2 | #head -1 /opt/gitlab/version-manifest.txtgitlab-ce 13.4.4 |
3、如果是要下载老版本的汉化包,需要加上老版本的分支
1 | git clone https://gitlab.com/xhang/gitlab.git -b v10.0.2-zh |
4、查看汉化版补丁包版本
1 2 | #cat gitlab/VERSION11.5.6 |
5、将中文补丁导入gitlab
1 2 3 4 5 6 7 8 9 10 11 | gitlab-ctl stop#停止gitlabpatch -d /opt/gitlab/embedded/service/gitlab-rails -p1 < ../v10.8.4-zh.diff#将刚才的diff文件做为补丁导入到gitlab中#patch可能需要自行安装:yum install -y patchgitlab-ctl start#启动gitlab就能看到熟悉的中文啦! |
https://www.cnblogs.com/lvzhenjiang/p/14269921.html 有待整理
五、配置、组件
1、配置文件
1 2 3 4 5 | gitlab‐ctl reconfigure # 更改配置文件后需重新配置gitlab‐ctl status # 查看目前gitlab所有服务运维状态gitlab‐ctl stop # 停止gitlab服务gitlab‐ctl stop nginx # 单独停止某个服务gitlab‐ctl tail # 查看所有服务的日志 |
2、组件
1 2 3 4 5 6 7 8 9 10 11 12 13 14 15 16 17 18 19 20 21 22 23 24 25 | #gitlab-ctl status (13.4.4版)down: alertmanager: 894s, normally up; run: log: (pid 2573) 14781sdown: gitaly: 894s, normally up; run: log: (pid 2042) 14934sdown: gitlab-exporter: 894s, normally up; run: log: (pid 2506) 14802sdown: gitlab-workhorse: 894s, normally up; run: log: (pid 2396) 14825sdown: grafana: 894s, normally up; run: log: (pid 2903) 14712sdown: logrotate: 893s, normally up; run: log: (pid 2455) 14813sdown: nginx: 893s, normally up; run: log: (pid 2434) 14819sdown: node-exporter: 892s, normally up; run: log: (pid 2489) 14808sdown: postgres-exporter: 892s, normally up; run: log: (pid 2587) 14778sdown: postgresql: 891s, normally up; run: log: (pid 2168) 14925sdown: prometheus: 891s, normally up; run: log: (pid 2546) 14790sdown: puma: 889s, normally up; run: log: (pid 2349) 14837sdown: redis: 889s, normally up; run: log: (pid 1992) 14942sdown: redis-exporter: 889s, normally up; run: log: (pid 2525) 14796sdown: sidekiq: 887s, normally up; run: log: (pid 2370) 14831sGitlab的服务有很多的组件构成的,如:nginx: 静态web服务器gitlab‐workhorse: 轻量级的反向代理服务器logrotate: 日志文件管理工具postgresql: 数据库redis: 缓存数据库sidekiq: 用于在后台执行队列任务(异步执行),(Ruby)unicorn: An HTTP server for Rack applications,GitLab Rails应用是托管在这个服务器上面的。(RubyWeb Server,主要使用Ruby编写) |
六、docker容器化安装
1、拉取gitlab docker镜像
1 2 3 | docker search gitlabdocker pull gitlab/gitlab-ce:latest |
2、运行GitLab并运行容器
1 2 3 4 5 6 7 8 9 10 11 12 13 14 15 16 17 | docker run --detach \ --hostname git.moqi.ai \ --publish 80:80 \ --publish 443:443 \ --publish 9922:22 \ --publish 9168:9168 \ --publish 9121:9121 \ --publish 9187:9187 \ --publish 9236:9236 \ --publish 9229:9229 \ --name gitlab \ --restart always \ --privileged=true \ --volume /opt/gitlab/config:/etc/gitlab \ --volume /opt/gitlab/logs:/var/log/gitlab \ --volume /opt/gitlab/data:/var/opt/gitlab \ gitlab/gitlab-ce:14.1.0-ce.0 |
备份策略(gitlab自带,配置文件里面配置)
/opt/gitlab/config/gitlab.rb
1 2 | gitlab_rails['backup_path'] = "/var/opt/gitlab/backups"gitlab_rails['backup_keep_time'] = 604800 ##只保留7天的数据 |
3、进入容器内
1 | docker exec -it gitlab-test /bin/bash |
4、修改gitlab.rb
1 2 3 4 5 6 7 8 9 10 11 | # 打开文件vi /etc/gitlab/gitlab.rb # 这个文件是全注释掉了的,所以直接在首行添加如下配置 # gitlab访问地址,可以写域名。如果端口不写的话默认为80端口 (图片上拼写错误,正确的是external_url)external_url 'http://192.168.52.128:9980'# ssh主机ipgitlab_rails['gitlab_ssh_host'] = '192.168.52.128'# ssh连接端口gitlab_rails['gitlab_shell_ssh_port'] = 9922 |
注意:
云主机的情况:需要开放9922端口
5、修改gitlab.yml (不是必须的,因为gitlab.rb内配置会覆盖这个,为了防止没有成功覆盖所以我在这里进行配置,当然你也可以选择不修改gitlab.rb直接修改这里)
1 | vi /opt/gitlab/embedded/service/gitlab-rails/config/gitlab.yml |
配置一:找到gitlab标签,将其子标签如下修改:
host:访问的IP port:访问的端口
和gitlab.rb内external_url的配置保持一致
ssh_host:ssh主机ip,和gitlab.rb内gitlab_rails['gitlab_ssh_host']保持一致配置二:找到gitlab_shell标签下的ssh_port,将其修改为9922
6、让修改后的配置生效
1 | gitlab-ctl reconfigure |
7、重启gitlab
1 | gitlab-ctl restart |
8、访问gitlab
查看初始root密码:
1 | sudo docker exec -it gitlab grep 'Password:' /etc/gitlab/initial_root_password |
进入gitlab 容器中也可以改密码
1 | docker exec -it gitlab(容器名字) bash |
要重置您的root密码,请首先使用root特权登录到服务器。使用以下命令启动Ruby on Rails控制台
1 2 3 4 5 6 7 8 | gitlab-rails console -e production--------------------------------------------------------------------------------Ruby: ruby 2.7.5p203 (2021-11-24 revision f69aeb8314) [x86_64-linux]GitLab: 14.8.2 (c7be43f6dd3) FOSSGitLab Shell: 13.23.2PostgreSQL: 12.7------------------------------------------------------------[ booted in 15.28s ]Loading production environment (Rails 6.1.4.6) |
等待控制台加载完毕,有多种找到用户的方法,您可以搜索电子邮件或用户名
1 | user = User.where(id: 1).first |
现在,您可以更改密码
1 2 | user.password = 'secret_pass'user.password_confirmation = 'secret_pass' |
保存和重启
1 2 | user.save!gitlab-ctl restart |
9、上传容器的公钥到gitlab
1 2 3 | # ssh-keygen -t RSAroot@6e062d689ed4:~/.ssh# cat id_rsa.pub ssh-rsa AAAAB3NzaC1yc2EAAAADAQABAAABAQDDPdgZyETzOpZxY9j/7qnZxxHzxhvlygNmR5wQgdl7XVBFJEfB2YtmeC93o8lUznX087PORsoUT5Oqvcjk/ZiuKxK9kPN6RrVmXGc5DcgjxT6shYjoQio81TjyOEbCNvYFOFonbaWhPqUks78gFITS324ejEvKigMuS1RJOnJeiDTZTIFq13/HrUSlkdh6MW2Jpox42U7W/xOL8zzqyuKC6JAyMZ9AZy8ffUXLgJB69fUahrGizGwkNG2E8EKXrdNGAWgSc9yJQ9i2iAX7e72cNGXFKxA/U/FHHlxs0ck8pRg3oott0ymOlZvh2L8mmwh5RcsDTsgOOmbhmmmRTmAf root@6e062d689ed4 |
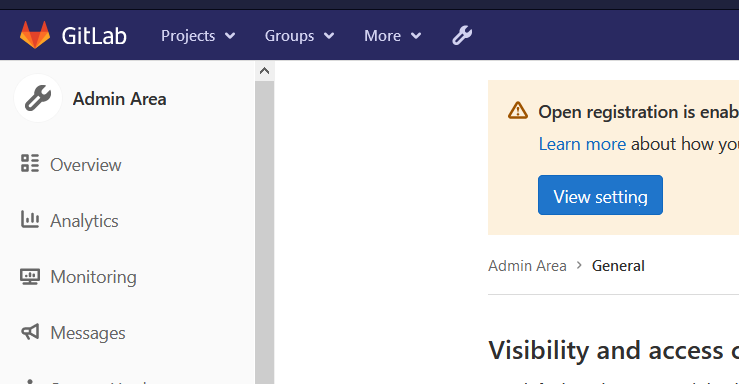
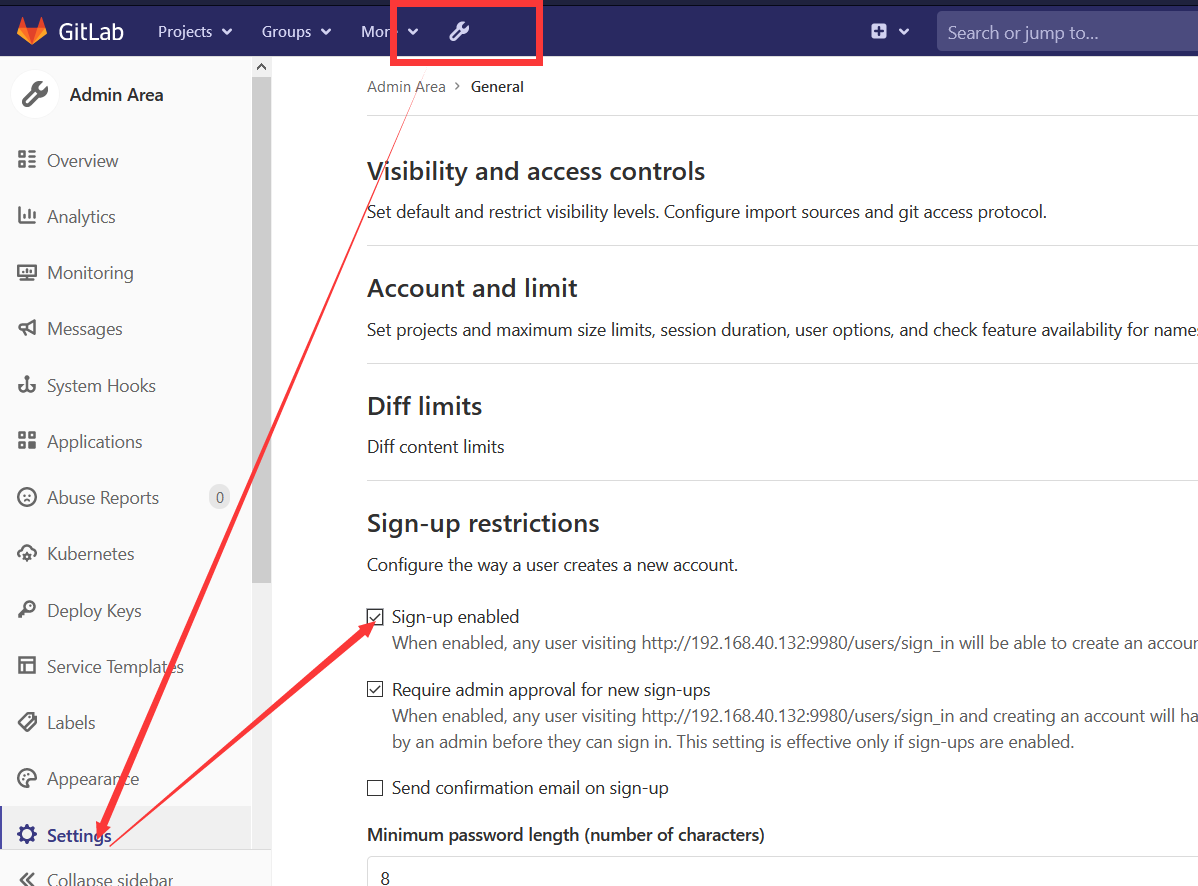
10、关闭用户注册
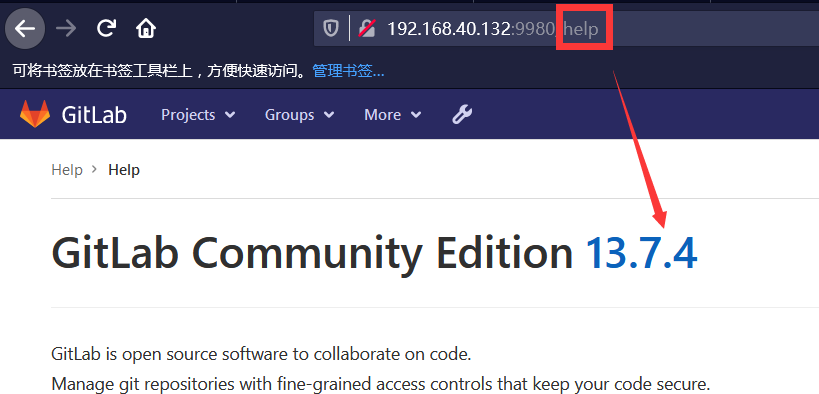
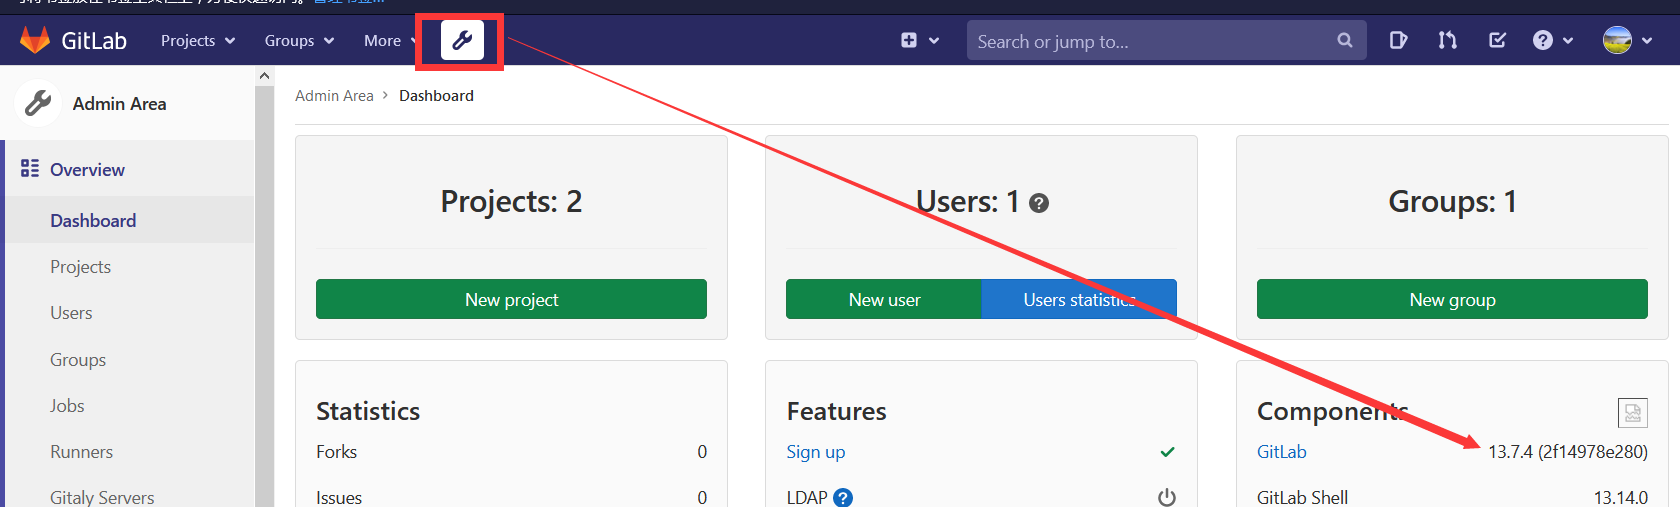
11、查看版本
a、ip:port/help
b、admin账户查看dashboard
c、命令行
1 2 3 4 5 6 | echo `cat /opt/gitlab/embedded/service/gitlab-rails/VERSION`13.7.4gitlab-rake gitlab:env:infoGitLab informationVersion: 13.7.4 |
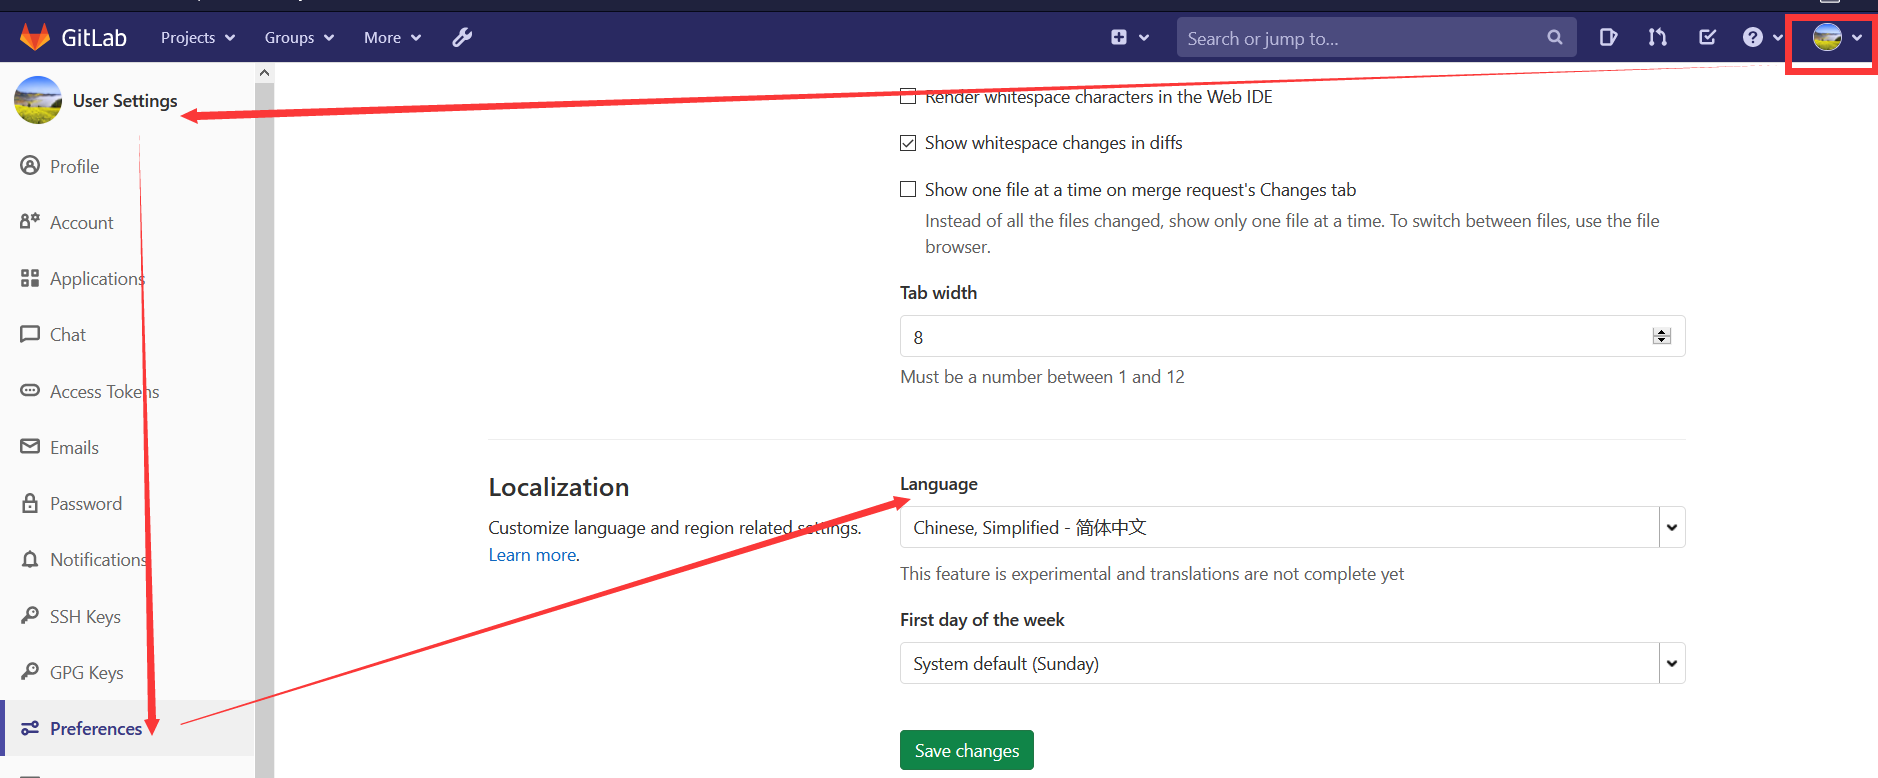
12、设置简体中文
https://mp.weixin.qq.com/s/7CFhdbqs270P81UrtjKrzA Gitlab 利用 Webhook+jenkins 实现自动构建与部署
https://blog.csdn.net/qq_41545647/article/details/102497286 最新版安装
https://blog.51cto.com/bigboss/2129284 Gitlab汉化
https://www.cnblogs.com/madsnotes/articles/5682719.html 超全内容
http://www.mdslq.cn/archives/c46f1d68.html Gitlab之Gitlab-CI体验


