Synopsys EDA Toos Installation for WSL2
Synopsys EDA Toos Installation for WSL2
Jul.2/2023 更正
- 软件应该安装在 /opt/synopsys 目录下,而非 /usr/synopsys,后者在普通用户下没有足够的权限访问,会导致部分软件如verdi,配置文件失效。/usr 目录下应该是系统级的软件。文中所有 /usr/synopsys 统统应该为 /opt/synopsys,包括环境变量,license的修改等等。
- aur遇到gcc4.8编译失败的问题,安装gcc47解决,对应修改环境变量。
0 Preparation
-
developing environment WSL2
Refer to Microsoft WSL Document https://learn.microsoft.com/zh-cn/windows/wsl/install
-
Synopsys installation package
Files refered in the artical:
- scl_keygen,key generator
- scl,key management
- synopsys installer,the installer
- vcs
- verdi
1 Installation Process
1.1 Install Synopsys Installer
(If your HIDPI scaling is not applied correctly, refers to #1.2 first.)
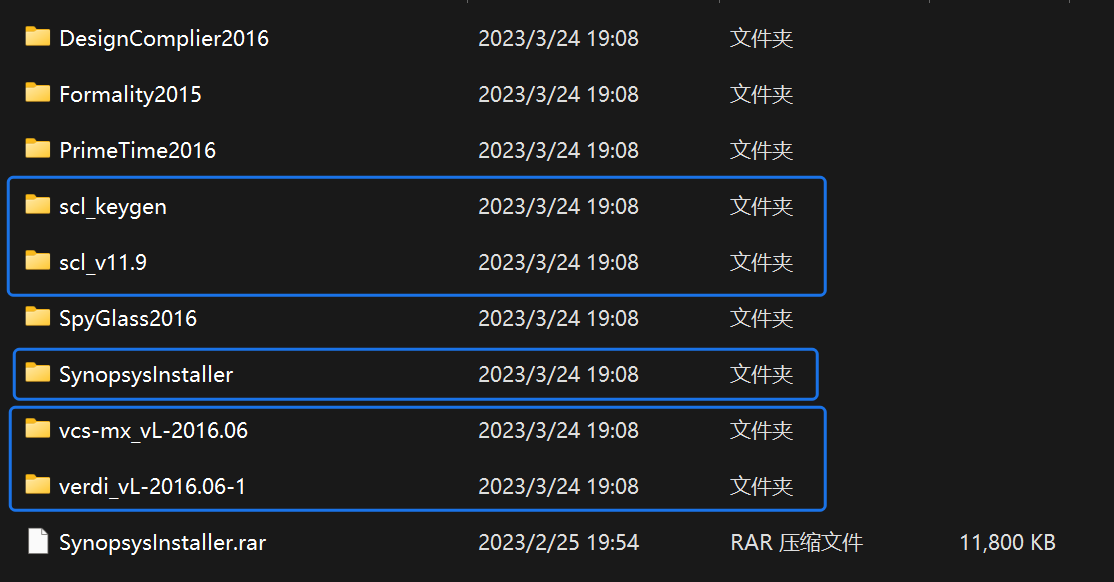
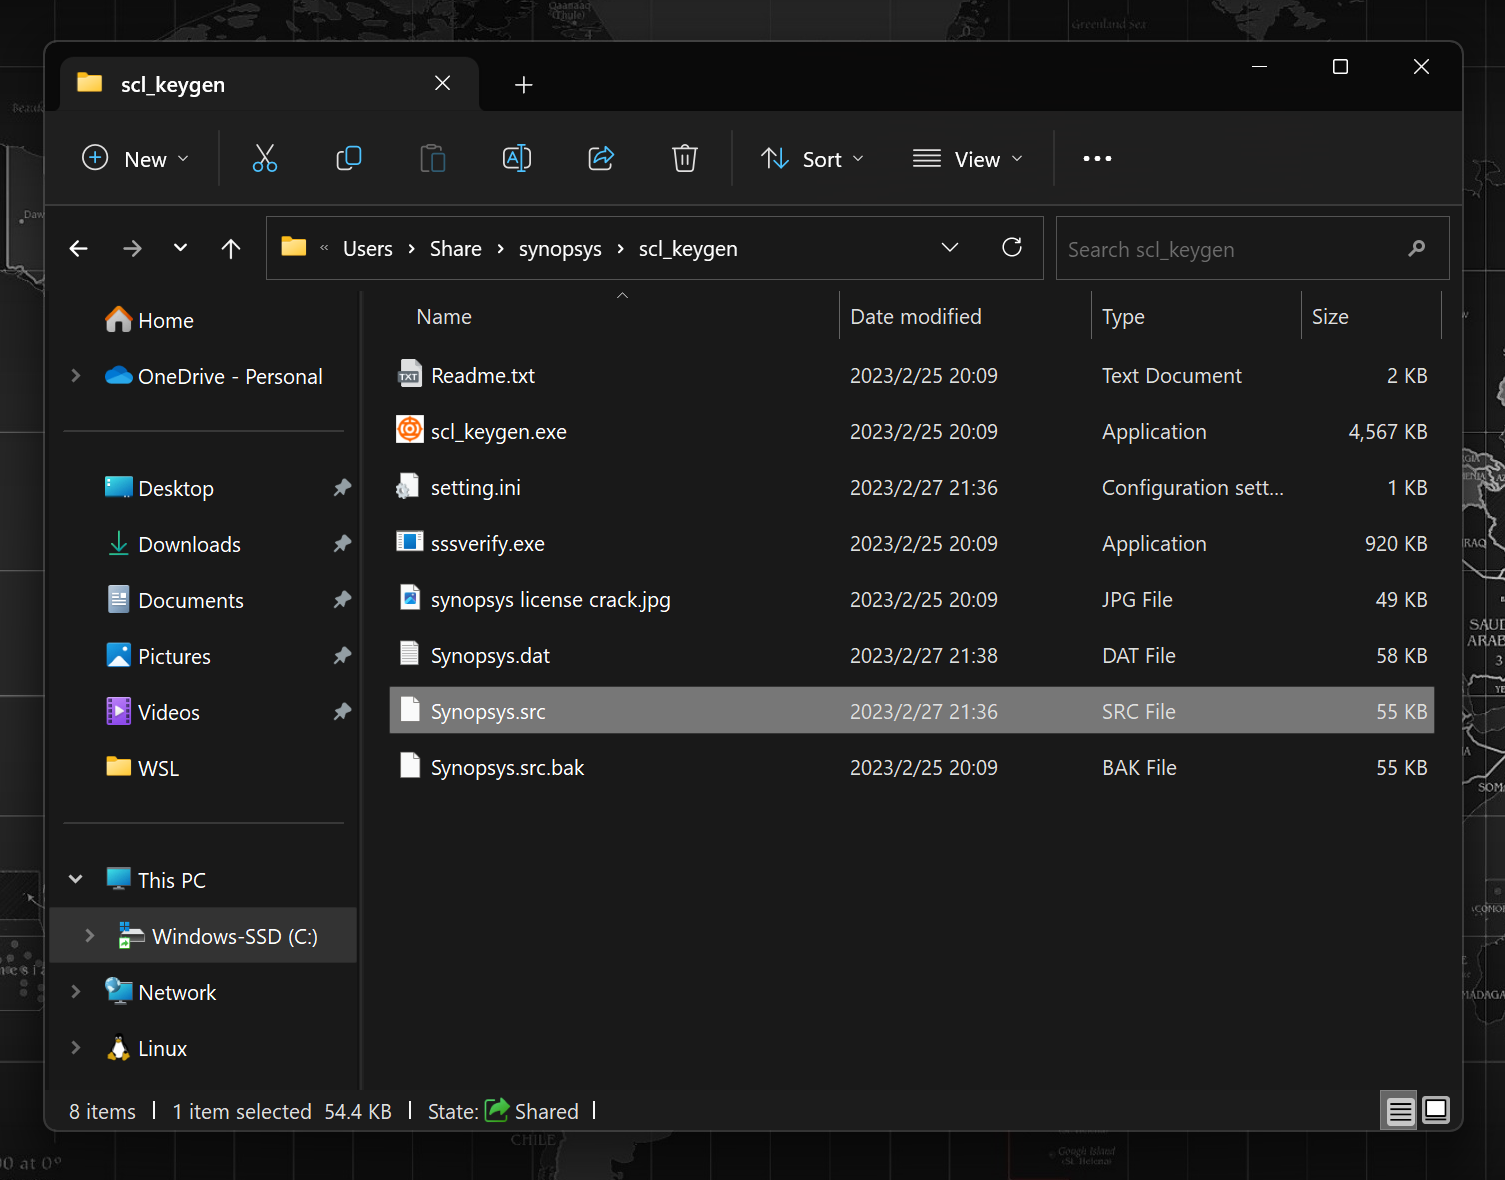
Copy related files into wsl file system, scl_keygen dir excluded, that's only used in windows.
A suggested action is to make a directory named synopsys in your home directory and put all the files into it. You can use explorer in windows to finish that.
After the movement, we can see

make your synopsys installer file executable:
cd Syno*
chmod +755 *.run
run *.run to install the installer.
sudo ./*.run
A sudo here is must.
Specify a installation directory, for example,/usr/synopsys/installer
change directory.
cd /usr/synopsys/installer
run shell script
sh setup.sh
and I got

check the shell script file, the shebang line indicate:
#!/usr/bin/csh
so we need to install csh
sudo apt install csh
and re-execute the shell script via csh
csh setup.sh
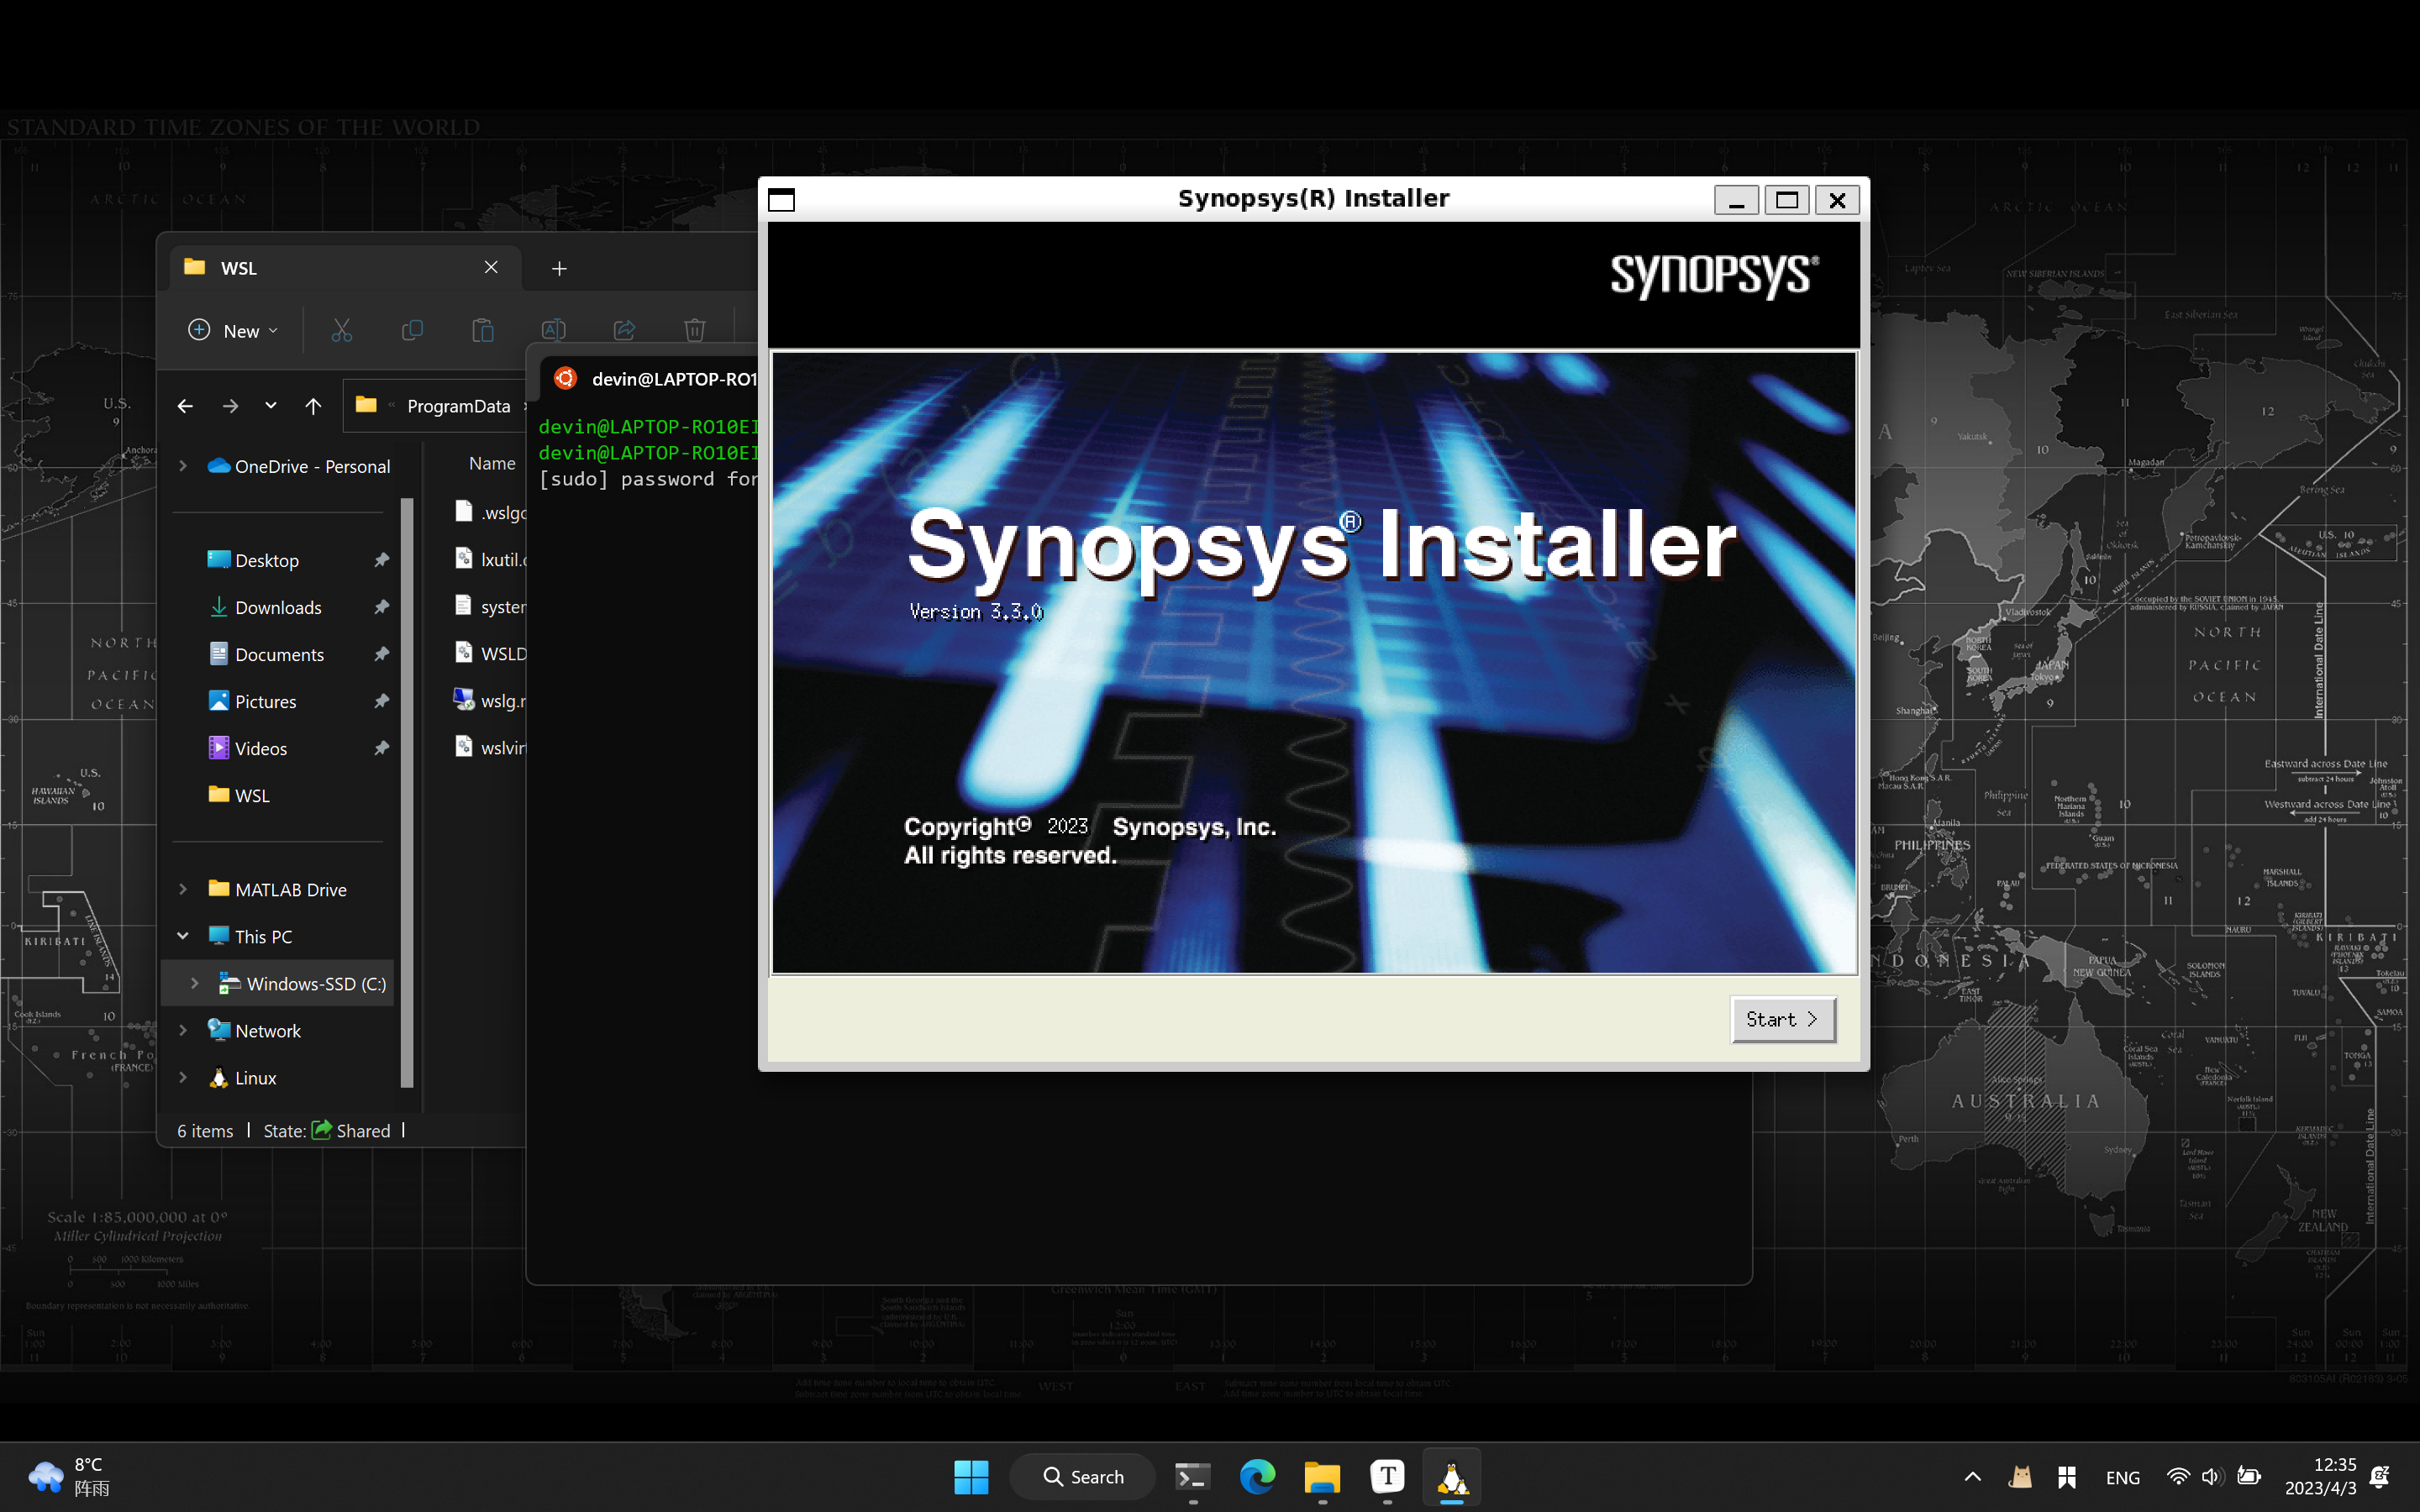
Not suprisingly, the synopsys installer gui shows in the screent
Press next next... next, just keep default until:
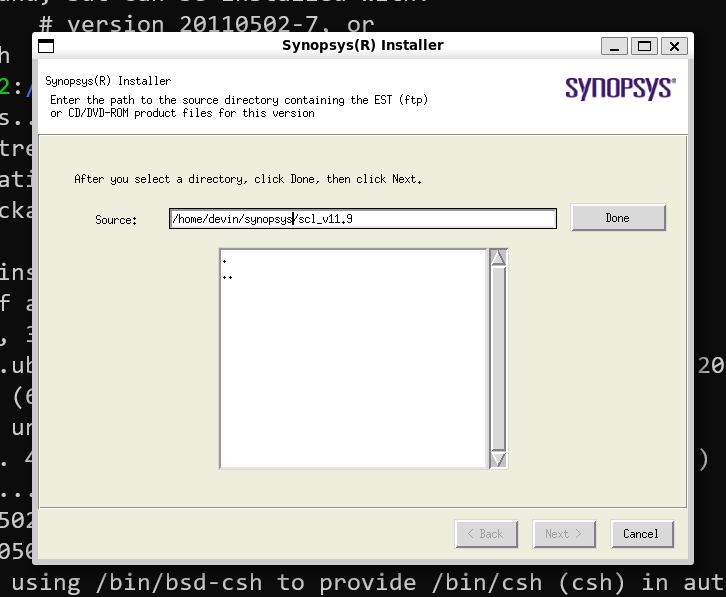
Press browse, and input the direactory /home/usrname/synopsys/ and choose scl_11.9
and modify the destination directory

OK, cancel.
and make the directory manually. (In fact, it is not must)
sudo mkdir /usr/synopsys/scl
and, try to invoke the super user do:
sudo csh *.sh
It hints us re-invoke the install with option -install_as_root.
sudo csh *.sh -install_as_root
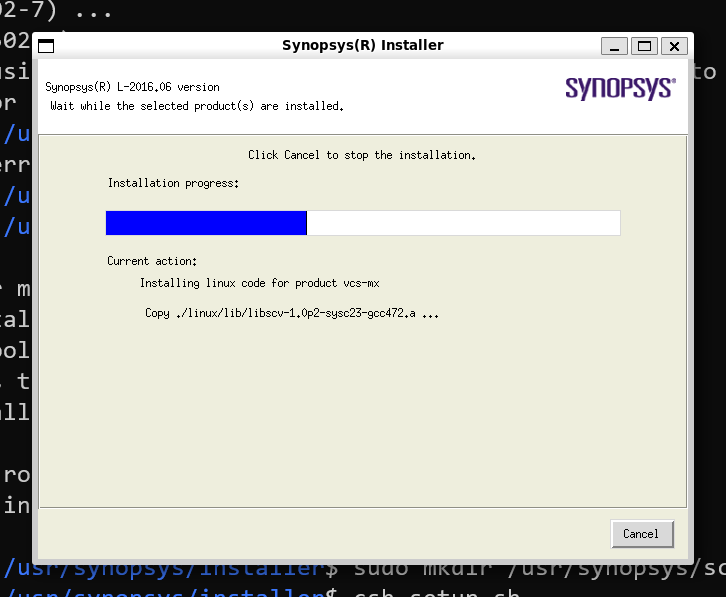
Back to install another synopsys product
follow the following order:
scl -> vcs -> verdi
1.2 Resolve the Issue of HIDPI Display (Optional)
The wslg app cannot applu HIDPI scaling correctly, so we need to make some change.
Refs: https://www.youtube.com/watch?v=csa293IBuuw
First, we should turn to C:\ProgramData\Microsoft\WSL (which is hidden by default), and make a new file named .wslgconfig here. However, we donot have enough permission, the solution method is:
- create a TXT file in your desktop and rename it to
.wslgconfig; - move it to
C:\ProgramData\Microsoft\WSL; - Right click->Properties->Security->Everyone->Edit->check
ModifyandWrite->OK; - Back to modify it with Notepad or other text editor.
Copy the folling lines to it and save.
[system-distro-env]
WESTON_RDP_DISABLE_FRACTIONAL_HI_DPI_SCALING=false
WESTON_RDP_DEBUG_DESKTOP_SCALING_FACTOR=175
Start+S to search powershell and run it as Administrator.
run wsl --shutdown , and re-run your WSL. Now the GUI works fine.
1.3 Hack the Synopsys Product
1.3.1 Generate the License File
Modify Synopsys.src first, open with notepad or other text editor, search 2020 and replace them of 2030 (I have modified that).
run scl_keygen.exe as Administrator, and modify the host name and host ID to which of yours.
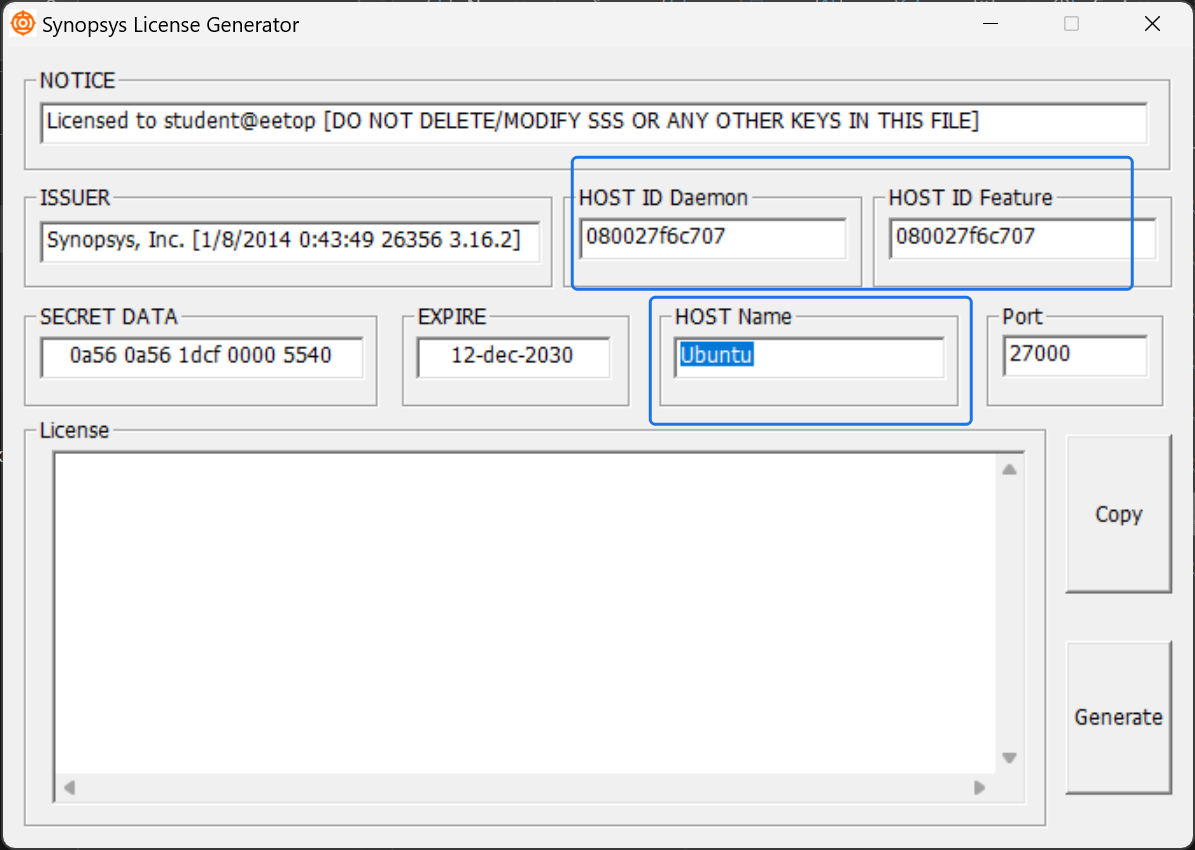
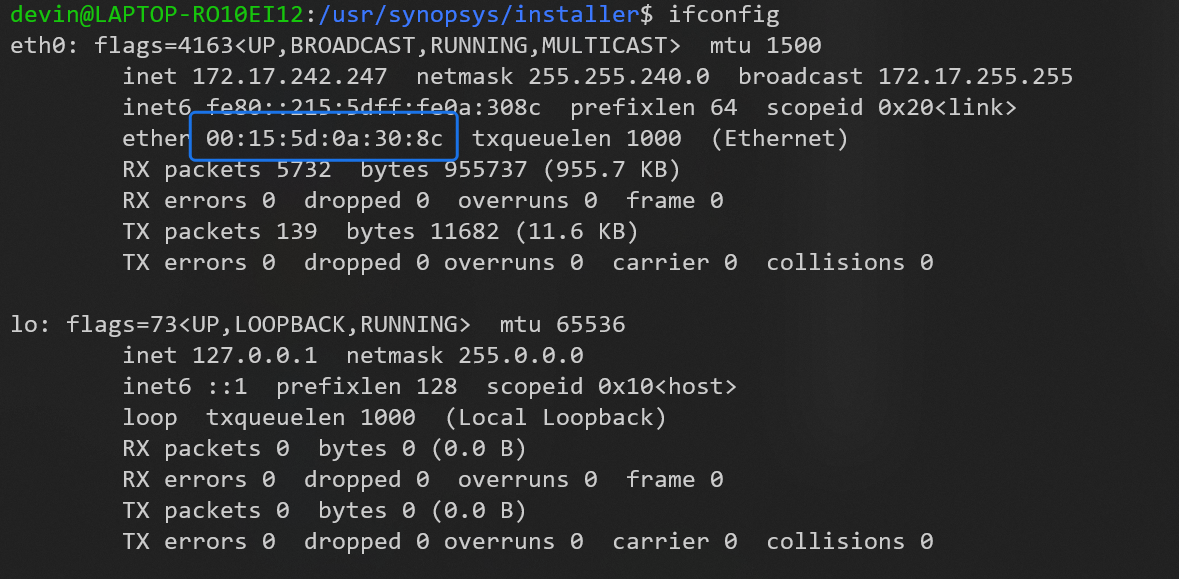
One can fetch host name and host ID by
hostname
and, (net-tools required)
ifconfig
Click generate, and then close the window, the license file Synopsys.dat are generated correctly.
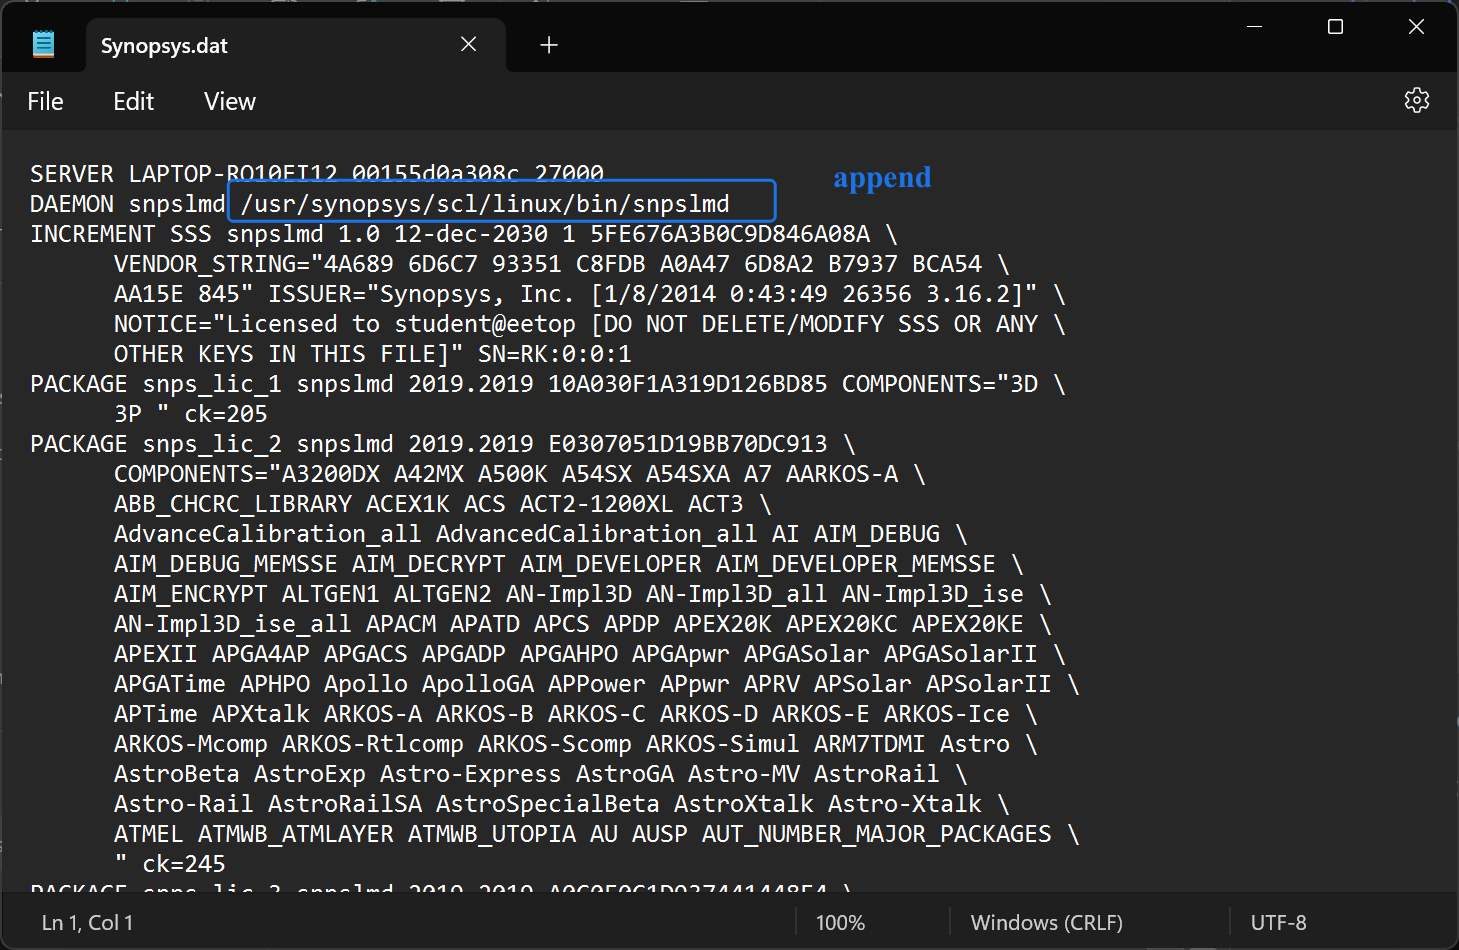
And then edit the dat file, append the second line with your SCL installation path.
NOTE that, you cannot edit the file by default, so the operation Properties->Security->Everyone->Edit->Fully Control is required.
In this article, the SCL installation path is
/usr/synopsys/scl/linux/bin/snpslmd
Copy the license file to /usr/synopsys/scl/admin/license , you can not use windows explorer cause you do not have enough permissions.
Change directory to
cd /mnt/
and access your windows files here, and copy the Synopsys.dat file with sudo by
sudo cp Synopsys.dat /usr/synopsys/scl/admin/license
1.3.2 Modify the Ethernet Name
make sure your ethernet name is eth0 , WSL has a default ethernet name eth0, so we do not need to modify that.
Please refer to: https://blog.csdn.net/Ztrans/article/details/88757695
If you cannot connect to Internet after the operation, open your ethernet manually
sudo ifconfig eth0 up
1.3.3 Environment Config
Add environment variables by modify ~/.bashrc for bash.
vim ~/.bashrc
and append the following lines to it.
# dve
export PATH=$PATH:/opt/synopsys/vcs/gui/dve/bin
alias dve='dve -full64'

# VCS
export PATH=$PATH:/opt/synopsys/vcs/bin
alias vcs='vcs -full64 -cpp g++-4.8 --no-as-needed'
export VCS_ARCH_OVERRIDE=linux

# verdi
export PATH=$PATH:/opt/synopsys/verdi/bin

export VCS_HOME=/opt/synopsys/vcs
export VERDI_HOME=/opt/synopsys/verdi
export NOVAS_HOME=/opt/synopsys/verdi

# license
export PATH=$PATH:/opt/synopsys/scl/amd64/bin
export SNPSLMD_LICENSE_FILE=27000@devin-man
export LM_LICENSE_FILE=/opt/synopsys/scl/admin/license/Synopsys.dat
alias lmgrd='/opt/synopsys/scl/amd64/bin/lmgrd'
alias lmg_scl='lmgrd -c /opt/synopsys/scl/admin/license/Synopsys.dat'
这里引用知乎文章的内容,供参考
#Design Compalier
export SYNOPSYS=/home/cjw/synopsys/dc2016 #不加这个路径,直接运行 dc 会报错
export PATH=$PATH:/home/cjw/Synopsys/dc2016/bin #改 Verdi 安装路径
export DC_HOME=/home/cjw/Synopsys/dc2016
alias dc='dc_shell'
alias dv='design_vision'

#Primetime
export PATH=$PATH:/home/cjw/Synopsys/pt2016/bin #改 Verdi 安装路径
export PT_HOME=/home/cjw/Synopsys/pt2016
alias pt='primetime'

#Formality
export PATH=$PATH:/home/cjw/Synopsys/fm2015/bin #改 Verdi 安装路径
export FM_HOME=/home/cjw/Synopsys/fm2015
alias fm='formality'
And then install lsb-core
sudo apt install lsb-core
and execute
lmg_scl
If the port 27000 is not at idle:
sudo lsof -i:27000
kill -9 <the PID>
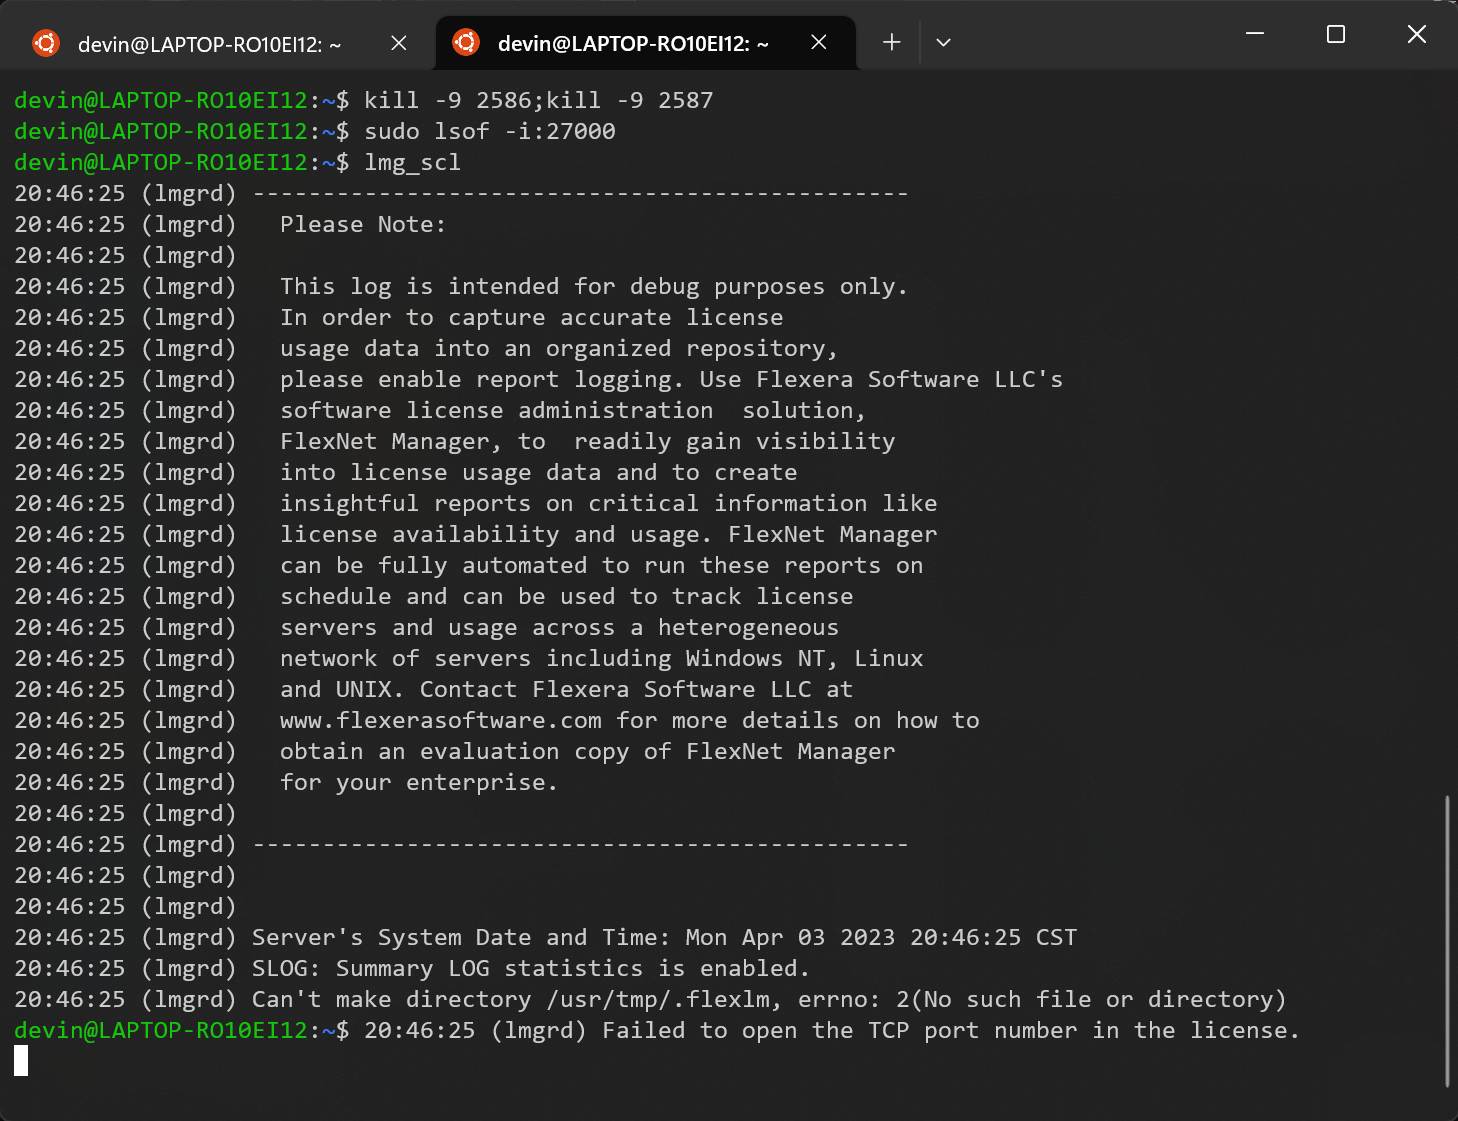
Failed to create such directory, try to create it manually and give it enough permission:
sudo mkdir /usr/tmp
sudo chmod +777 /usr/tmp
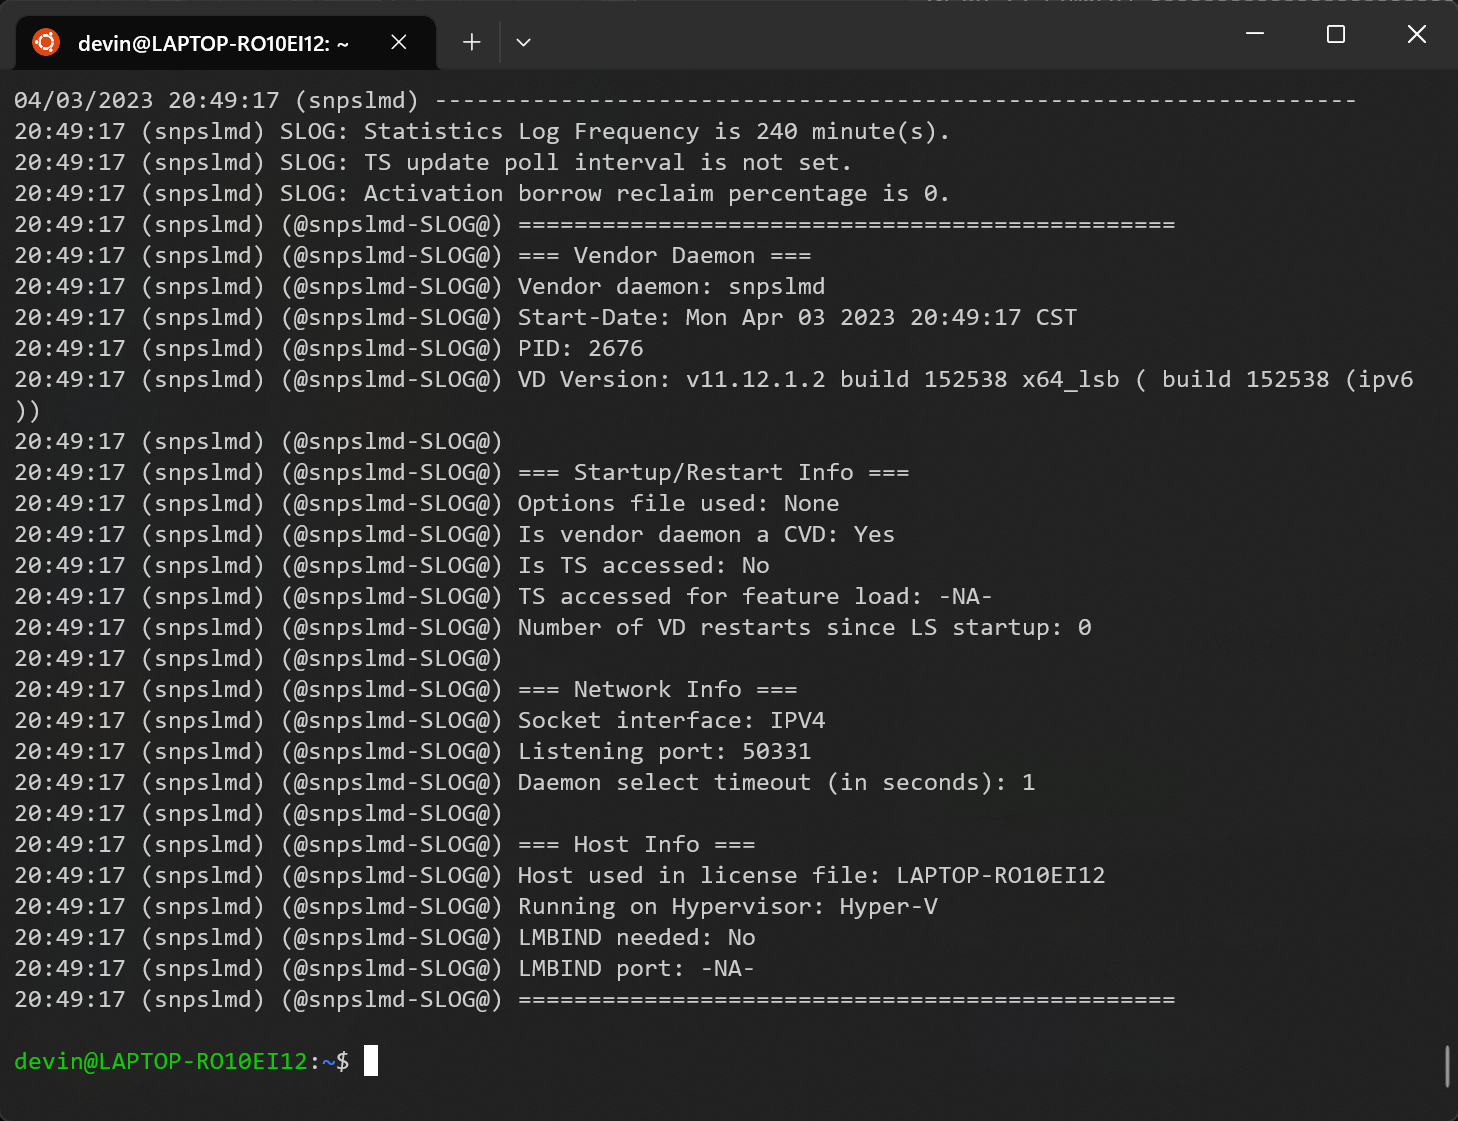
Retry lmg_scl , successed:
Then try to start verdi and dve:

We should resolve these issues one by one 😦
The solution of the issue of verdi:
sudo vim /usr/synopsys/verdi/bin/verdi
show line number : (You can add that to your ~/.vimrc file)
:set nu
and go to line 433
433gg
comment this line with
i#
retry execute verdi
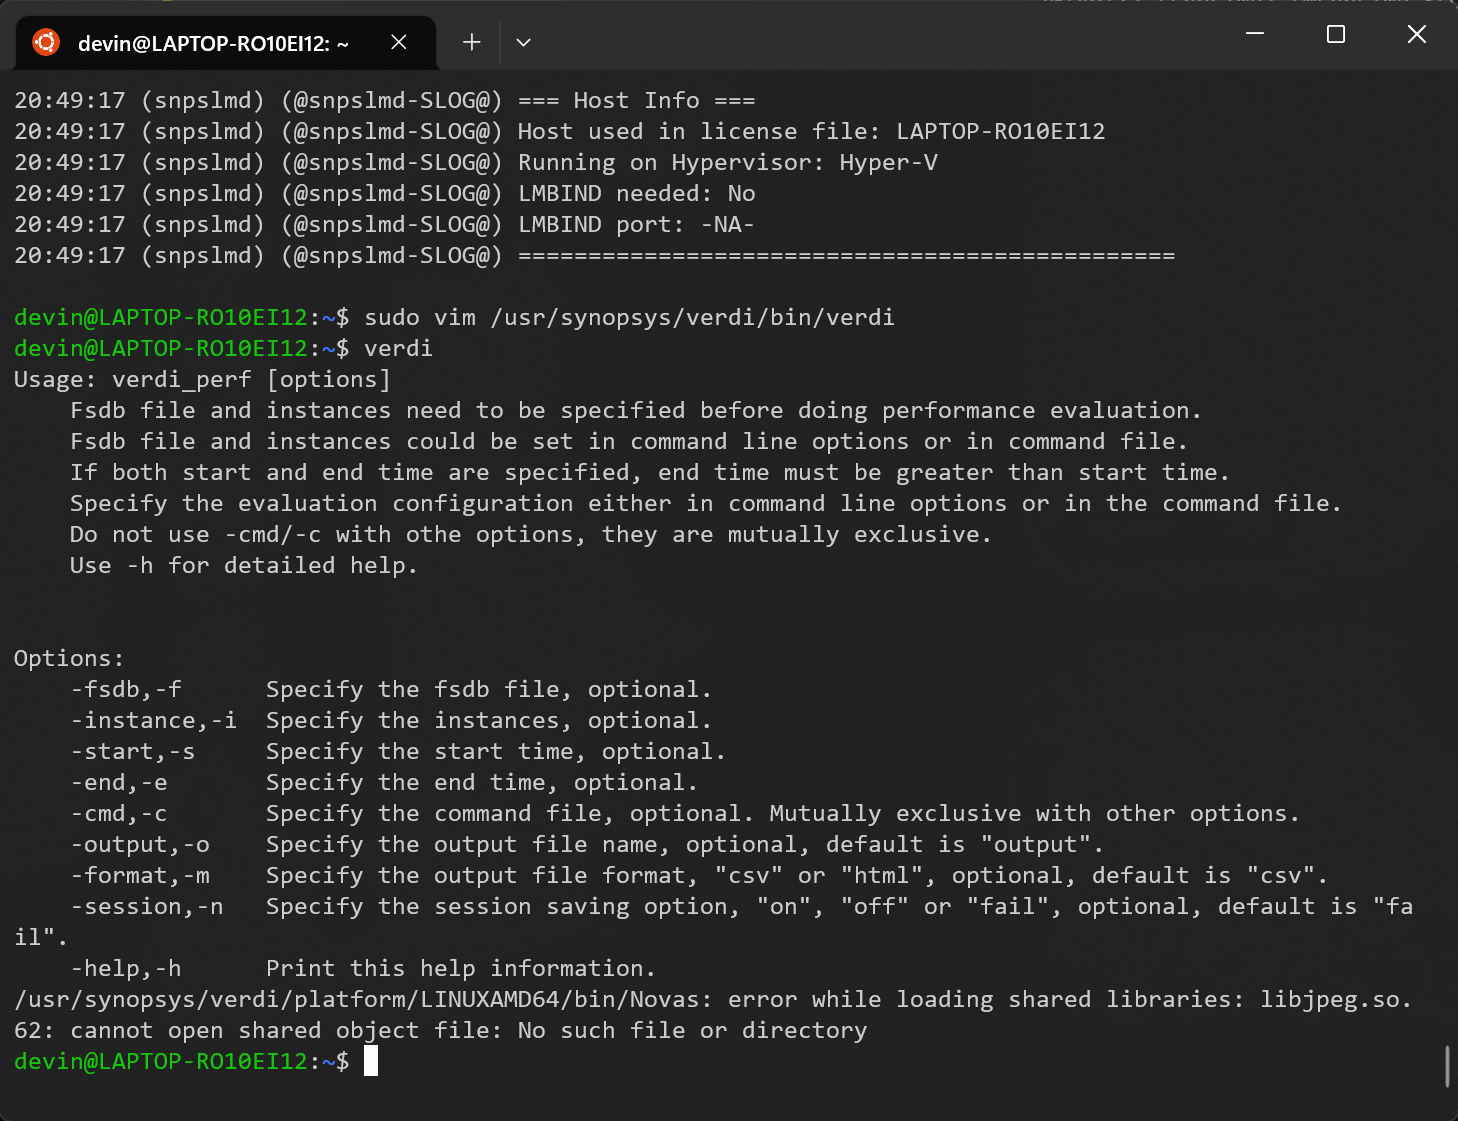
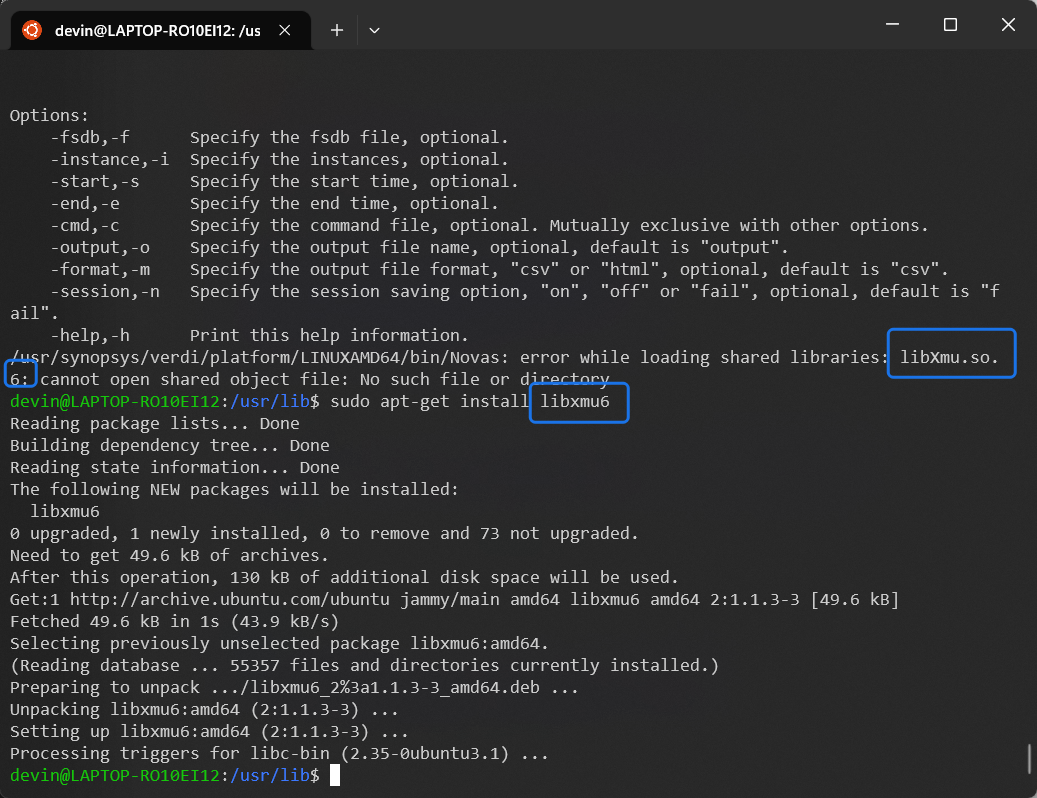
It indicated that missing of such shared lib. The solution is install such lib manually and if nessesary create soft links.
While start verdi, if there is any information about missing a shared lib, just follow the following method:
check the information and sudo apt install the corresponding one.
However, if there is any other libs such as libpng12.so.0, you cannot use this method, you can get offline lib files via Google.
In this instance, I will show how to install that.
Copy all of the lib files into WSL first.
And check the README, and it reminds us to read INSTALL.
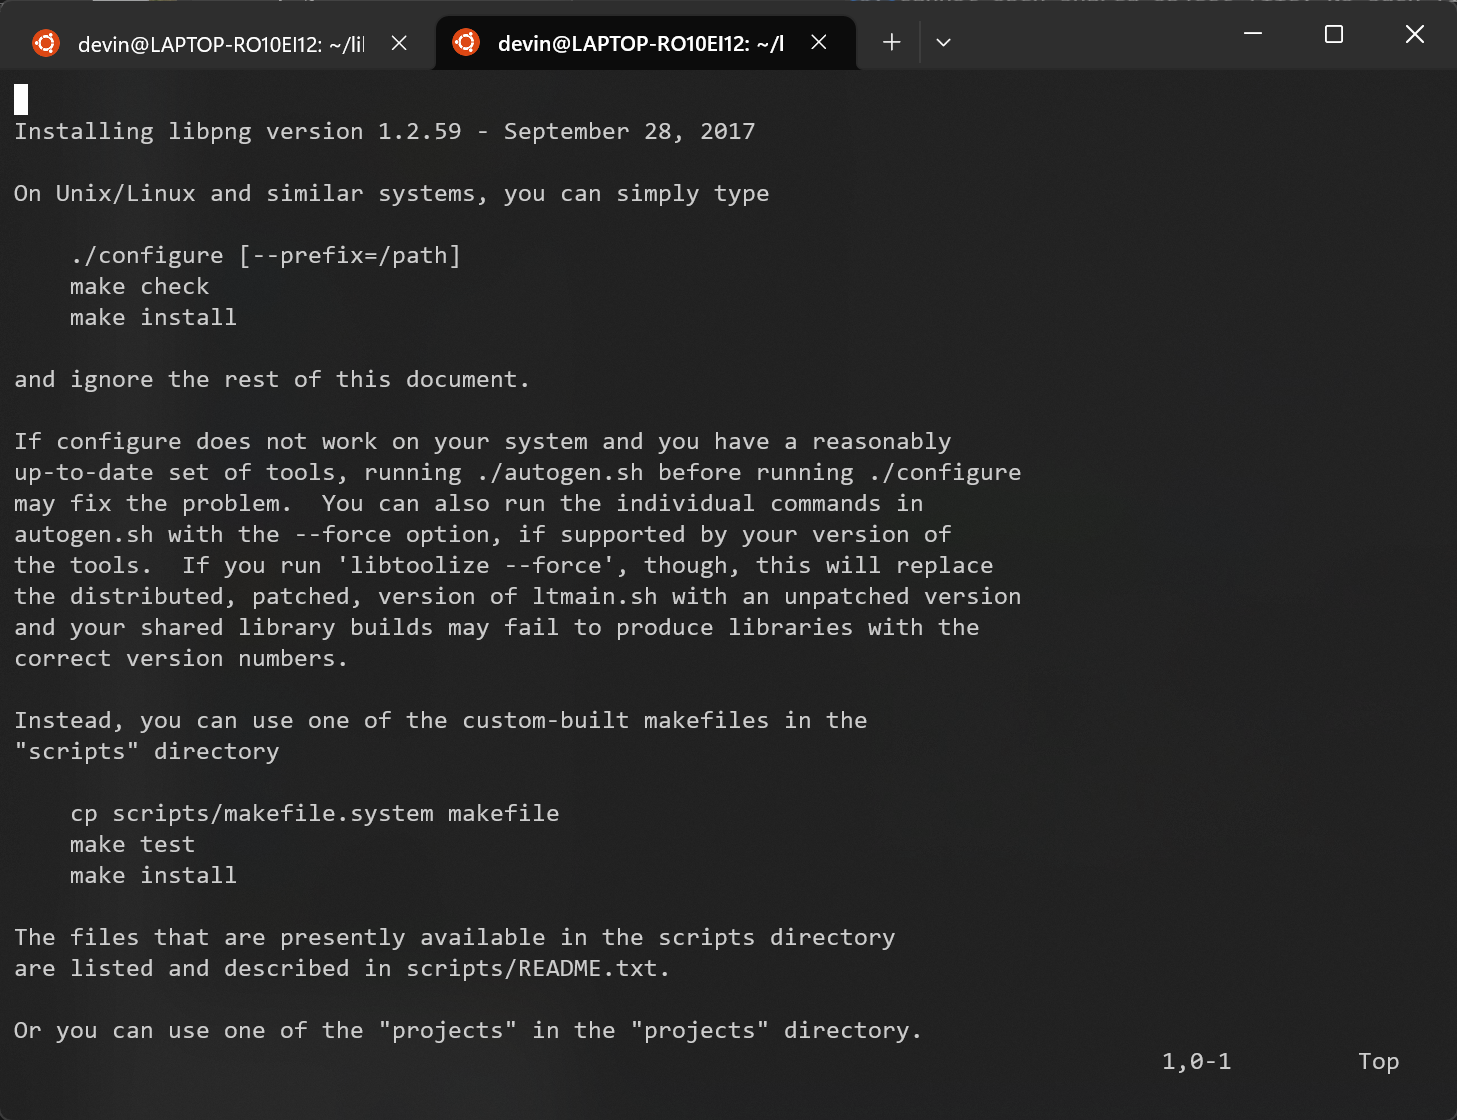
It shows us how to install, but I didn't use that method, just go follow:
sudo add-apt-repository ppa:linuxuprising/libpng12
sudo apt update
sudo apt install libpng12-0
Now, the libpng12 is installed.
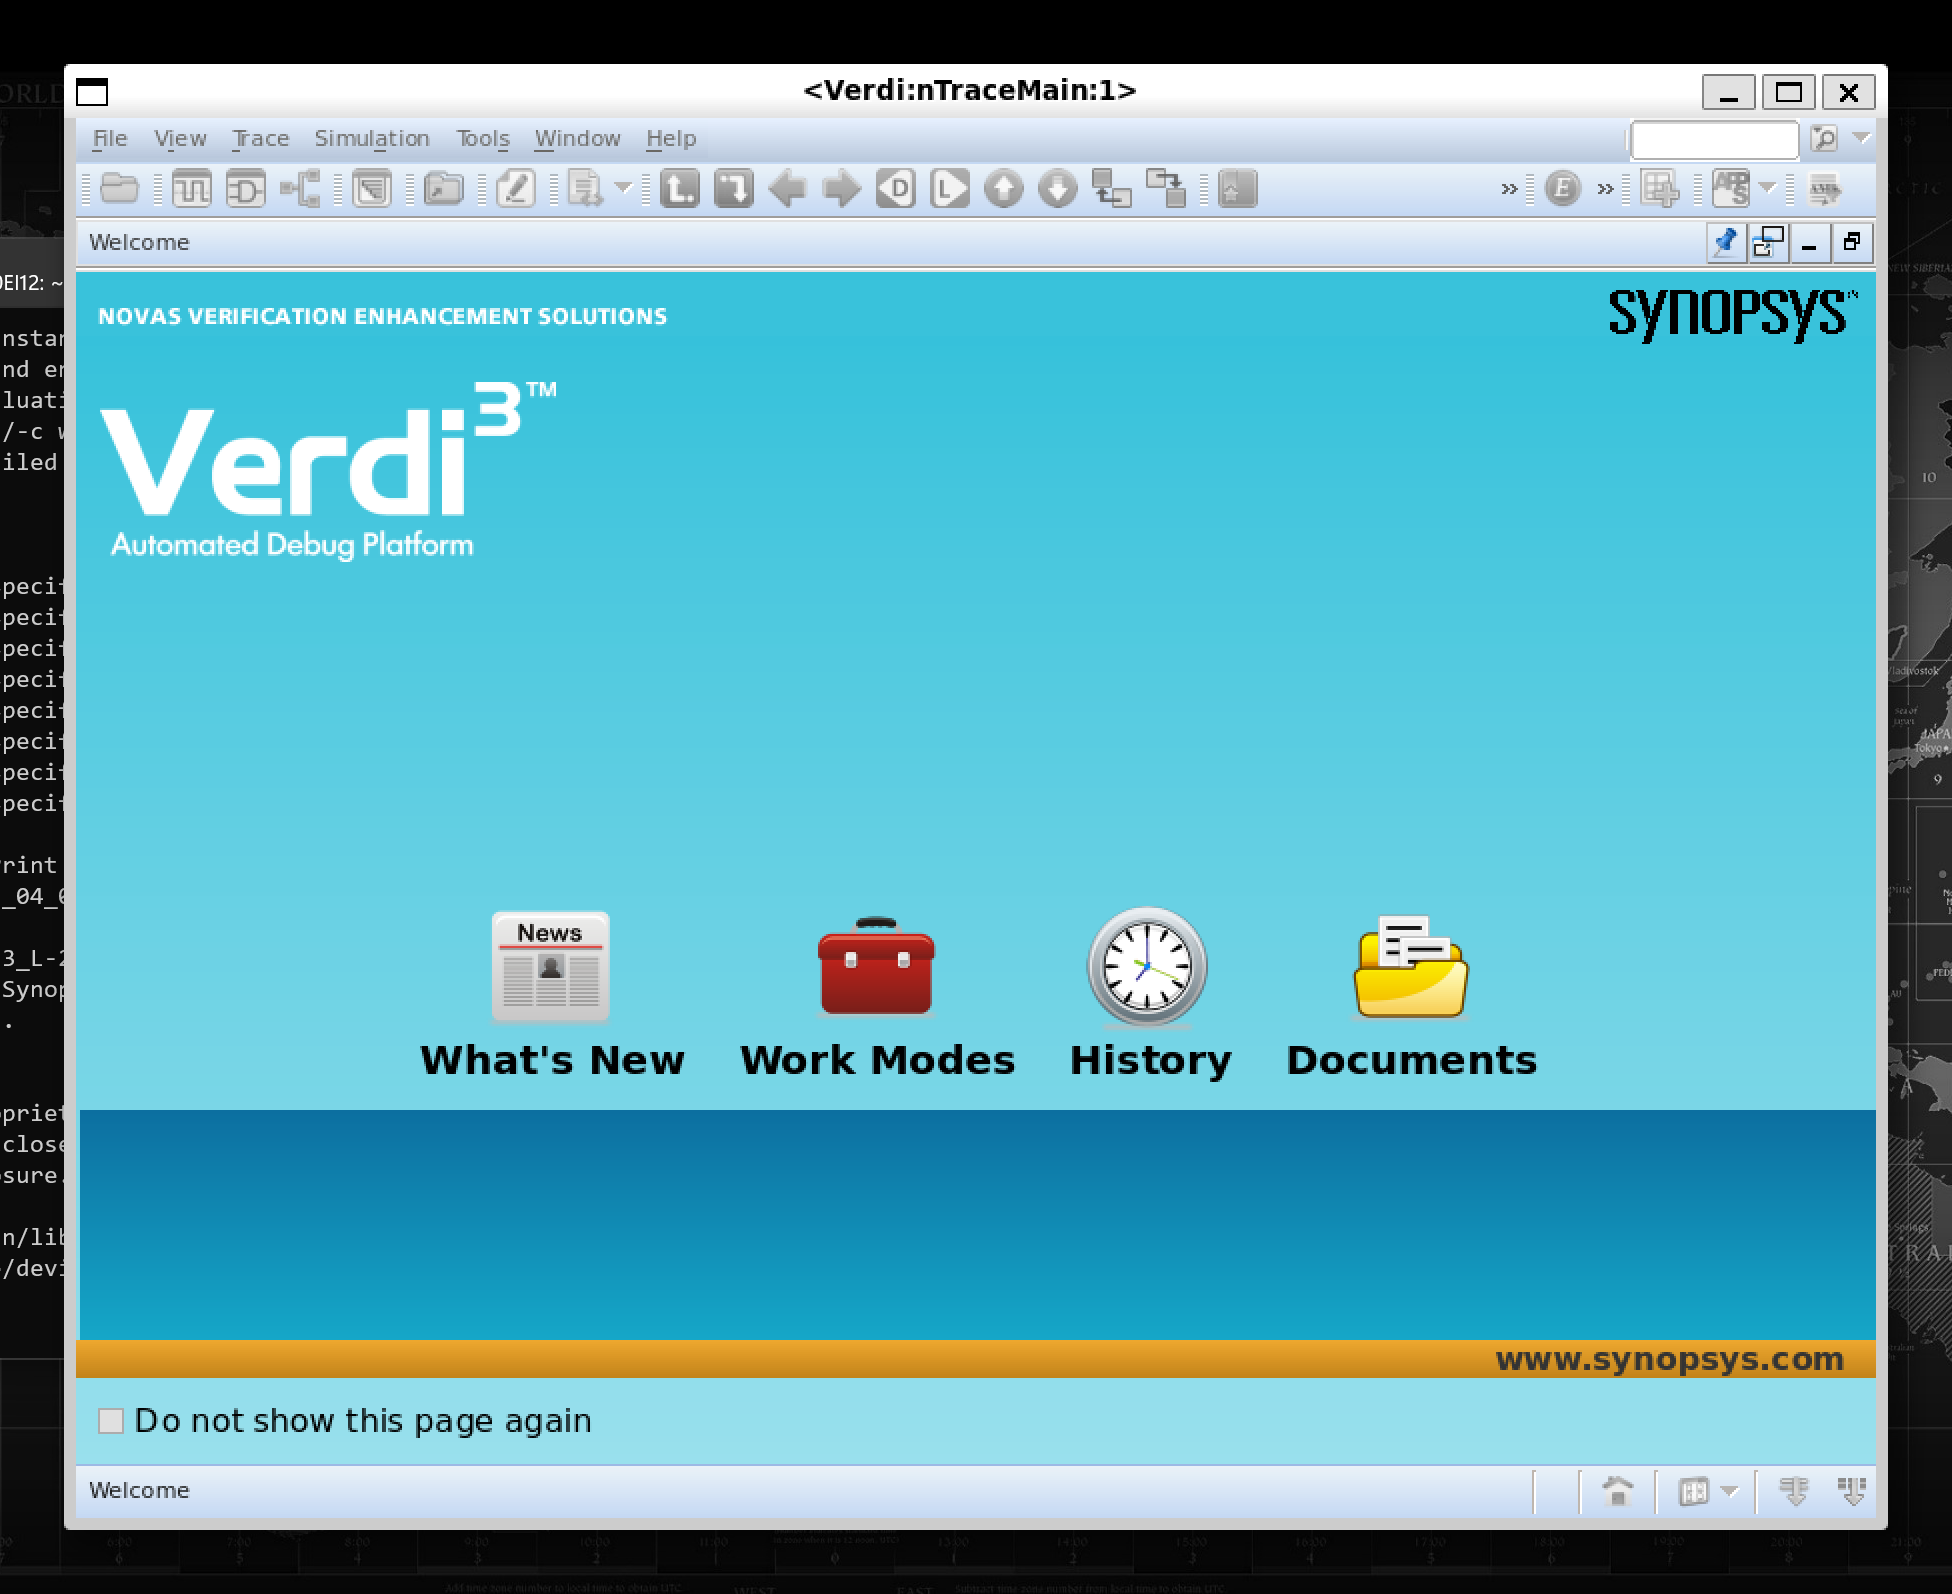
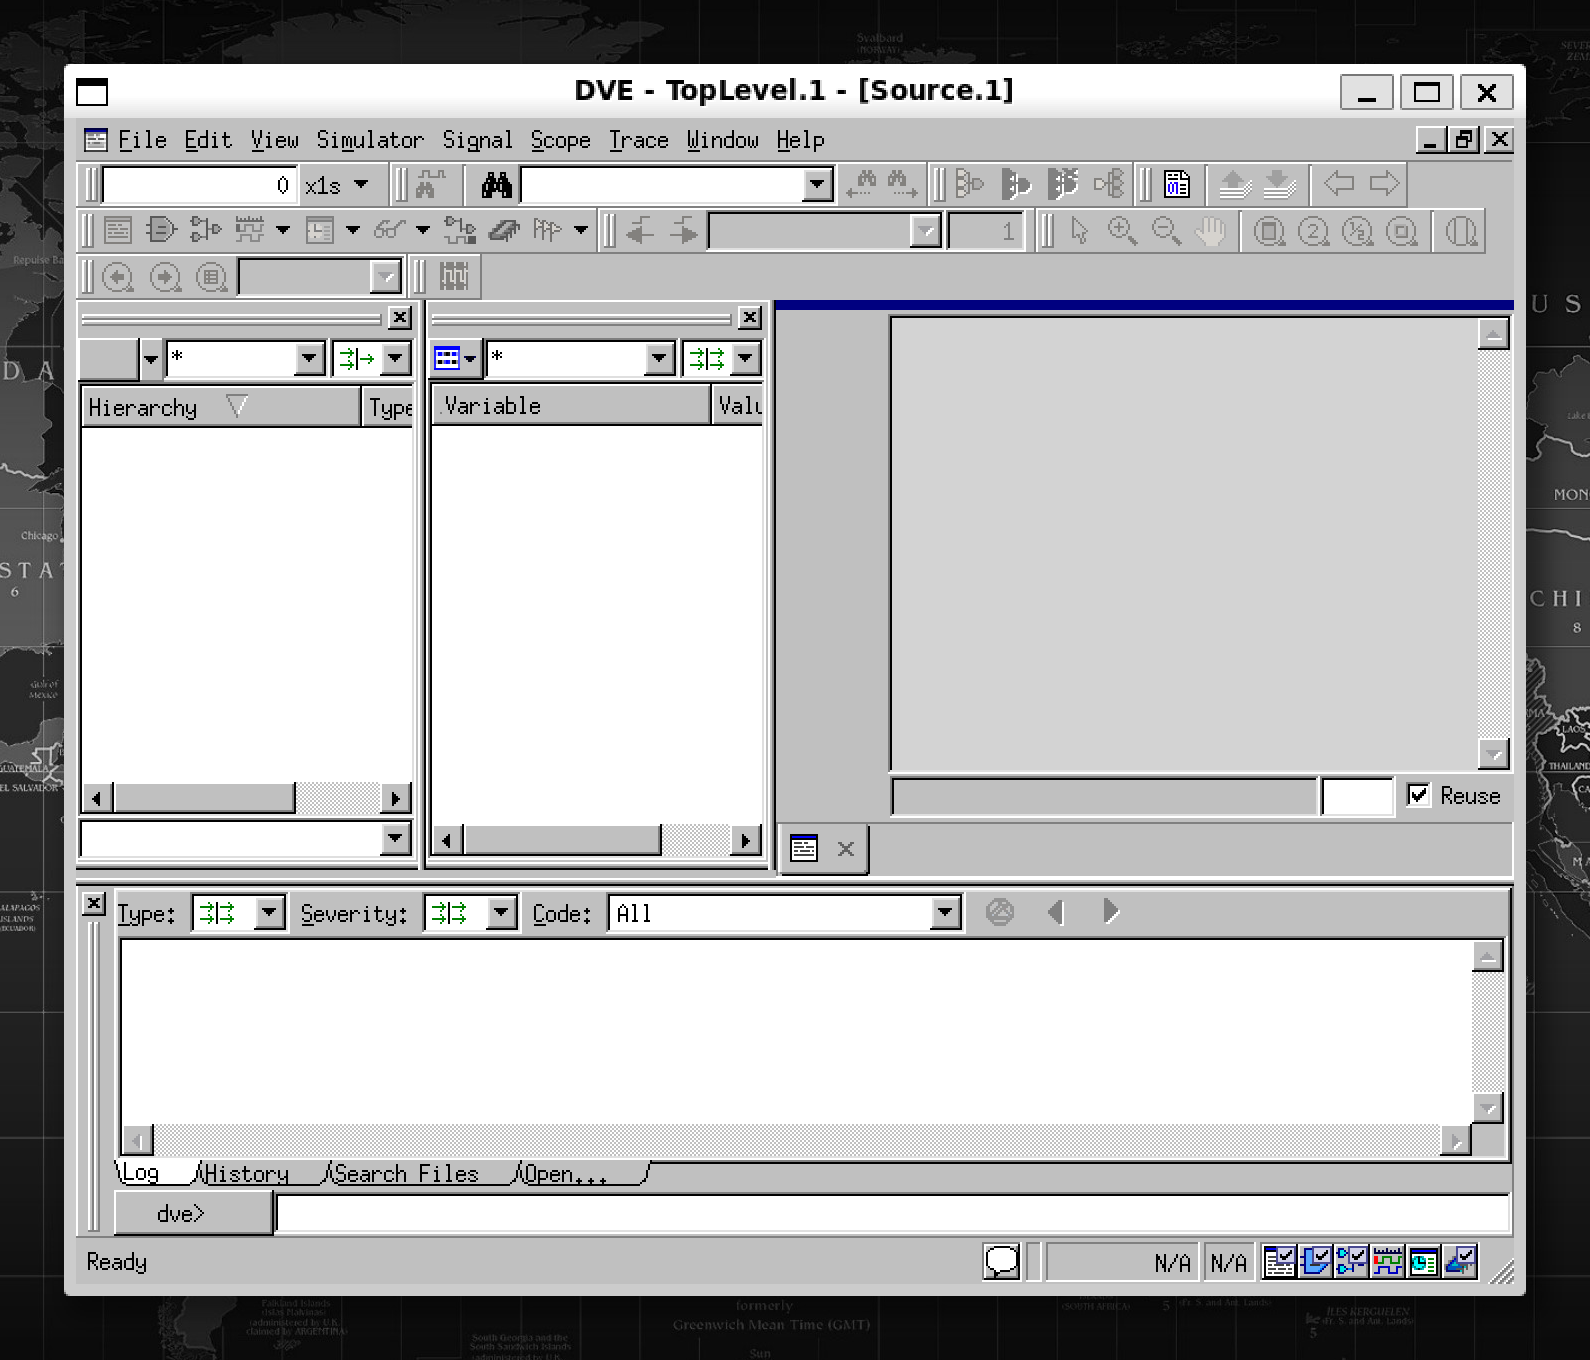
So we can use verdi now. So as DVE:

 浙公网安备 33010602011771号