aarch64架构CPU下Ubuntu系统环境源码编译pytorch-gpu-2.0.1版本
准备事项:
1. pytorch源码下载:
源码的官方地址:
https://github.com/pytorch/pytorch
但是这里我们不能简单的使用git clone命令下载,因为pytorch项目依赖着很多的其他项目的代码,而其他的项目往往又依赖着另外一些项目代码,因此这里我们需要使用下面命令进行下载源码操作:
git clone --recursive https://github.com/pytorch/pytorch
cd pytorch
# if you are updating an existing checkout
git submodule sync
git submodule update --init --recursive
2. aarch64架构CPU下Ubuntu系统:
由于本人编译这个pytorch是为了提供给国内的一些国产超算平台进行使用,所以需要使用aarch64架构下的ubuntu系统进行编译,但是平常的工作使用的电脑又都是x86的,为此我这里使用docker系统运行aarch64架构下的ubuntu系统,这里需要使用的就是x86系统架构下运行aarch64架构的docker镜像的使用方法,具体参考:
如何在X86_64系统上运行arm架构的docker容器——(异构/不同架构)CPU下的容器启动
3. 为aarch64架构下的容器安装NVIDIA的cuda和cudnn,这里需要注意的是因为是给aarch架构使用,因此需要下载sbsa版本的cuda和cudnn,具体操作不赘述。


4. 编译器的安装:
apt install cmake
apt install gcc
apt install g++
5. anaconda3的安装 (不具体介绍)
===============================================
具体编译:
--------------------------------------
指定GCC路径:
export CC=/usr/bin/gcc
指定nvcc路径:
export CMAKE_CUDA_COMPILER=/usr/local/cuda-11.4/bin/nvcc
安装anaconda3中编译的依赖环境:
conda install cmake ninja
# Run this command from the PyTorch directory after cloning the source code using the “Get the PyTorch Source“ section below
pip install -r requirements.txt
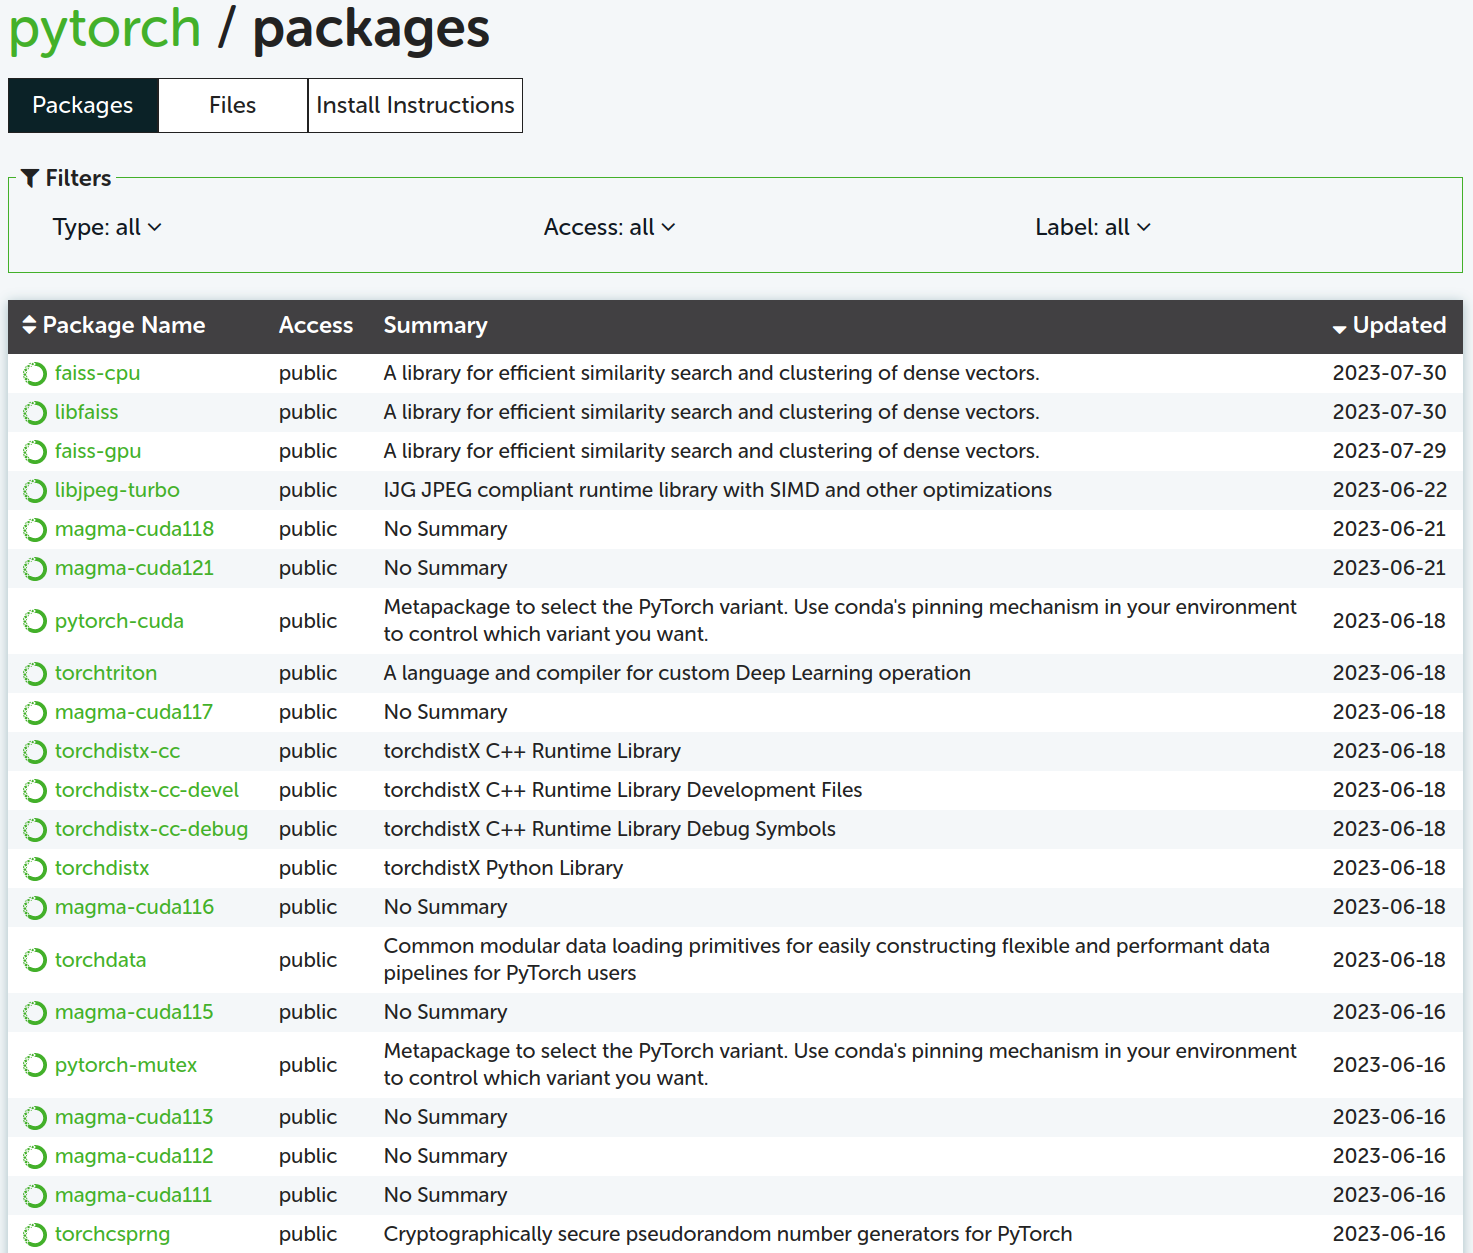
(性能加速组件,可选择性安装)(对应的版本是否存在需要参考:https://anaconda.org/pytorch/repo)
conda install mkl mkl-include
# CUDA only: Add LAPACK support for the GPU if needed
conda install -c pytorch magma-cuda110  # or the magma-cuda* that matches your CUDA version from https://anaconda.org/pytorch/repo

# (optional) If using torch.compile with inductor/triton, install the matching version of triton
# Run from the pytorch directory after cloning
make triton
编译:
export CMAKE_PREFIX_PATH=${CONDA_PREFIX:-"$(dirname $(which conda))/../"}
python setup.py develop
打包:
pip wheel .
===============================================
异常问题:
libstdc++.so.6: version `GLIBCXX_3.4.30’ not found
(在一个主机上编译后放在另一个主机上运行,由于编译时的C语言标准库高于安装时环境的C语言标准库版本,因此报错。最简单的操作就是将编译时的系统中的标准库copy过去到运行主机上,但是如果时间久远找不到但是编译的环境就需要再为运行环境单独安装标准库)
conda安装动态链接库:
conda install -c conda-forge libstdcxx-ng=13.1.0
由于网络等原因无法正常安装则可以选择离线安装:
conda的官方文件地址:
https://anaconda.org/conda-forge/libstdcxx-ng/files

下载后的文件:

这个.conda文件是个压缩包,需要安装的lib库就在里面,这时我们使用下面命令安装:
conda install --offline ./libstdcxx-ng-13.1.0-h452befe_0.conda
安装好新的标准库后需要将地址加入到系统路径下:
首先需要确定安装的位置,这里使用find命令去查找:
find ./anaconda3 -name libstdc++.so.6

如果是base环境下安装lib库一般路径在pkgs下面,但是在自创建的环境下新安装的lib库则是在新环境下,大致形式为:
export LD_LIBRARY_PATH=/path-to-your-conda/envs/your-env-name/lib:$LD_LIBRARY_PATH
在上面的例子中,base环境下的新lib库在pkgs文件夹下,因此操作为:
export LD_LIBRARY_PATH=/root/anaconda3/pkgs/libstdcxx-ng-13.1.0-h452befe_0/lib/libstdc++.so.6:$LD_LIBRARY_PATH
查看新的lib库是否支持:
strings /root/anaconda3/pkgs/libstdcxx-ng-13.1.0-h452befe_0/lib/libstdc++.so.6 | grep GLIBCXX_3.4.30

===============================================
参考:
如何在X86_64系统上运行arm架构的docker容器——(异构/不同架构)CPU下的容器启动
pytorch频道的可安装组件:
https://anaconda.org/pytorch/repo

posted on 2023-07-29 09:55 Angry_Panda 阅读(1123) 评论(0) 编辑 收藏 举报


