几个动画demo
一、点击扩散效果
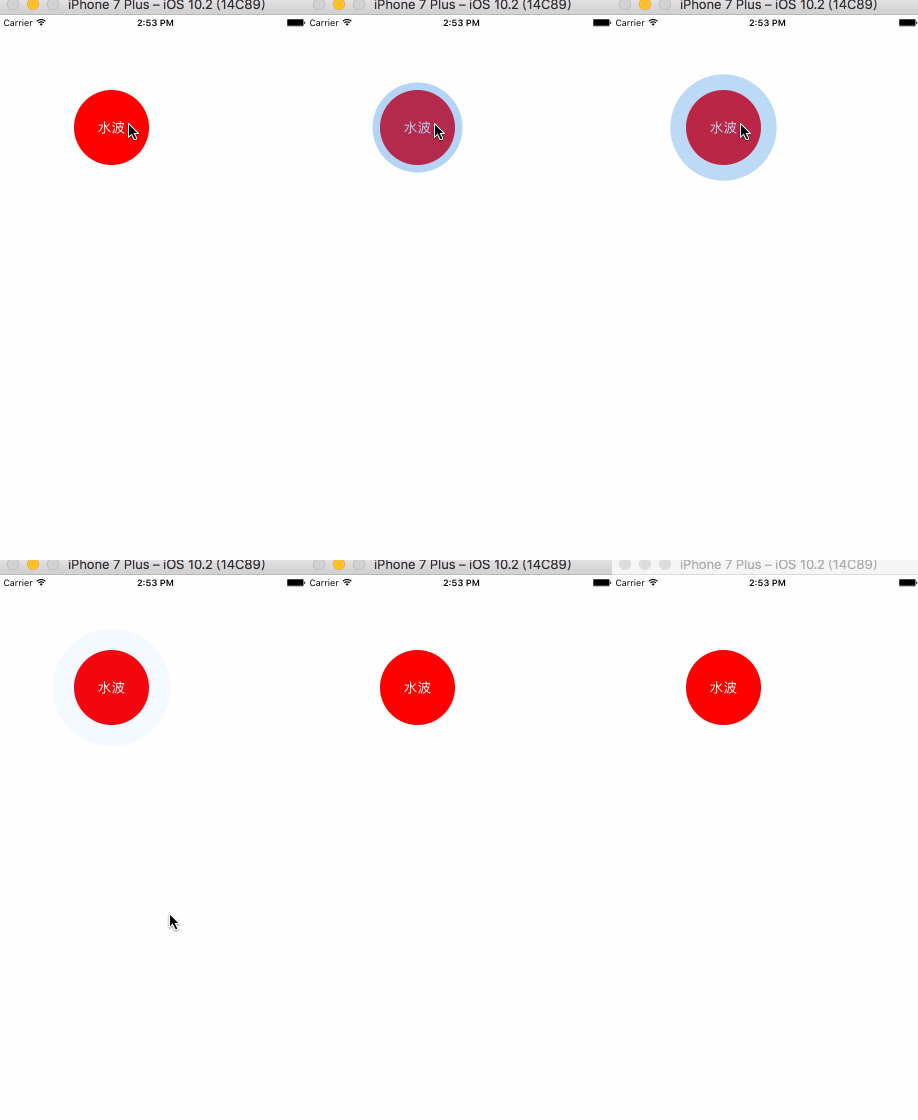
这个效果没什么难度,主要是加深对核心动画的理解和使用,但是还是有几个想说明的地方。先看一下效果,具体内容代码里有注释。

1 2 3 4 5 6 7 8 9 10 11 12 13 14 15 16 17 18 19 20 21 22 23 24 25 26 27 28 29 30 31 32 33 34 35 36 37 38 39 40 41 42 43 44 45 46 47 48 49 50 51 52 53 54 55 56 57 58 59 60 61 62 63 64 65 66 67 68 69 70 71 72 73 74 75 76 77 78 79 80 81 82 83 84 | //// CircleButton.m// UITest//// Created by 邓竹立 on 16/11/14.// Copyright © 2016年 GiveMeFive. All rights reserved.//#import "CircleButton.h"#import "UIColor_Hex_Extension.h"@interface CircleButton ()<CAAnimationDelegate>@property(nonatomic,weak)CALayer *animationLayer;@end@implementation CircleButton-(instancetype)initWithFrame:(CGRect)frame{ if (self = [super initWithFrame:frame]) { //即使做了UIControlEventTouchDown 事件,依旧可以响应UIControlEventTouchUpInside 无需担心 [self addTarget:self action:@selector(tapDown) forControlEvents:UIControlEventTouchDown]; } return self;}-(void)tapDown{ [self.animationLayer removeFromSuperlayer]; CALayer *layer = [CALayer layer]; self.animationLayer = layer; layer.frame = self.bounds; layer.cornerRadius = MIN(self.bounds.size.width/2, self.bounds.size.height/2); layer.backgroundColor = [UIColor colorWithHex:0x2381e5].CGColor; layer.masksToBounds = YES; [self.layer addSublayer:layer]; //添加核心动画 (pop 其实也很好用) CABasicAnimation *transformAnimation = [CABasicAnimation animationWithKeyPath:@"transform.scale"]; transformAnimation.fromValue = @1; transformAnimation.toValue = @1.6; transformAnimation.duration = 0.5; //注意使用opacity,不要用alpha CAKeyframeAnimation *alphaAnimation = [CAKeyframeAnimation animationWithKeyPath:@"opacity"]; alphaAnimation.values = @[@0,@.5,@0]; alphaAnimation.duration = 0.5; alphaAnimation.removedOnCompletion = NO; CAAnimationGroup *groupAnimation = [CAAnimationGroup animation]; groupAnimation.animations = @[alphaAnimation,transformAnimation]; groupAnimation.duration = 0.5; groupAnimation.repeatCount = 1; //项目中我一般不会这么做,我会采用关闭隐式动画的方式解决动画回归的问题,这种方式是偷懒的方式,因为真实的layer 并没有在你看到的地方 , 你所看到的是 layer.presentationLayer groupAnimation.removedOnCompletion = NO; groupAnimation.fillMode = kCAFillModeForwards; groupAnimation.timingFunction = [CAMediaTimingFunction functionWithName:kCAMediaTimingFunctionEaseOut]; /**注意:**/ //个人认为,下两行最危险。 因为addAnimation:会对groupAnimation做一次copy,如果你addAnimation后再对groupAnimation做任何修改是不起作用的 groupAnimation.delegate = self; [layer addAnimation:groupAnimation forKey:@"circle"]; self.userInteractionEnabled = NO; __weak typeof(self) weakSelf = self; dispatch_after(dispatch_time(DISPATCH_TIME_NOW, (int64_t)(0.5 * NSEC_PER_SEC)), dispatch_get_main_queue(), ^{ weakSelf.userInteractionEnabled = YES; });}-(void)animationDidStop:(CAAnimation *)anim finished:(BOOL)flag{ [self.animationLayer removeFromSuperlayer]; }@end |
二、图片轮播
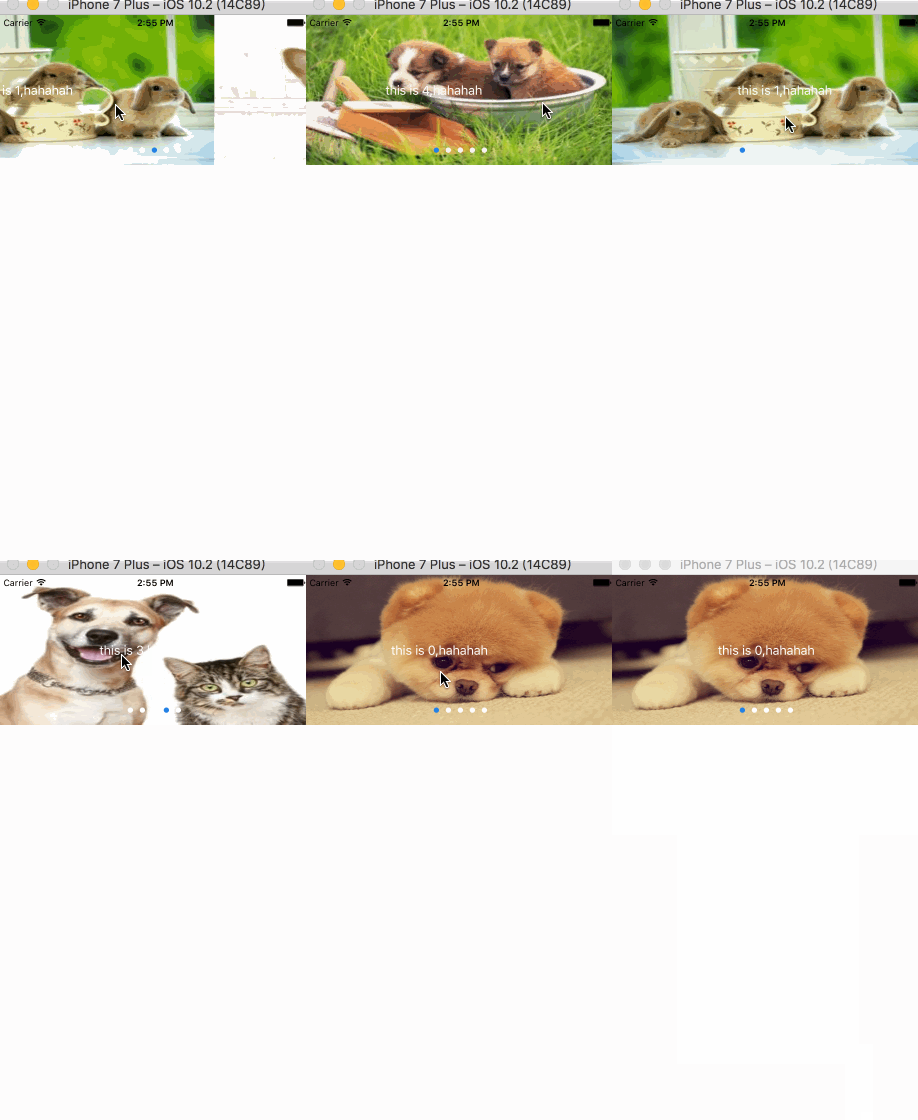
图片轮播已经老生常谈了,我在一个APP上看到这个效果还不错就试着写了下。代码没什么,主要是逻辑上的处理。

1 2 3 4 5 6 7 8 9 10 11 12 13 14 15 16 17 18 19 20 21 22 23 24 25 26 27 28 29 30 31 32 33 34 35 36 37 38 39 40 41 42 43 44 45 46 47 48 49 50 51 52 53 54 55 56 57 58 59 60 61 62 63 64 65 66 67 68 69 70 71 72 73 74 75 76 77 78 79 80 81 82 83 84 85 86 87 88 89 90 91 92 93 94 95 96 97 98 99 100 101 102 103 104 105 106 107 108 109 110 111 112 113 114 115 116 117 118 119 120 121 122 123 124 125 126 127 128 129 130 131 132 133 134 135 136 137 138 139 140 141 142 143 144 145 146 147 148 149 150 151 152 153 154 155 156 157 158 159 160 161 162 163 164 165 166 167 168 169 170 171 172 173 174 175 176 177 178 179 180 181 182 183 184 185 186 187 188 189 190 191 192 193 194 195 196 197 198 199 200 201 202 203 204 205 206 207 208 209 210 211 212 213 214 215 216 217 218 219 220 221 222 223 224 225 226 227 228 229 230 231 232 233 234 235 236 237 238 239 240 241 242 243 | //// AnimationCycleScrollView.m// UITest//// Created by 邓竹立 on 16/11/14.// Copyright © 2016年 GiveMeFive. All rights reserved.//#import "AnimationCycleScrollView.h"#import "UIColor_Hex_Extension.h"@interface AnimationCycleScrollView ()<UIScrollViewDelegate,UIGestureRecognizerDelegate>@property(nonatomic,weak)UIScrollView *backScrollView;@property(nonatomic,weak)UIScrollView *frontScrollView;@property(nonatomic,weak)UIView *panView;@property(nonatomic,weak)UIPageControl *pageControl;@property(nonatomic,assign)CGPoint startPoint;@property(nonatomic,strong)NSArray *images;@property(nonatomic,strong)NSArray* titleViews;@end@implementation AnimationCycleScrollView-(instancetype)initWithFrame:(CGRect)frame images:(NSArray *)images titleViews:(NSArray *)titleViews{ if (self = [super initWithFrame:frame]) { self.titleViews = titleViews; self.images = images; // 底层显示图片的scrollView UIScrollView *backScrollView = [[UIScrollView alloc] initWithFrame:CGRectMake(0, 0, frame.size.width, frame.size.height)]; [self addSubview:backScrollView]; self.backScrollView = backScrollView; backScrollView.pagingEnabled = YES; backScrollView.contentSize = CGSizeMake((images.count+2)*frame.size.width, 0); backScrollView.showsVerticalScrollIndicator = NO; backScrollView.showsHorizontalScrollIndicator = NO; backScrollView.delegate = self; //顶层显示文字的scrollView UIScrollView *frontScrollView = [[UIScrollView alloc] init]; frontScrollView.frame = backScrollView.frame; frontScrollView.delegate = self; frontScrollView.pagingEnabled = YES; frontScrollView.contentSize = CGSizeMake((titleViews.count+2)*frame.size.width, 0); frontScrollView.showsHorizontalScrollIndicator = NO; frontScrollView.showsVerticalScrollIndicator = NO; [self addSubview:frontScrollView]; self.frontScrollView = frontScrollView; //手势view UIView *panView = [[UIView alloc] initWithFrame:CGRectMake(0, 0, frame.size.width, frame.size.height)]; panView.backgroundColor = [UIColor clearColor]; [self addSubview:panView]; UIPanGestureRecognizer *pan = [[UIPanGestureRecognizer alloc] initWithTarget:self action:@selector(pan:)]; [panView addGestureRecognizer:pan]; self.panView = panView; UIPageControl *pageControl = [[UIPageControl alloc] initWithFrame:CGRectMake(0, frame.size.height - 30, frame.size.width, 20)]; self.pageControl = pageControl; pageControl.numberOfPages = images.count; pageControl.pageIndicatorTintColor = [UIColor whiteColor]; pageControl.currentPageIndicatorTintColor = [UIColor colorWithHex:0x2381e5]; pageControl.hidesForSinglePage = YES; pageControl.userInteractionEnabled = NO; [self addSubview:pageControl]; for (int i = 0; i<images.count; i++) { UIImage *image = images[i]; UIImageView *imageView = [[UIImageView alloc] init]; imageView.image = image; imageView.frame = CGRectMake((i+1)*backScrollView.frame.size.width, 0, backScrollView.frame.size.width, backScrollView.frame.size.height); [backScrollView addSubview:imageView]; } UIImageView *imageView = [[UIImageView alloc] init]; imageView.image = [images lastObject]; imageView.frame = CGRectMake(0, 0, backScrollView.frame.size.width, backScrollView.frame.size.height); [backScrollView addSubview:imageView]; imageView = [[UIImageView alloc] init]; imageView.image = [images firstObject]; imageView.frame = CGRectMake(backScrollView.frame.size.width*(images.count+1), 0, backScrollView.frame.size.width, backScrollView.frame.size.height); [backScrollView addSubview:imageView]; for (int i = 0; i<titleViews.count; i++) { UIView *view = titleViews[i]; [frontScrollView addSubview:view]; view.frame = CGRectMake((i+1)*frontScrollView.frame.size.width, 0, frontScrollView.frame.size.width, frontScrollView.frame.size.height); } UIView *view = [titleViews lastObject]; NSData *data = [NSKeyedArchiver archivedDataWithRootObject:view]; view = [NSKeyedUnarchiver unarchiveObjectWithData:data]; view.frame = CGRectMake(0, 0, frontScrollView.frame.size.width, frontScrollView.frame.size.height); [frontScrollView addSubview:view]; view = [titleViews firstObject] ; data = [NSKeyedArchiver archivedDataWithRootObject:view]; view = [NSKeyedUnarchiver unarchiveObjectWithData:data]; view.frame = CGRectMake((titleViews.count+1)*frontScrollView.frame.size.width, 0, frontScrollView.frame.size.width, frontScrollView.frame.size.height); [frontScrollView addSubview:view]; frontScrollView.userInteractionEnabled = NO; backScrollView.userInteractionEnabled = NO; frontScrollView.contentOffset = CGPointMake(frontScrollView.frame.size.width, 0); backScrollView.contentOffset = CGPointMake(backScrollView.frame.size.width, 0); } return self;}-(void)pan:(UIPanGestureRecognizer*)ges{ switch (ges.state) { case UIGestureRecognizerStateBegan:{ self.startPoint = [ges locationInView:ges.view]; } break; case UIGestureRecognizerStateEnded:{ CGPoint endPoint = [ges locationInView:ges.view]; [self dealWithEndPoint:endPoint]; } break; case UIGestureRecognizerStateFailed:{ CGPoint endPoint = [ges locationInView:ges.view]; [self dealWithEndPoint:endPoint]; } break; case UIGestureRecognizerStateCancelled:{ CGPoint endPoint = [ges locationInView:ges.view]; [self dealWithEndPoint:endPoint]; } break; default: break; }}-(void)dealWithEndPoint:(CGPoint)endPoint{ __weak typeof(self) weakSelf = self; if (endPoint.x < self.startPoint.x) { //不是最后一个 if (self.frontScrollView.contentOffset.x <= self.frontScrollView.frame.size.width*(_titleViews.count - 1)) { [UIView animateKeyframesWithDuration:0.7 delay:0 options:UIViewKeyframeAnimationOptionCalculationModeCubicPaced animations:^{ weakSelf.frontScrollView.contentOffset = CGPointMake(weakSelf.frontScrollView.contentOffset.x + weakSelf.frontScrollView.frame.size.width, 0); } completion:^(BOOL finished) { weakSelf.pageControl.currentPage = self.frontScrollView.contentOffset.x/self.frontScrollView.frame.size.width -1; }]; [UIView animateKeyframesWithDuration:0.3 delay:0.2 options:UIViewKeyframeAnimationOptionCalculationModeDiscrete animations:^{ weakSelf.backScrollView.contentOffset = CGPointMake(weakSelf.backScrollView.contentOffset.x + weakSelf.backScrollView.frame.size.width, 0); } completion:nil]; }else{ [UIView animateKeyframesWithDuration:0.7 delay:0 options:UIViewKeyframeAnimationOptionCalculationModeCubicPaced animations:^{ weakSelf.frontScrollView.contentOffset = CGPointMake((weakSelf.titleViews.count+1)*weakSelf.frontScrollView.frame.size.width, 0); } completion:^(BOOL finished) { weakSelf.frontScrollView.contentOffset = CGPointMake(weakSelf.frontScrollView.frame.size.width, 0); weakSelf.pageControl.currentPage = 0 ; }]; [UIView animateKeyframesWithDuration:0.3 delay:0.2 options:UIViewKeyframeAnimationOptionCalculationModeDiscrete animations:^{ weakSelf.backScrollView.contentOffset = CGPointMake(weakSelf.backScrollView.frame.size.width*(_titleViews.count+1), 0); } completion:^(BOOL finished) { weakSelf.backScrollView.contentOffset = CGPointMake(weakSelf.backScrollView.frame.size.width, 0); }]; } }else if (endPoint.x > self.startPoint.x){ if (self.frontScrollView.contentOffset.x > self.frontScrollView.frame.size.width) { [UIView animateKeyframesWithDuration:0.7 delay:0 options:UIViewKeyframeAnimationOptionCalculationModeCubicPaced animations:^{ weakSelf.frontScrollView.contentOffset = CGPointMake(weakSelf.frontScrollView.contentOffset.x - weakSelf.frontScrollView.frame.size.width, 0); }completion:^(BOOL finished) { weakSelf.pageControl.currentPage = weakSelf.frontScrollView.contentOffset.x/weakSelf.frontScrollView.frame.size.width -1 ; }]; [UIView animateKeyframesWithDuration:0.3 delay:0.2 options:UIViewKeyframeAnimationOptionCalculationModeDiscrete animations:^{ weakSelf.backScrollView.contentOffset = CGPointMake(weakSelf.backScrollView.contentOffset.x - weakSelf.backScrollView.frame.size.width, 0); }completion:nil]; }else{ [UIView animateKeyframesWithDuration:0.7 delay:0 options:UIViewKeyframeAnimationOptionCalculationModeCubicPaced animations:^{ weakSelf.frontScrollView.contentOffset = CGPointMake(0, 0); }completion:^(BOOL finished) { weakSelf.frontScrollView.contentOffset = CGPointMake(weakSelf.frontScrollView.frame.size.width*(_titleViews.count), 0); weakSelf.pageControl.currentPage = _titleViews.count - 1; }]; [UIView animateKeyframesWithDuration:0.3 delay:0.2 options:UIViewKeyframeAnimationOptionCalculationModeDiscrete animations:^{ weakSelf.backScrollView.contentOffset = CGPointMake(0, 0); }completion:^(BOOL finished) { weakSelf.backScrollView.contentOffset = CGPointMake(weakSelf.backScrollView.frame.size.width*(_images.count), 0); }]; } }}@end |
三、毛毛虫效果
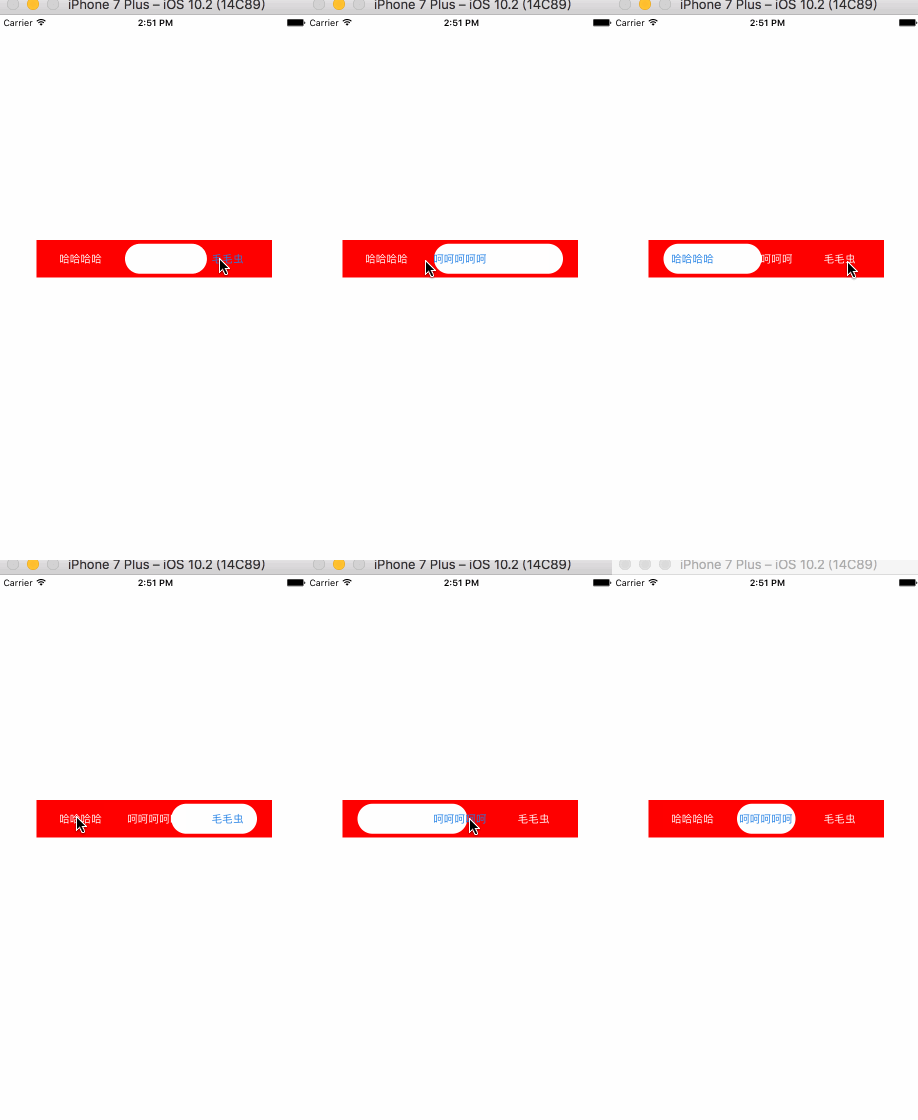
这个也是在那个APP上看到的,不得不佩服国外的APP 交互就是比较新颖。国内的APP交互效果基本都千篇一律。

1 2 3 4 5 6 7 8 9 10 11 12 13 14 15 16 17 18 19 20 21 22 23 24 25 26 27 28 29 30 31 32 33 34 35 36 37 38 39 40 41 42 43 44 45 46 47 48 49 50 51 52 53 54 55 56 57 58 59 60 61 62 63 64 65 66 67 68 69 70 71 72 73 74 75 76 77 78 79 80 81 82 83 84 85 86 87 88 89 90 91 92 93 94 95 96 97 98 99 100 101 102 | //// SectionSelectView.m// UITest//// Created by 邓竹立 on 16/11/14.// Copyright © 2016年 GiveMeFive. All rights reserved.//#import "SectionSelectView.h"#import "UIColor_Hex_Extension.h"@interface SectionSelectView ()@property(nonatomic,assign)NSInteger currentIndex;@property(nonatomic,weak)UIView *backView;@end@implementation SectionSelectView-(instancetype)initWithFrame:(CGRect)frame titles:(NSArray *)titles icons:(NSArray *)icons currentIndex:(NSInteger)index{ if (self = [super initWithFrame:frame]) { self.currentIndex = index; CGFloat margin = 20; CGFloat w = (frame.size.width - (titles.count+1)*margin)/titles.count; CGFloat h = 40; UIView * backView = [[UIView alloc] init]; backView.backgroundColor = [UIColor whiteColor]; backView.layer.cornerRadius = 20; backView.clipsToBounds = YES; [self addSubview:backView]; self.backView = backView; for (int i = 0; i<titles.count; i++) { NSString *title = titles[i]; NSString *imageName = icons[i]; UIButton *button = [UIButton buttonWithType:UIButtonTypeCustom]; [button setTitle:title forState:UIControlStateNormal]; [self addSubview:button]; button.frame = CGRectMake(margin+i*(margin+w), (frame.size.height - h)/2, w, h); [button setImage:[UIImage imageNamed:imageName] forState:UIControlStateNormal]; button.titleLabel.font = [UIFont systemFontOfSize:14]; [button setTitleColor:[UIColor whiteColor] forState:UIControlStateNormal]; if (index == i) { backView.frame = button.frame; [button setTitleColor:[UIColor colorWithHex:0x2381e5] forState:UIControlStateNormal]; } button.tag = 1000+i; [button addTarget:self action:@selector(didClickType:) forControlEvents:UIControlEventTouchUpInside]; } } return self;}-(void)didClickType:(UIButton *)sender{ if (sender.tag - 1000 == self.currentIndex) { return; } NSInteger index = sender.tag - 1000; UIButton *currentButton = [self viewWithTag:1000+self.currentIndex]; __weak typeof(self) weakSelf = self; if (index > self.currentIndex) { [UIView animateWithDuration:0.5 animations:^{ weakSelf.backView.frame = CGRectMake(currentButton.frame.origin.x, currentButton.frame.origin.y,sender.frame.origin.x+sender.frame.size.width - currentButton.frame.origin.x , sender.frame.size.height); [currentButton setTitleColor:[UIColor whiteColor] forState:UIControlStateNormal]; [sender setTitleColor:[UIColor colorWithHex:0x2381e5] forState:UIControlStateNormal]; }completion:^(BOOL finished) { [UIView animateWithDuration:0.5 animations:^{ weakSelf.backView.frame = sender.frame; }]; }]; }else{ [UIView animateWithDuration:0.5 animations:^{ weakSelf.backView.frame = CGRectMake(sender.frame.origin.x, sender.frame.origin.y, currentButton.frame.origin.x+currentButton.frame.size.width - sender.frame.origin.x, sender.frame.size.height); [currentButton setTitleColor:[UIColor whiteColor] forState:UIControlStateNormal]; [sender setTitleColor:[UIColor colorWithHex:0x2381e5] forState:UIControlStateNormal]; }completion:^(BOOL finished) { [UIView animateWithDuration:0.5 animations:^{ weakSelf.backView.frame = sender.frame; }]; }]; } self.currentIndex = sender.tag - 1000;}@end |
四、任意view 的扩散效果
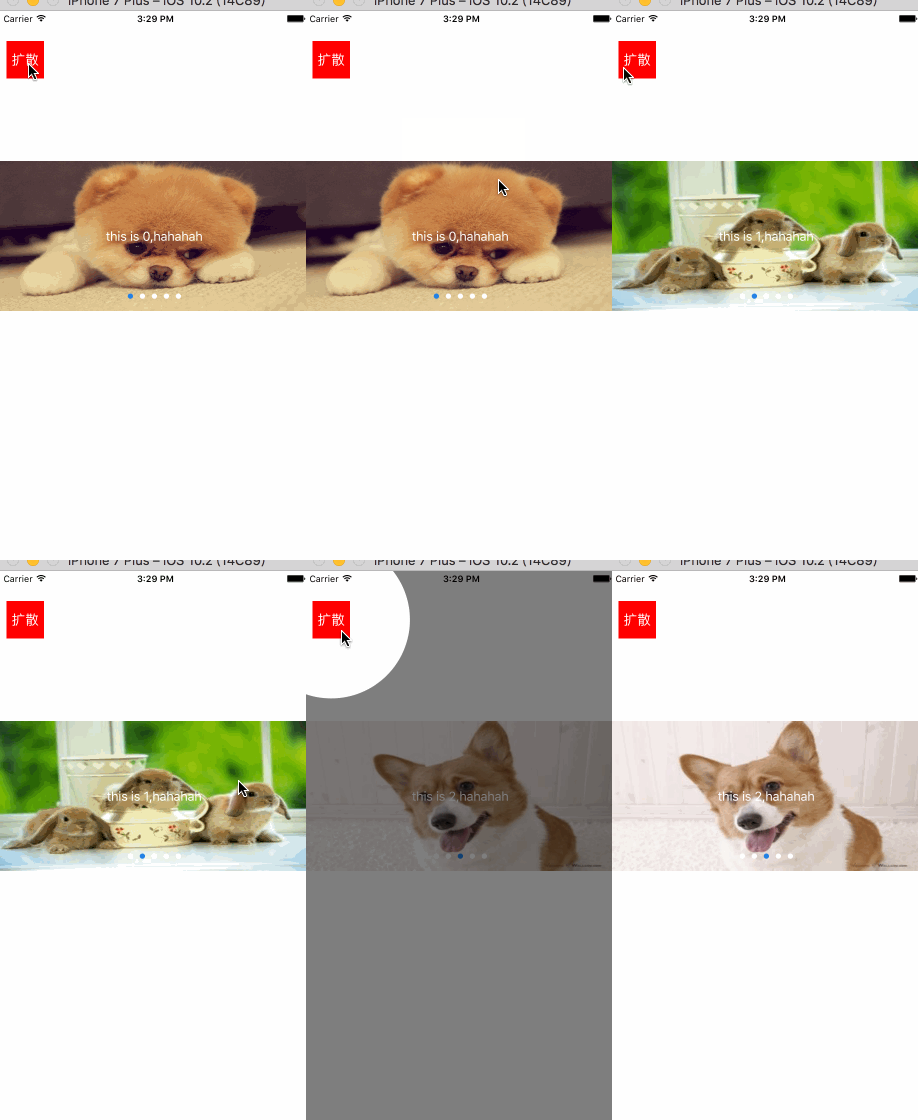
个人认为这个效果不好看,原APP 中这个使用这种扩散(或收缩)来介绍某个功能的按钮。

1 2 3 4 5 6 7 8 9 10 11 12 13 14 15 16 17 18 19 20 21 22 23 24 25 26 27 28 29 30 31 32 33 34 35 36 37 38 39 40 41 42 43 44 45 46 47 48 49 50 51 52 53 54 55 56 57 58 59 60 61 62 63 64 65 66 67 68 69 70 71 72 73 74 75 76 77 78 79 80 81 82 83 84 85 86 87 88 89 90 91 92 93 | //// UIView+CircleAlert.m// UITest//// Created by 邓竹立 on 16/11/15.// Copyright © 2016年 GiveMeFive. All rights reserved.//#import "UIView+CircleAlert.h"//#import <objc/runtime.h>@implementation UIView (CircleAlert)-(void)showCircleAlert{ UIWindow *keyWindow = nil; for (UIWindow *window in [UIApplication sharedApplication].windows) { if (window.rootViewController) { keyWindow = window; break; } } //截屏(我试过直接只用背景视图的Layer,但是对button 这类的View 不可用,打印发现,button.titleLabel 看不到) /* (lldb) po sender.layer <CALayer:0x6080000326c0; position = CGPoint (35 65); bounds = CGRect (0 0; 50 50); delegate = <UIButton: 0x7fc4c3f0d580; frame = (10 40; 50 50); opaque = NO; layer = <CALayer: 0x6080000326c0>>; sublayers = (<_UILabelLayer: 0x60000008c1c0>); allowsGroupOpacity = YES; backgroundColor = <CGColor 0x6080000adf20> [<CGColorSpace 0x6080000328a0> (kCGColorSpaceICCBased; kCGColorSpaceModelRGB; sRGB IEC61966-2.1; extended range)] ( 1 0 0 1 )> NSData *data = [NSKeyedArchiver archivedDataWithRootObject:sender.layer]; CALayer *layer = [NSKeyedUnarchiver unarchiveObjectWithData:data]; (lldb) po layer <CALayer:0x60000022b600; position = CGPoint (35 65); bounds = CGRect (0 0; 50 50); sublayers = (<_UILabelLayer: 0x60000008a000>); allowsGroupOpacity = YES; backgroundColor = <CGColor 0x6000000af120> [<CGColorSpace 0x60800002a660> (kCGColorSpaceICCBased; kCGColorSpaceModelRGB; sRGB IEC61966-2.1)] ( 1 0 0 1 )> */ UIImageView *imageView = [[UIImageView alloc] init]; imageView.frame = keyWindow.bounds; imageView.image = [self shootScreenWithView:keyWindow]; //在真实的view 上盖一个半透明黑色layer; CALayer *blackLayer = [CALayer layer]; blackLayer.backgroundColor = [UIColor colorWithRed:0 green:0 blue:0 alpha:0.5].CGColor; blackLayer.frame = keyWindow.layer.bounds; [keyWindow.layer addSublayer:blackLayer]; //把导出的盖在真实的View 上; [keyWindow addSubview:imageView]; //生成一个path 为圆的图层 作为Layer 的mask CAShapeLayer *shapeLayer = [CAShapeLayer layer]; UIBezierPath *path = [UIBezierPath bezierPathWithArcCenter:self.center radius:sqrt(pow(self.bounds.size.width, 2)+pow(self.bounds.size.height, 2))/2 startAngle:0 endAngle:2*M_PI clockwise:YES]; shapeLayer.path = path.CGPath; imageView.layer.mask = shapeLayer; //圆图层做放大动画 CGSize size = [UIScreen mainScreen].bounds.size; CGFloat maxR = sqrt(pow(size.width, 2)+pow(size.height, 2)); //添加动画 CABasicAnimation *animation = [CABasicAnimation animationWithKeyPath:@"path"]; animation.fromValue = (__bridge id _Nullable)(path.CGPath); animation.toValue = (__bridge id _Nullable)([UIBezierPath bezierPathWithArcCenter:self.center radius:maxR startAngle:0 endAngle:2*M_PI clockwise:YES].CGPath); animation.duration = 1; animation.fillMode = kCAFillModeForwards; animation.removedOnCompletion = NO; [shapeLayer addAnimation:animation forKey:@"path"]; //动画完成 移除layer 和 view dispatch_after(dispatch_time(DISPATCH_TIME_NOW, (int64_t)(0.5 * NSEC_PER_SEC)), dispatch_get_main_queue(), ^{ [imageView removeFromSuperview]; [blackLayer removeFromSuperlayer]; });}//截屏-(UIImage *)shootScreenWithView:(UIView*)view{ UIGraphicsBeginImageContextWithOptions(view.bounds.size, NO, 0.0); CGContextRef ctx=UIGraphicsGetCurrentContext(); [view.layer renderInContext: ctx]; UIImage *image=UIGraphicsGetImageFromCurrentImageContext(); UIGraphicsEndImageContext(); return image;}@end |
代码写的比较暴力粗糙,如果有什么错误纰漏之处请联系我,QQ:395565391


【推荐】编程新体验,更懂你的AI,立即体验豆包MarsCode编程助手
【推荐】凌霞软件回馈社区,博客园 & 1Panel & Halo 联合会员上线
【推荐】抖音旗下AI助手豆包,你的智能百科全书,全免费不限次数
【推荐】博客园社区专享云产品让利特惠,阿里云新客6.5折上折
【推荐】轻量又高性能的 SSH 工具 IShell:AI 加持,快人一步
· Java 中堆内存和栈内存上的数据分布和特点
· 开发中对象命名的一点思考
· .NET Core内存结构体系(Windows环境)底层原理浅谈
· C# 深度学习:对抗生成网络(GAN)训练头像生成模型
· .NET 适配 HarmonyOS 进展
· 本地部署 DeepSeek:小白也能轻松搞定!
· 如何给本地部署的DeepSeek投喂数据,让他更懂你
· 从 Windows Forms 到微服务的经验教训
· 李飞飞的50美金比肩DeepSeek把CEO忽悠瘸了,倒霉的却是程序员
· 超详细,DeepSeek 接入PyCharm实现AI编程!(支持本地部署DeepSeek及官方Dee