
iOS 九宫格手势密码
一、准备工作
- 需要准备什么环境
xcode,iOS8+ - 本例子实现什么功能
主要实现手势密码设置,验证
二、程序实现
-
程序目录
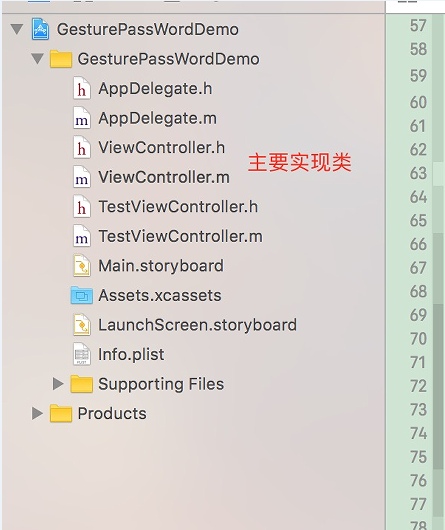
-
实现思路及设计与代码
-
1 、分析问题
要实现该功能,难点在于,我们该怎么去实现线条的绘制。既然是手势移动,那么我们肯定会在移动过程中一直进行绘制,这样的话,我们就有两种选择:
1 touch事件 - (void)touchesMoved:(NSSet<UITouch *> *)touches withEvent:(UIEvent *)event
在移动过程中获取位置坐标,然后进行绘制
2 UIPanGestureRecognizer  摇动或者拖拽手势
移动的方式有了,那么我们还缺什么呢,当然是绘制线路的选择方式,这里我们也有两种方式
1、通过 UIBezierPath UIBezierPath 解释:UIBezierPath是Core Graphics框架关于path的一个封装。可以创建基于矢量的路径,例如椭圆或者矩形,或者有多个直线和曲线段组成的形状。 下面是简单的绘制了一个矩形
- (void)drawRect:(CGRect)rect
{
    UIColor *color = [UIColor colorWithRed:0 green:0 blue:0 alpha:1];
    [color set]; //设置线条颜色

    UIBezierPath* aPath = [UIBezierPath bezierPathWithRect:CGRectMake(120, 120, 100, 50)];

    aPath.lineWidth = 5.0;
    aPath.lineCapStyle = kCGLineCapRound; //线条拐角
    aPath.lineJoinStyle = kCGLineCapRound; //终点处理

    [aPath stroke];
}
2 、通过CGContext 或者 CGPath(路径) 相信大家对CGContext比较熟悉也用的比较多,可以用来画各种图形,那么CGPath呢,我个人感觉和CGContext差不多,只是调用的方法可能不一样
后面才发现,UIBezierPath其实就是对CGPathRef的封装
下面为大家开启三个传送门,可以更好的了解了解
Core Graphics框架 : 一个让程序猿成为视觉设计师的框架
Quartz 2D绘图基础:CGContextRef
CGContextRef,CGPath 和 UIBezierPath的区别
CGContextRef contextRef = UIGraphicsGetCurrentContext();
说完上面两个方法后,下面就是怎么利用所绘制的路线呢?这里有两个思路
1 我们可以将当前view上面加一个UIImageview,其大小和当前view一样,我们在移动的时候,不停为其设置image,代码如下
- (void)viewDidLoad
{
    [super viewDidLoad];
    self.drawLineImageView = [[UIImageView alloc] initWithFrame:self.view.bounds];
    [self.view addSubview:_drawLineImageView];
}
//根据颜色绘制图片
- (UIImage *)imageWithColor:(UIColor *)color{
    UIImage *image = nil;

    if (self.addPasswords.count > 0)
    {
        UIButton * startButton = self.addPasswords[0];

        UIGraphicsBeginImageContext(self.drawLineImageView.bounds.size);
        CGContextRef context = UIGraphicsGetCurrentContext();
        CGContextSetStrokeColorWithColor(context, color.CGColor);
        CGContextSetLineWidth(context, 5);

        CGContextMoveToPoint(context, startButton.center.x, startButton.center.y);

        for (UIButton *button in self.addPasswords)
        {
            CGPoint point = button.center;
            CGContextAddLineToPoint(context, point.x, point.y);
            CGContextMoveToPoint(context, point.x, point.y);
        }

        CGContextAddLineToPoint(context, self.endPoint.x, self.endPoint.y);

        CGContextStrokePath(context);

        image = UIGraphicsGetImageFromCurrentImageContext();
        UIGraphicsEndImageContext();

        return image;
    }

    return nil;
}
2 就是调用 - (void)drawRect:(CGRect)rect 函数,在view上绘制当前路径,当然必须调用 [self setNeedsDisplay] ,来实时绘制
针对以上的方案,我选择的是touch事件和CGContext并且设置图片的image的方法
三、运行效果
- 下载demo,直接运行即可
- 运行时的截图

iOS 九宫格手势密码
注:本文著作权归作者,由demo大师代发,拒绝转载,转载需要作者授权


【推荐】国内首个AI IDE,深度理解中文开发场景,立即下载体验Trae
【推荐】编程新体验,更懂你的AI,立即体验豆包MarsCode编程助手
【推荐】抖音旗下AI助手豆包,你的智能百科全书,全免费不限次数
【推荐】轻量又高性能的 SSH 工具 IShell:AI 加持,快人一步
· go语言实现终端里的倒计时
· 如何编写易于单元测试的代码
· 10年+ .NET Coder 心语,封装的思维:从隐藏、稳定开始理解其本质意义
· .NET Core 中如何实现缓存的预热?
· 从 HTTP 原因短语缺失研究 HTTP/2 和 HTTP/3 的设计差异
· 分享 3 个 .NET 开源的文件压缩处理库,助力快速实现文件压缩解压功能!
· Ollama——大语言模型本地部署的极速利器
· 使用C#创建一个MCP客户端
· 分享一个免费、快速、无限量使用的满血 DeepSeek R1 模型,支持深度思考和联网搜索!
· Windows编程----内核对象竟然如此简单?