iOS 瀑布流之栅格布局
一 、效果预览

二、确定需求
由下面的需求示意图可知模块的最小单位是正方形,边长是屏幕宽除去边距间隔后的四等份,而每个模块的样式有小正方形(1:1)、大正方形(2:2)、横长方形(2:1)、纵长方形(1:2),动态的根据服务器下发模块样式绘制布局,可以横向滑动,限定为两行的高度。
注意:上面的示意宽高比是约等于,忽略了间距,计算的时候千万别忘了。

三、实现思路
由上需求分析可知,我们可以让后台每个模块下发width和height两个字段,字段的值是1或2就行了,然后我们就能根据宽高字段来确定模块的宽高了。现在宽高有了,我们怎么来绘制模块呢?
答案当然是用UICollectionView了,然后自定义流水布局UICollectionViewLayout,主要代码如下:计算记录每一个cell对应的布局属性。瀑布流的创建我已在之前的 iOS 瀑布流封装 文章中写过了,这次只是多了个栅格布局的瀑布流样式,可以下载当前最新示例Demo查看。
/** 返回indexPath位置cell对应的布局属性*/
- (CGRect)itemFrameOfHorizontalGridWaterFlow:(NSIndexPath *)indexPath{
    //collectionView的高度
    CGFloat collectionH = self.collectionView.frame.size.height;
    //设置布局属性item的frame
    CGFloat h = [self.delegate waterFlowLayout:self sizeForItemAtIndexPath:indexPath].height;
    CGFloat w = [self.delegate waterFlowLayout:self sizeForItemAtIndexPath:indexPath].width;

    CGFloat x = 0;
    CGFloat y = 0;

    //找出宽度最短的那一行
    NSInteger destRow = 0;
    CGFloat minRowWidth = [self.rowWidths[destRow] doubleValue];
    for (NSInteger i = 1; i < self.rowWidths.count; i++) {
        //取出第i行
        CGFloat rowWidth = [self.rowWidths[i] doubleValue];
        if (minRowWidth > rowWidth) {
            minRowWidth = rowWidth;
            destRow = i;
        }
    }

    y = destRow == 0 ? self.edgeInsets.top : self.edgeInsets.top + h + self.rowMargin;

    x = [self.rowWidths[destRow] doubleValue] == self.edgeInsets.left ? self.edgeInsets.left : [self.rowWidths[destRow] doubleValue] + self.columnMargin;
    //更新最短那行的宽度
    if (h >= collectionH - self.edgeInsets.bottom - self.edgeInsets.top) {
        x = [self.rowWidths[destRow] doubleValue] == self.edgeInsets.left ? self.edgeInsets.left : self.maxRowWidth + self.columnMargin;
        for (NSInteger i = 0; i < 2; i++) {
            self.rowWidths[i] = @(x + w);
        }
    }else{
        self.rowWidths[destRow] = @(x + w);
    }
    //记录最大宽度
    if (self.maxRowWidth < x + w) {
        self.maxRowWidth = x + w ;
    }
    return CGRectMake(x, y, w, h);
}

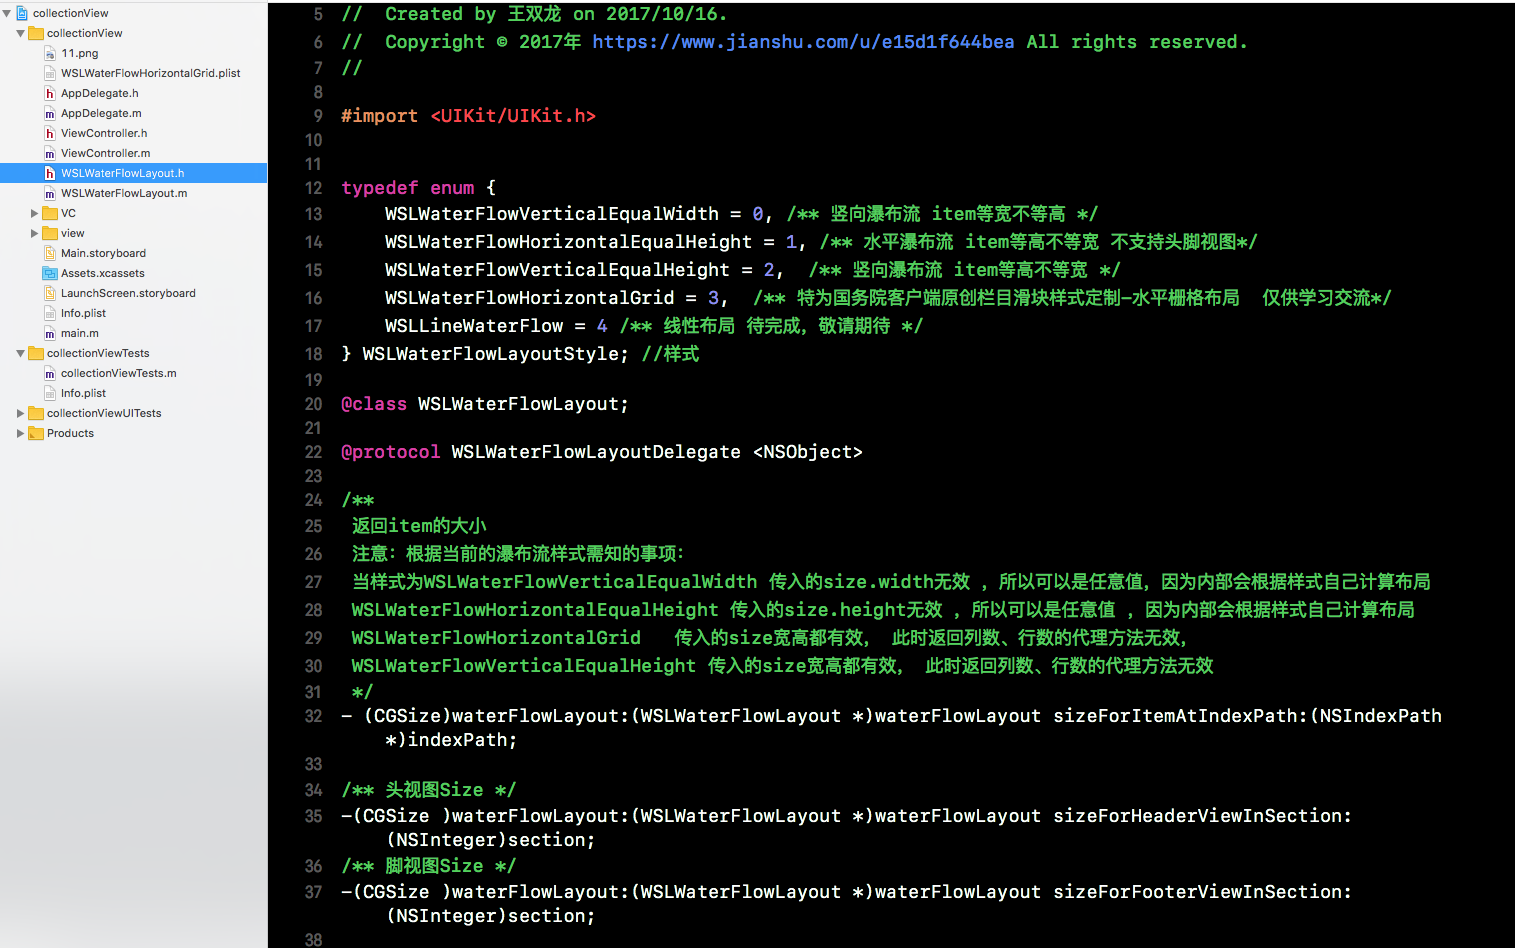
功能描述:WSLWaterFlowLayout 是在继承于UICollectionViewLayout的基础上封装的带头脚视图的瀑布流控件。目前支持竖向瀑布流(item等宽不等高、支持头脚视图)、水平瀑布流(item等高不等宽 不支持头脚视图)、竖向瀑布流( item等高不等宽、支持头脚视图)、栅格布局瀑布流 4种样式的瀑布流布局。

四、项目结构
 iOS 瀑布流之栅格布局


【推荐】国内首个AI IDE,深度理解中文开发场景,立即下载体验Trae
【推荐】编程新体验,更懂你的AI,立即体验豆包MarsCode编程助手
【推荐】抖音旗下AI助手豆包,你的智能百科全书,全免费不限次数
【推荐】轻量又高性能的 SSH 工具 IShell:AI 加持,快人一步
· go语言实现终端里的倒计时
· 如何编写易于单元测试的代码
· 10年+ .NET Coder 心语,封装的思维:从隐藏、稳定开始理解其本质意义
· .NET Core 中如何实现缓存的预热?
· 从 HTTP 原因短语缺失研究 HTTP/2 和 HTTP/3 的设计差异
· 分享 3 个 .NET 开源的文件压缩处理库,助力快速实现文件压缩解压功能!
· Ollama——大语言模型本地部署的极速利器
· 使用C#创建一个MCP客户端
· 分享一个免费、快速、无限量使用的满血 DeepSeek R1 模型,支持深度思考和联网搜索!
· Windows编程----内核对象竟然如此简单?
2018-03-05 Android基于UDP的局域网聊天通信
2018-03-05 基于React实现的【绿色版电子书阅读器】,支持离线下载
2018-03-05 破解 zip 压缩包程序
2018-03-05 小小数据统计(柱状图、折线图、扇形图)
2018-03-05 iOS活体人脸识别的Demo和一些思路
2018-03-05 iOS蓝牙原生封装,助力智能硬件开发
2018-03-05 基于python实现的DDoS