Pypi配置API Token
 这篇文章介绍了新版Pypi上传Python编译后的whl包的操作流程,主要内容为登录设置双因子认证,以及获取API Token并使用token上传whl包的方法。
技术背景
在许久之前写的一篇博客中,我们介绍过使用twine向pypi上传我们自己的开源包的方法。最近发现这个方法已经不再支持了(报错信息如下所示),现在最新版需要使用API Token进行文件上传,这里大致介绍一下配置的方法。
$ python3 setup.py check
$ python3 setup.py sdist bdist_wheel
$ twine upload --repository-url https://upload.pypi.org/legacy/ dist/*
Uploading distributions to https://upload.pypi.org/legacy/
Enter your username: dechin
Enter your password:
Uploading hadder-3.4-py3-none-any.whl
100%|█████████████████████████████████████████████████████████████████████████████████████████████████████████████████████████████| 22.0k/22.0k [00:01<00:00, 20.9kB/s]
Error during upload. Retry with the --verbose option for more details.
HTTPError: 403 Forbidden from https://upload.pypi.org/legacy/
Username/Password authentication is no longer supported. Migrate to API Tokens or Trusted Publishers instead. See https://pypi.org/help/#apitoken and https://pypi.org/help/#trusted-publishers
Pypi主页登录
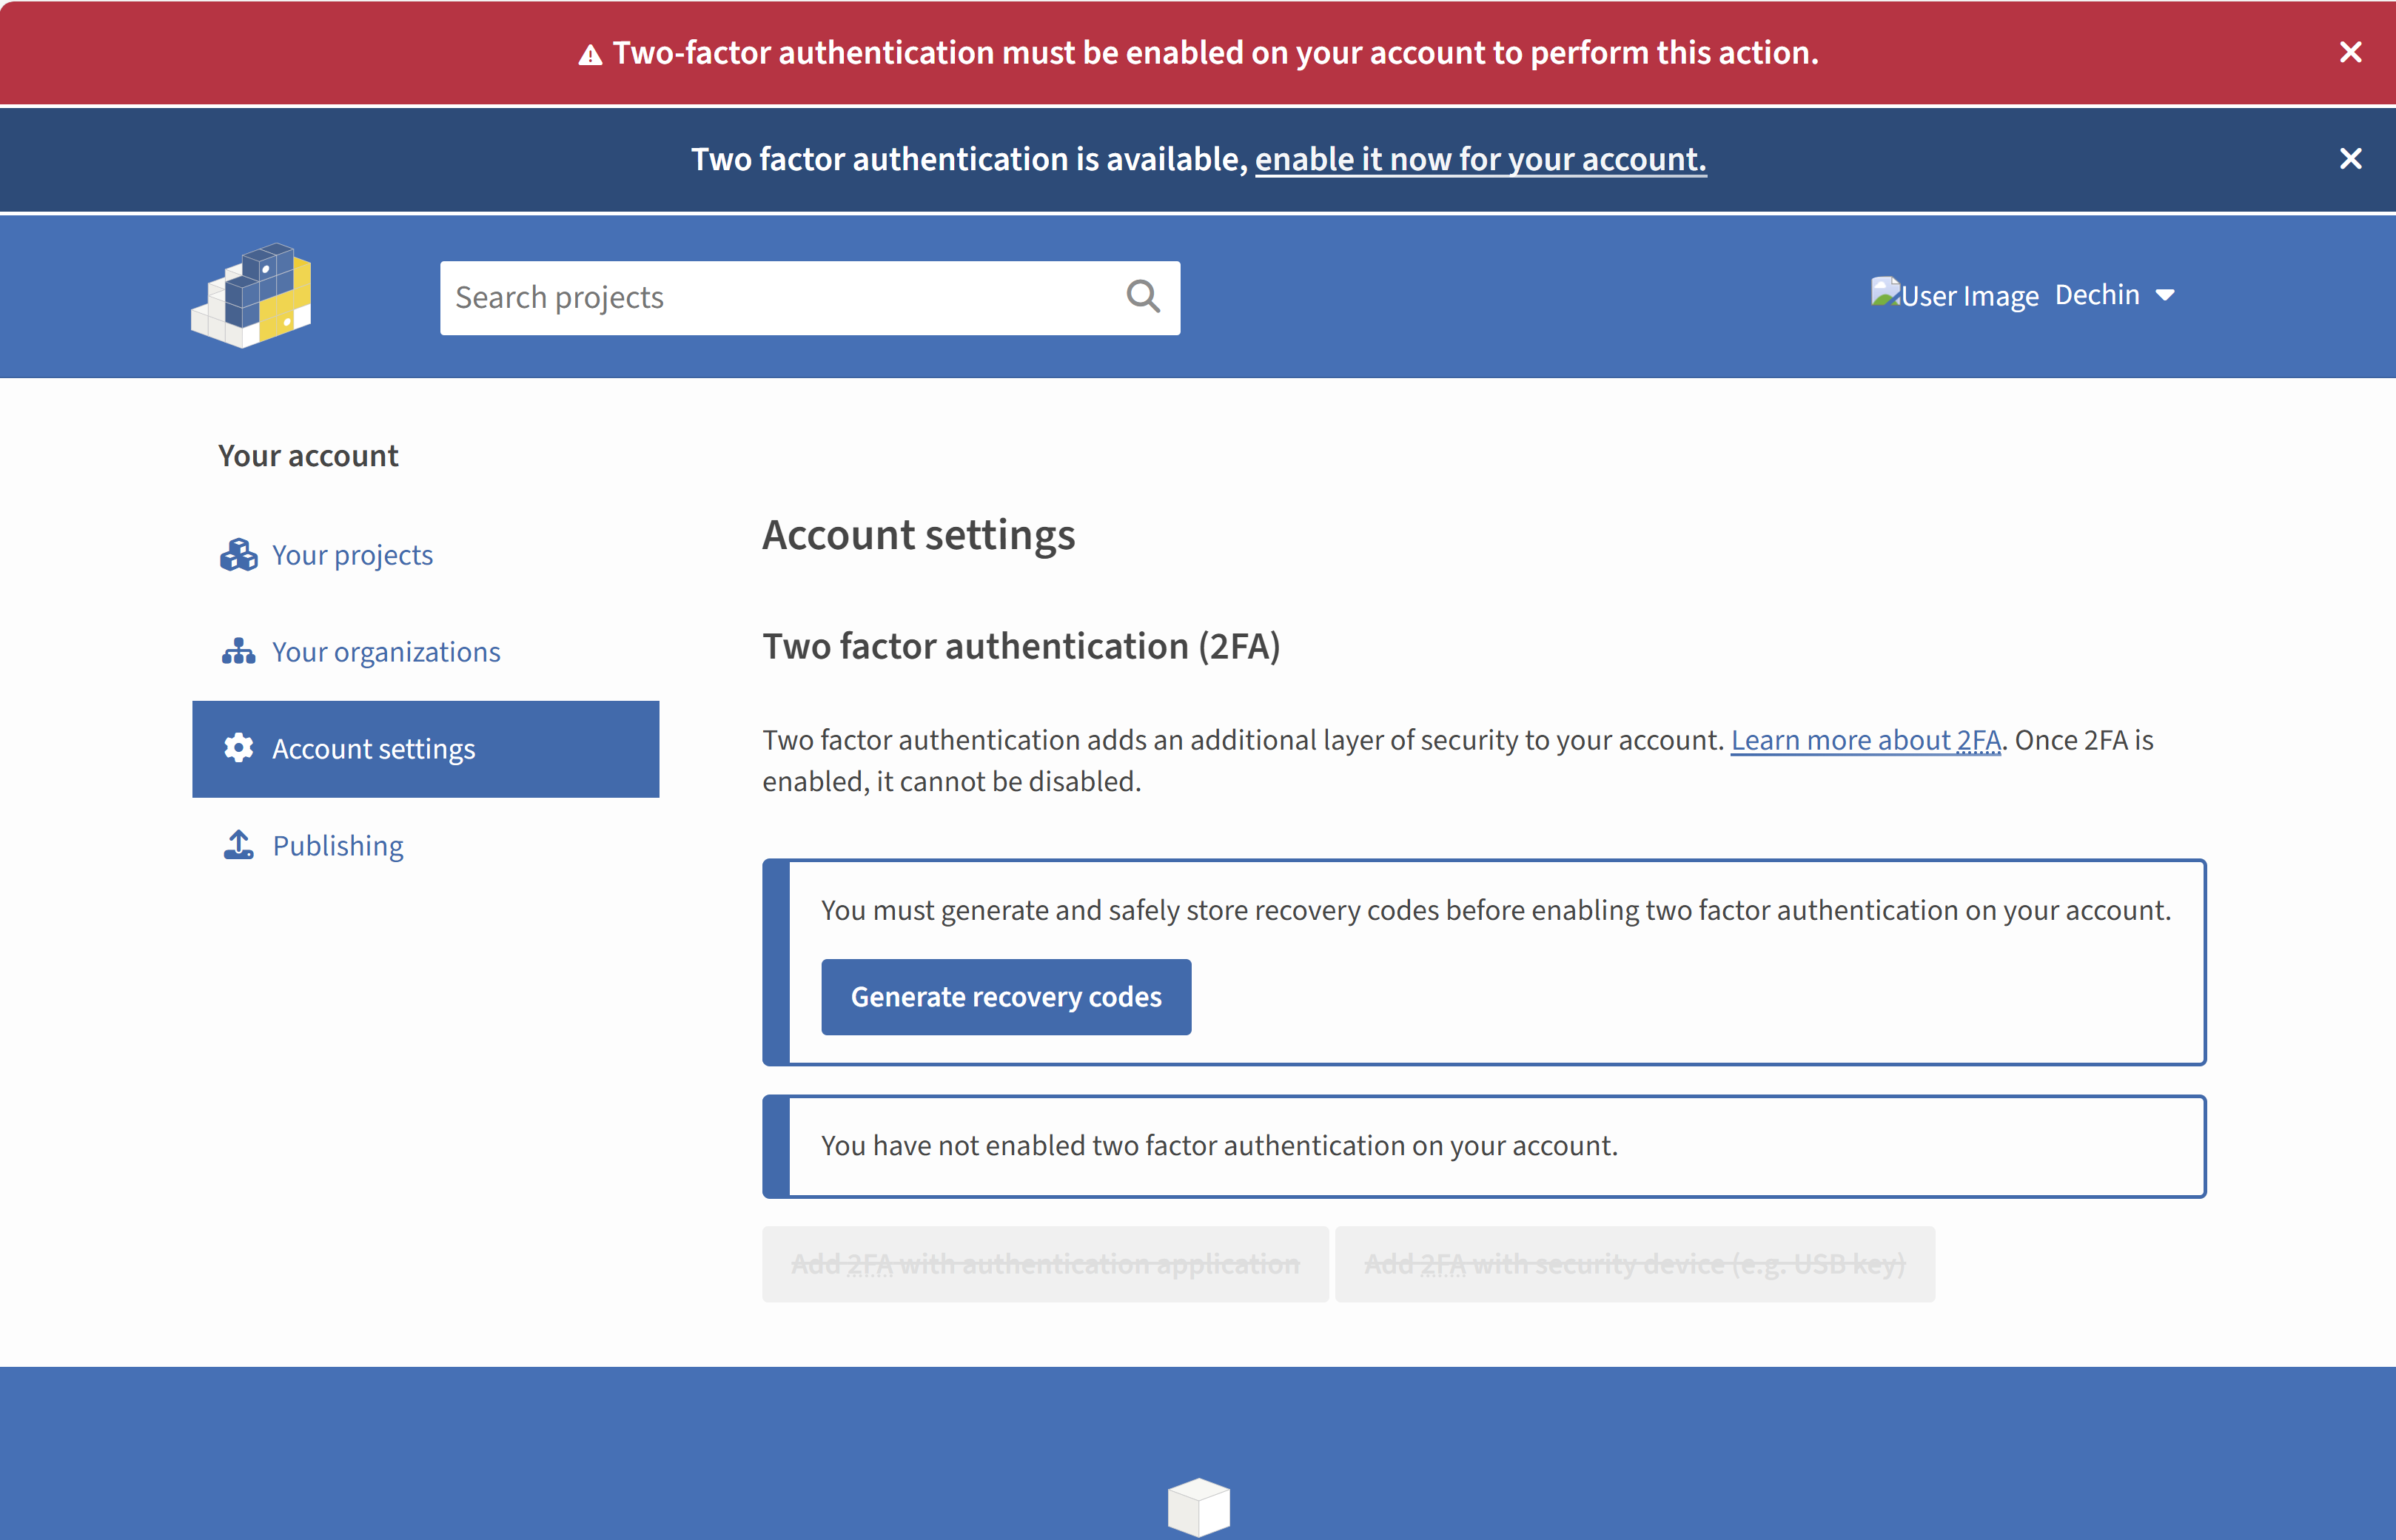
因为许久没有登录,所以很多人登录Pypi主页的时候可能需要添加一下双因子认证:
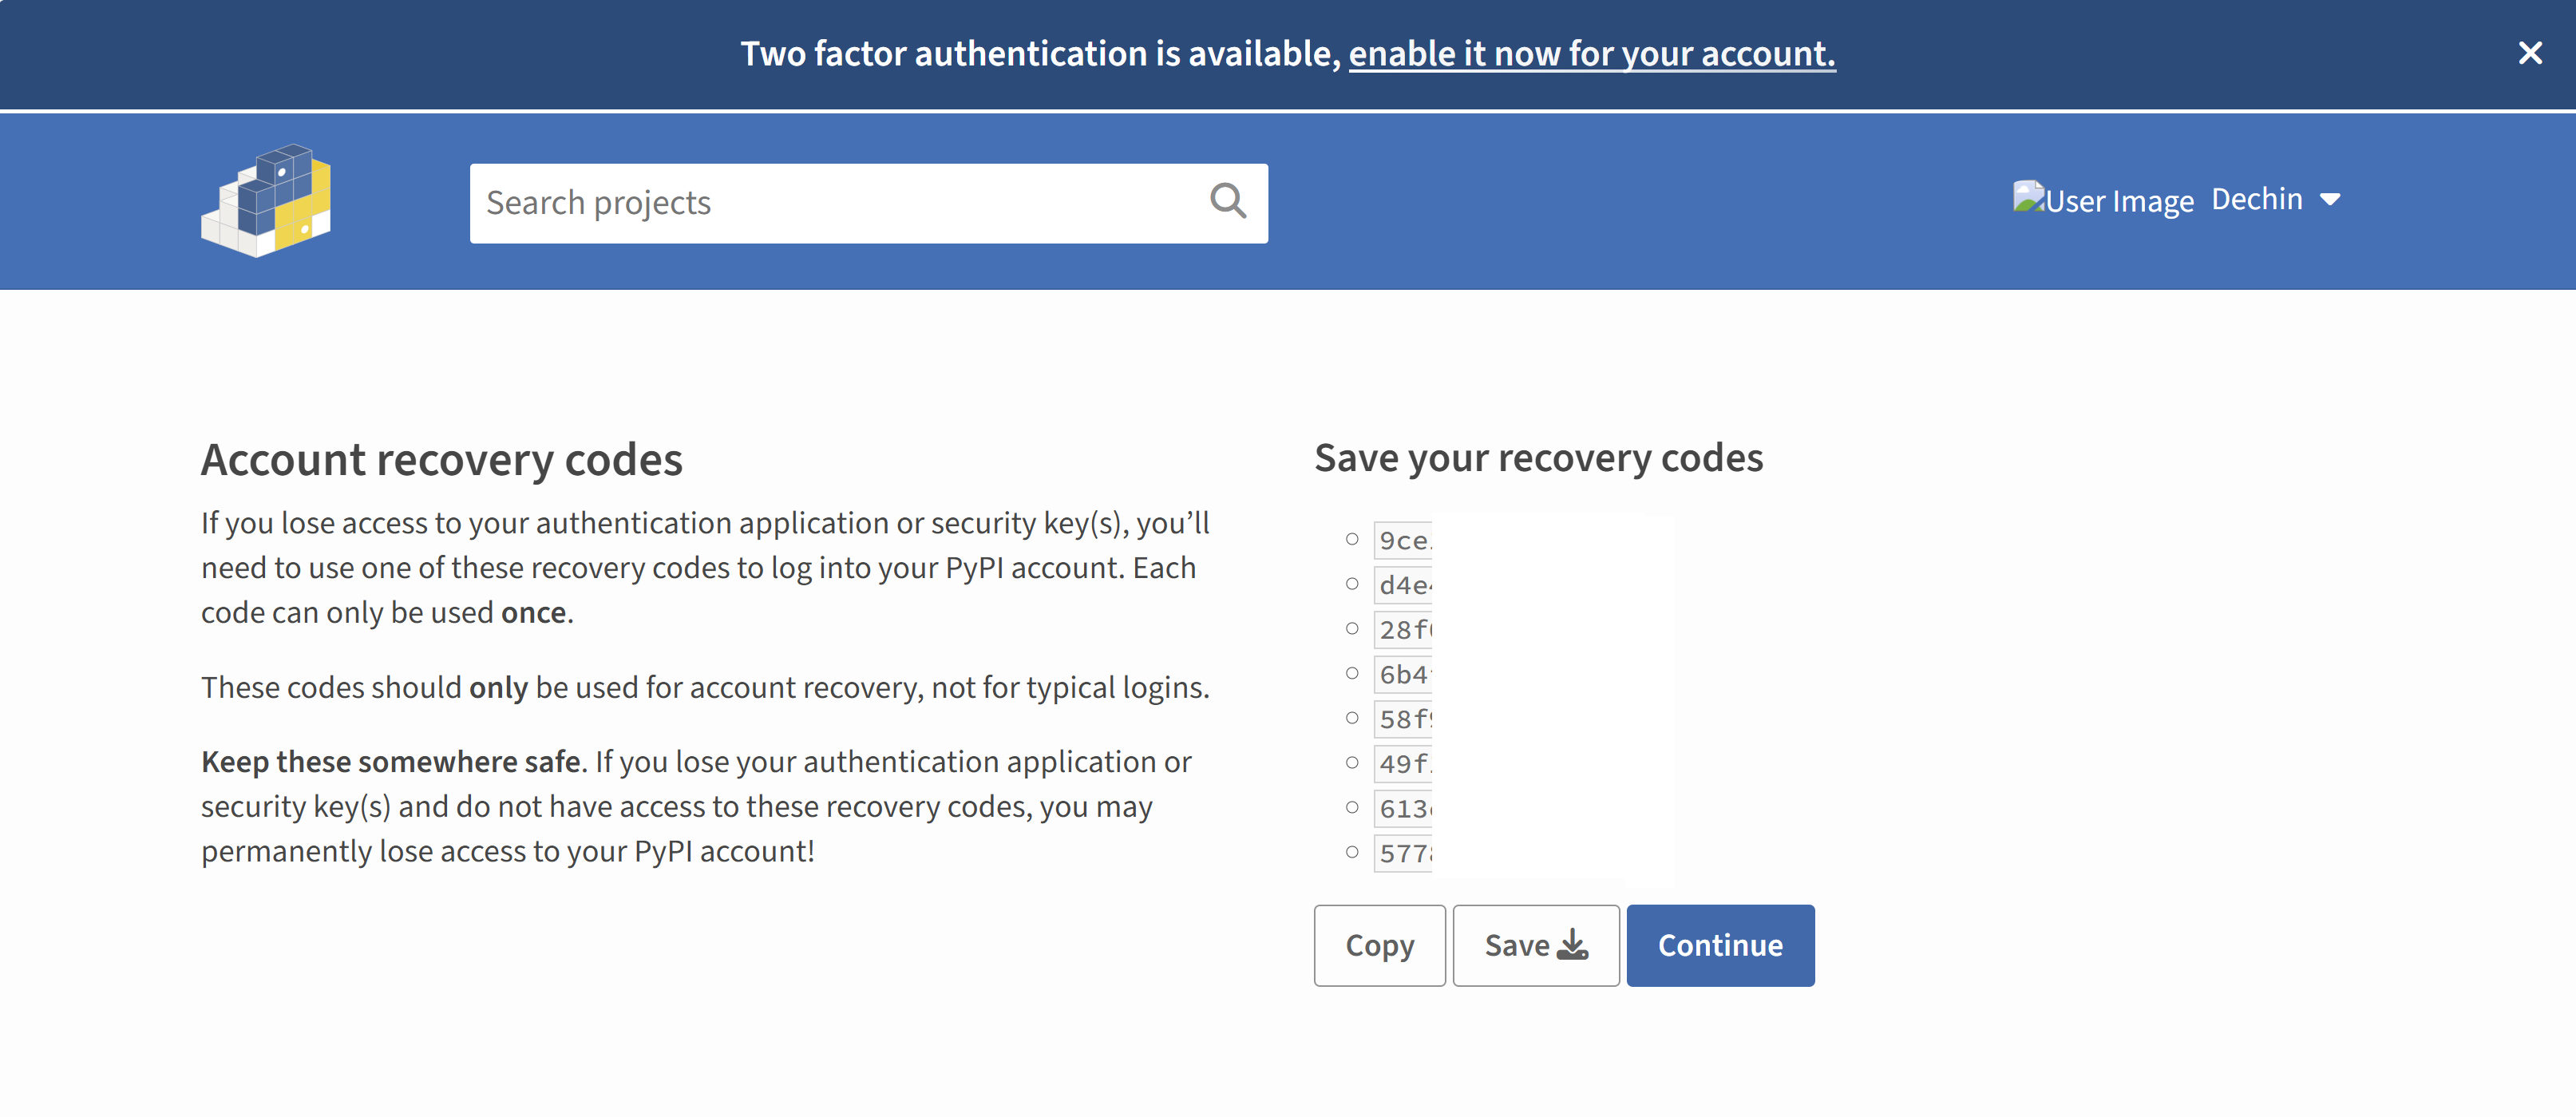
点击这个生成覆盖码的按钮,会生成一系列的一次性覆盖码,建议保存到本地:
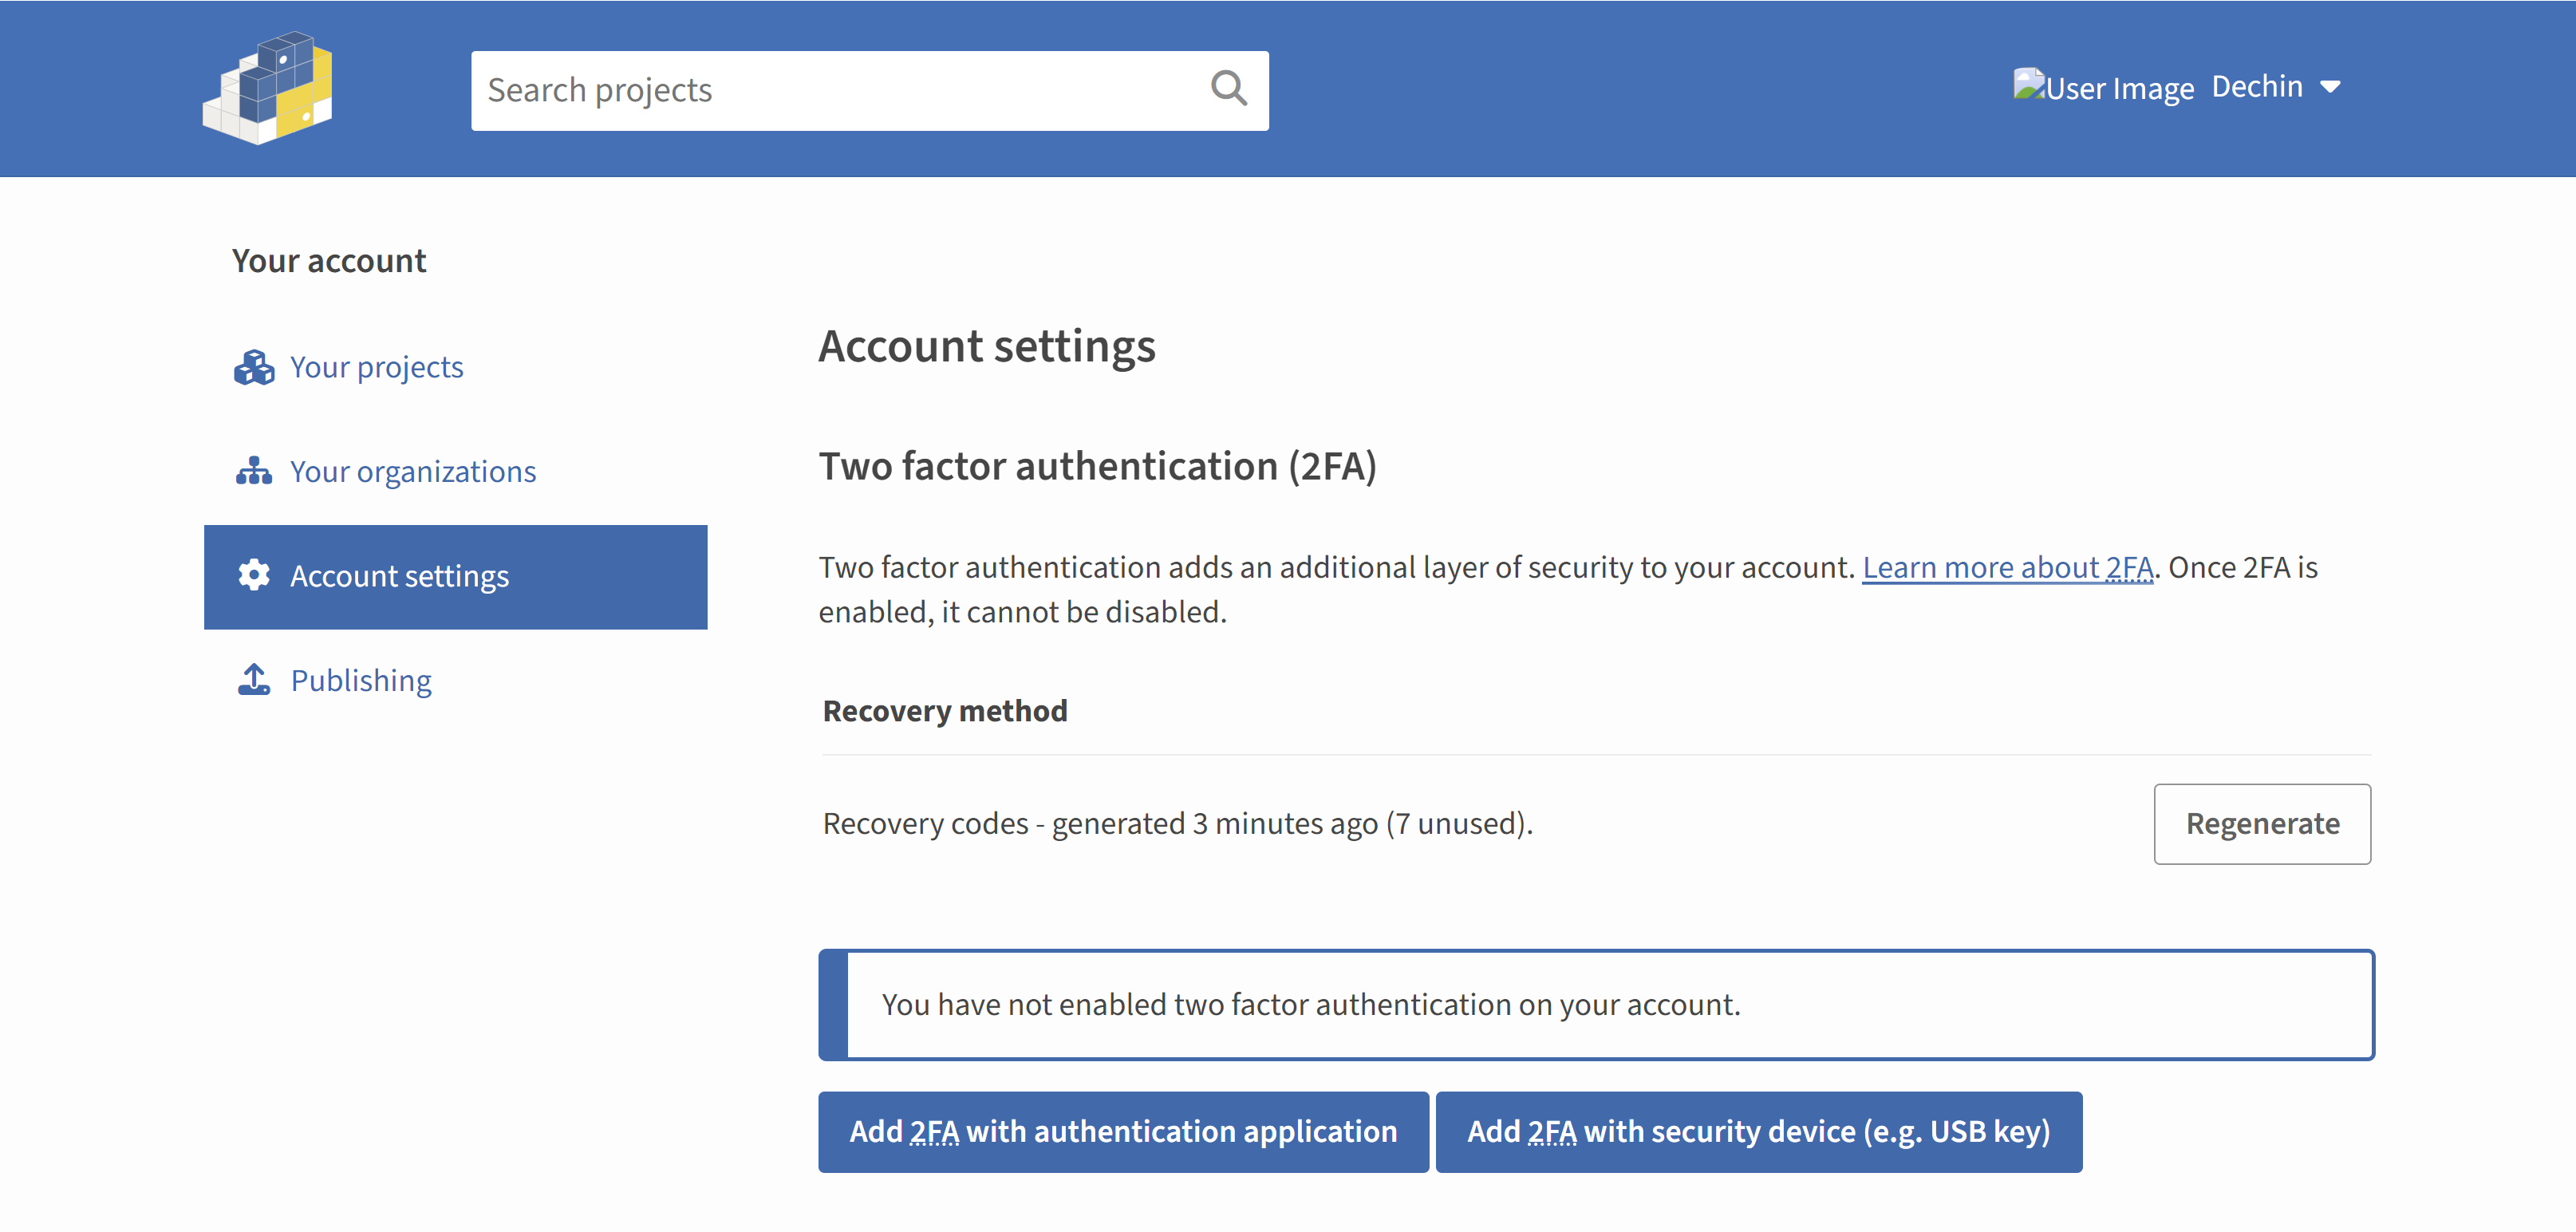
这个覆盖码,是用来修改账号配置的,跟我们上传whl包没有关系。但是每修改一次账号配置,就会使用一个覆盖码。然后选择继续:
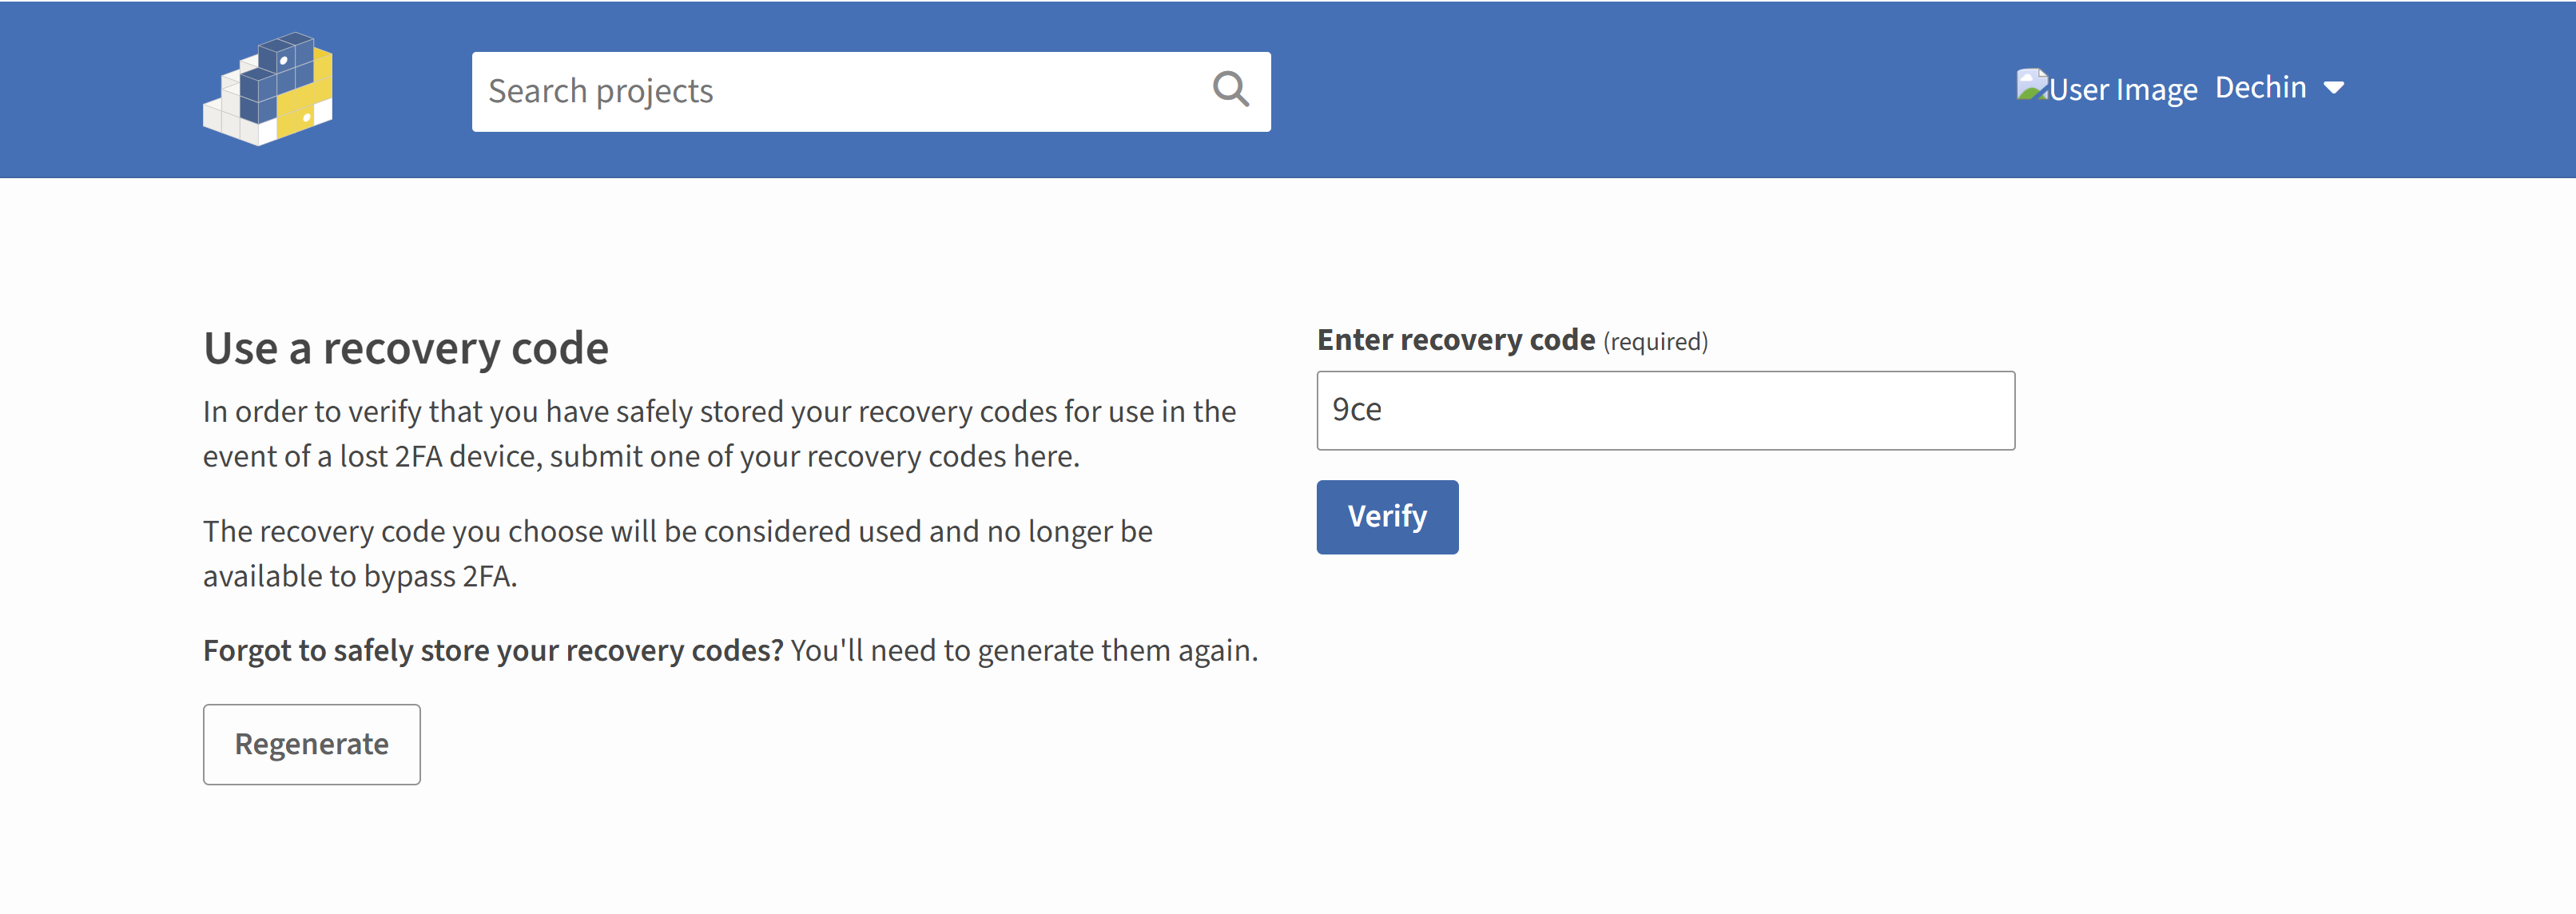
我们选择一个覆盖码输入,用于配置双因子认证:
双因子认证模式有两种,一种是应用认证,一种是设备认证,这里如果使用使用的是Win11操作系统,可以选择设备认证,然后用Windows Hello进行认证:
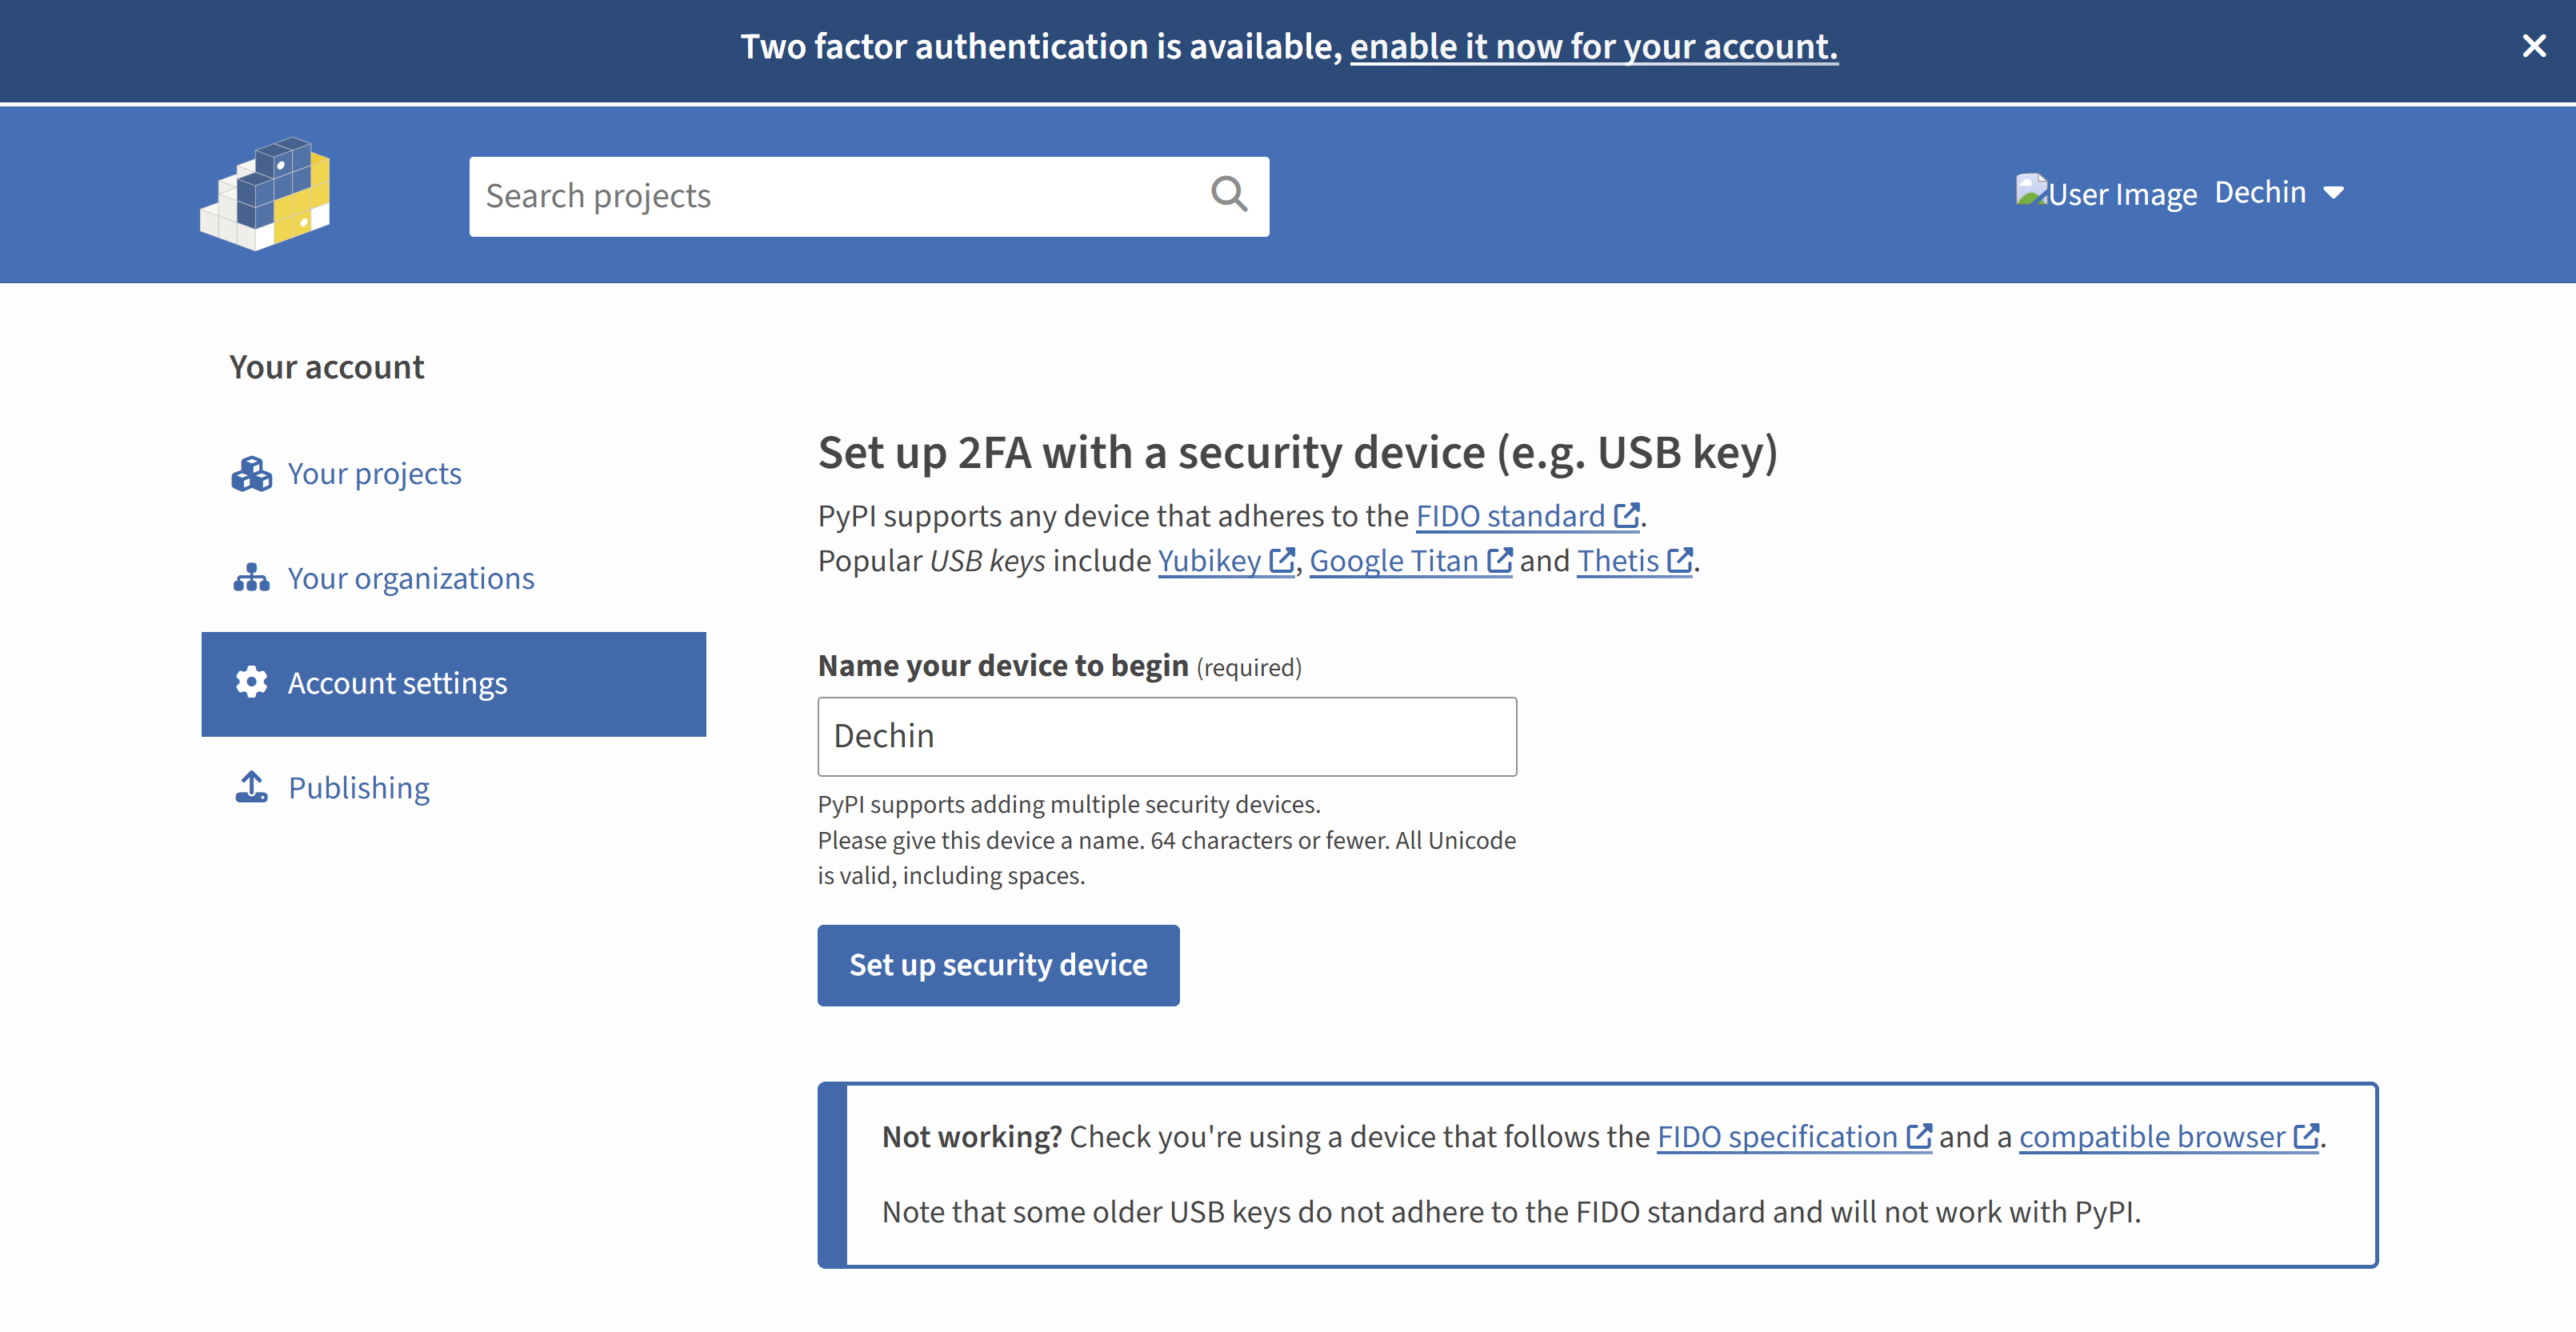
点击设定设备:

API Token获取
在登录Pypi主页之后,在账号设定界面往下拉,找到API tokens选项
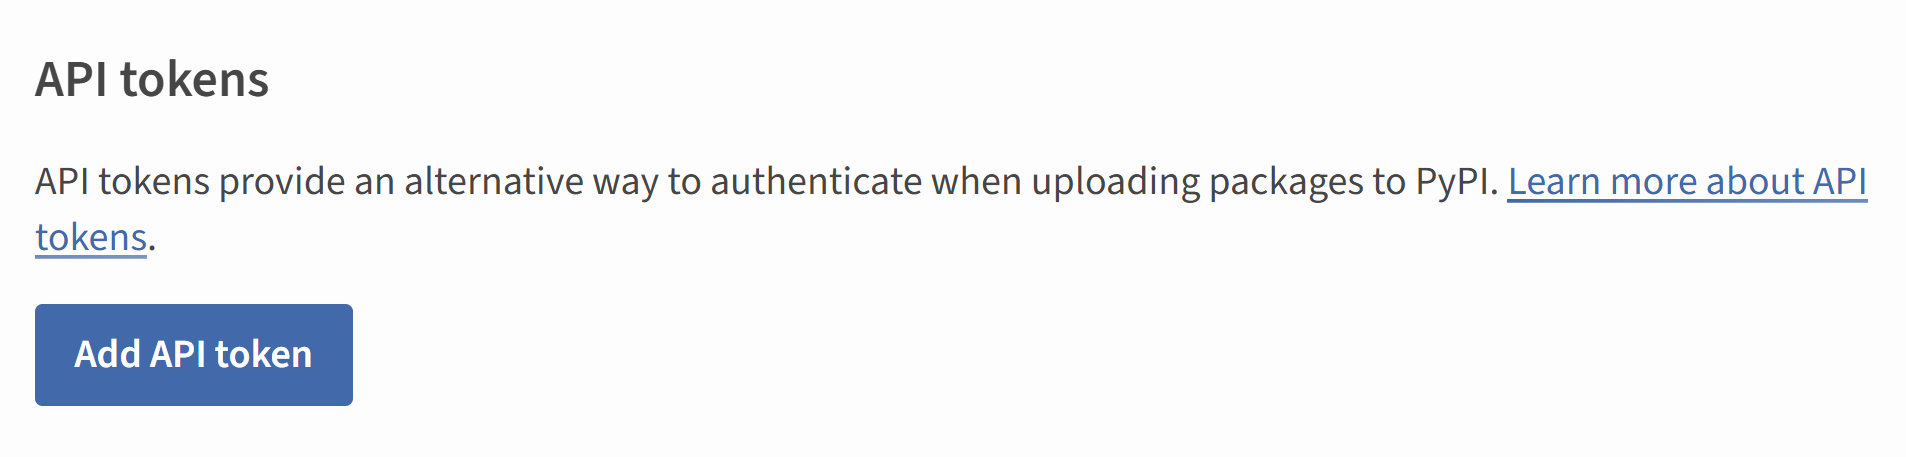
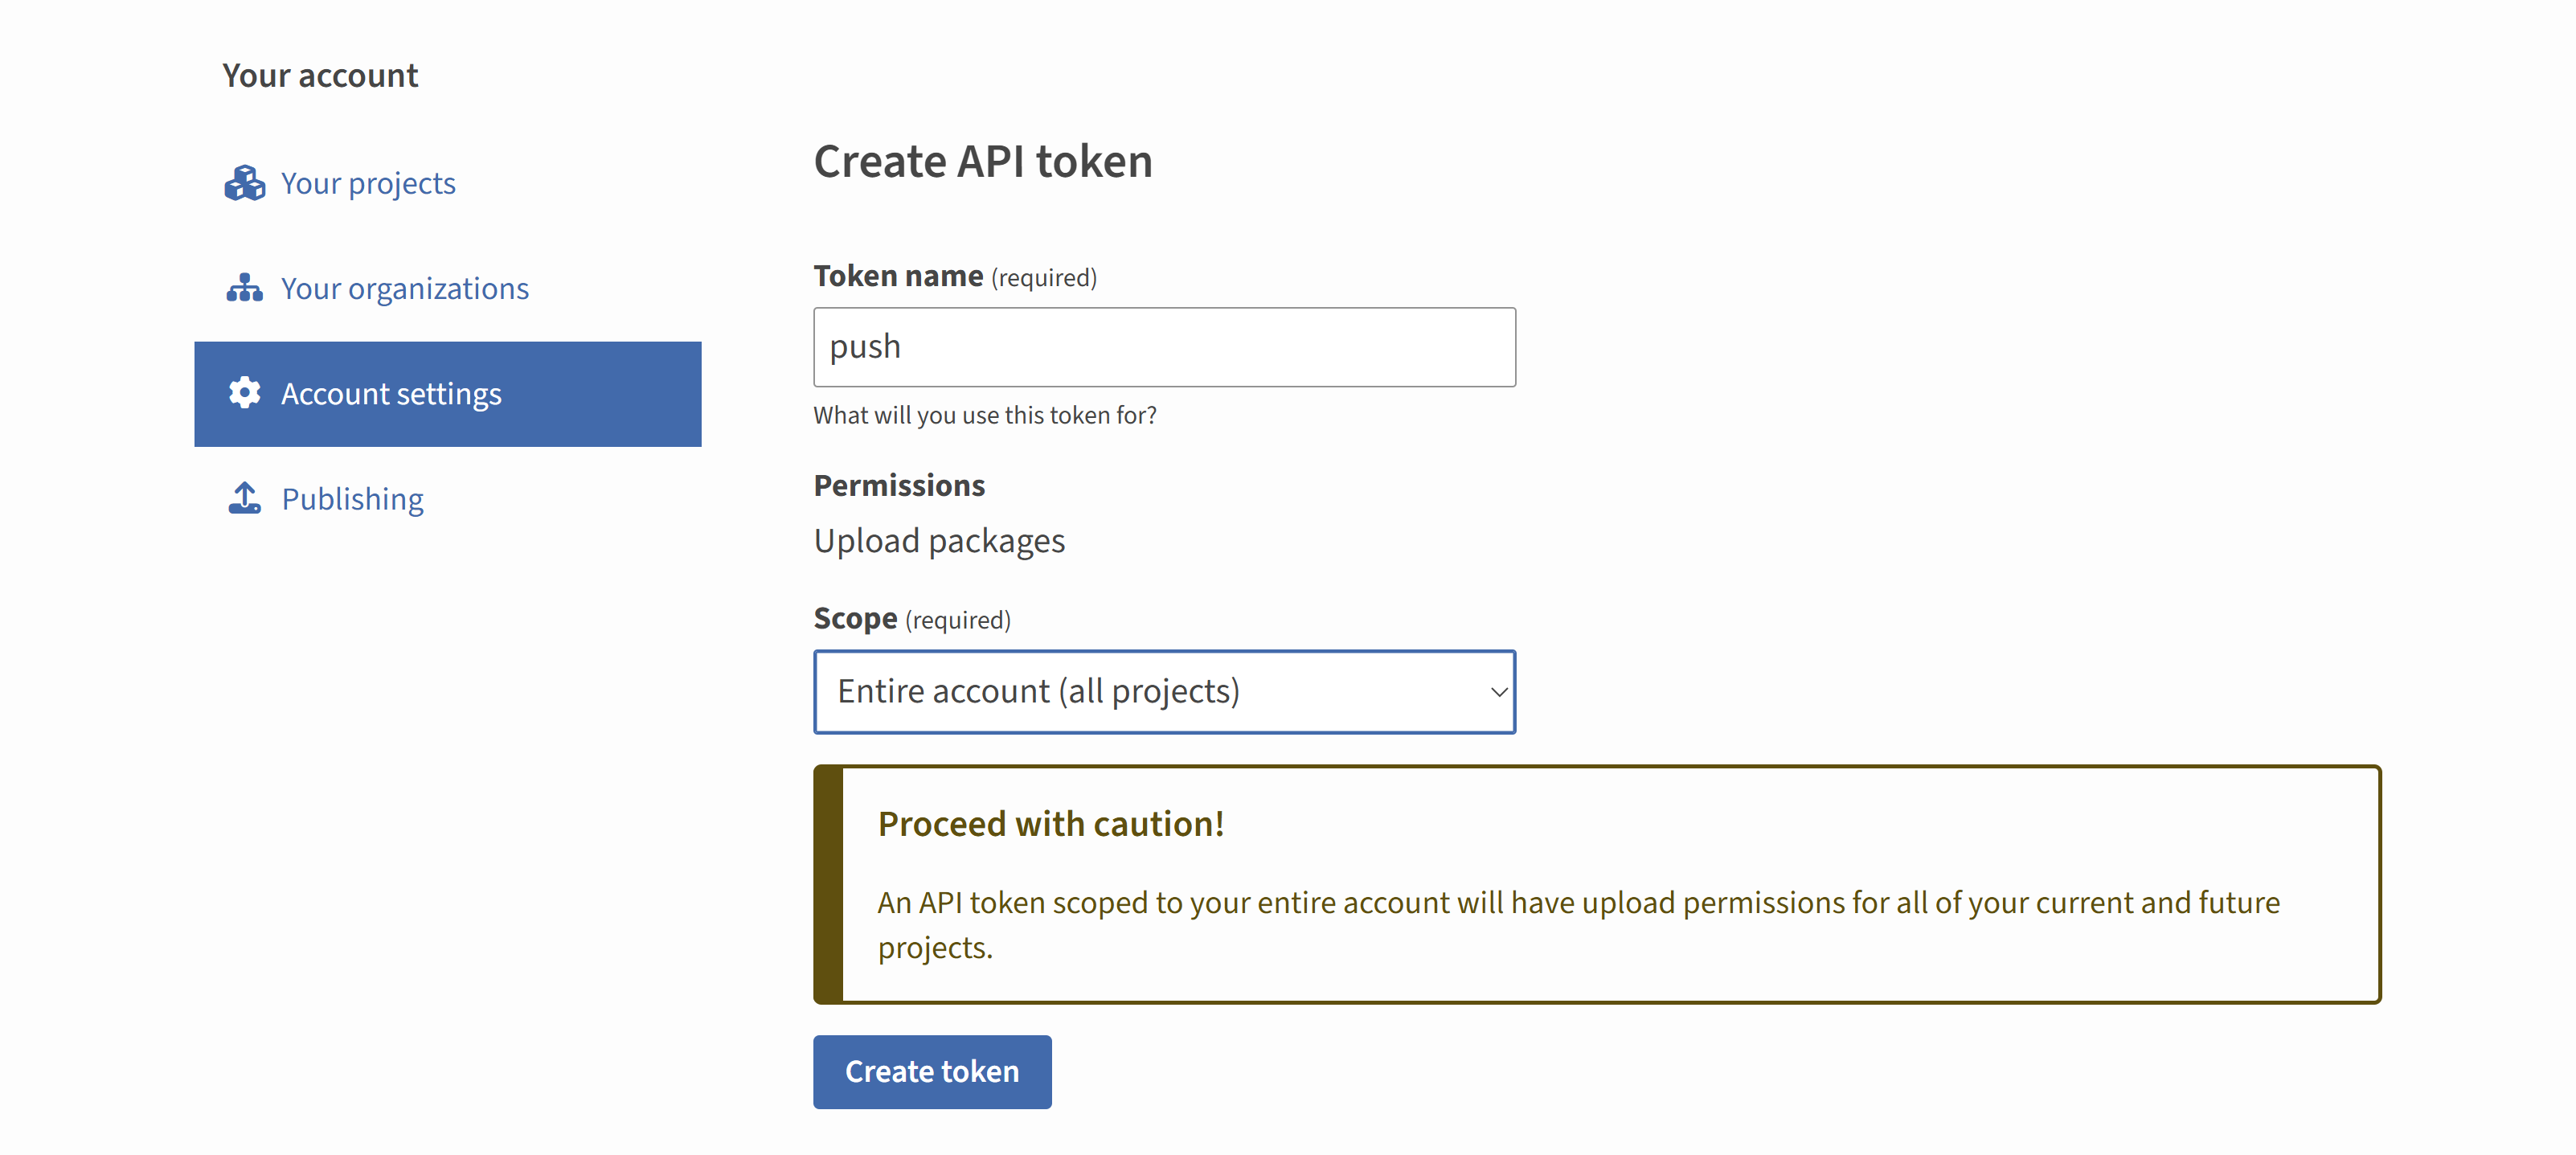
选择添加API token,可以给这个token设定一个专门的用途名称,还可以分仓库管理token。不过这里我为了方便,直接统一使用一个token进行上传:
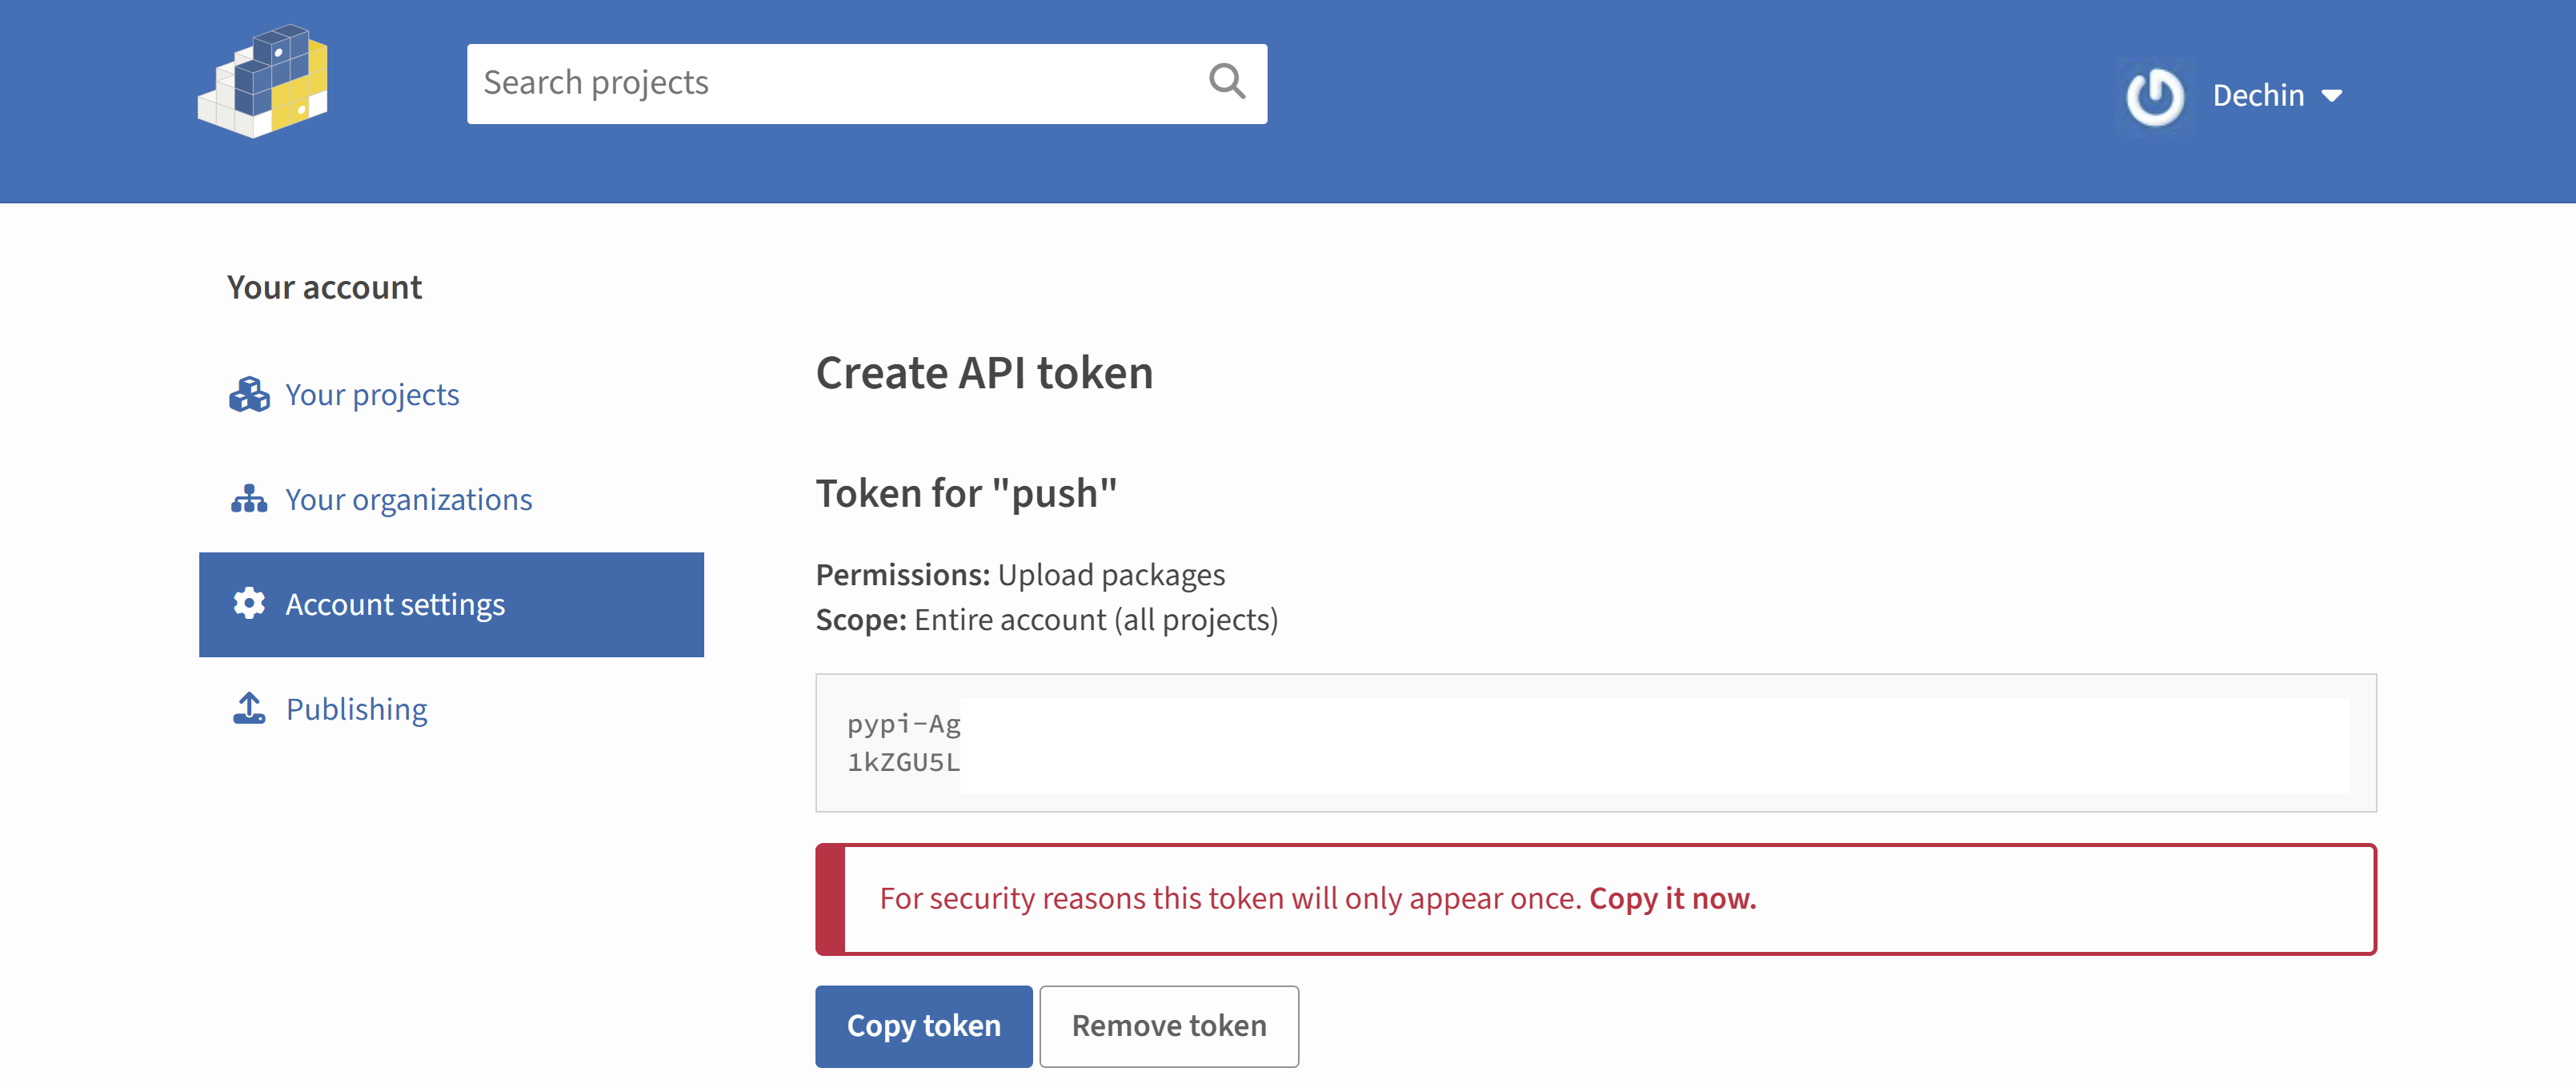
然后就会生成一个token:
配置API Token
其实官方推荐的方法是把Token保存到~/.pypirc文件里面去,像这个样子:

但是不知为何,在我的环境下这个方法不奏效。尝试过在twine upload的时候把配置文件也加上,但还是不起作用,有知道的高手可以方便评论区告知一下原因。最后我使用的是keyring配置的方法(keyring是安装twine的时候一起安装了,不需要自己再去手动安装):
$ keyring set https://upload.pypi.org/legacy/ __token__
Password for '__token__' in 'https://upload.pypi.org/legacy/':
账号名就是__token__,密码就是那一串token复制粘贴进来。最后,还是成功的完成了upload:
$ twine upload --repository-url https://upload.pypi.org/legacy/ dist/*
Uploading distributions to https://upload.pypi.org/legacy/
Uploading hadder-3.4-py3-none-any.whl
100%|█████████████████████████████████████████████████████████████████████████████████████████████████████████████████████████████| 22.0k/22.0k [00:02<00:00, 8.98kB/s]
Uploading hadder-3.4.tar.gz
100%|█████████████████████████████████████████████████████████████████████████████████████████████████████████████████████████████| 22.5k/22.5k [00:01<00:00, 14.9kB/s]

View at:
https://pypi.org/project/hadder/3.4/
总结概要
这篇文章介绍了新版Pypi上传Python编译后的whl包的操作流程,主要内容为登录设置双因子认证,以及获取API Token并使用token上传whl包的方法。
版权声明
本文首发链接为:https://www.cnblogs.com/dechinphy/p/pypi-api.html
作者ID:DechinPhy
更多原著文章:https://www.cnblogs.com/dechinphy/
请博主喝咖啡:https://www.cnblogs.com/dechinphy/gallery/image/379634.html

 浙公网安备 33010602011771号