Cesium中3DTiles使用CustomShader着色器渲染
加载模型
新版本cesium加载3DTiles代码如下,后续效果只修改CustomShader内内容
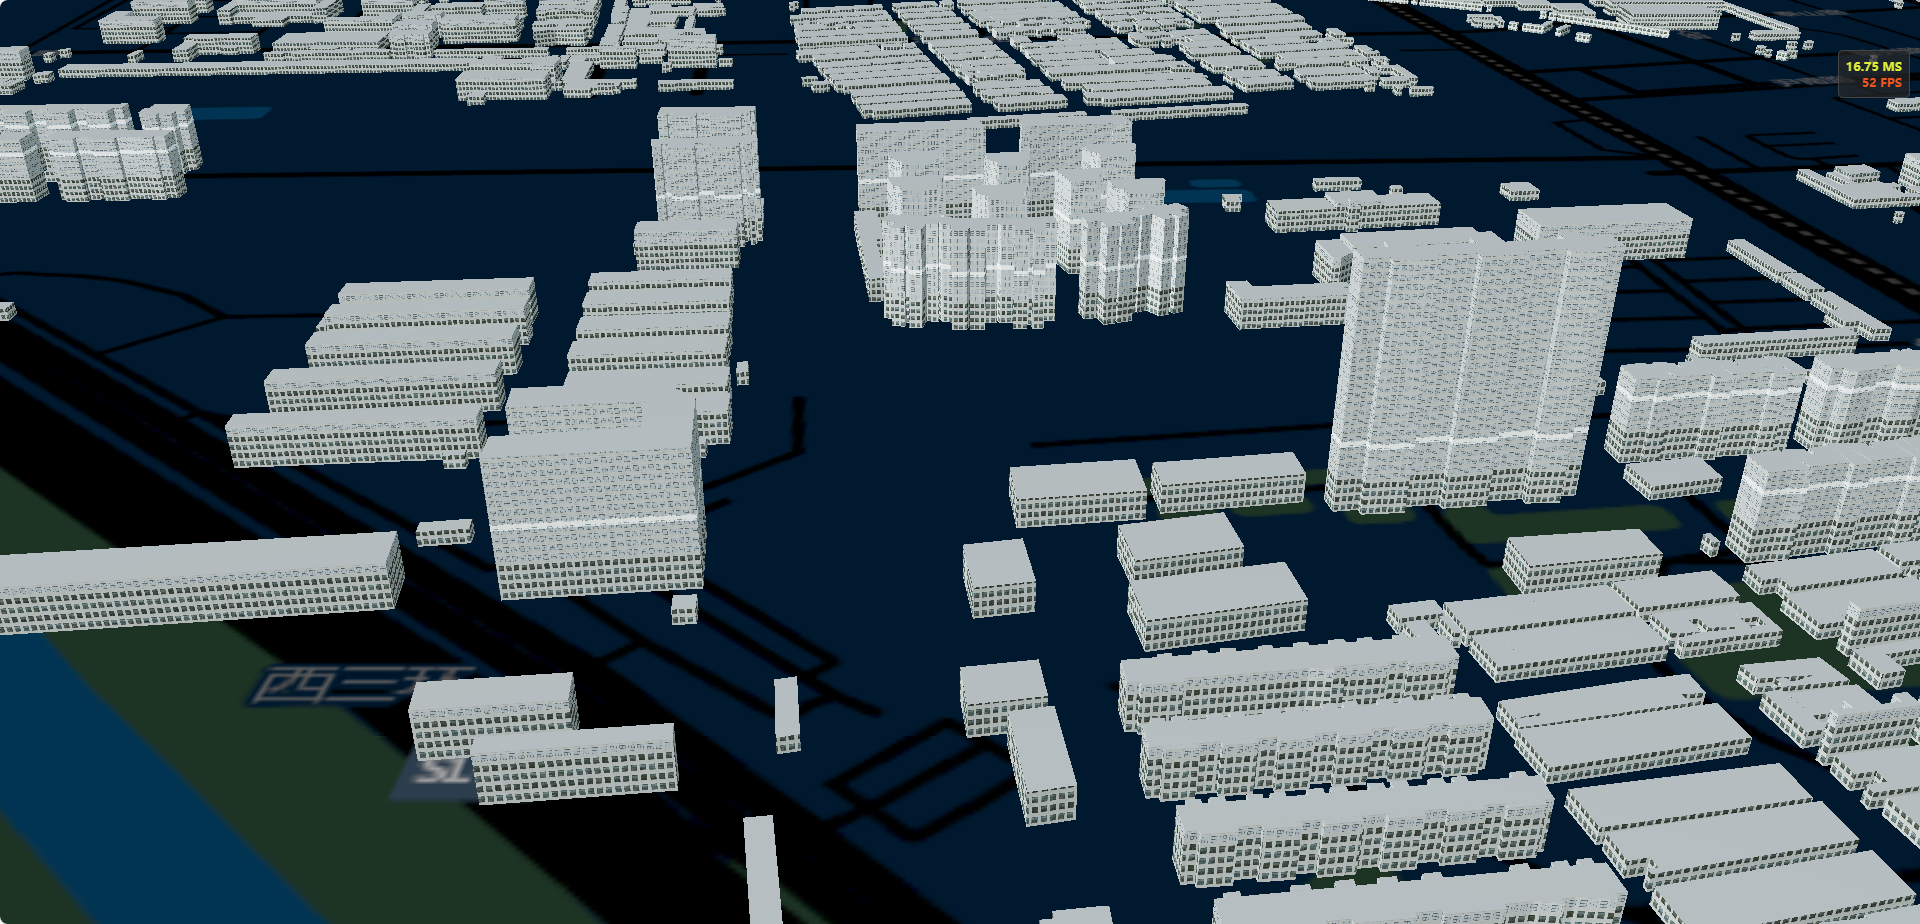
//加载楼栋白膜
let tileset
try {
    tileset = await Cesium.Cesium3DTileset.fromUrl(
        mapUrl + "/map/shijiazhuang/tileset.json"
    );
    viewer.scene.primitives.add(tileset);
} catch (error) {
    console.error(`Error creating tileset: ${error}`);
}


let customShader = new Cesium.CustomShader({ /** 定义shader */ })
tileset.customShader = customShader
效果一:纯渐变色
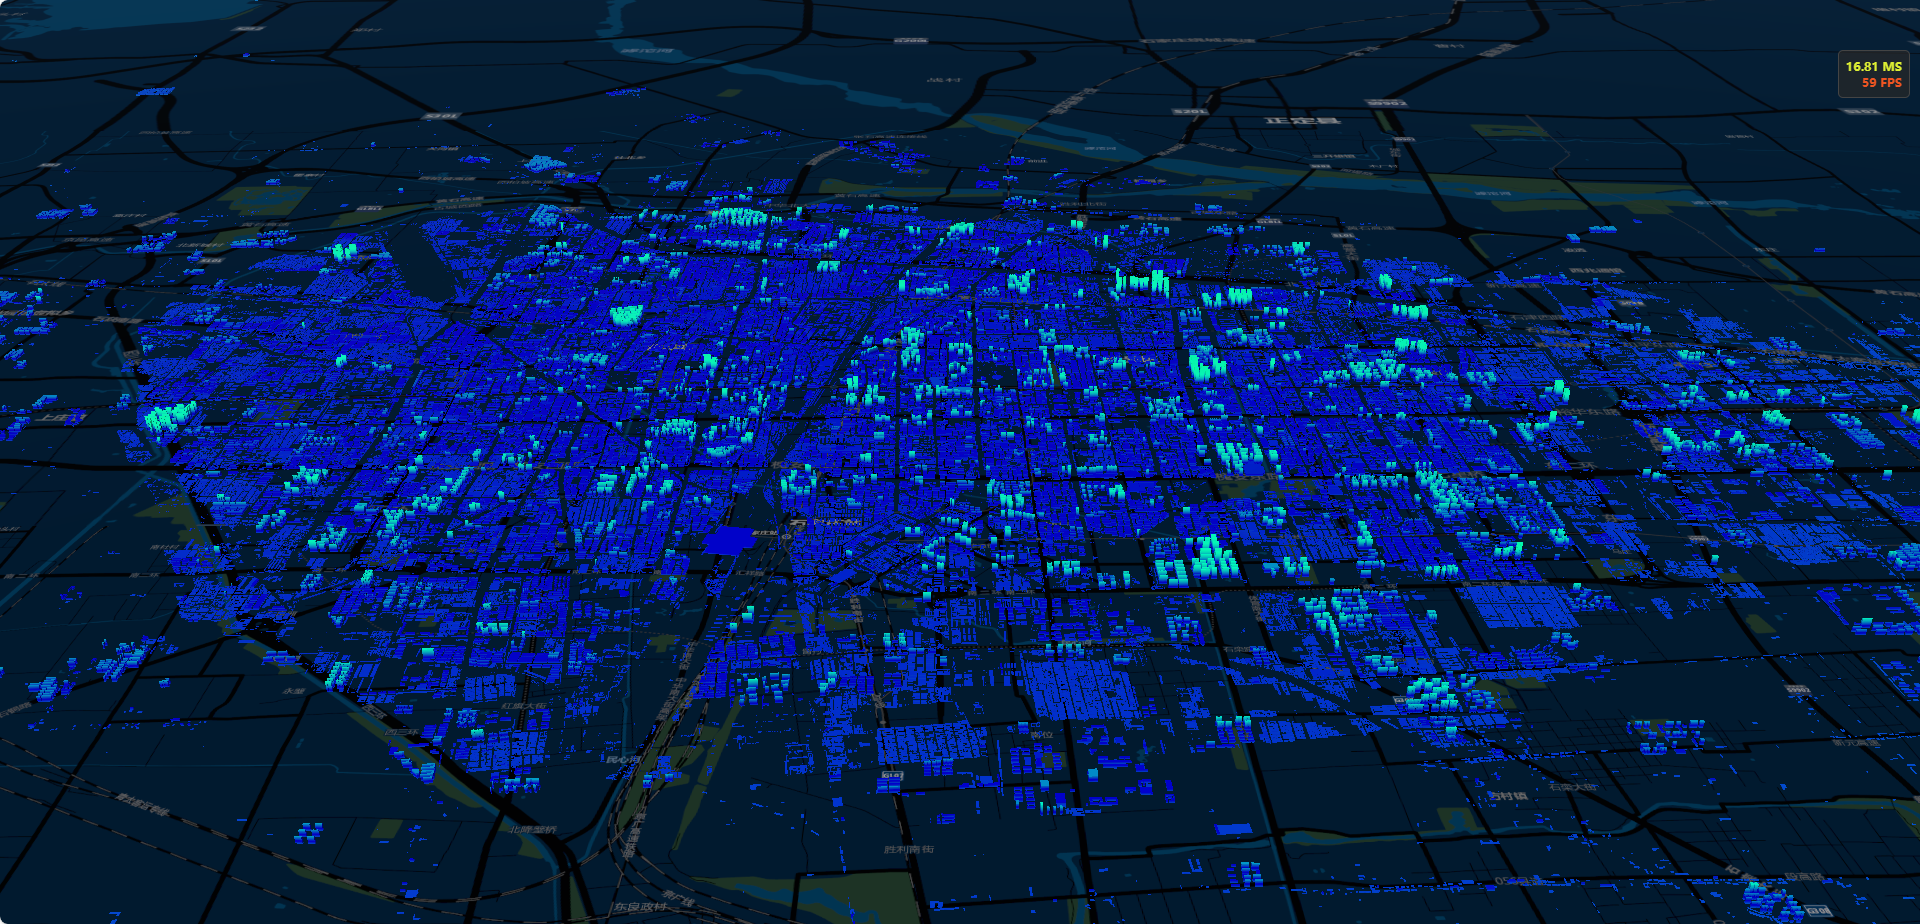
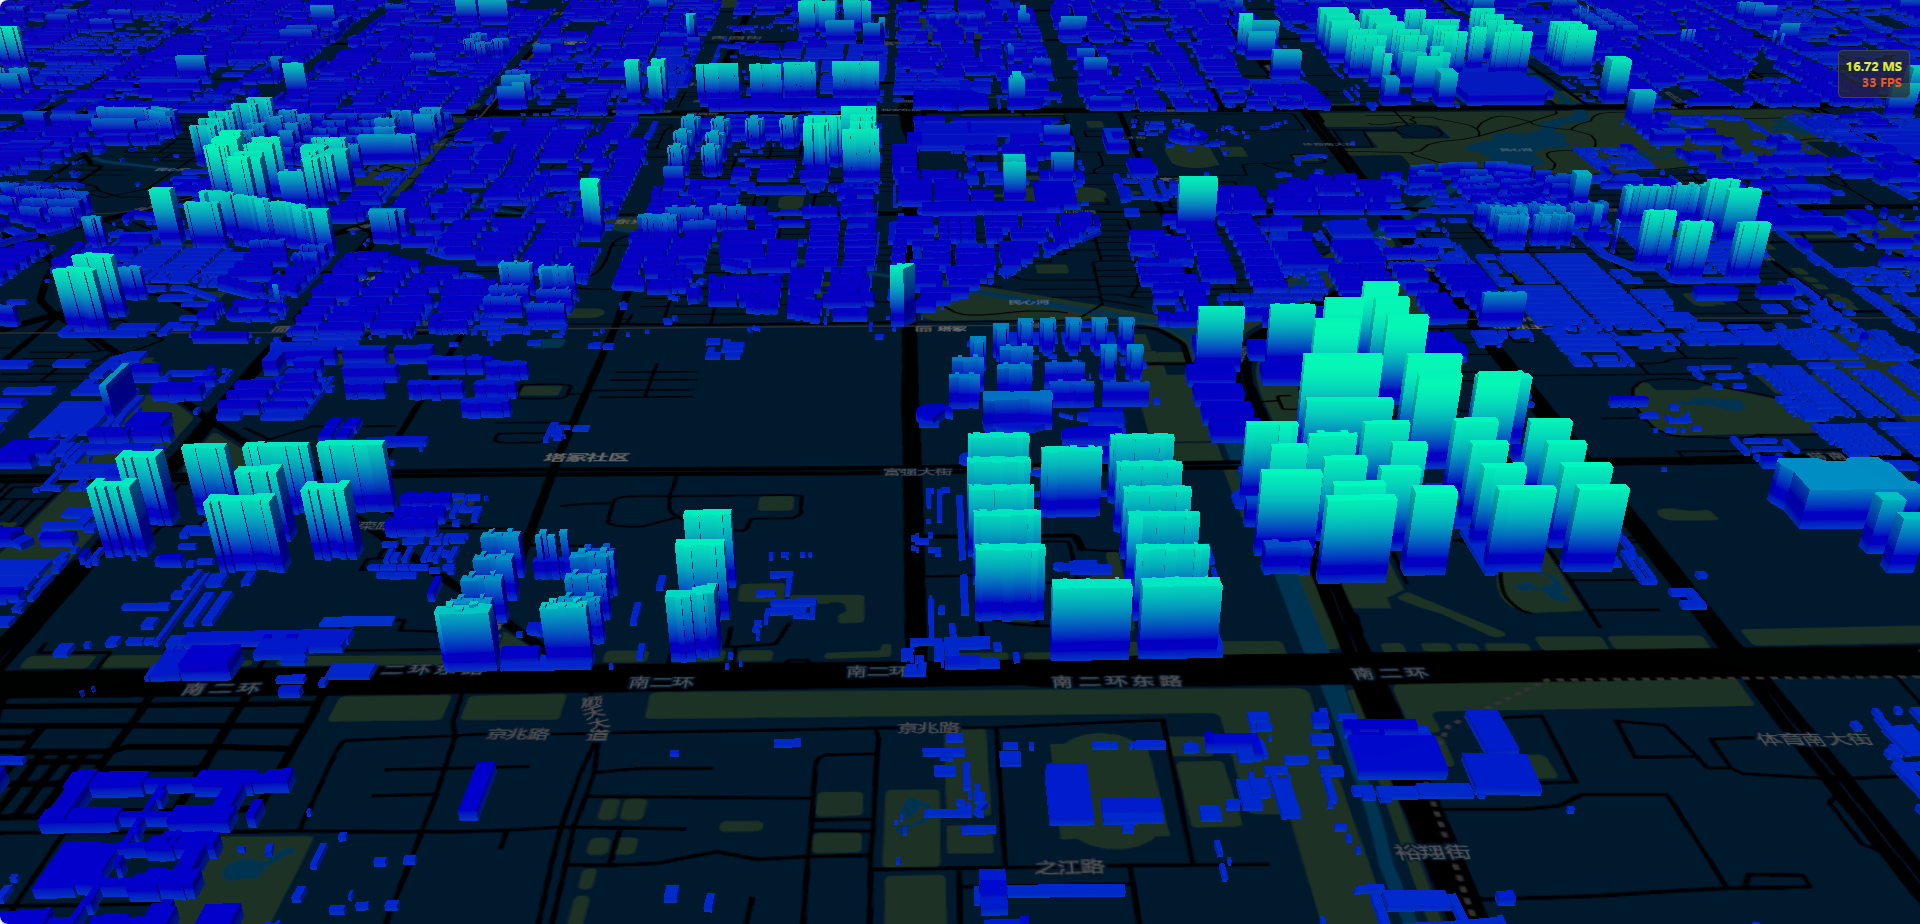
let customShader = new Cesium.CustomShader({
    //片元着色器
    fragmentShaderText: `
        void fragmentMain(FragmentInput fsInput, inout czm_modelMaterial material) {
            vec3 positionMC = fsInput.attributes.positionMC;
            material.diffuse = vec3(0.0, 1.0-positionMC.y*0.005, 1.0-positionMC.y*0.0015);
        }`
})
效果二:根据高度显示不同的贴图
其中有个疑惑,当if (positionMC.y > 200.0)时,才能在建筑物十几米高度处显示不同的贴图。
可目前建筑物高度是十几米、海拔高度是八十米,这里的200,对不上绝对高度,也对不上相对高度,不知道这里为何是这样,可自行多修改一些值,找到合适的


let customShader = new Cesium.CustomShader({
    // lightingModel: Cesium.LightingModel.UNLIT,
    //  lightingModel: Cesium.LightingModel.PBR,
    //设置变量,由顶点着色器传递给片元着色器
    varyings: {
        v_normalMC: Cesium.VaryingType.VEC3,
        v_st: Cesium.VaryingType.VEC3
    },
    //外部传给顶点着色器或者片元着色器
    uniforms: {
        u_texture: {
            value: new Cesium.TextureUniform({
                url: mapUrl + "/assets/1.png"
            }),
            type: Cesium.UniformType.SAMPLER_2D
        },
        u_texture1: {
            value: new Cesium.TextureUniform({
                url: mapUrl + "/assets/2.png"
            }),
            type: Cesium.UniformType.SAMPLER_2D
        }
    },
    //贴纹理
    //顶点着色器
    //将法向量从顶点着色器设置变量传给片元着色器
    vertexShaderText: `
        void vertexMain(VertexInput vsInput, inout czm_modelVertexOutput vsOutput) {
                v_normalMC = vsInput.attributes.normalMC;
                v_st=vsInput.attributes.positionMC ;
        }`,
    //片元着色器
    fragmentShaderText: `
        void fragmentMain(FragmentInput fsInput, inout czm_modelMaterial material) {
            vec3 positionMC = fsInput.attributes.positionMC;
            //这里是设置要贴图的图片的尺寸,设置小了会重复
            float width = 10.0;
            float height = 7.0;
            vec3 rgb;
            //这是是设置了屋顶的颜色,当和法向量平行时,就是屋顶,这里设置0.95,相当于垂直,建筑物四周开始贴图
            if (dot(vec3(0.0, 1.0, 0.0), v_normalMC) > 0.95) {
                material.diffuse = vec3(0.65, 0.65, 0.65);
            } else {
                float textureX = 0.0;
                float dotYAxis = dot(vec3(0.0, 0.0, 1.0), v_normalMC);
                // cos(45deg) 约等于 0.71,这里是建筑物四周的向量与法向量会大于四十五度夹角
                if (dotYAxis > 0.71 || dotYAxis < -0.71) {
                //x代表的是前后面
                    textureX = mod(positionMC.x, width) / width;
                } else {
                //z代表的是左右面
                    textureX = mod(positionMC.z, width) / width;
                }
                float textureY = mod(positionMC.y, height) / height;
                //我这里是根据建筑物高度贴了两张不同的图片
                if (positionMC.y > 200.0) {
                    rgb = texture(u_texture, vec2(textureX, textureY)).rgb;
                } else {
                    rgb = texture(u_texture1, vec2(textureX, textureY)).rgb;
                }

                material.diffuse = rgb;
            }
        }`
})
效果三:纯渐变色+动态光圈
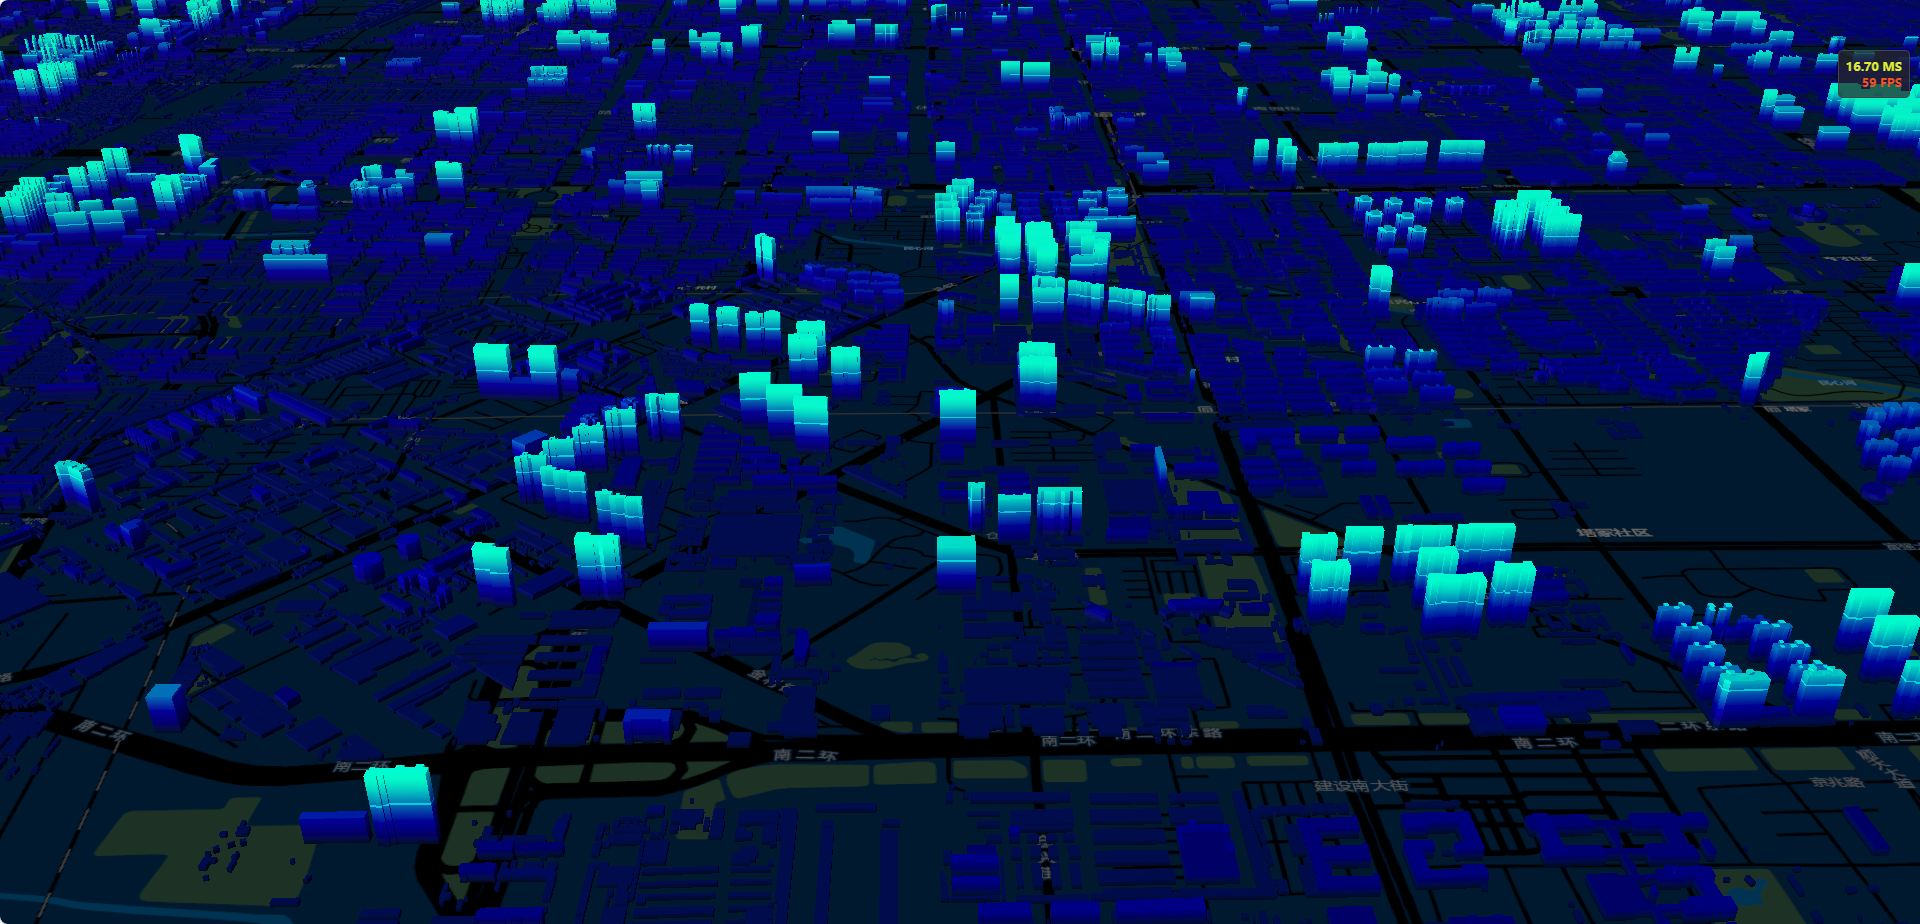
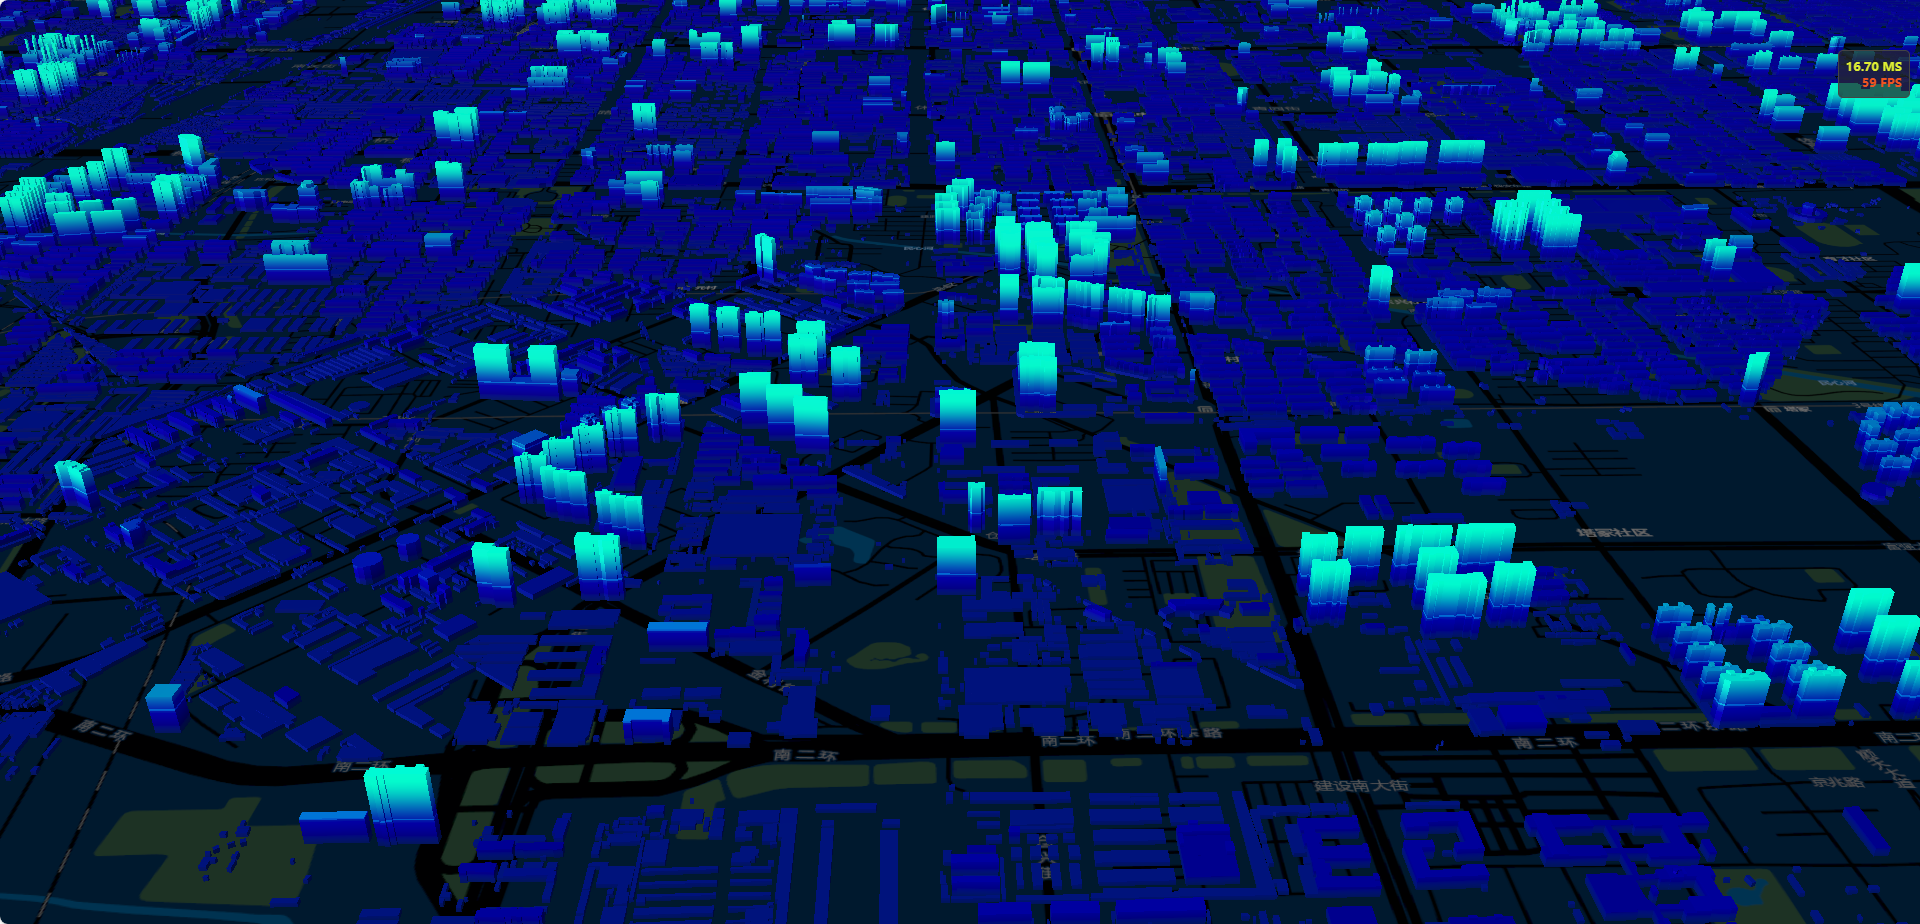
let customShader = new Cesium.CustomShader({
    //片元着色器
    fragmentShaderText: `
        void fragmentMain(FragmentInput fsInput, inout czm_modelMaterial material) {
            vec3 positionMC = fsInput.attributes.positionMC;
            material.diffuse = vec3(0.0, 1.0-positionMC.y*0.005, 1.0-positionMC.y*0.0015);

            float _baseHeight = 180.0; // 物体的基础高度,需要修改成一个合适的建筑基础高度
            float _heightRange = 60.0; // 高亮的范围(_baseHeight ~ _baseHeight + _heightRange) 默认是 0-60米
            float _glowRange = 120.0; // 光环的移动范围(高度)

            float vtxf_height = fsInput.attributes.positionMC.y - _baseHeight;
            float vtxf_a11 = fract(czm_frameNumber / 360.0) * 3.14159265 * 2.0; //此处括号内分母为移动速度
            float vtxf_a12 = vtxf_height / _heightRange + sin(vtxf_a11) * 0.1;
            material.diffuse *= vec3(vtxf_a12, vtxf_a12, vtxf_a12);

            float vtxf_a13 = fract(czm_frameNumber / 360.0); //此处括号内分母为移动速度,数值越大,速度越慢
            float vtxf_h = clamp(vtxf_height / _glowRange, 0.0, 1.0);
            vtxf_a13 = abs(vtxf_a13 - 0.5) * 2.0;
            float vtxf_diff = step(0.01, abs(vtxf_h - vtxf_a13)); // 0.1 为高亮光条的范围(粗细)
            material.diffuse += material.diffuse * (1.0 - vtxf_diff);
        }`
})
提示
效果三的动态光线效果的有效代码,移动至效果二,也可两种效果叠加显示;同理高亮效果也可叠加展示
let customShader = new Cesium.CustomShader({
    // lightingModel: Cesium.LightingModel.UNLIT,
    //  lightingModel: Cesium.LightingModel.PBR,
    //设置变量,由顶点着色器传递给片元着色器
    varyings: {
        v_normalMC: Cesium.VaryingType.VEC3,
        v_st: Cesium.VaryingType.VEC3
    },
    //外部传给顶点着色器或者片元着色器
    uniforms: {
        u_texture: {
            value: new Cesium.TextureUniform({
                url: mapUrl + "/assets/1.png"
            }),
            type: Cesium.UniformType.SAMPLER_2D
        },
        u_texture1: {
            value: new Cesium.TextureUniform({
                url: mapUrl + "/assets/2.png"
            }),
            type: Cesium.UniformType.SAMPLER_2D
        }
    },
    //贴纹理
    //顶点着色器
    //将法向量从顶点着色器设置变量传给片元着色器
    vertexShaderText: `
    void vertexMain(VertexInput vsInput, inout czm_modelVertexOutput vsOutput) {
            v_normalMC = vsInput.attributes.normalMC;
            v_st=vsInput.attributes.positionMC ;
    }`,
    //片元着色器
    fragmentShaderText: `
    void fragmentMain(FragmentInput fsInput, inout czm_modelMaterial material) {
        vec3 positionMC = fsInput.attributes.positionMC;
        //这里是设置要贴图的图片的尺寸,设置小了会重复
        float width = 10.0;
        float height = 7.0;
        vec3 rgb;
        //这是是设置了屋顶的颜色,当和法向量平行时,就是屋顶,这里设置0.95,相当于垂直,建筑物四周开始贴图
        if (dot(vec3(0.0, 1.0, 0.0), v_normalMC) > 0.95) {
            material.diffuse = vec3(0.65, 0.65, 0.65);
        } else {
            float textureX = 0.0;
            float dotYAxis = dot(vec3(0.0, 0.0, 1.0), v_normalMC);
            // cos(45deg) 约等于 0.71,这里是建筑物四周的向量与法向量会大于四十五度夹角
            if (dotYAxis > 0.71 || dotYAxis < -0.71) {
            //x代表的是前后面
                textureX = mod(positionMC.x, width) / width;
            } else {
            //z代表的是左右面
                textureX = mod(positionMC.z, width) / width;
            }
            float textureY = mod(positionMC.y, height) / height;
            //我这里是根据建筑物高度贴了两张不同的图片
            if (positionMC.y > 200.0) {
                rgb = texture(u_texture, vec2(textureX, textureY)).rgb;
            } else {
                rgb = texture(u_texture1, vec2(textureX, textureY)).rgb;
            }

            material.diffuse = rgb;


            //此处以下为光线效果
            float _baseHeight = 180.0; // 物体的基础高度,需要修改成一个合适的建筑基础高度
            float _glowRange = 120.0; // 光环的移动范围(高度)

            float vtxf_height = fsInput.attributes.positionMC.y - _baseHeight;

            float vtxf_a13 = fract(czm_frameNumber / 360.0); //此处括号内分母为移动速度,数值越大,速度越慢
            float vtxf_h = clamp(vtxf_height / _glowRange, 0.0, 1.0);
            vtxf_a13 = abs(vtxf_a13 - 0.5) * 2.0;
            float vtxf_diff = step(0.01, abs(vtxf_h - vtxf_a13)); // 0.1 为高亮光条的范围(粗细)
            material.diffuse += material.diffuse * (1.0 - vtxf_diff);
        }
    }`
})

 浙公网安备 33010602011771号