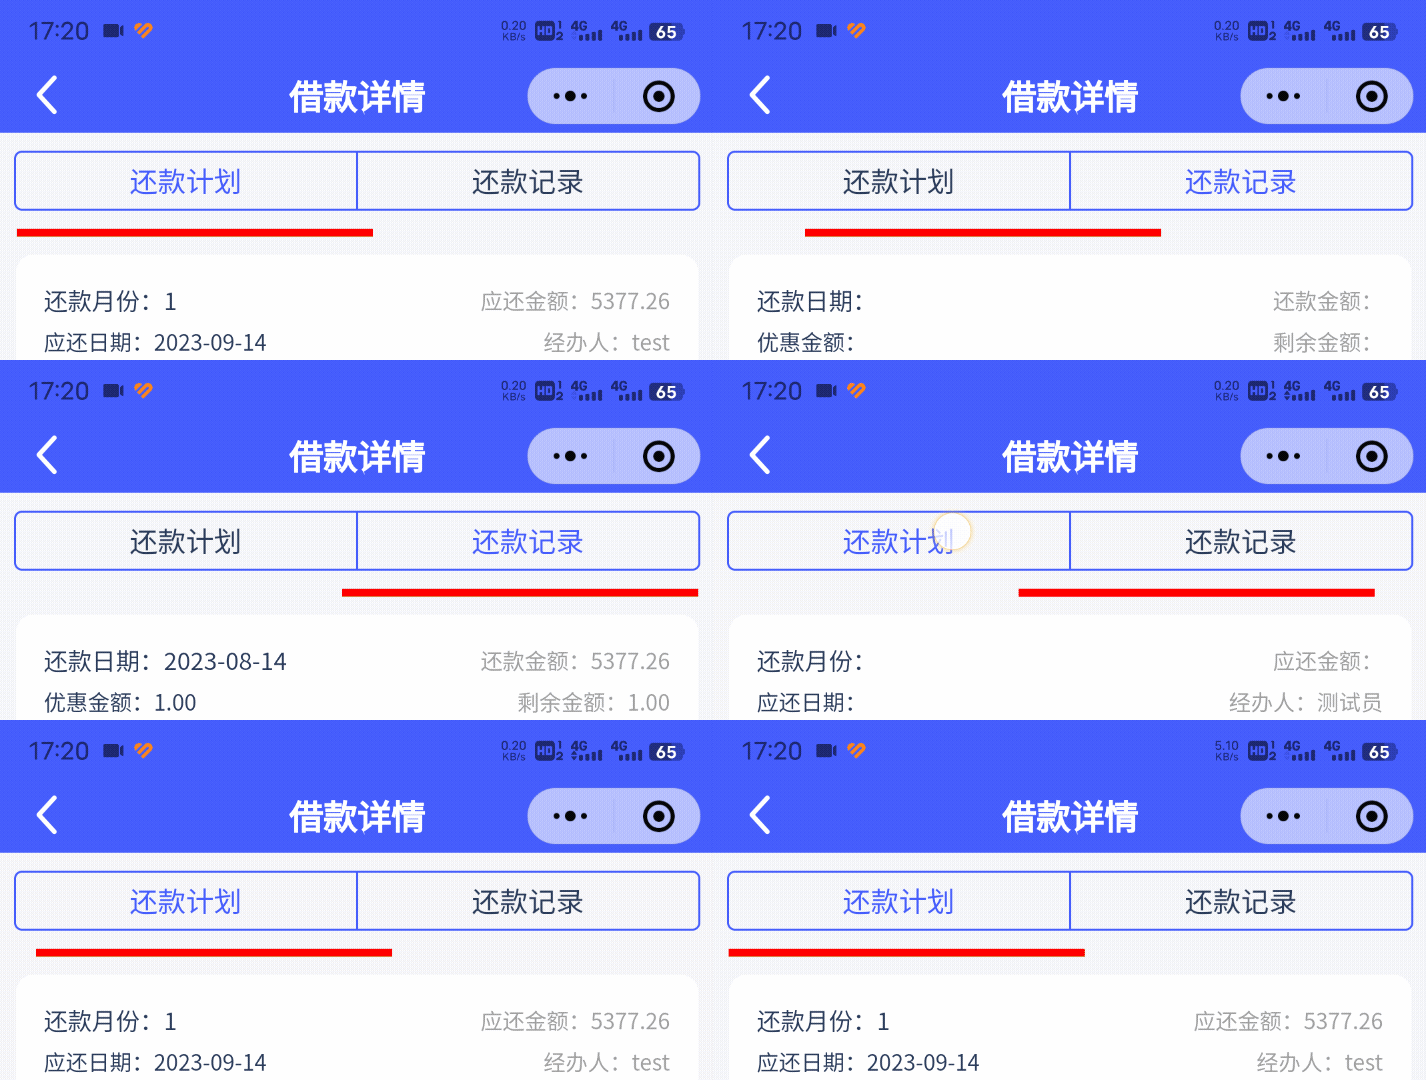
小程序手写tab切换下边框跟随移动特效

简单效果就是这样,主要是用到微信的动画和获取元素信息left处理。
具体来说就是先给红色的边一个固定位置,等到点击切换下一个按钮的时候,获取到下一个按钮的left信息,然后对红色边框使用translateX动画效果,代码如下:
wxml
<view class="tab">
    <view bindtap="changeType" id="a1" data-id="#a1" class="item {{typeIndex == 0 ? 'active' : ''}}" data-index="0">还款计划</view>
    <view bindtap="changeType" id="a2" data-id="#a2" class="item {{typeIndex == 1 ? 'active' : ''}}" data-index="1">还款记录</view>
</view>
<view animation="{{animationData}}" style="background:red;height:10rpx;width:178px"></view>
wxss
.tab {
    width: calc(100% - 40rpx);
    margin: 20rpx auto;
    border:1px solid #3F58FD;
    border-radius: 10rpx;
    display: flex;
    justify-content: space-between;
    height: 60rpx;
}
.tab .item {
    flex: 1;
    height: 60rpx;
    line-height: 60rpx;
    text-align: center;
    font-size: 30rpx;
    color: #243656;
}
.tab .item:first-child {
    border-right: 1px solid #3f58fd;
}
.tab .item.active {
    color: #3f58fd;
    font-weight: 600;
}
js
Page({
    data: {
        typeIndex:0,
        animationData: {}
    },
    onShow: function(){
        var animation = wx.createAnimation({
            duration: 500,
            timingFunction: 'ease',
        })
        this.animation = animation
        animation.translateX(10).step()
        this.setData({
            animationData:animation.export()
        })
    },
    changeType(e){
wx.createSelectorQuery().select(e.currentTarget.dataset.id).boundingClientRect(res=>{
            var animation = this.animation.translateX(res.left).step()
            this.setData({
                animationData:animation.export()
            })
        }).exec()
        this.setData({
            typeIndex:e.currentTarget.dataset.index
        })
    }
})


