
spring-cloud feign的多参数传递方案
一、GET请求多参数URL
1、方法一(推荐)
@FeignClient(“microservice-provider-user”)
public interface UserFeignClient {
@GetMapping("/get")
public User get0(@SpringQueryMap User user);
}
2、方法二(推荐)
@FeignClient(name = “microservice-provider-user”)
public interface UserFeignClient {
@RequestMapping(value = “/get”, method = RequestMethod.GET)
public User get1(@RequestParam(“id”) Long id, @RequestParam(“username”) String username);
}
这是最为直观的方式,URL有几个参数,Feign接口中的方法就有几个参数。使用@RequestParam注解指定请求的参数是什么
java开发工具下载地址及安装教程大全,点这里。
更多深度技术文章,在这里。
3、方法三(不推荐)
多参数的URL也可使用Map来构建。当目标URL参数非常多的时候,可使用这种方式简化Feign接口的编写。
@FeignClient(name = “microservice-provider-user”)
public interface UserFeignClient {
@RequestMapping(value = “/get”, method = RequestMethod.GET)
public User get2(@RequestParam Map<String, Object> map);
}
在调用时,可使用类似以下的代码。
public User get(String username, String password) {
HashMap<String, Object> map = Maps.newHashMap();
map.put(“id”, “1”);
map.put(“username”, “张三”); return this.userFeignClient.get2(map);
}
注意:这种方式不建议使用。主要是因为可读性不好,而且如果参数为空的时候会有一些问题,例如map.put(“username”, null); 会导致microservice-provider-user 服务接收到的username是"" ,而不是null。
二、POST请求多参数URL
下面来讨论如何使用Feign构造包含多个参数的POST请求。假设服务提供者的Controller是这样编写的:
@RestController public class UserController {
@PostMapping("/post")
public User post(@RequestBody User user) {
…
}
}
我们要如何使用Feign去请求呢?答案非常简单,示例:
@FeignClient(name = “microservice-provider-user”)
public interface UserFeignClient {
@RequestMapping(value = “/post”, method = RequestMethod.POST)
public User post(@RequestBody User user);
}
原创文章,转载请注明出处。
java开发工具下载地址及安装教程大全,点这里。
更多深度技术文章,在这里。
一、准备工作( [原文链接](http://www.studyshare.cn/blog/details/1187/null))
前提条件:当且仅当 spring.cloud.consul.config.format=files 时,才可用git2consul管理配置,其他格式无法使用
1、在github或者gitee等建立远程仓库,并将consul配置文件放入远程仓库进行管理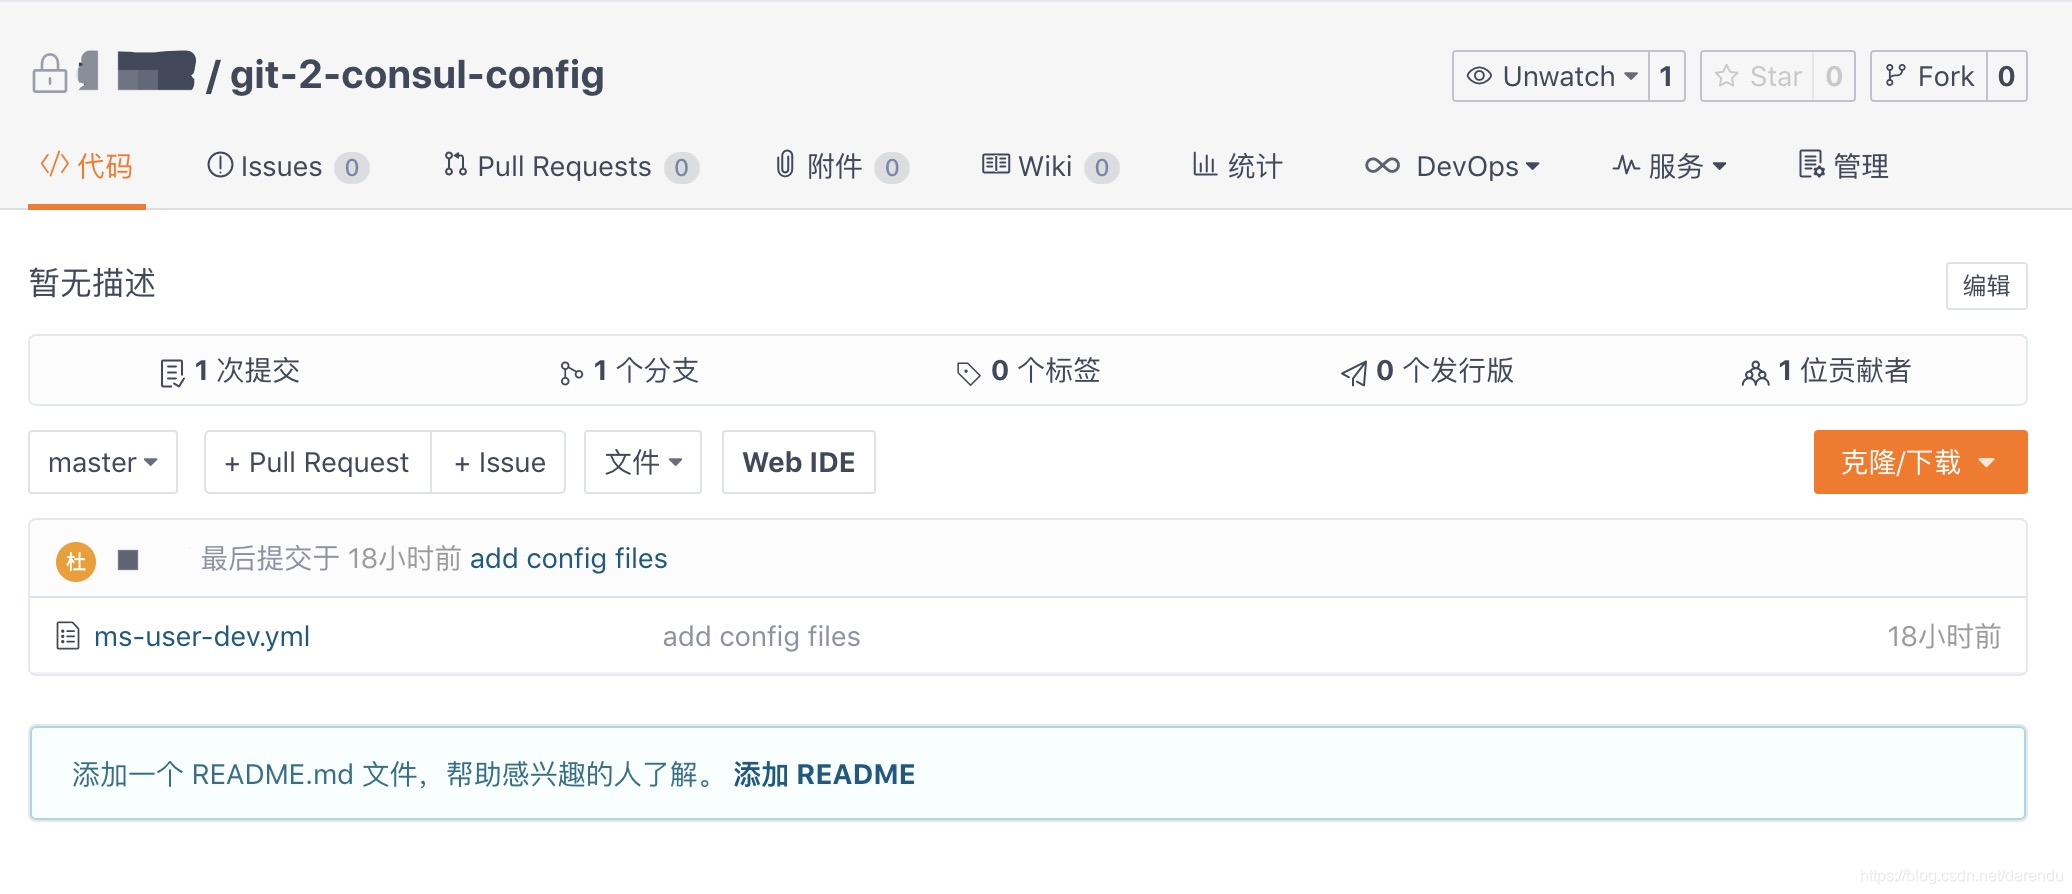java开发工具下载地址及安装教程大全,点[这里](http://www.studyshare.cn/software/index)。更多深度技术文章,在[这里](http://www.studyshare.cn/blog/index)。2、下载并安装node.js
(1)、下载
前往 https://nodejs.org/en/download/ 可下载最新版本Node.js;前往 https://nodejs.org/en/download/releases/ 可下载指定版本Node.js;根据自己的操作系统,下载安装即可
(2)、安装
基本都是按下一步走即可,此处省略
二、安装git2consul
mac系统:
执行:npm install -g git2consul 如果提示无权限
执行:sudo npm install -g git2consul 输入密码授权即可
windows系统:
执行:npm install -g git2consul-windows
三、配置git2consul
在远程仓库项目下新建git2consul.json文件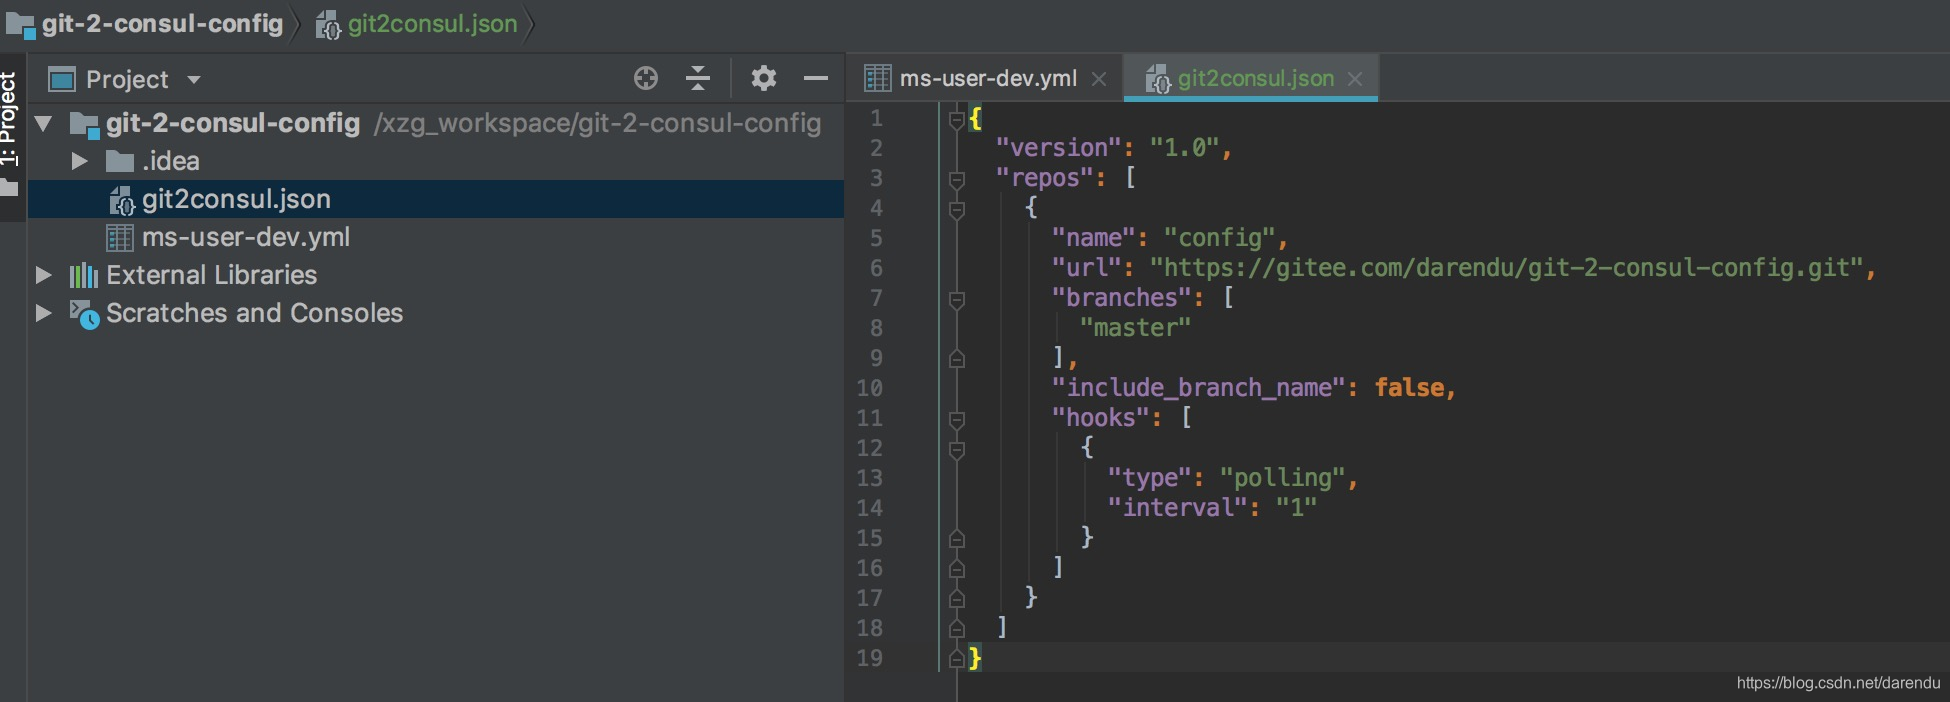加入以下内容:
{ // 配置版本 "version": "1.0", "repos": [ { // 名称,指的是在consul里面的目录名称 "name": "config", // 要同步的Git仓库 "url": "你的git仓库", "branches": [ // 要同步的分支 "master" ], // 是否要把分支名称作为Consul的key前缀 "include_branch_name": false, "hooks": [ { // 拉取模式 "type": "polling", // 同步的间隔(分钟) "interval": "1" } ] } ]}
其他选项参见:https://github.com/breser/git2consul四、启动git2consul
执行如下命令,即可启动git2consul
mac:git2consul --config-file /Users/itmuch/develop/git2consul.json
windows:git2consul-windows --config-file C:/xxxx/xxx/git2consul.json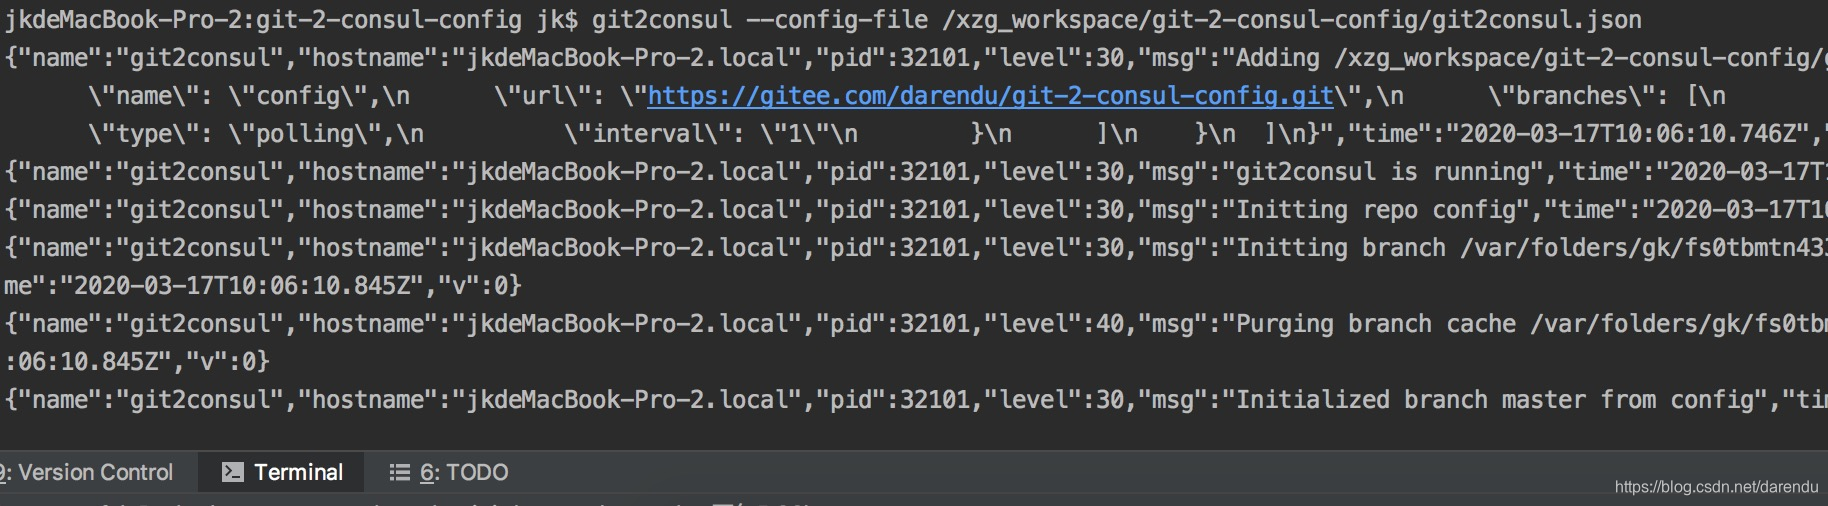五、查看是否成功
到consul上的key/value tab中查看是否注册上去了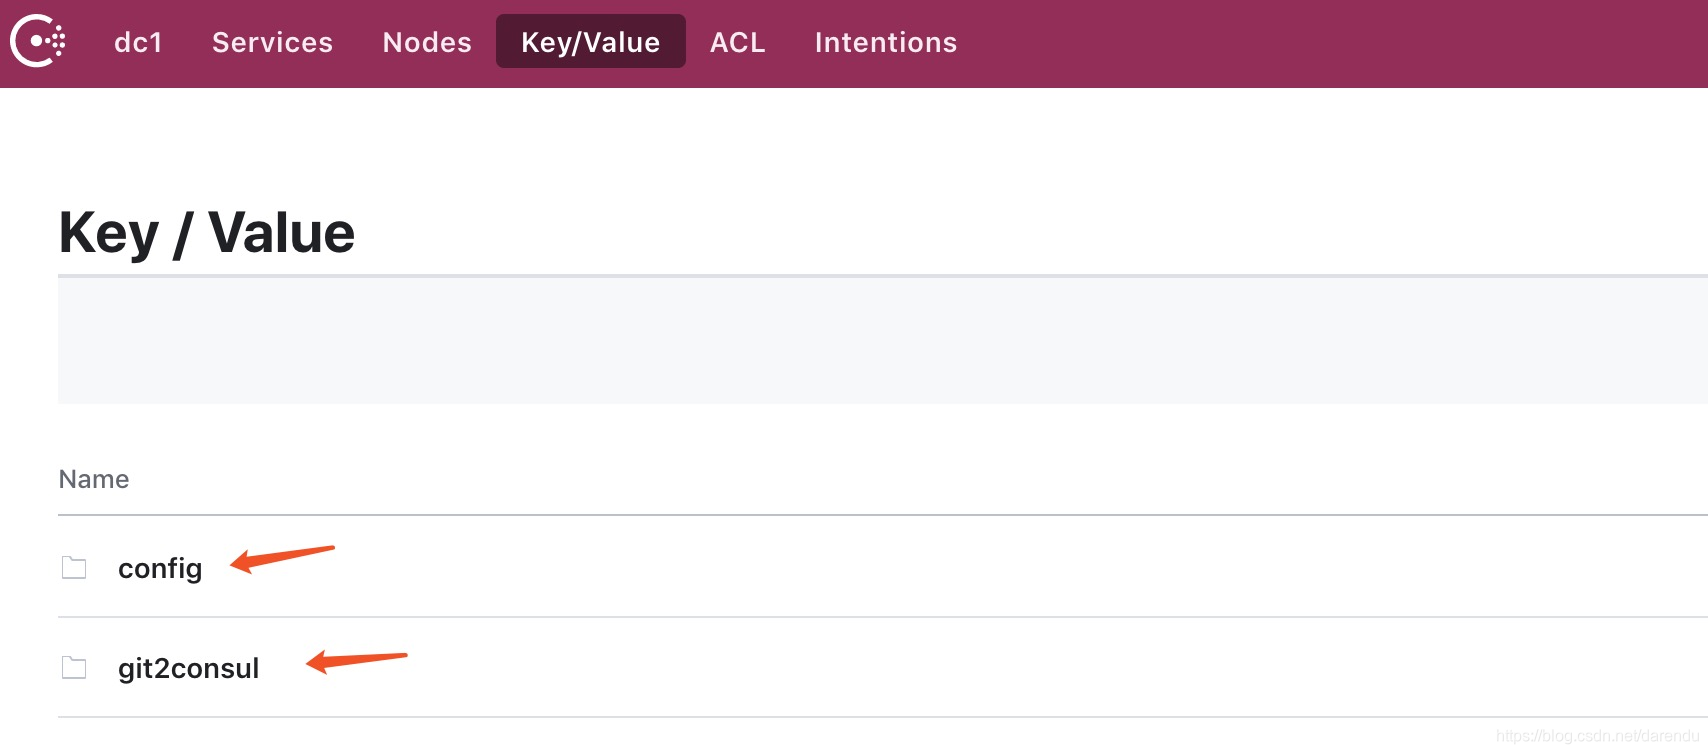原创文章,转载请注明出处。java开发工具下载地址及安装教程大全,点[这里](http://www.studyshare.cn/software/index)。更多深度技术文章,在[这里](http://www.studyshare.cn/blog/index)。

 浙公网安备 33010602011771号