VSC安装platform IO IDE
VSC配置platform IO IDE
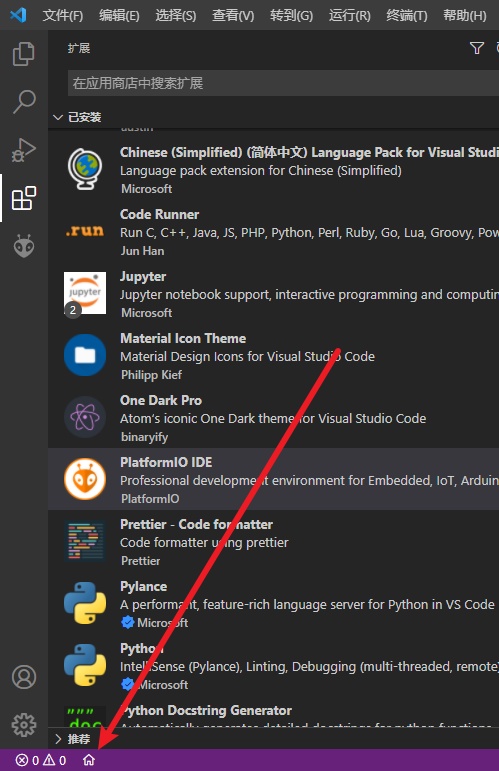
VSC要安装的扩展
安装以下5个插件(可选)
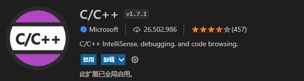


安装PlatformIO插件(必须)

如果不装上一步的5个插件,则必须确认在setting.json文件中,智能感知处于打开状态
"C_Cpp.intelliSenseEngine": "Default",
新建项目
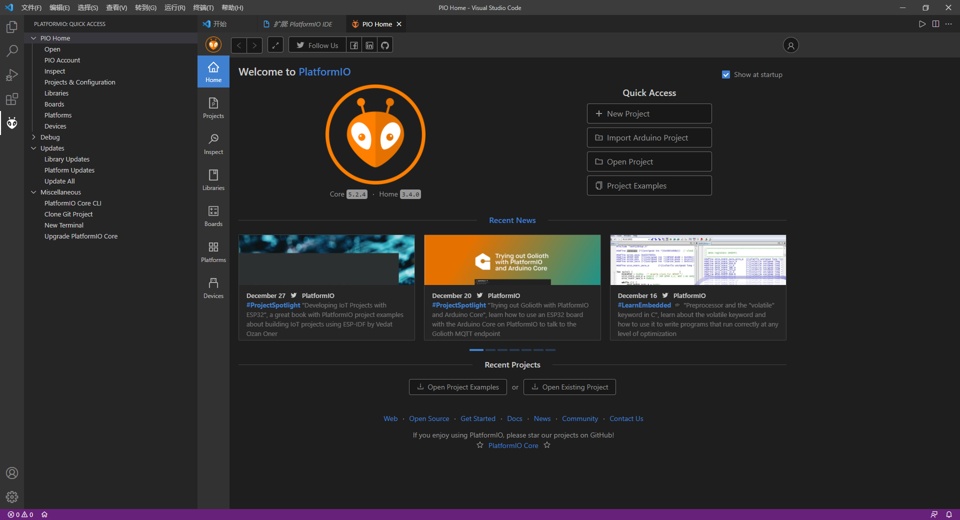
安装好以上PlatformIO IDE之后,在左下角会有一个紫色小房子图标,点击进入PlatformIO IDE首页
该扩展是默认运行的
随后即可弹出该首页
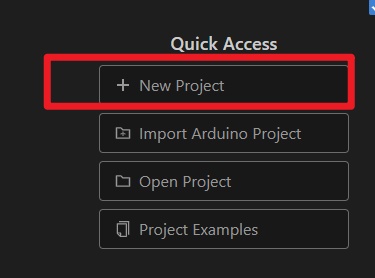
点击新建工程
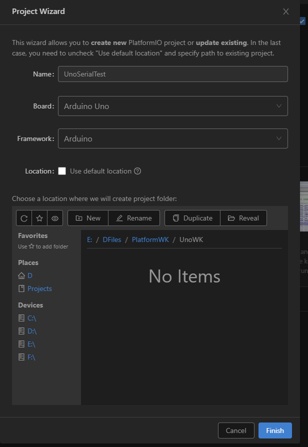
项目相关信息
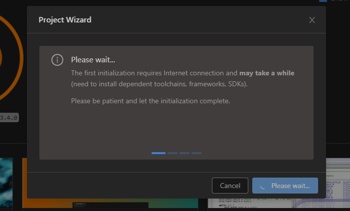
等待创建,第一次时间比较长
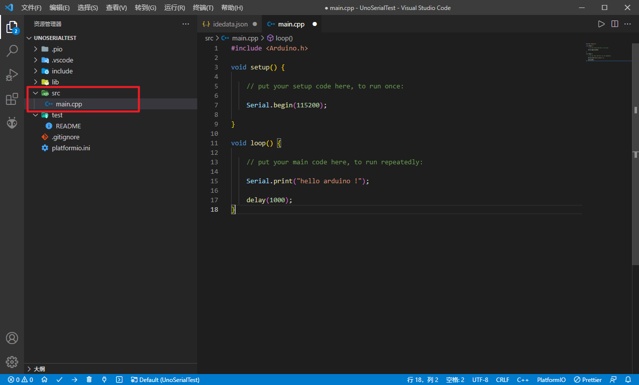
等待完成后会在设置目录下生成相对应文件夹,打开main.cpp文件,将测试代码粘贴替换。
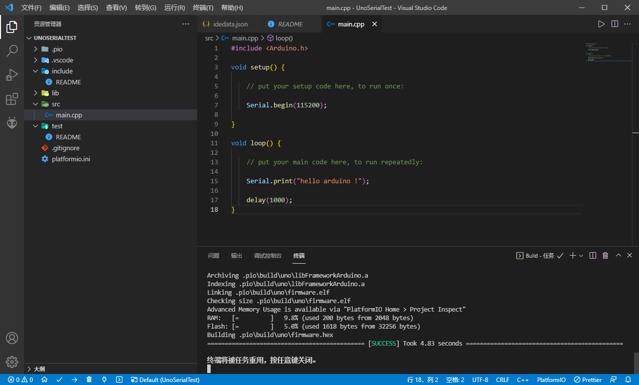
编译代码

编译成功
编译后,点击上传代码,上传完成自动跳到串口监视器终端
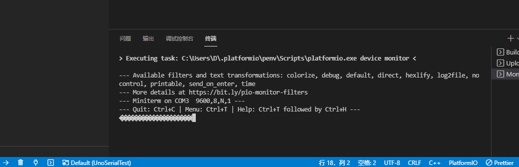
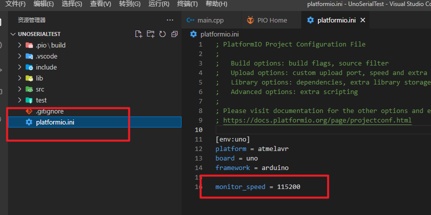
出现乱码是因为波特率不匹配,默认情况下,波特率是9600,程序里设置的是115200,只需在项目的platformio.ini文件中,添加:
monitor_speed = 115200
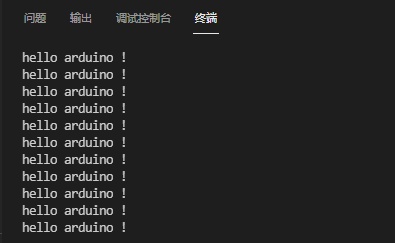
此时即可正常输出串口调试信息
测试代码
向串口循环打印"hello arduino !"字符串,间隔延时为1秒
#include <Arduino.h>

void setup() {

    // put your setup code here, to run once:

    Serial.begin(115200);

}

void loop() {

    // put your main code here, to run repeatedly:

    Serial.print("hello arduino !");

    delay(1000);
}

 浙公网安备 33010602011771号