2.19
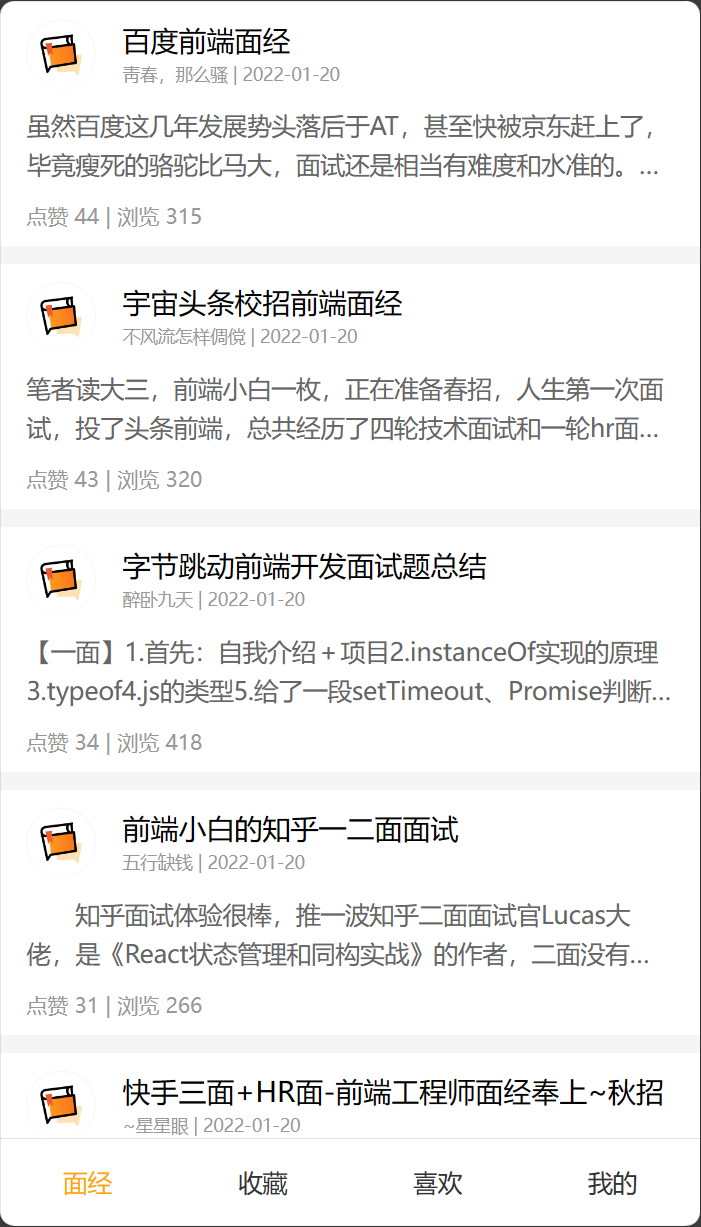
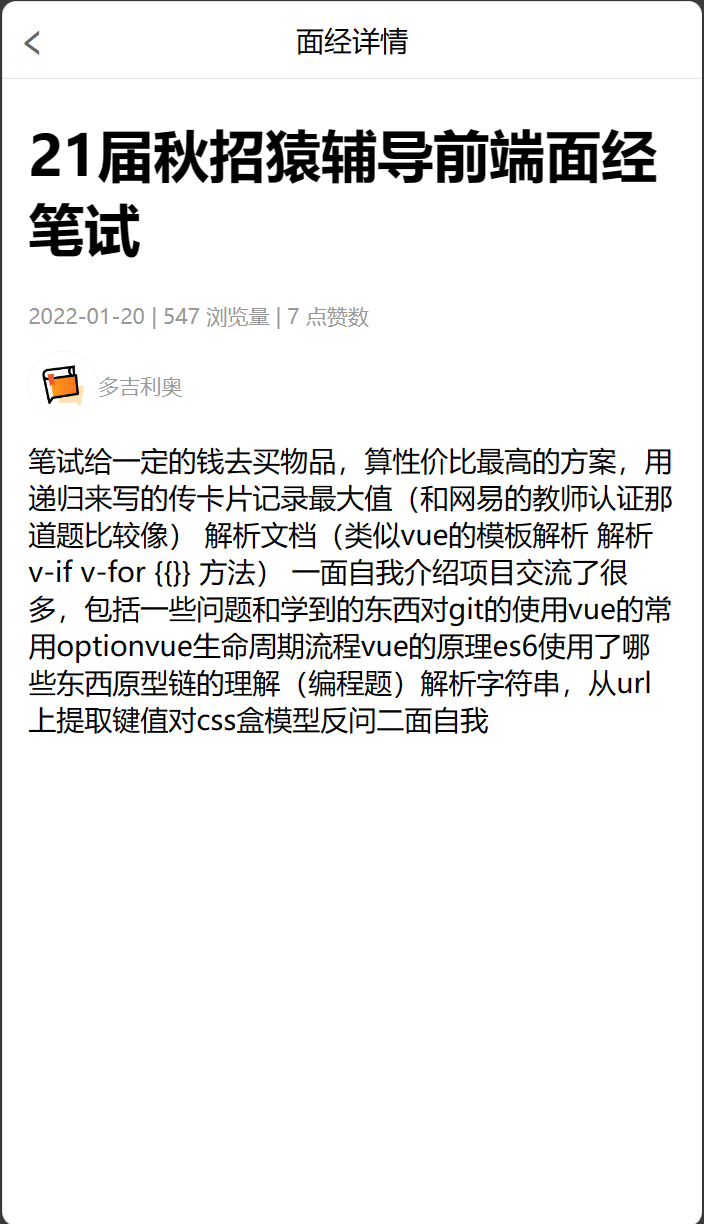
今天完成了一个移动端网页案例,面经基础版,更加深刻地理解了二级路由的设计,以及axios在vue中的使用方法,页面效果如下:


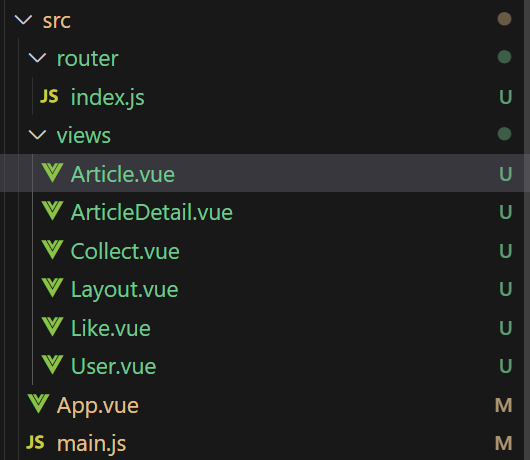
代码如下:

index.js
import Vue from 'vue'
import VueRouter from "vue-router";
import Layout from '@/views/Layout'
import ArticleDetail from '@/views/ArticleDetail'
import Article from '@/views/Article'
import Collect from '@/views/Collect'
import Like from '@/views/Like'
import User from '@/views/User'
Vue.use(VueRouter)

const router = new VueRouter({
  routes: [
    {
      path:'/',
      component:Layout,
      redirect:'/article',
      //通过children配置项,可以配置嵌套子路由
      children:[
        {
          path:'/article',
          component:Article,
        },
        {
          path:'/collect',
          component:Collect,
        },
        {
          path:'/Like',
          component:Like,
        },
        {
          path:'/User',
          component:User,
        }
      ]
    },
    {
      path:'/detail',
      component:ArticleDetail,
    },
  ]
})

export default router
main.js
import Vue from 'vue'
import App from './App.vue'
import router from './router'

Vue.config.productionTip = false

new Vue({
  render: h => h(App),
  router
}).$mount('#app')
App.vue
<template>
  <div class="h5-wrapper">
    <!-- 包裹了keep-alive 一级路由匹配的组件都会被缓存
    Layout组件 Detail组件,都会被缓存
    用keep-alive的三个属性来解决这个问题
    include: 组件名数组   ,只有匹配的组件会被缓存
    exclude: 组件名数组   ,这个数组中的任何组件都不会缓存,其余的会缓存
    其中组件名,优先使用name,如果没有 配置name,才会找文件名作为组件
    max: 最多缓存多少组件实例
   -->
    <keep-alive :include="['LayoutPage']">
      <router-view></router-view>
    </keep-alive>

  </div>
</template>

<script>
export default {
  name: "h5-wrapper",
}
</script>

<style>
body {
  margin: 0;
  padding: 0;
}
</style>
<style lang="less" scoped>
.h5-wrapper {
  .content {
    margin-bottom: 51px;
  }
  .tabbar {
    position: fixed;
    left: 0;
    bottom: 0;
    width: 100%;
    height: 50px;
    line-height: 50px;
    text-align: center;
    display: flex;
    background: #fff;
    border-top: 1px solid #e4e4e4;
    a {
      flex: 1;
      text-decoration: none;
      font-size: 14px;
      color: #333;
      -webkit-tap-highlight-color: transparent;
      &.router-link-active {
        color: #fa0;
      }
    }
  }
}
</style>
主页Layout.vue
<template>
  <div class="h5-wrapper">
    <div class="content">
      <!-- 二级路由出口 -->
      <router-view></router-view>
    </div>
    <nav class="tabbar">
      <!-- 导航高亮 -->
      <router-link to="/article">面经</router-link>
      <router-link to="/collect">收藏</router-link>
      <router-link to="/like">喜欢</router-link>
      <router-link to="/user">我的</router-link>
    </nav>
  </div>
</template>

<script>


export default {
  name: "LayoutPage",

}
</script>

<style>
body {
  margin: 0;
  padding: 0;
}
</style>
<style lang="less" scoped>
.h5-wrapper {
  .content {
    margin-bottom: 51px;
  }
  .tabbar {
    position: fixed;
    left: 0;
    bottom: 0;
    width: 100%;
    height: 50px;
    line-height: 50px;
    text-align: center;
    display: flex;
    background: #fff;
    border-top: 1px solid #e4e4e4;
    a {
      flex: 1;
      text-decoration: none;
      font-size: 14px;
      color: #333;
      -webkit-tap-highlight-color: transparent;
    }
    a.router-link-active{
      color:orange;
    }
  }
}
</style>
文章详情页 ArticleDetail.vue
<template>
<div class="article-detail-page">
<nav class="nav"><span class="back" @click="$router.back()"><</span> 面经详情</nav>
<header class="header">
<h1>{{article.stem}}</h1>
<p>{{ article.createdAt }} | {{ article.views }} 浏览量 | {{article.likeCount}} 点赞数</p>
<p>
<img
:src="article.creatorAvatar"
alt=""
/>
<span>{{ article.creatorName}}</span>
</p>
</header>
<main class="body">
{{ article.content }}
</main>
</div>
</template>
<script>
import axios from 'axios'
export default {
name: "ArticleDetailPage",
data() {
return {
article:{},
}
},
async created(){
const id=this.$route.query.id
const {data}=await axios.get(`https://mock.boxuegu.com/mock/3083/articles/${id}`)
this.article=data.result
console.log(this.article)
},
}
</script>
<style lang="less" scoped>
.article-detail-page {
.nav {
height: 44px;
border-bottom: 1px solid #e4e4e4;
line-height: 44px;
text-align: center;
.back {
font-size: 18px;
color: #666;
position: absolute;
left: 10px;
top: 0;
transform: scale(1, 1.5);
}
}
.header {
padding: 0 15px;
p {
color: #999;
font-size: 12px;
display: flex;
align-items: center;
}
img {
width: 40px;
height: 40px;
border-radius: 50%;
overflow: hidden;
}
}
.body {
padding: 0 15px;
}
}
</style>
其他三个页面未实装


 浙公网安备 33010602011771号