

账号设置(七)
一、访问账号设置页面
控制层UserController方法
    @GetMapping(path = "/setting")
    public String getSettingPage() {
        return "/site/setting";
    }
页面
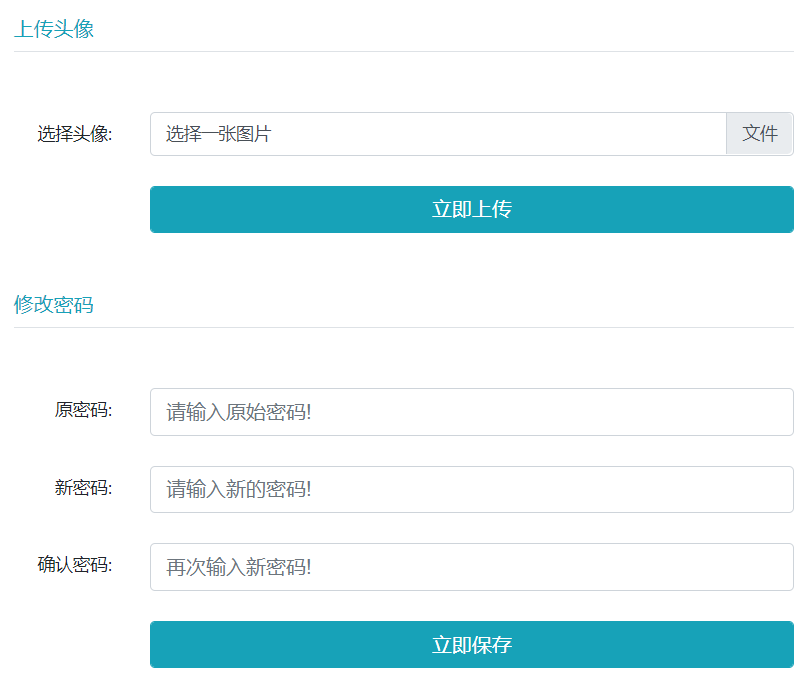
二、上传头像
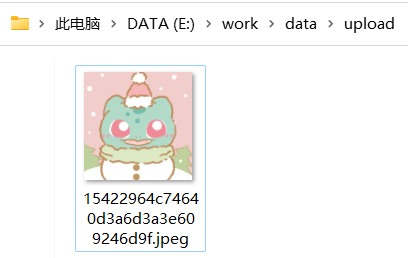
1.设置资源上传路径
application.yml
community:
  path:
    upload: e:/work/data/upload #文件上传路径
2.利用MultipartFile上传文件
MultipartFile是SpringMVC提供简化上传操作的工具类。
控制层UserController代码,上传文件要用POST方法,且表单的enctype属性必须设置为“multipart/form-data”
    //上传头像
    @GetMapping(path = "/upload")
    public String uploadHeader(MultipartFile headerImage, Model model) {
        if (headerImage == null) {
            model.addAttribute("error", "您还没有选择图片!");
            return "/site/setting";
        }

        String fileName = headerImage.getOriginalFilename();
        //获取文件格式
        String suffix = fileName.substring(fileName.lastIndexOf("."));
        if (StringUtils.isBlank(suffix)) {
            model.addAttribute("error", "文件的格式不正确!");
            return "/site/setting";
        }

        // 生成随机文件名
        fileName = CommunityUtils.generateUUID() + suffix;
        // 确定文件存放的路径
        File dest = new File(uploadPath + "/" + fileName);
        try {
            // 存储文件
            headerImage.transferTo(dest);
        } catch (IOException e) {
            logger.error("上传文件失败: " + e.getMessage());
            throw new RuntimeException("上传文件失败,服务器发生异常!", e);
        }

        // 更新当前用户的头像的路径(web访问路径)
        // http://localhost:8080/community/user/header/xxx.png
        User user = hostHolder.getUser();
        String headerUrl = domain + contextPath + "/user/header/" + fileName;
        userService.updateHeader(user.getId(), headerUrl);
        return "redirect:/index";
    }
访问路径设置为符合HTTP协议的Web路径
    //获得头像
    @GetMapping("/header/{fileName}")
    public void getHeader(@PathVariable("fileName") String fileName, HttpServletResponse response) {
        // 服务器存放路径
        fileName = uploadPath + "/" + fileName;
        // 文件后缀
        String suffix = fileName.substring(fileName.lastIndexOf("."));
        // 响应图片
        response.setContentType("image/" + suffix);
        try (
                FileInputStream fis = new FileInputStream(fileName);
                OutputStream os = response.getOutputStream();
        ) {
            byte[] buffer = new byte[1024];
            int b = 0;
            while ((b = fis.read(buffer)) != -1) {
                os.write(buffer, 0, b);
            }
        } catch (IOException e) {
            logger.error("读取头像失败: " + e.getMessage());
        }
    }
三、修改前端代码
setting.html
<!-- 上传头像 -->
<h6 class="text-left text-info border-bottom pb-2">上传头像</h6>
<form class="mt-5" method="post" enctype="multipart/form-data" th:action="@{/user/upload}">
	<div class="form-group row mt-4">
		<label for="head-image" class="col-sm-2 col-form-label text-right">选择头像:</label>
		<div class="col-sm-10">
			<div class="custom-file">
				<input type="file" th:class="|custom-file-input ${error!=null?'is-invalid':''}|"
						  id="head-image" name="headerImage" lang="es" required="">
				<label class="custom-file-label" for="head-image" data-browse="文件">选择一张图片</label>
				<div class="invalid-feedback" th:text="${error}">
					该账号不存在!
				</div>
			</div>
		</div>
	</div>
	<div class="form-group row mt-4">
		<div class="col-sm-2"></div>
		<div class="col-sm-10 text-center">
			<button type="submit" class="btn btn-info text-white form-control">立即上传</button>
		</div>
	</div>
</form>
选择头像

上传到服务器
数据库中更新url

修改后的头像


【推荐】国内首个AI IDE,深度理解中文开发场景,立即下载体验Trae
【推荐】编程新体验,更懂你的AI,立即体验豆包MarsCode编程助手
【推荐】抖音旗下AI助手豆包,你的智能百科全书,全免费不限次数
【推荐】轻量又高性能的 SSH 工具 IShell:AI 加持,快人一步
· winform 绘制太阳,地球,月球 运作规律
· AI与.NET技术实操系列(五):向量存储与相似性搜索在 .NET 中的实现
· 超详细:普通电脑也行Windows部署deepseek R1训练数据并当服务器共享给他人
· 【硬核科普】Trae如何「偷看」你的代码?零基础破解AI编程运行原理
· 上周热点回顾(3.3-3.9)