
tf中tensorboard的使用
1 安装tensorboard
pip install tensorboard
2 使用命令打开tensorboard并设置logdir
tensorboard --logdir logs #logs是我自己设置的log输出目录

根据提示打开web网页,我这里是http://localhost:6006/。
3 代码中创建log输出
创建log writer
import datatime
current_time = datetime.datetime.now().strftime("%Y%m%d-%H%M%S")
log_dir = 'logs/' + current_time
log_writer = tf.summary.create_file_writer(log_dir)
得到输出
with log_writer.as_default():
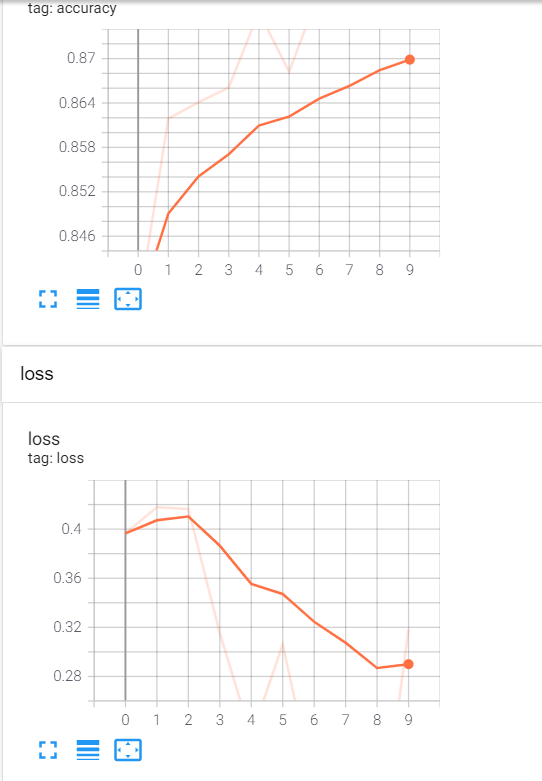
tf.summary.scalar('loss', float(loss2), step=epoch)
tf.summary.scalar('accuracy', float(total_correct/total_number), step=epoch)
然后在网页上可以看到这样的效果
4 保存训练中间图
这个很常见,有的时候可能需要查看某个训练时间段呢图片的效果,可以dump一下
通常是保存一张图片,如果需要一次性做拼接操作,可以自己写个tiler之类的方法。
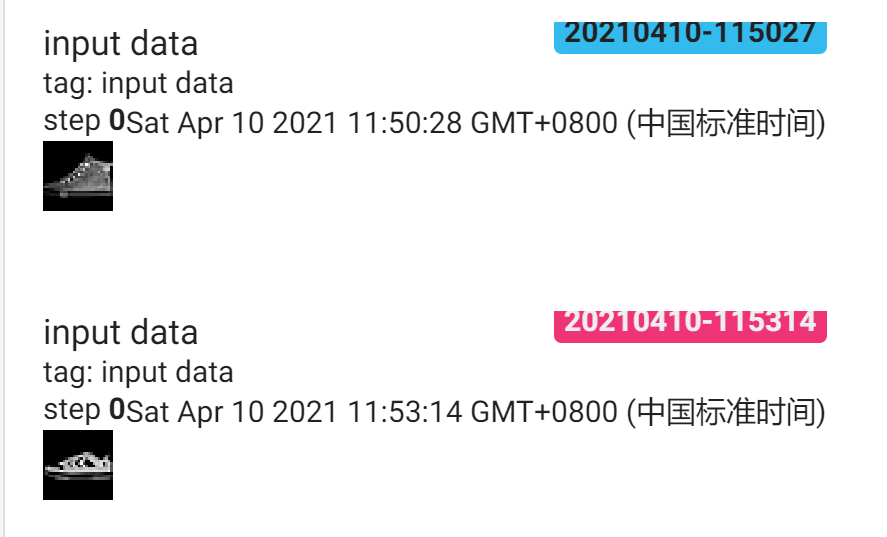
保存一张图片,比如我这里dump第一张图片
dump_img = next(iter(db))[0]
img = dump_img[0]
img = tf.reshape(img, [1,28,28,1])
with log_writer.as_default():
    tf.summary.image("input data", img, step=0)
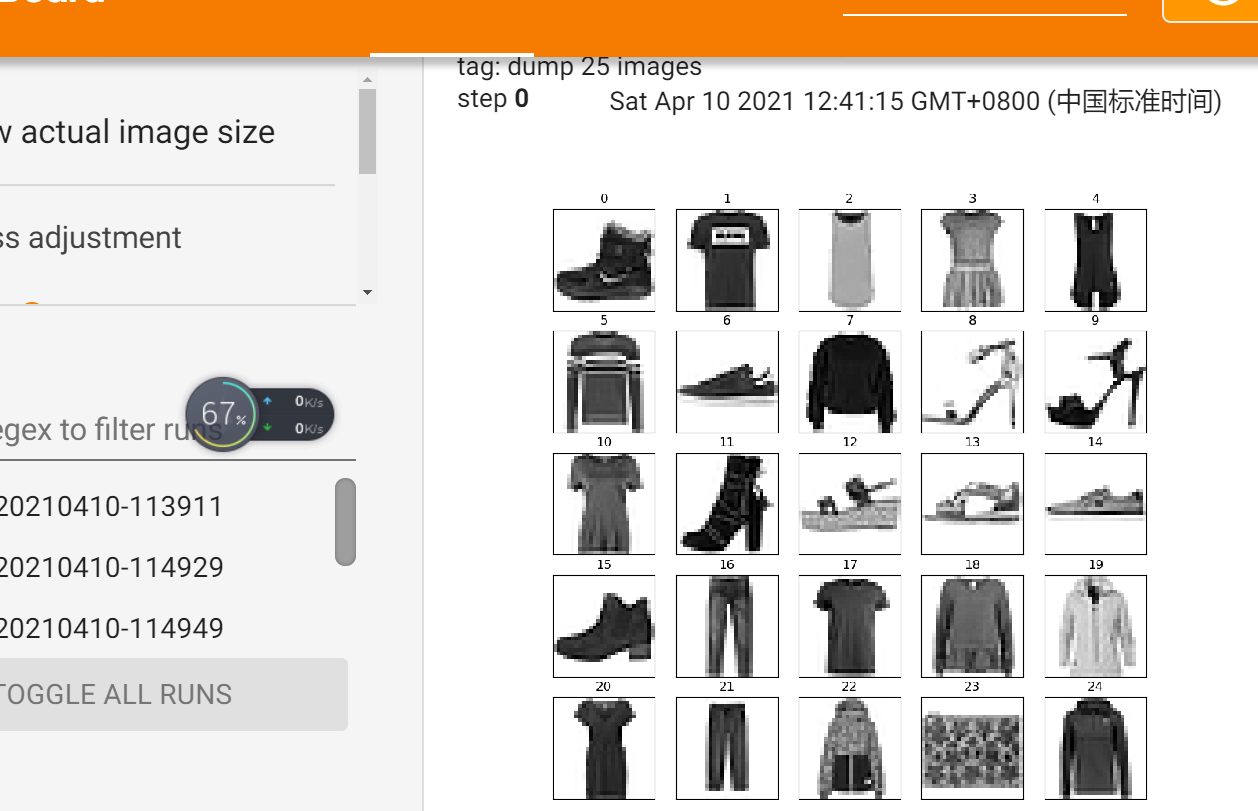
5. dump多张图片
import tensorflow as tf
import datetime
from matplotlib import pyplot as plt
import io

def image_tiler_concat(images):
    figure = plt.figure(figsize=(10, 10))
    for it in range(25):
        plt.subplot(5, 5, it + 1, title = str(it))
        plt.xticks([])
        plt.yticks([])
        plt.grid(False)
        plt.imshow(images[it], cmap=plt.cm.binary)
    return  figure

def plot2image(figure):
    buf = io.BytesIO()
    plt.savefig(buf, format='png')
    plt.close(figure)
    buf.seek(0)
    image = tf.image.decode_png(buf.getvalue(),channels=4)
    image = tf.expand_dims(image,0)
    return image

(x, y), (x_test, y_test) =  datasets.fashion_mnist.load_data()
current_time = datetime.datetime.now().strftime("%Y%m%d-%H%M%S")
log_dir = 'logs/' + current_time
log_writer = tf.summary.create_file_writer(log_dir)

dump_imgs = x[0:25]
fig = image_tiler_concat(dump_imgs)
with log_writer.as_default():
    tf.summary.image("dump 25 images", plot2image(fig), step=0)
6 效果

 浙公网安备 33010602011771号