Django simple_tag,filte,分页以及cookie和装饰器
自定义simple_tag
在Django中包含了很多内置的方法:
这里通过lower实现
在views视图函数中写如下代码:
from django.shortcuts import render

def tp3(request):
    name = 'ABCDEFG'
    return render(request,"tp3.html",{'name':name})
在urls路由关系中添加如下:
from cmdb import views

urlpatterns = [
    path('tp3/', views.tp3),

]
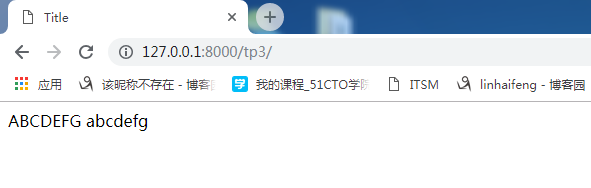
tp3.html文件内容如下:
<!DOCTYPE html>
<html lang="en">
<head>
    <meta charset="UTF-8">
    <title>Title</title>
</head>
<body>
    {{ name }}
    {{ name|lower }}
</body>
</html>
最后效果如下:
自定义方法
使用simple_tag的方法:
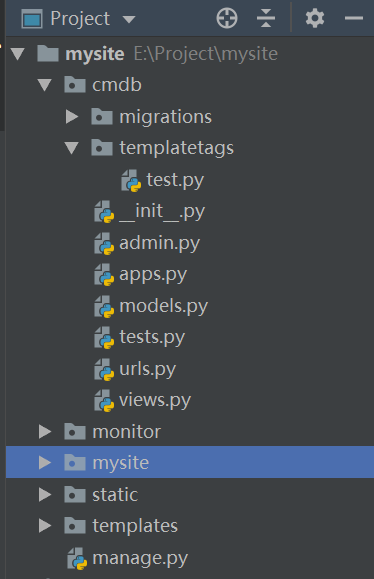
1、 在cmdb下创建templatetags目录
2、 创建任意py文件
3、 创建template对象register
4、 @register.simple_tag
def func()
如果函数有参数:
def func(a1,a2)
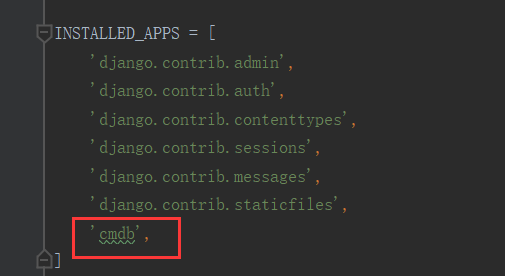
5、 在settings配置文件注册cmdb
6、 在页面文件顶部{% load py文件 %},如果存在继承,这个要放在继承下面
7、 最后在页面使用的时候{% func %},如果有参数
{% func 2 3 %}
这里有几个问题需要注意:
1、 在cmdb下创建templatetags目录必须为templatetags不能更改
2、 创建py文件的时候名字可以随便定义
3、 在py文件中必须写如下代码:
from django import template
from django.utils.safestring import mark_safe
register = template.Library()
@register.simple_tag
这四行代码必须有,并且的template对象register名字不能更改
按照上面的规则,在cmdb下创建templatetags目录
然后在templatetags目录下创建一个test.py文件,代码如下:
from django import template
from django.utils.safestring import mark_safe
register = template.Library()

@register.simple_tag
def func():
    return 123
并在setting中添加:
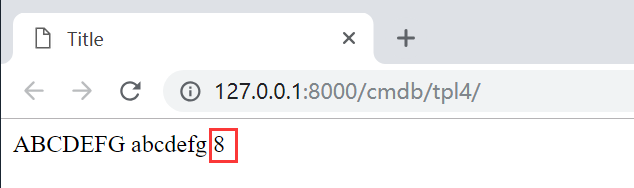
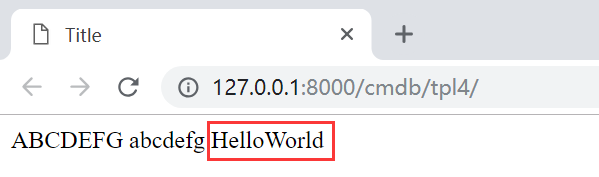
tpl4.html中代码如下(注意高亮部分):
{% load test %}

<!DOCTYPE html>
<html lang="en">
<head>
    <meta charset="UTF-8">
    <title>Title</title>
</head>
<body>
    {{ name }}
    {{ name|lower }}

    {% func %}
</body>
</html>
最后效果如下:

我们将test中的func改成传递参数的,如下所示:
def func(a1,a2):
    return a1+a2
在tpl4.html中传递参数:
{% func 5 3 %}
结果如下所示:
自定义filter
filter和simple_tag的方法基本一样,只需要做如下修改:
将test.py文件中@register.simple_tag替换为@register.filter
在页面中代码改为:
{{ "Hello" |func:"World" }}
其中,"Hello"对应test.py文件func函数的第一个参数a1,"func"是函数名,"World"对应第二个参数a2
这样最终在页面的效果如下:
而这里对比filter和simple_tag,我们可以发现各有优缺点
1、其中fileter可以放在模板语言中的if条件中,缺点是参数固定,不能加空格,如下:
{% if "zhaofan" |func:"赵凡" %}
{% endif %}
2、simple_tag参数任意,缺点是不能作为if条件
分页
在前端防止因为xss而现实字符串的可以通{{ page_str|save}}
后端:可以通过导入from django.utils.safestring import mark_safe,然后page_str = mark_safe(page_str)
通过下面例子用于理解分页
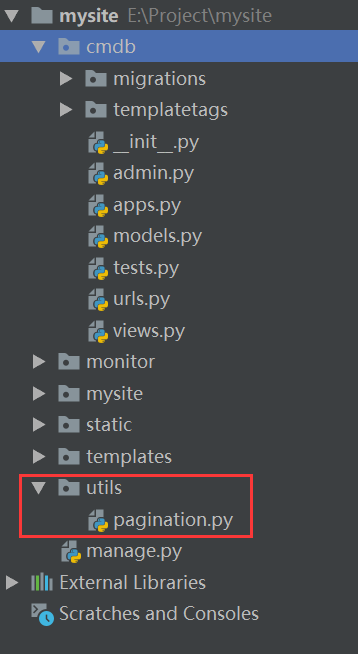
这里将分页的功能封装了一个类,pagination.py内容如下:
from django.utils.safestring import mark_safe
class Page:
    def __init__(self,current_page,data_count,per_page_count=10,page_num = 7):
        '''
        :param current_page: 当前页
        :param data_count: 数据的总数目
        :param per_page_count: 每页显示的数目
        :param page_num: 显示几页内容
        '''
        self.current_page = current_page
        self.data_count = data_count
        self.per_page_count=per_page_count
        self.page_num = page_num

    @property
    def start(self):
        '''
        :return: 返回得到起始
        '''
        return (self.current_page-1)*self.per_page_count
    @property
    def end(self):
        '''
        :return: 返回结束
        '''
        return self.current_page*self.per_page_count

    @property
    def total_count(self):
        '''
        :return: 返回总页数
        '''
        v, y = divmod(self.data_count, self.per_page_count)
        if y:
            v += 1
        return v

    def page_str(self,base_url):
        '''
        :param base_url: 这里是用于自定义url前缀
        :return: 返回的为页面下端要显示的跳转页的html语言的字符串
        '''
        page_list = []

        if self.total_count < self.page_num:
            start_index = 1
            end_index = self.total_count + 1
        else:
            if self.current_page <= (self.page_num + 1) / 2:
                start_index = 1
                end_index = self.page_num + 1
            else:
                start_index = self.current_page - (self.page_num - 1) / 2
                end_index = self.current_page + (self.page_num + 1) / 2
                if self.current_page + (self.page_num + 1) / 2 > self.total_count:
                    end_index = self.total_count + 1
                    start_index = self.total_count - self.page_num + 1
        if self.current_page == 1:

            prev = '<a class="page" href="#">上一页</a>'
        else:
            prev = '<a class="page" href="%s?p=%s">上一页</a>' % (base_url,self.current_page - 1)
        page_list.append(prev)

        for i in range(int(start_index), int(end_index)):
            if i == self.current_page:
                temp = '<a class="page active" href="%s?p=%s">%s</a>' % (base_url,i, i)
            else:
                temp = '<a class="page" href="%s?p=%s">%s</a>' % (base_url,i, i)
            page_list.append(temp)

        if self.current_page == self.total_count:
            nex = '<a class="page" href="#">下一页</a>'
        else:
            nex = '<a class="page" href="%s?p=%s">下一页</a>' % (base_url,self.current_page + 1)
        page_list.append(nex)

        go_page = """
        <input type='text' /><a onclick="jumpTo(this,'%s?p=');">跳转</a>
        <script>
            function jumpTo(ths,base){
                var val = ths.previousSibling.value;
                location.href = base + val;
            }
        </script>
        """ %(base_url)
        page_list.append(go_page)

        page_str = "".join(page_list)
        page_str = mark_safe(page_str)
        return page_str
在views函数中调用:
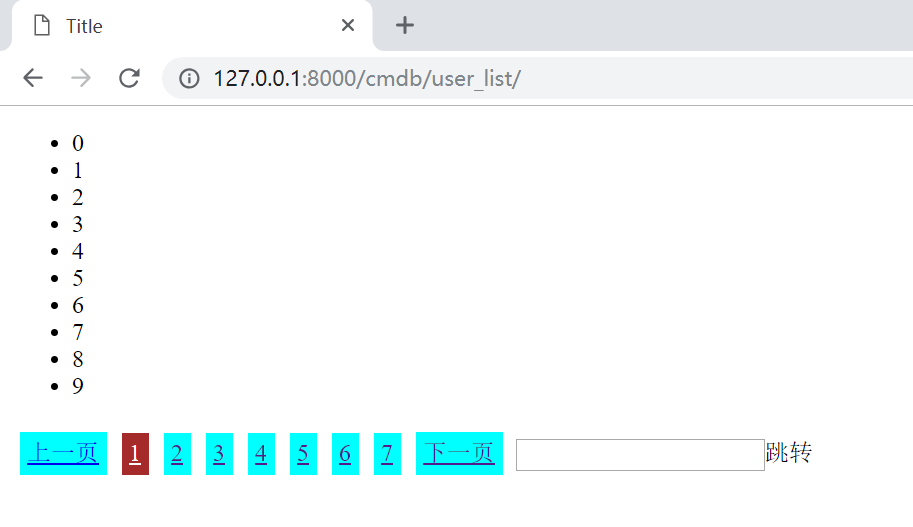
from django.shortcuts import render
from utils import pagination

LI = []
for i in range(109):
    LI.append(i)
def user_list(request):
    current_page = request.GET.get("p",1)
    current_page = int(current_page)
    page_obj = pagination.Page(current_page,len(LI))
    data = LI[page_obj.start:page_obj.end]
    page_str = page_obj.page_str("/cmdb/user_list/")
    return render(request,"user_list.html",{"data":data,"page_str":page_str})
user_list.html内容如下:
<!DOCTYPE html>
<html lang="en">
<head>
    <meta charset="UTF-8">
    <title>Title</title>
    <style>
        .pagination .page{
            display: inline-block;
            padding: 5px;
            background-color: cyan;
            margin: 5px;
        }
        .pagination .page.active{
            background-color: brown;
            color: white;
        }
    </style>
</head>
<body>
    <ul>
        {% for item in data %}
            <li>{{ item }}</li>
        {% endfor %}
    </ul>

    <div class="pagination">
        {{ page_str }}
    </div>
</body>
</html>
最终的效果如下:
cookie
客户端浏览器上的一个文件
以字典的方式存在
通常很多网站登录之后,网站的右上角会显示当前用户的用户名,实现例子如下:
views里写如下代码:
from django.shortcuts import render
from django.shortcuts import redirect

user_info = {
    'jack':{'pwd':'jack123'},
    'tom':{'pwd':'tom123'},
}
def login(request):
    # print(request.method)
    if request.method=="GET":
        return render(request,"login.html")
    if request.method =="POST":

        u = request.POST.get("username")
        p = request.POST.get("pwd")
        dic = user_info.get(u)
        # print(u,p)
        if not dic:
            return render(request,"login.html")
        if dic["pwd"] == p:
            res = redirect("/cmdb/index/")
            res.set_cookie('username1',u)
            return res
        else:
            return render(request, "login.html")

def index(request):
    #获取当前登录的用户名
    v = request.COOKIES.get("username1")
    if not v:
        return redirect("/cmdb/login/")
    return render(request,"index.html",{"current_user":v})
login.html内容如下:
<!DOCTYPE html>
<html lang="en">
<head>
    <meta charset="UTF-8">
    <title>Title</title>
</head>
<body>
    <form action="/cmdb/login/" method="POST">
        <input type="text" name="username" placeholder="用户名">
        <input type="password" name="pwd" placeholder="密码">
        <input type="submit" value="提交">
    </form>
</body>
</html>
index.html内容如下:
<!DOCTYPE html>
<html lang="en">
<head>
    <meta charset="UTF-8">
    <title>Title</title>
</head>
<body>
    <h1>欢迎登陆 {{ current_user }}</h1>
</body>
</html>
这样用户如果没有登录的情况下就不能直接访问index页面了
,并且如果用户登录之后也能显示当前用户的用户名,也就是实现了用户认证
设置Cookie:
res.set_cookie(key,value)
参数:
key 键
value=‘’ 值
max_age=None 超时时间,以秒作为单位。默认是关闭浏览器失效,如:
res.set_cookie('username1',u,max_age=10)
expires=None 超时时间,这个是可以设置datatime
import datetime

res = redirect("/cmdb/index/")
current_date = datetime.datetime.utcnow()
current_date = current_date + datetime.timedelta(seconds=5)
res.set_cookie('username1', u, expires=current_date)
return res
path="/" Cookie生效的路径
domain=None Cookie生效的域名
secure=False https传输
httponly=False 只能http协议传输,无法被JavaScript获取
分页改造(结合cookie)
user_list.html代码如下:
<!DOCTYPE html>
<html lang="en">
<head>
    <meta charset="UTF-8">
    <title>Title</title>
    <style>
        .pagination .page{
            display: inline-block;
            padding: 5px;
            background-color: cyan;
            margin: 5px;
        }
        .pagination  .active{
            background-color: blue;
            color: white;
        }
    </style>
</head>
<body>
    <ul>
        {% for item in data %}
            <li>{{ item }}</li>
        {% endfor %}

    </ul>
    <div>
        <select id="ps" onchange="changePageSize(this)">
        <option value="10">10</option>
        <option value="20">20</option>
        <option value="30">30</option>
        <option value="40">40</option>
        </select>
    </div>

    <div  class="pagination">
    {{ page_str }}
    </div>
    <script src="/static/jquery-1.12.4.js"></script>
    <script src="/static/jquery.cookie.js"></script>
    <script>
        $(function () {
           var v  = $.cookie("per_page_count");
            $("#ps").val(v);
        });

        function  changePageSize(ths) {
            var v = $(ths).val();
            console.log(v);
            $.cookie("per_page_count",v);
            location.reload()

        }
    </script>
</body>
</html>
views.py内容如下:
from django.shortcuts import render

LI = []
for i in range(109):
    LI.append(i)
def user_list(request):
    current_page = request.GET.get("p",1)
    current_page = int(current_page)

    val = request.COOKIES.get('per_page_count',10)
    # print(val)
    val = int(val)

    page_obj = pagination.Page(current_page,len(LI),val)
    data = LI[page_obj.start:page_obj.end]
    page_str = page_obj.page_str("/cmdb/user_list/")
    return render(request,"user_list.html",{"data":data,"page_str":page_str})

页面效果如上,实现的功能是当通过下拉框选择不同的选项时,即每页显示的数量,这里利用了jquery的cookie,jquery.cookie.js
关于cookie的加密
前文中我们通过
res.set_cookie('username1',u)
设置cookie,其实还有一种加密的方式,即:
res.set_signed_cookie("username1",u,salt="jiami")
通过salt这个参数实现加密,同样的获取cookie的时候也需要加上salt参数才能进行解密
request.get_signed_cookie("username1",salt="jiami")
用户认证装饰器
FBV的装饰器用法
我们前面代码中:
def index(request):
    #获取当前登录的用户名
    v = request.COOKIES.get("username1")
    if not v:
        return redirect("/cmdb/login/")
    return render(request,"index.html",{"current_user":v})
如果我们有多页面都需要判断用户是否登录,如果每个都这样写就需要写很多遍,所以这里我们可以通过装饰器实现
将上述代码进行更改:
from django.shortcuts import render,redirect

def auth(func):
    def inner(request,*args,**kwargs):
        v = request.COOKIES.get("username1")
        if not v:
            return redirect("/cmdb/login")
        return func(request,*args,**kwargs)
    return inner

@auth
def index(request):
    #获取当前登录的用户名
    v = request.COOKIES.get("username1")
    return render(request,"index.html",{"current_user":v})
CBV的装饰器用法
下面是一个普通的CBV用法例子:
urls.py文件如下:
from django.urls import path
from cmdb import views
urlpatterns = [
    path('login/', views.login),
    path('index/', views.index),
    path('order/', views.Order.as_view()),
]
views.py
from django.shortcuts import render,redirect
from django import views

class Order(views.View):

    def get(self,request):
        v = request.COOKIES.get("username1")
        if not v:
            return redirect("/cmdb/login/")
        return render(request, "index.html", {"current_user": v})
    def post(self,request):
        v = request.COOKIES.get("username1")
        return render(request, "index.html", {"current_user": v})
如果我们只对get请求做认证
from django.shortcuts import render,redirect
from django import views
from django.utils.decorators import method_decorator

def auth(func):
    def inner(request,*args,**kwargs):
        v = request.COOKIES.get("username1")
        if not v:
            return redirect("/cmdb/login")
        return func(request,*args,**kwargs)
    return inner

class Order(views.View):
    @method_decorator(auth)
    def get(self,request):
        v = request.COOKIES.get("username1")
        return render(request, "index.html", {"current_user": v})
    def post(self,request):
        v = request.COOKIES.get("username1")
        return render(request, "index.html", {"current_user": v})
这样当访问order的时候就加上了验证功能
但是这样是只给get方法加验证,如果想要给更多得方法加验证的时候,通过下面方法实现:
from django.shortcuts import render,redirect
from django import views
from django.utils.decorators import method_decorator

def auth(func):
    def inner(request,*args,**kwargs):
        v = request.COOKIES.get("username1")
        if not v:
            return redirect("/cmdb/login")
        return func(request,*args,**kwargs)
    return inner

class Order(views.View):
    @method_decorator(auth)
    def dispatch(self, request, *args, **kwargs):
        return super(Order, self).dispatch(request, *args, **kwargs)
    def get(self,request):
        v = request.COOKIES.get("username1")
        return render(request, "index.html", {"current_user": v})
    def post(self,request):
        v = request.COOKIES.get("username1")
        return render(request, "index.html", {"current_user": v})
因为CBV每次需要先执行一个dispatch方法,我们在dispatch方法上加认证,这样就相当于在所有的上面加上了认证
但是这种方法有人会觉得多写了一个dispatch方法,可以将其简化为:
from django.shortcuts import render,redirect
from django import views
from django.utils.decorators import method_decorator


def auth(func):
    def inner(request,*args,**kwargs):
        v = request.COOKIES.get("username1")
        if not v:
            return redirect("/cmdb/login")
        return func(request,*args,**kwargs)
    return inner

@method_decorator(auth,name="dispatch")
class Order(views.View):
    def get(self,request):
        v = request.COOKIES.get("username1")
        return render(request, "index.html", {"current_user": v})
    def post(self,request):
        v = request.COOKIES.get("username1")
        return render(request, "index.html", {"current_user": v})

 浙公网安备 33010602011771号