

Ubuntu22.04 LTS 部署harbor-v2.7.2高可用
Ubuntu22.04 LTS 部署harbor高可用
环境准备
均需要提前准备docker,docker-compose环境
| IP | 主机名 | 配置 |
|---|---|---|
| 10.0.0.20 | harbor01 | 2c4G |
| 10.0.0.21 | harbor02 | 2c4G |
一、harbor 环境部署
1. 下载harbor包
[root@harbor01:~]# wget https://github.com/goharbor/harbor/releases/download/v2.7.2/harbor-offline-installer-v2.7.2.tgz
2. 解压软件包
[root@harbor01:~]# tar xf harbor-offline-installer-v2.7.2.tgz -C /caixiangjia/softwares/
[root@harbor01:~]# cd /caixiangjia/softwares/harbor/
3. 准备配置文件
[root@harbor01:harbor]# cp harbor.yml.tmpl harbor.yml
[root@harbor01:harbor]# ll harbor.yml*
-rw-r--r-- 1 root root 11567 Dec 14 21:13 harbor.yml
-rw-r--r-- 1 root root 11567 Apr 24  2023 harbor.yml.tmpl
4. 编辑harbor配置文件
...
hostname: 10.0.0.20
...
 12 # https related config
 13 #https:
 14 #  # https port for harbor, default is 443
 15 #  port: 443
 16 #  # The path of cert and key files for nginx
 17 #  certificate: /your/certificate/path
 18 #  private_key: /your/private/key/path
...
 34 harbor_admin_password: 1
...
 53 data_volume: /caixiangjia/data/harbor
...
# 此处方便后期prometheus监控
220 metric:
221   enabled: true
222   port: 9099
223   path: /metrics
5. 安装 harbor
[root@harbor01:harbor]# ./install.sh --with-chartmuseum
...
[+] Building 0.0s (0/0)                                                                                                                                                            docker:default
[+] Running 13/13
 ✔ Network harbor_harbor-chartmuseum  Created                                                                                                                                                0.1s
 ✔ Network harbor_harbor              Created                                                                                                                                                0.1s
 ✔ Container harbor-log               Started                                                                                                                                                0.0s
 ✔ Container chartmuseum              Started                                                                                                                                                0.0s
 ✔ Container registry                 Started                                                                                                                                                0.0s
 ✔ Container registryctl              Started                                                                                                                                                0.0s
 ✔ Container harbor-portal            Started                                                                                                                                                0.0s
 ✔ Container harbor-db                Started                                                                                                                                                0.0s
 ✔ Container redis                    Started                                                                                                                                                0.0s
 ✔ Container harbor-core              Started                                                                                                                                                0.0s
 ✔ Container nginx                    Started                                                                                                                                                0.0s
 ✔ Container harbor-jobservice        Started                                                                                                                                                0.0s
 ✔ Container harbor-exporter          Started                                                                                                                                                0.0s
✔ ----Harbor has been installed and started successfully.----
6. 访问 harbor 的 WebUI
http://10.0.0.20/

用户名:admin
密码:1

二、harbor 的基本使用
1. 客户端配置
[root@harbor01:~]# cat /etc/docker/daemon.json
{
    "insecure-registries": ["10.0.0.20"]
}

[root@harbor01:~]# systemctl restart docker.service
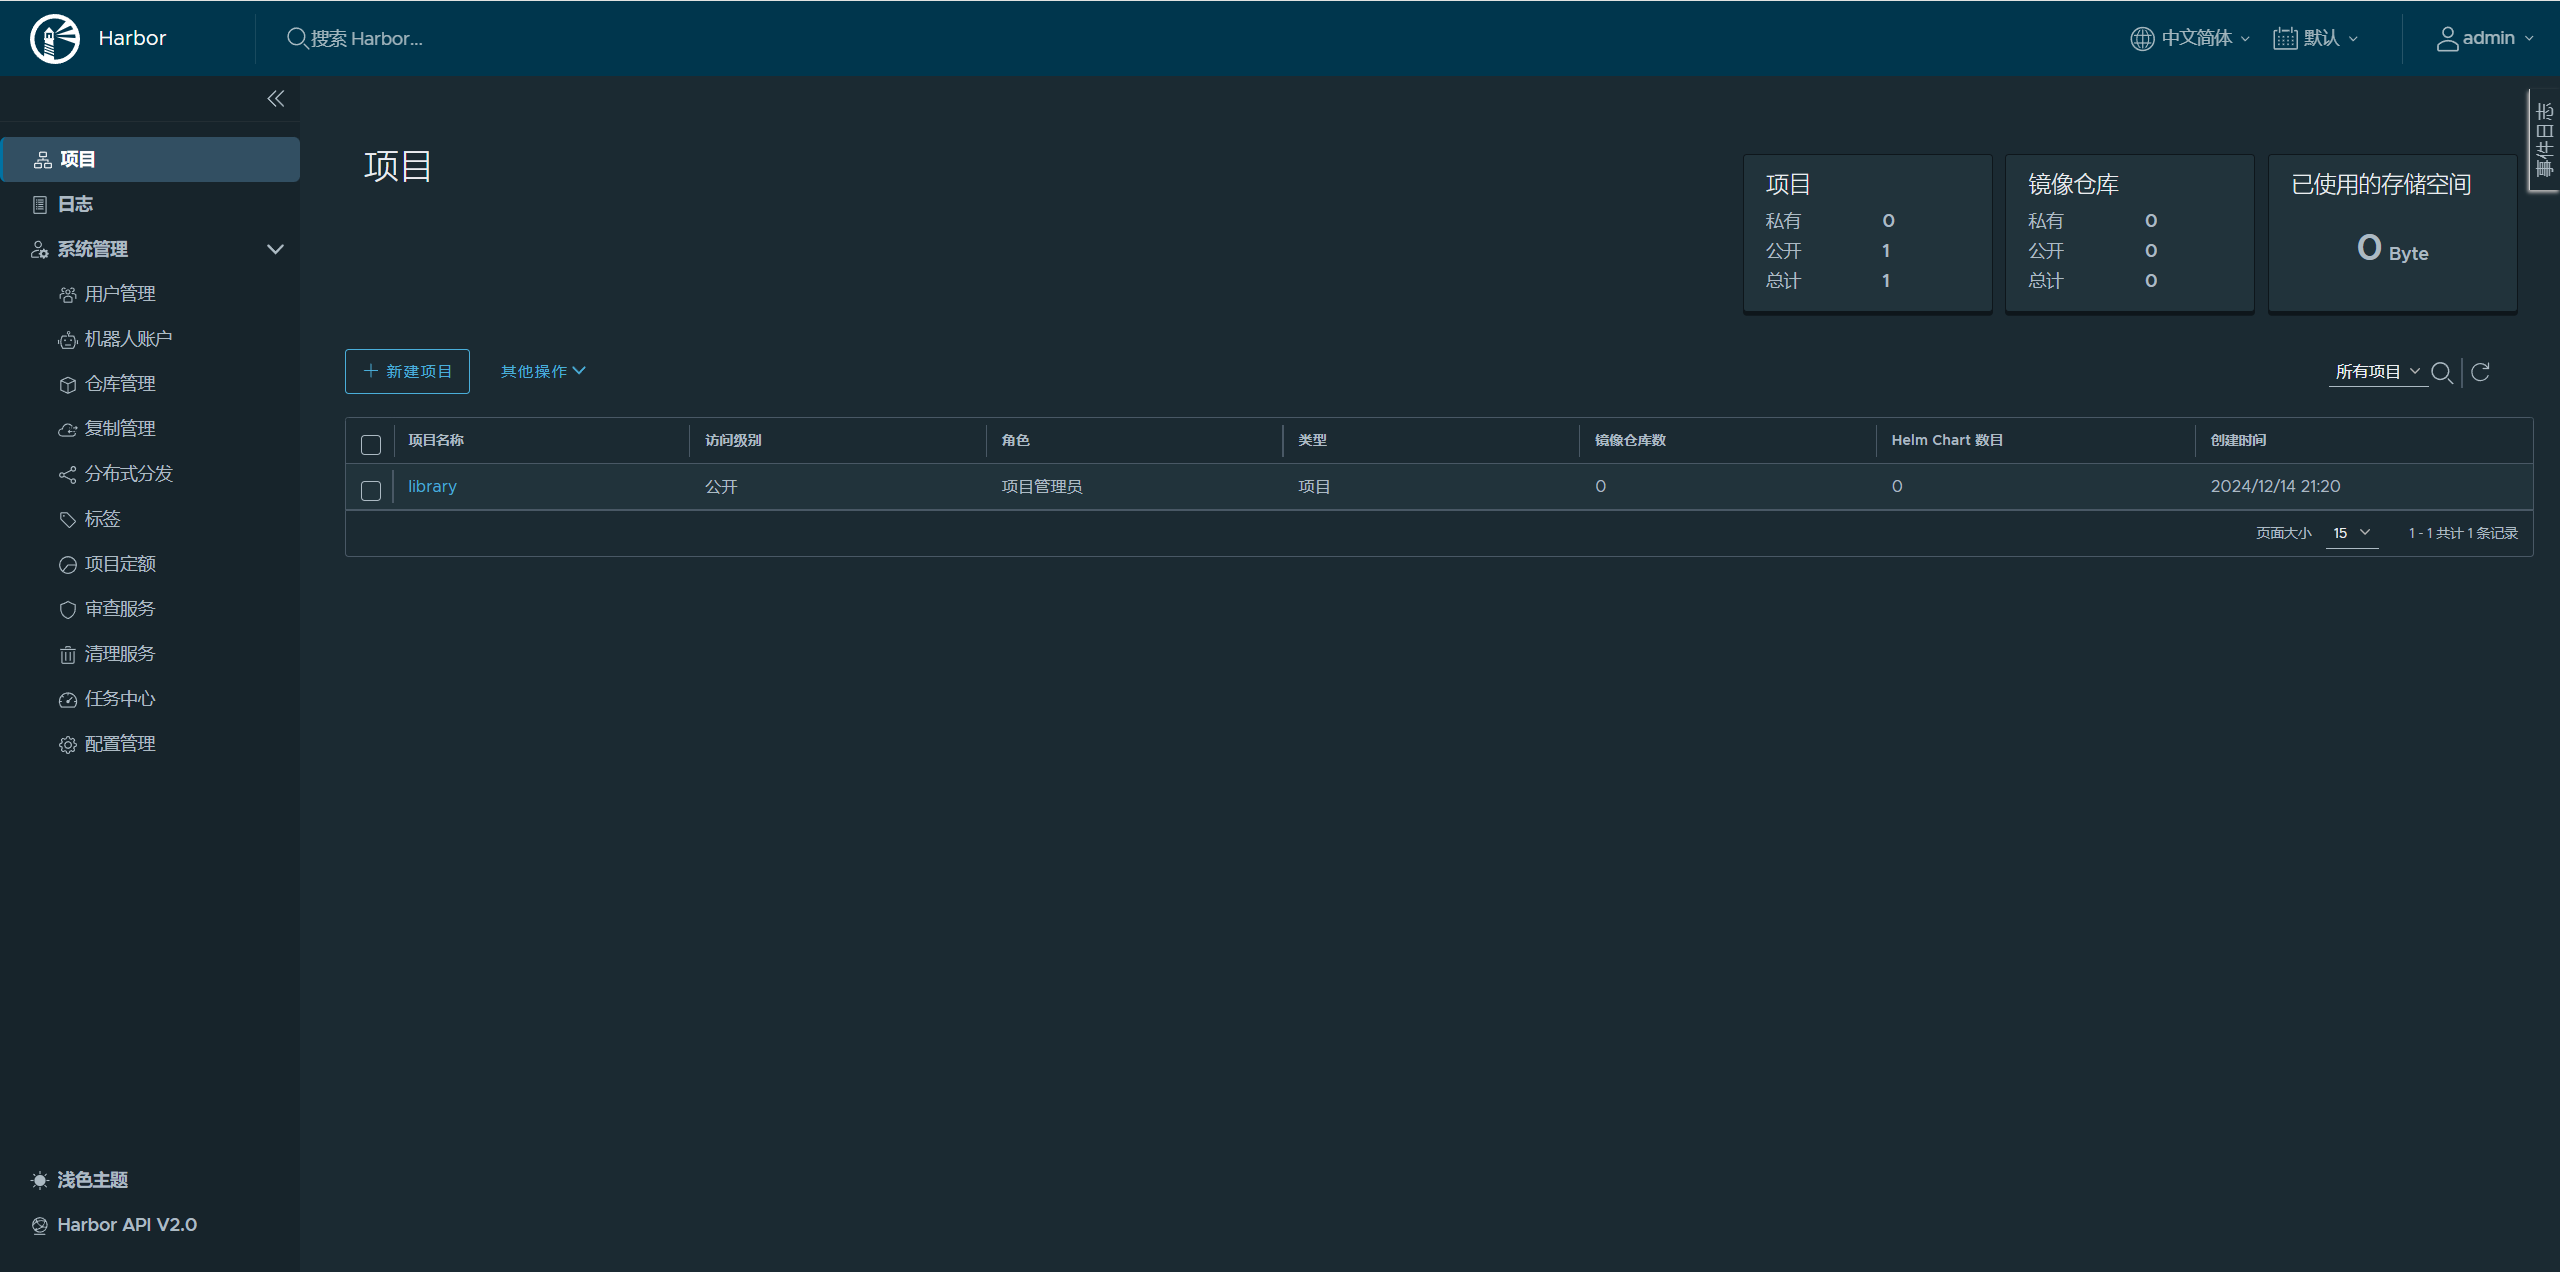
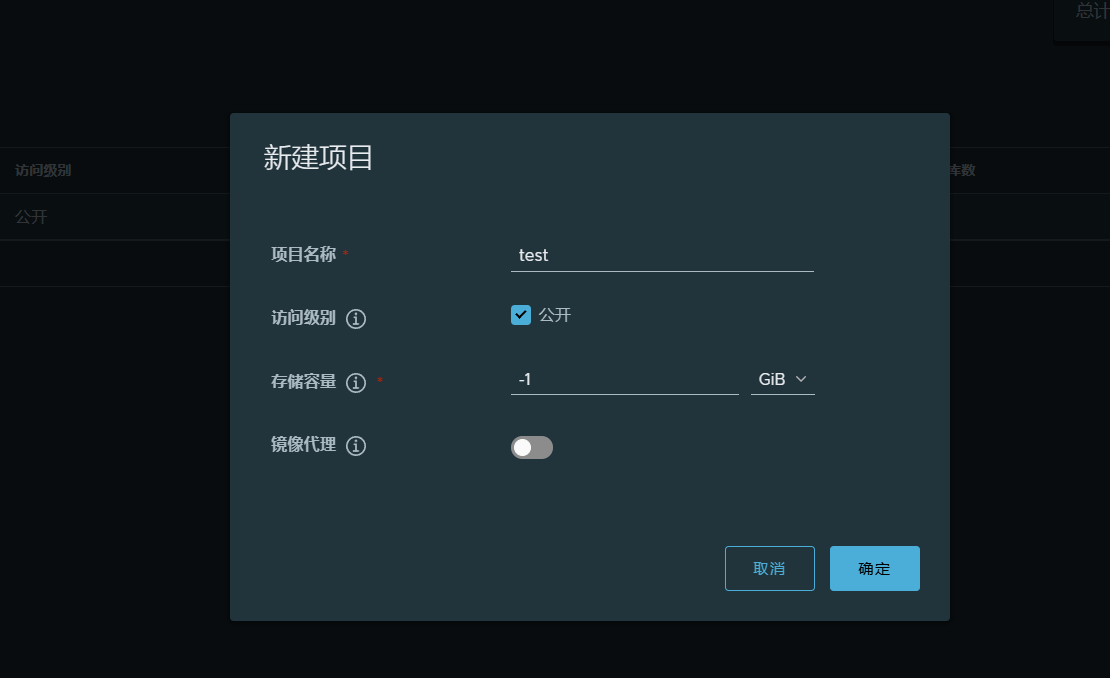
2. harbor 创建仓库
3. 给镜像打 tag
[root@harbor01:~]# docker images
REPOSITORY                      TAG       IMAGE ID       CREATED         SIZE
hello-world                     latest    d2c94e258dcb   19 months ago   13.3kB
[root@harbor01:~]# docker tag hello-world:latest 10.0.0.20/test/hello-world-latest
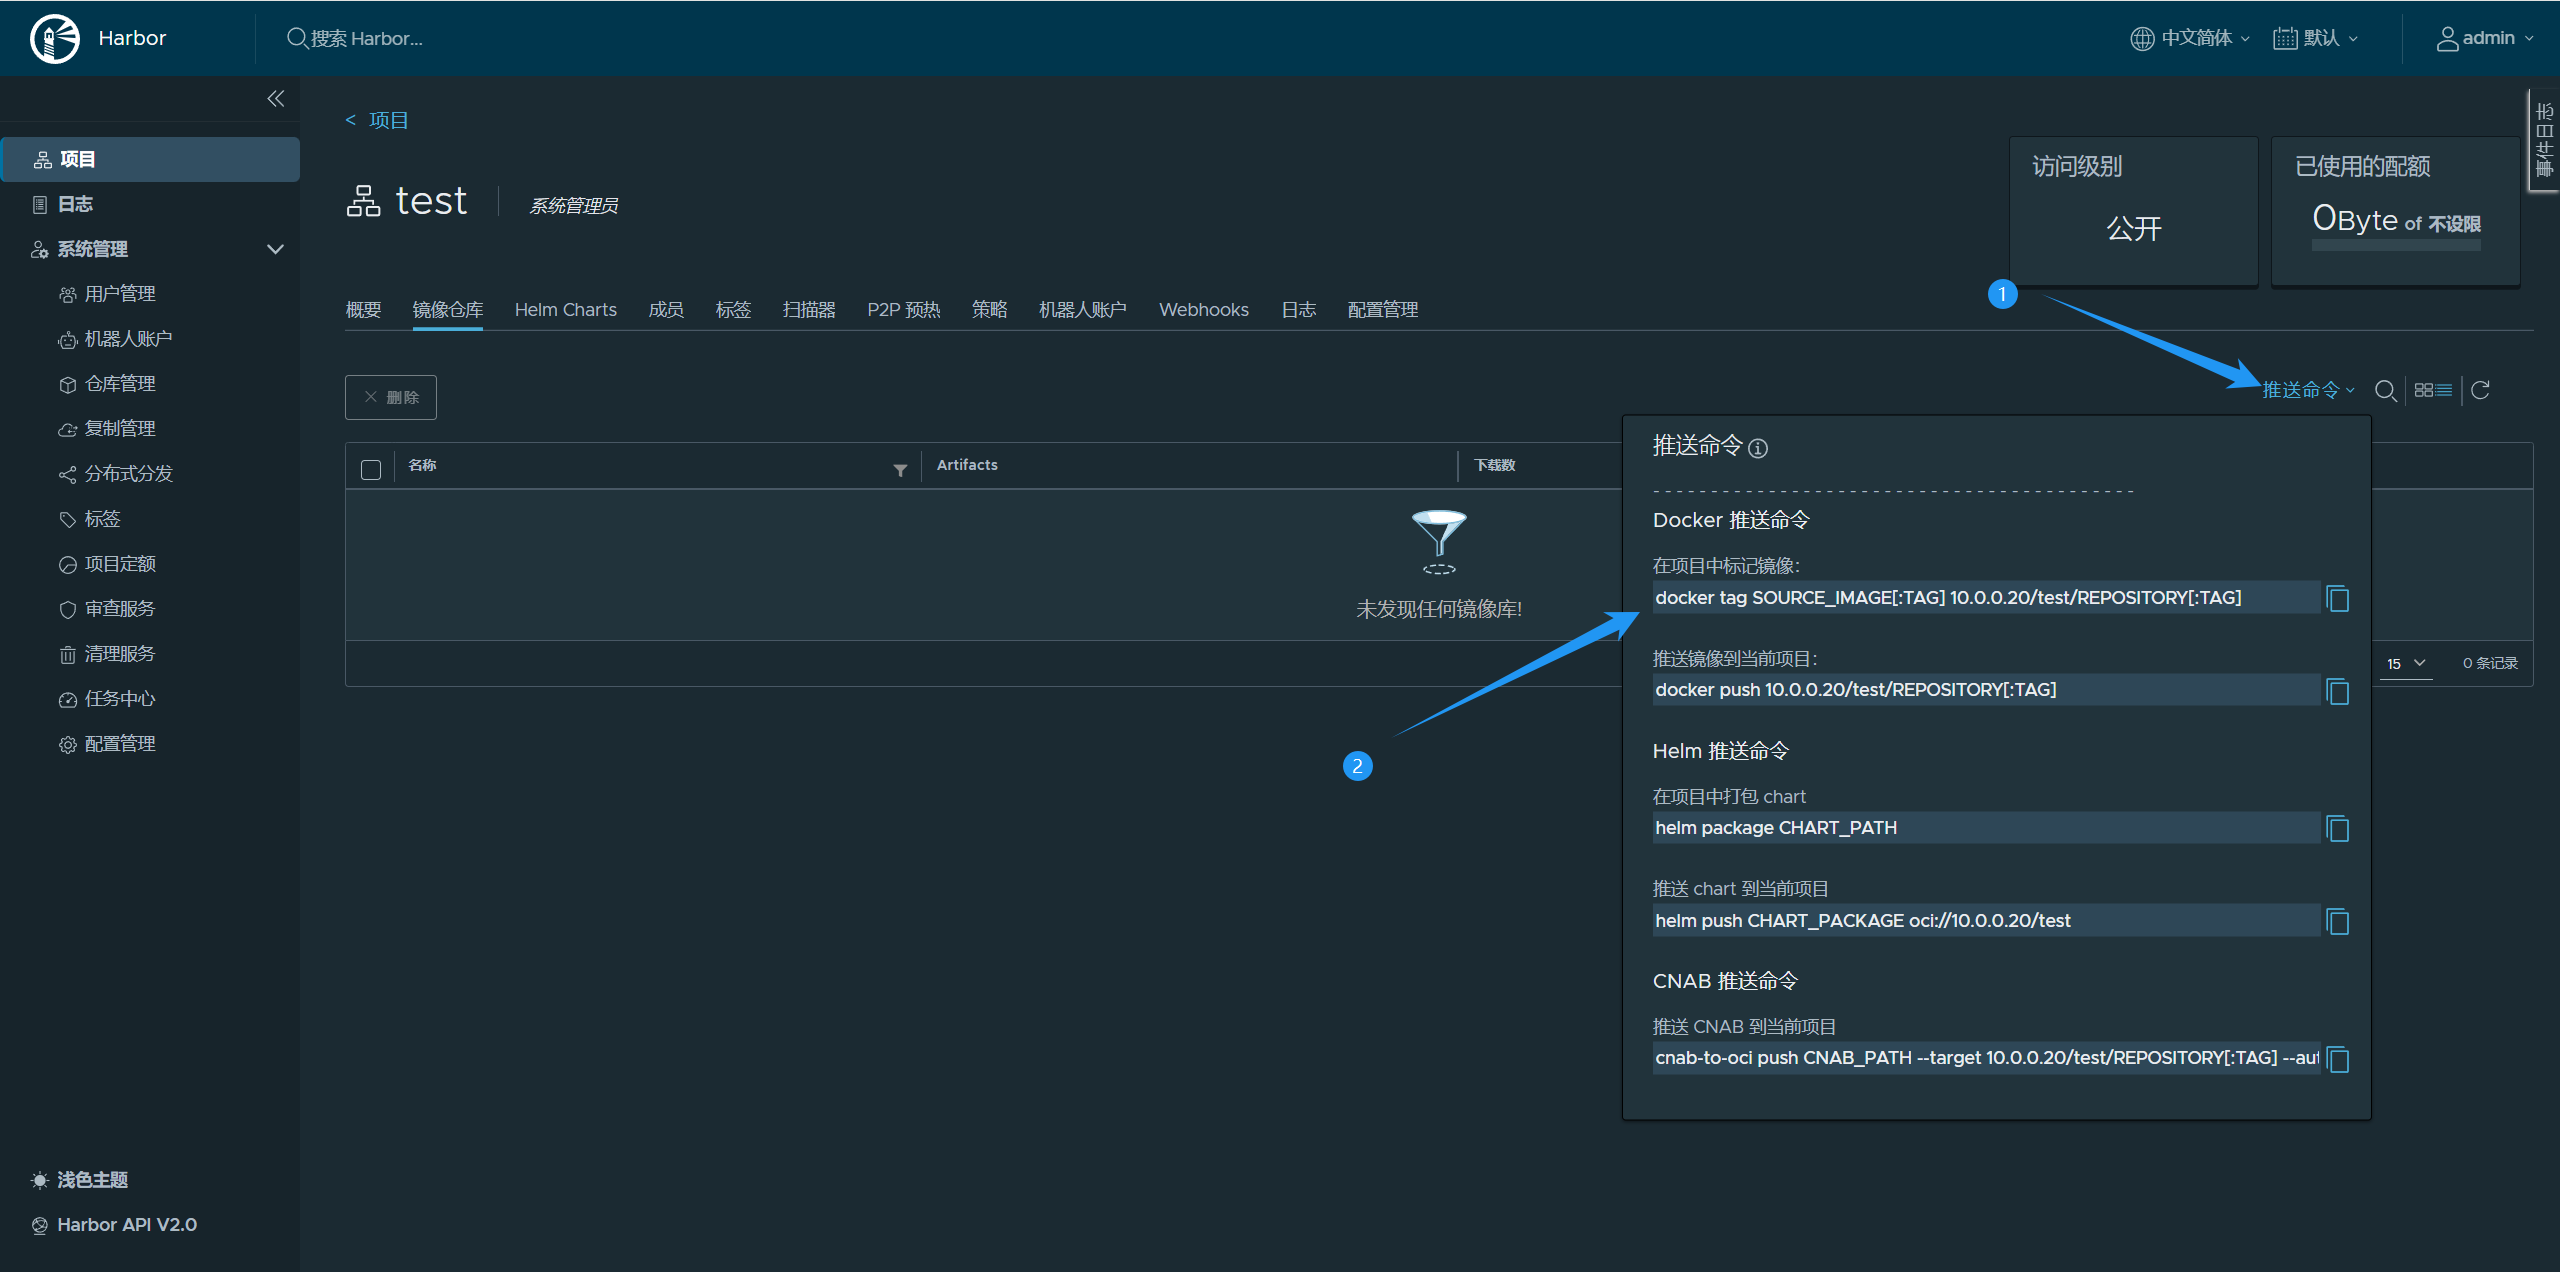
4. 推送镜像到harbor仓库
# 未登录之前
[root@harbor01:~]# docker push 10.0.0.20/test/hello-world
Using default tag: latest
The push refers to repository [10.0.0.20/test/hello-world]
ac28800ec8bb: Preparing
unauthorized: unauthorized to access repository: test/hello-world, action: push: unauthorized to access repository: test/hello-world, action: push

[root@harbor01:~]# docker login 10.0.0.20
Username: admin 	# 输入用户名
Password: 			# 输入密码,输入密码时看不见输入字符!
WARNING! Your password will be stored unencrypted in /root/.docker/config.json.
Configure a credential helper to remove this warning. See
https://docs.docker.com/engine/reference/commandline/login/#credentials-store

Login Succeeded

# 登录成功后会保存登录信息
[root@harbor01:~]# more /root/.docker/config.json
{
	"auths": {
		"10.0.0.20": {
			"auth": "YWRtaW46MQ=="
		}
	}
}

# 通过 base64 -d 查看你的密码
[root@harbor01:~]# echo YWRtaW46MQ== | base64 -d | more
admin:1


#登录之后
[root@harbor01:~]# docker push 10.0.0.20/test/hello-world
Using default tag: latest
The push refers to repository [10.0.0.20/test/hello-world]
ac28800ec8bb: Pushed
latest: digest: sha256:d37ada95d47ad12224c205a938129df7a3e52345828b4fa27b03a98825d1e2e7 size: 524
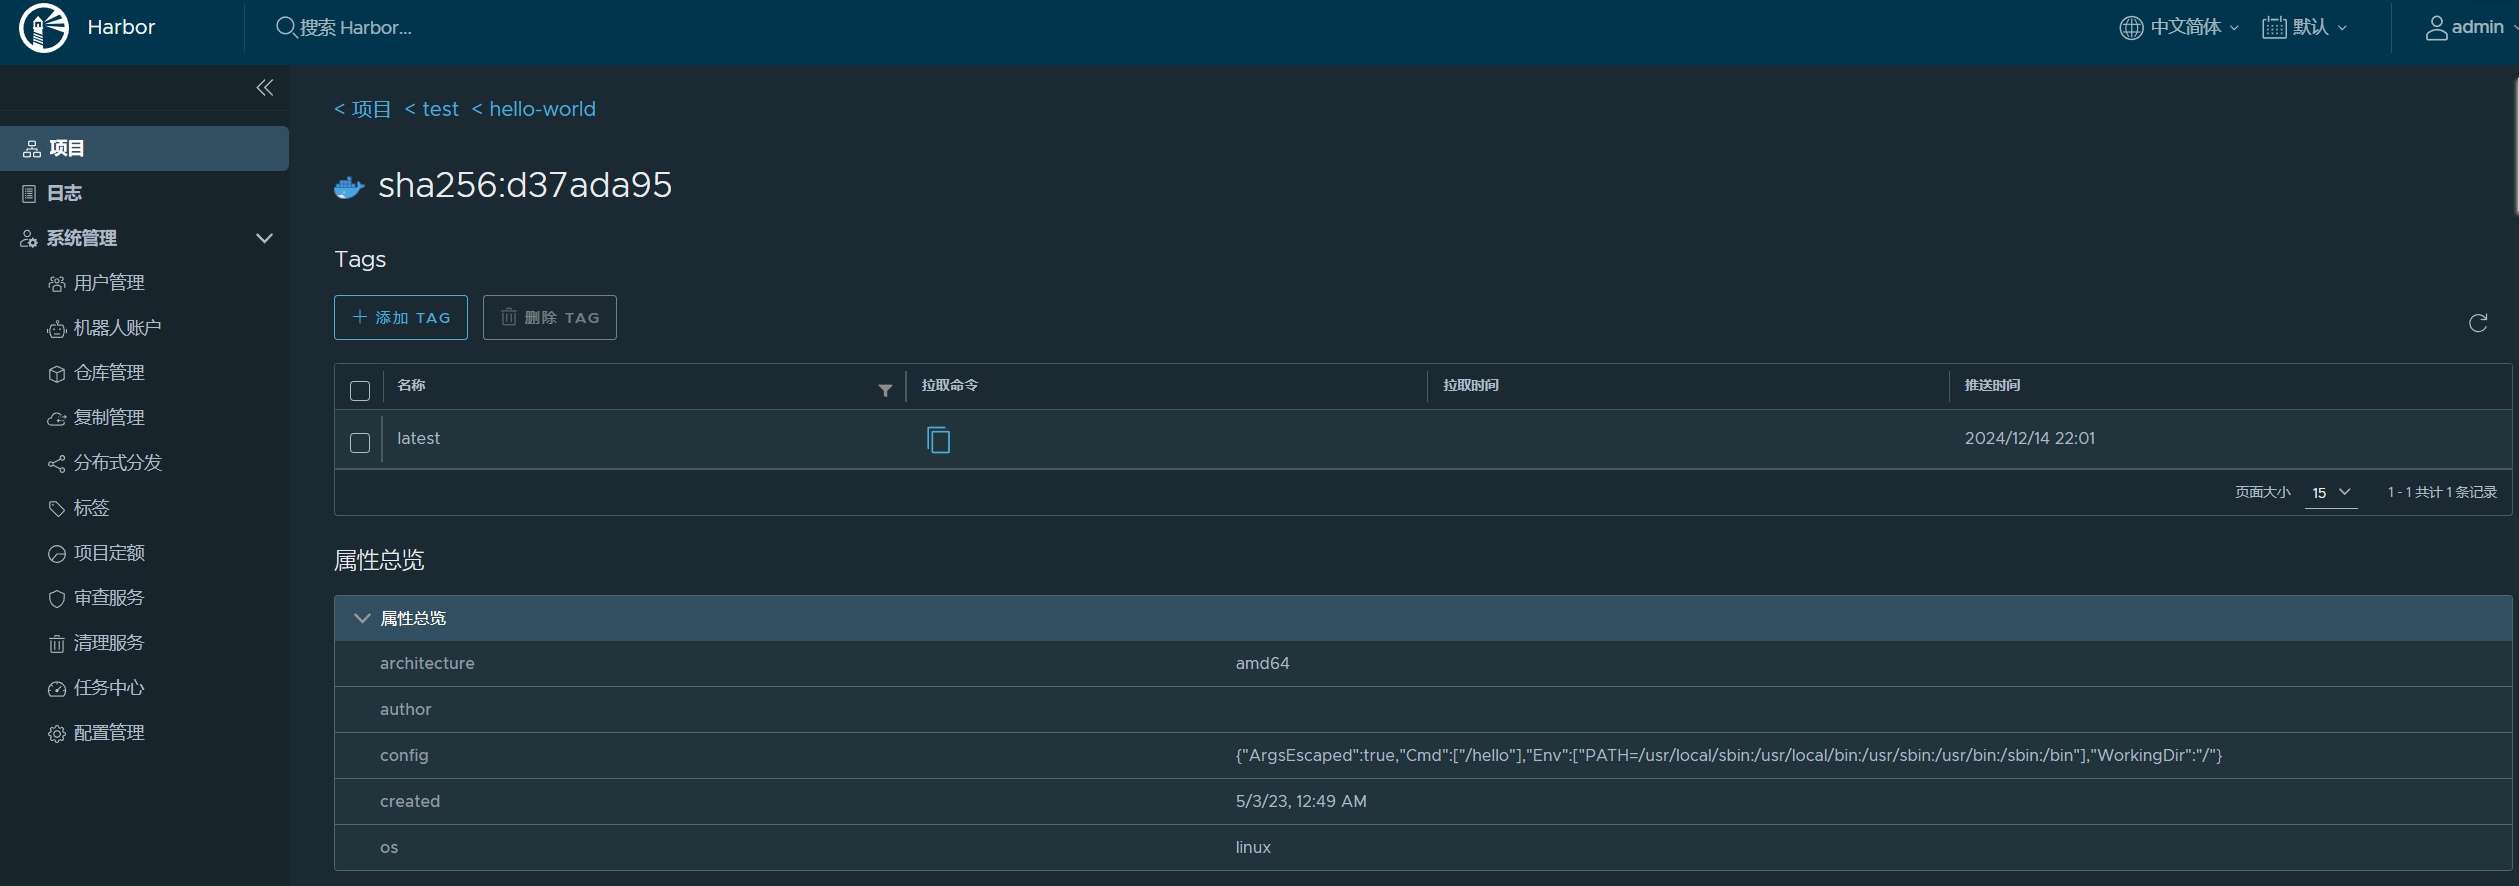
5.web页面查看
6. 推送镜像完成后立刻退出(避免密码泄露)
[root@harbor01:~]# docker logout 10.0.0.20
Removing login credentials for 10.0.0.20

[root@harbor01:~]# more /root/.docker/config.json
{
	"auths": {}
}
[r
7. 其他客户端拉取镜像,【需要配置信任仓库】
[root@harbor02:~]# cat /etc/docker/daemon.json
{
  "insecure-registries": ["10.0.0.20"]
}

[root@harbor02:~]# systemctl restart docker.service

[root@harbor02:~]# docker pull 10.0.0.20/test/hello-world:latest
latest: Pulling from test/hello-world
c1ec31eb5944: Pull complete
Digest: sha256:d37ada95d47ad12224c205a938129df7a3e52345828b4fa27b03a98825d1e2e7
Status: Downloaded newer image for 10.0.0.20/test/hello-world:latest
10.0.0.20/test/hello-world:latest
三、harbor 高可用环境搭建
1. 将harbor发送到10.0.0.21节点
[root@harbor01:~]# scp harbor-offline-installer-v2.7.2.tgz 10.0.0.21:/root
2. 解压软件包
[root@harbor02:~]# tar xf harbor-offline-installer-v2.7.2.tgz -C /caixiangjia/softwares/
3. 将harbor配置文件发送到10.0.0.21节点
[root@harbor01:harbor]# scp harbor.yml 10.0.0.21:/caixiangjia/softwares/harbor/
4. 安装harbor
# 修改harbor配置文件
[root@harbor02:harbor]# vim harbor.yml
...
hostname: 10.0.0.21
...

[root@harbor02:harbor]# ./install.sh --with-chartmuseum
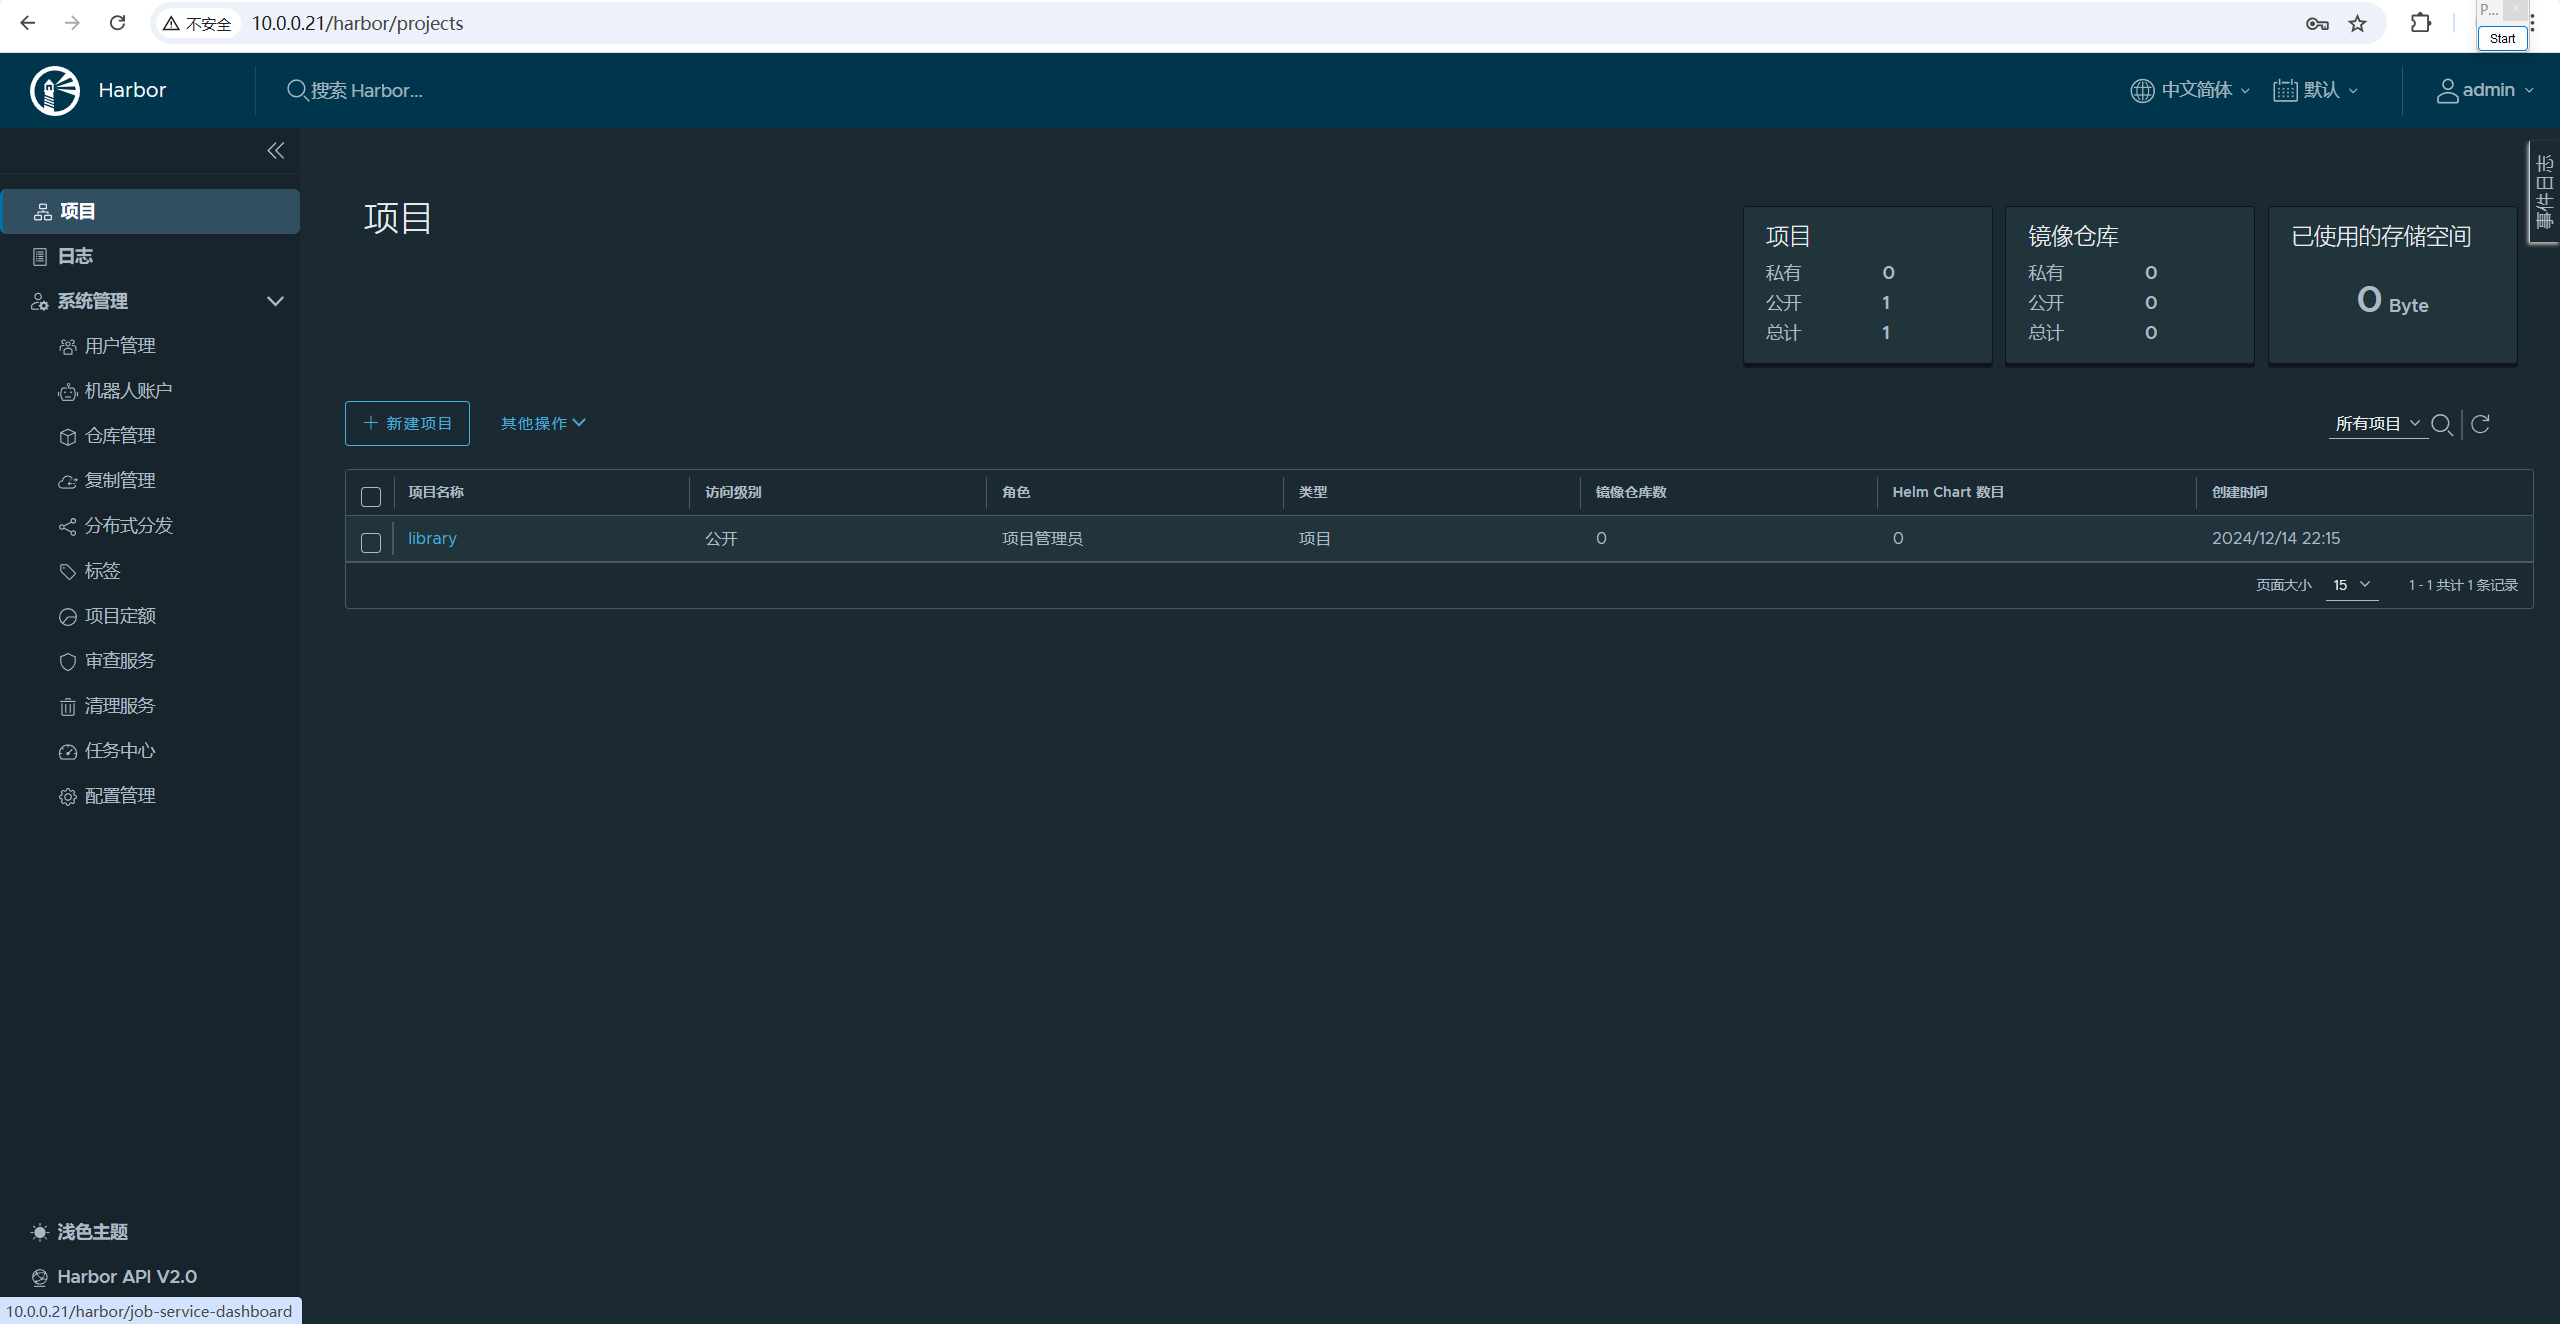
5. 访问harbor 的WebUi
http://10.0.0.21/

账号:admin
密码:1
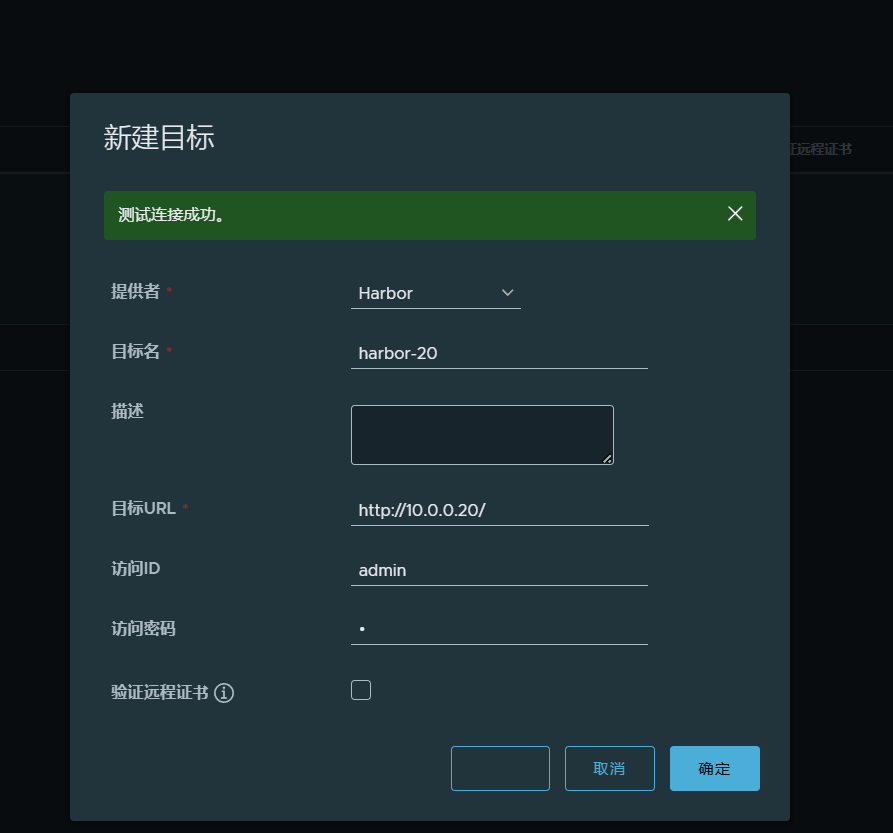
6. 10.0.0.20节点新建仓库

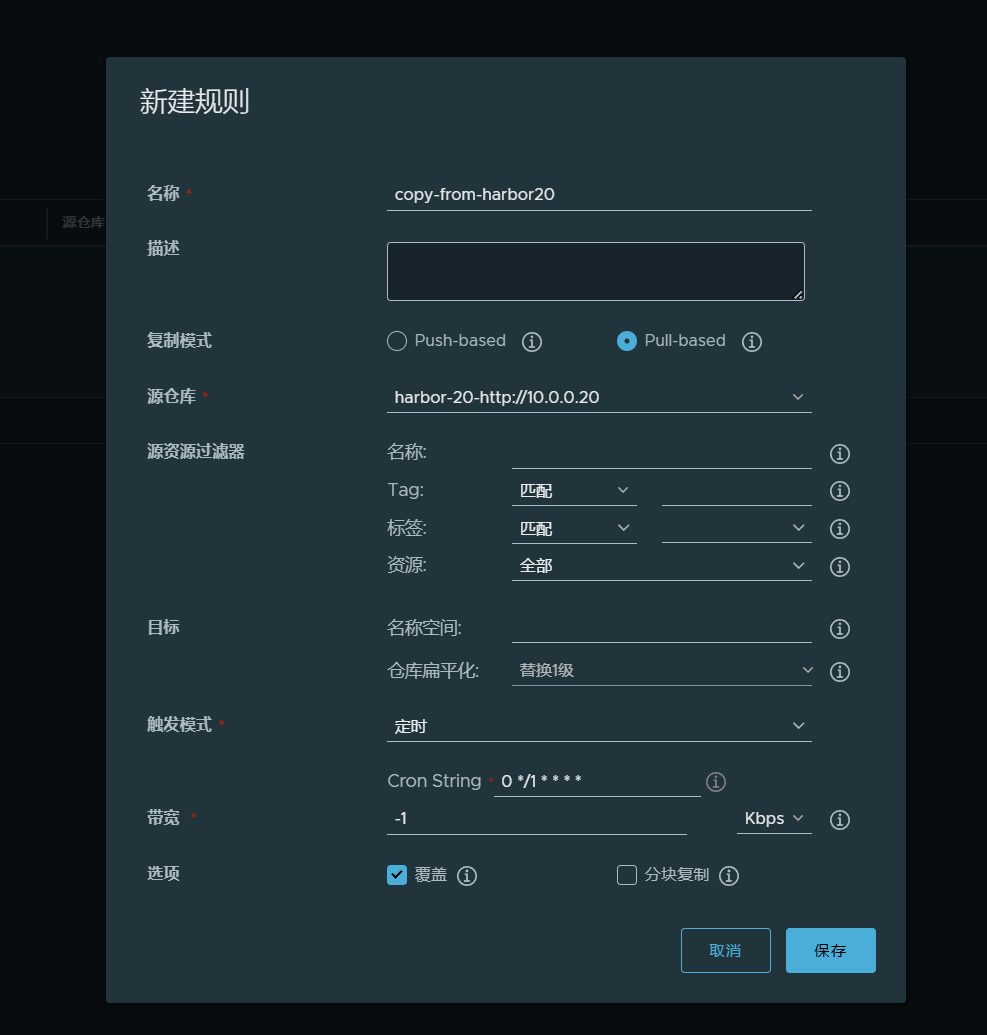
7. 10.0.0.20节点新建复制规则
8. 10.0.0.21节点新建仓库
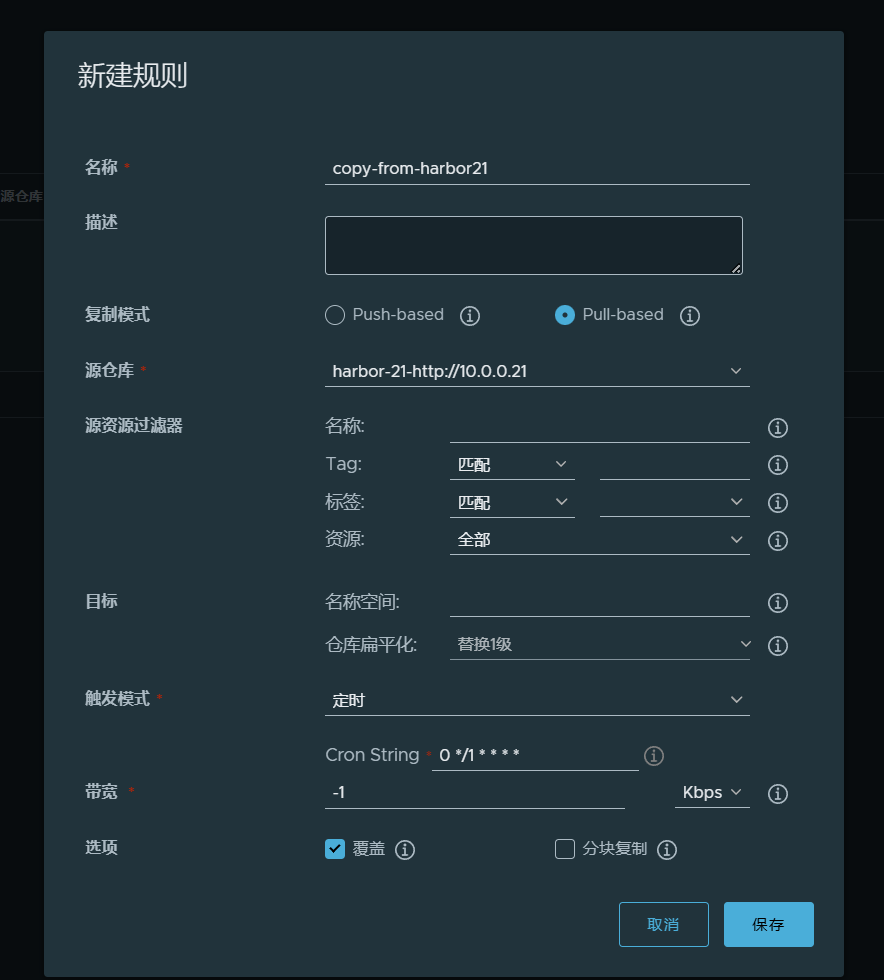
9. 10.0.0.21节点新建复制规则
10. 测试验证效果
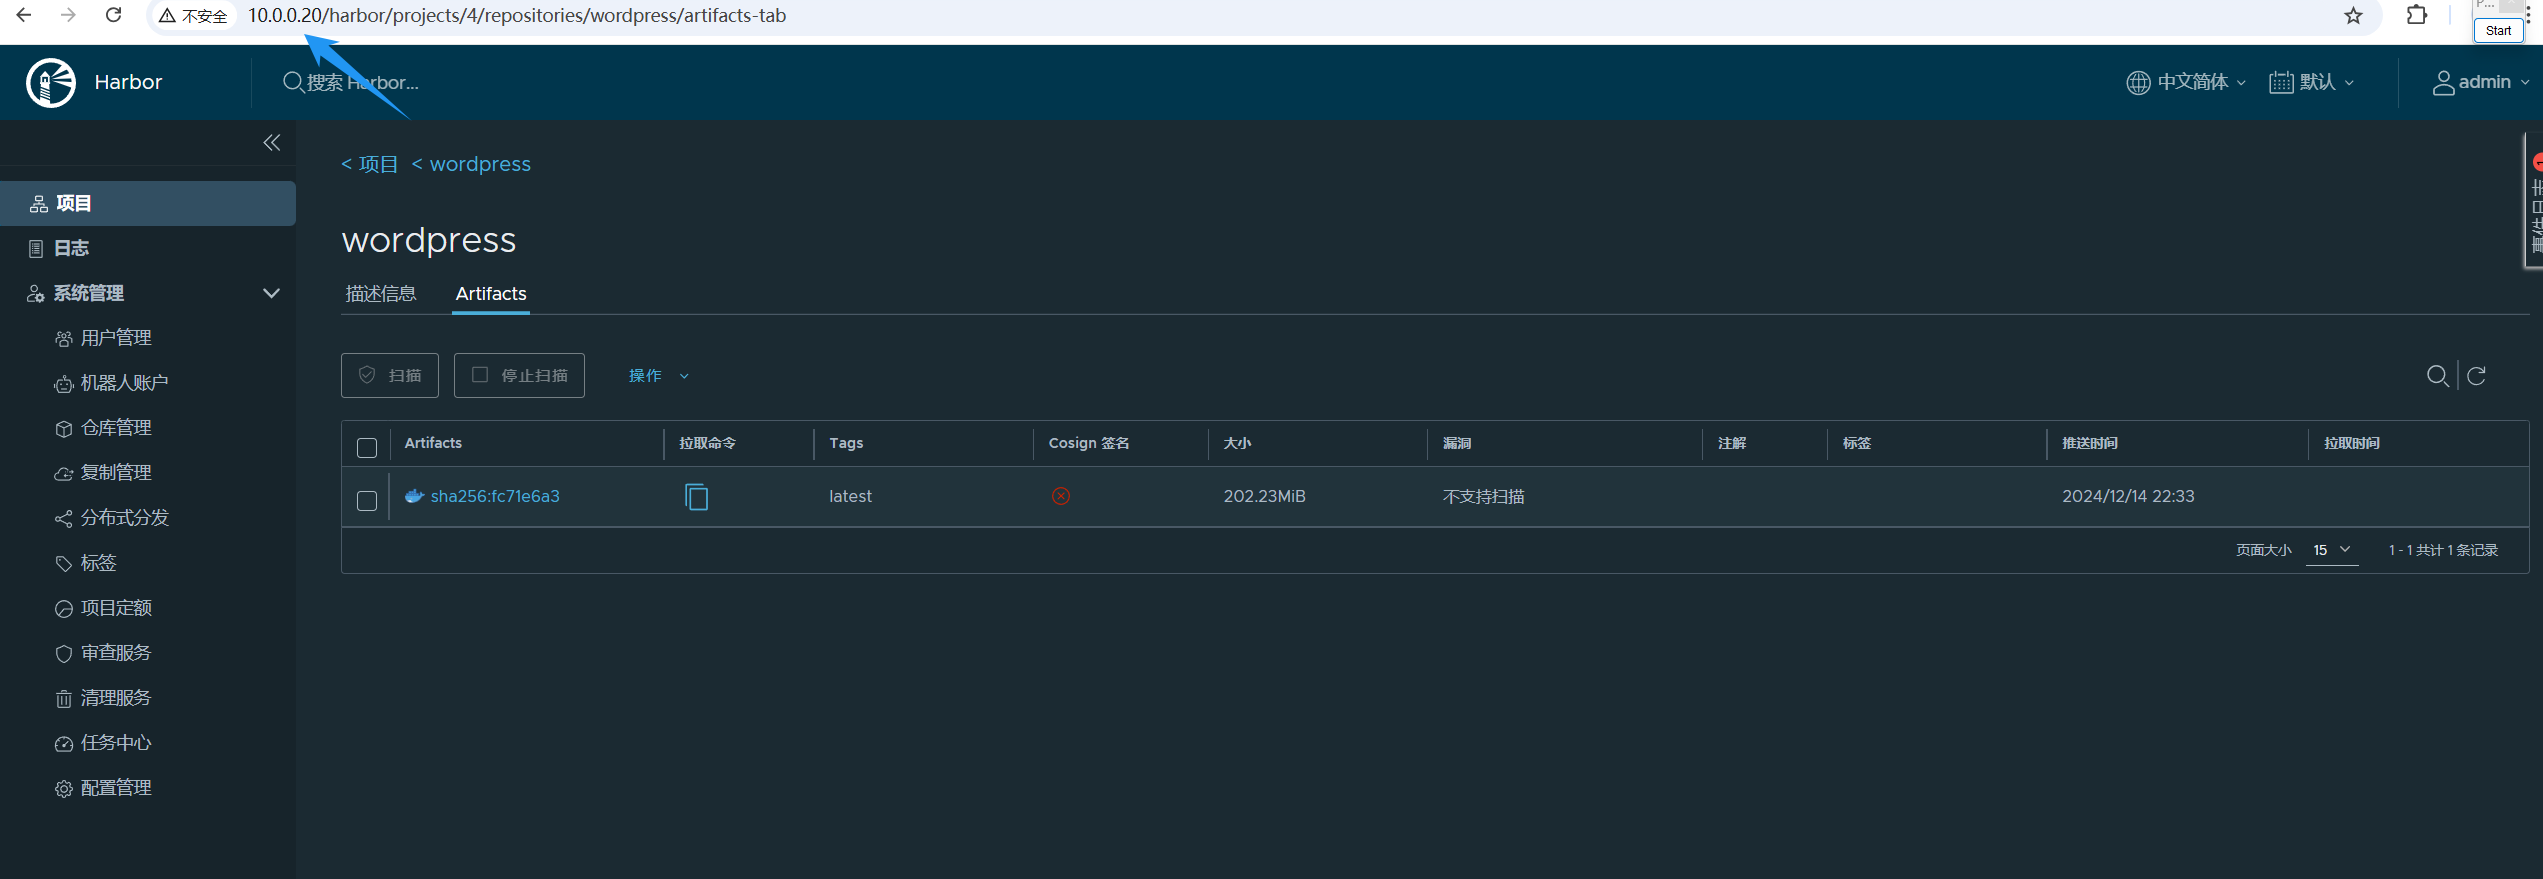
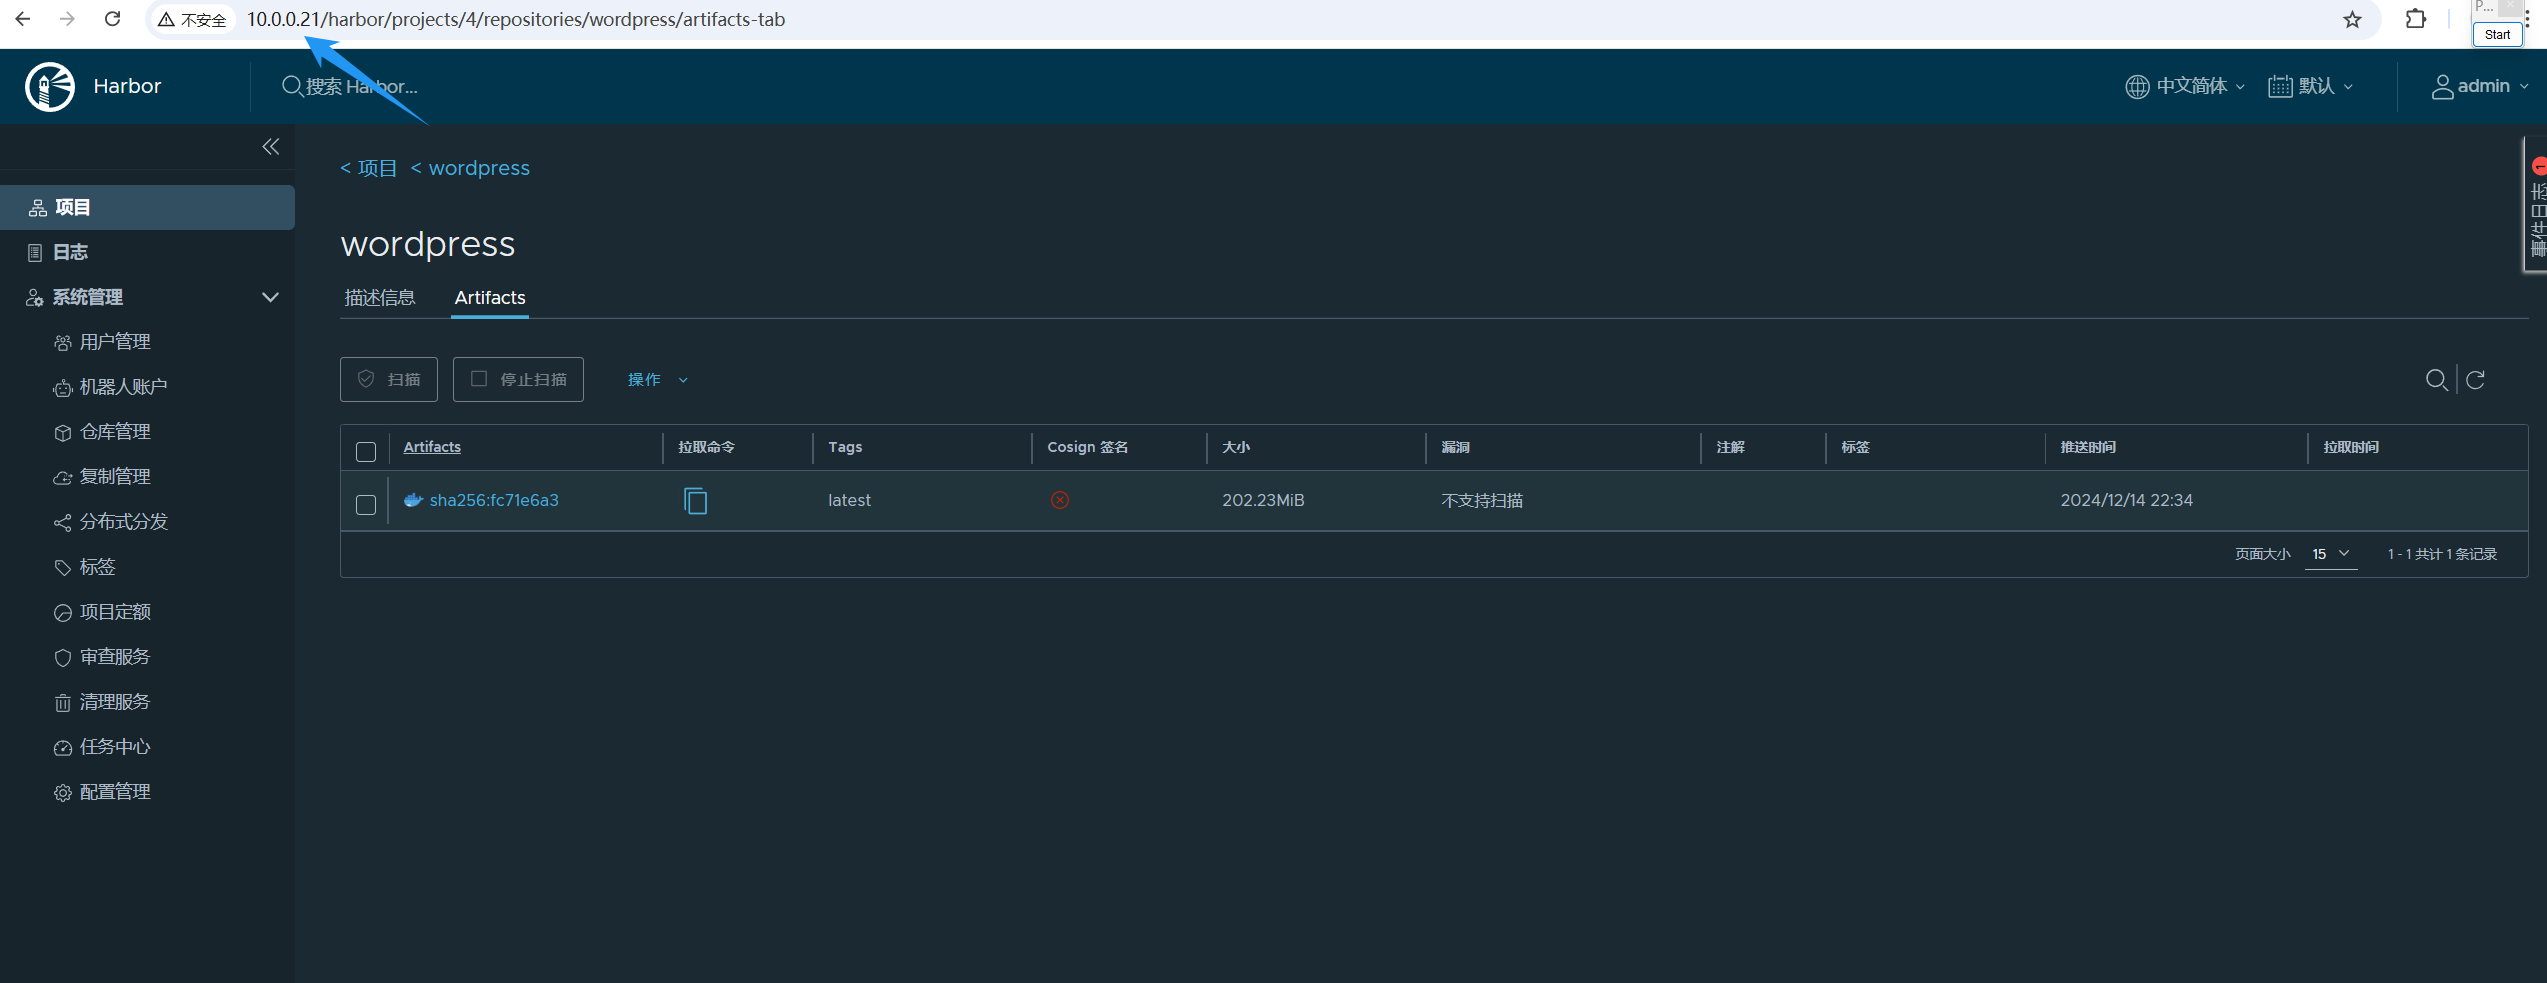
推送镜像到 20 节点,观察 21 是否有同步数据
[root@harbor01:~]# docker push 10.0.0.20/wordpress/wordpress:latest
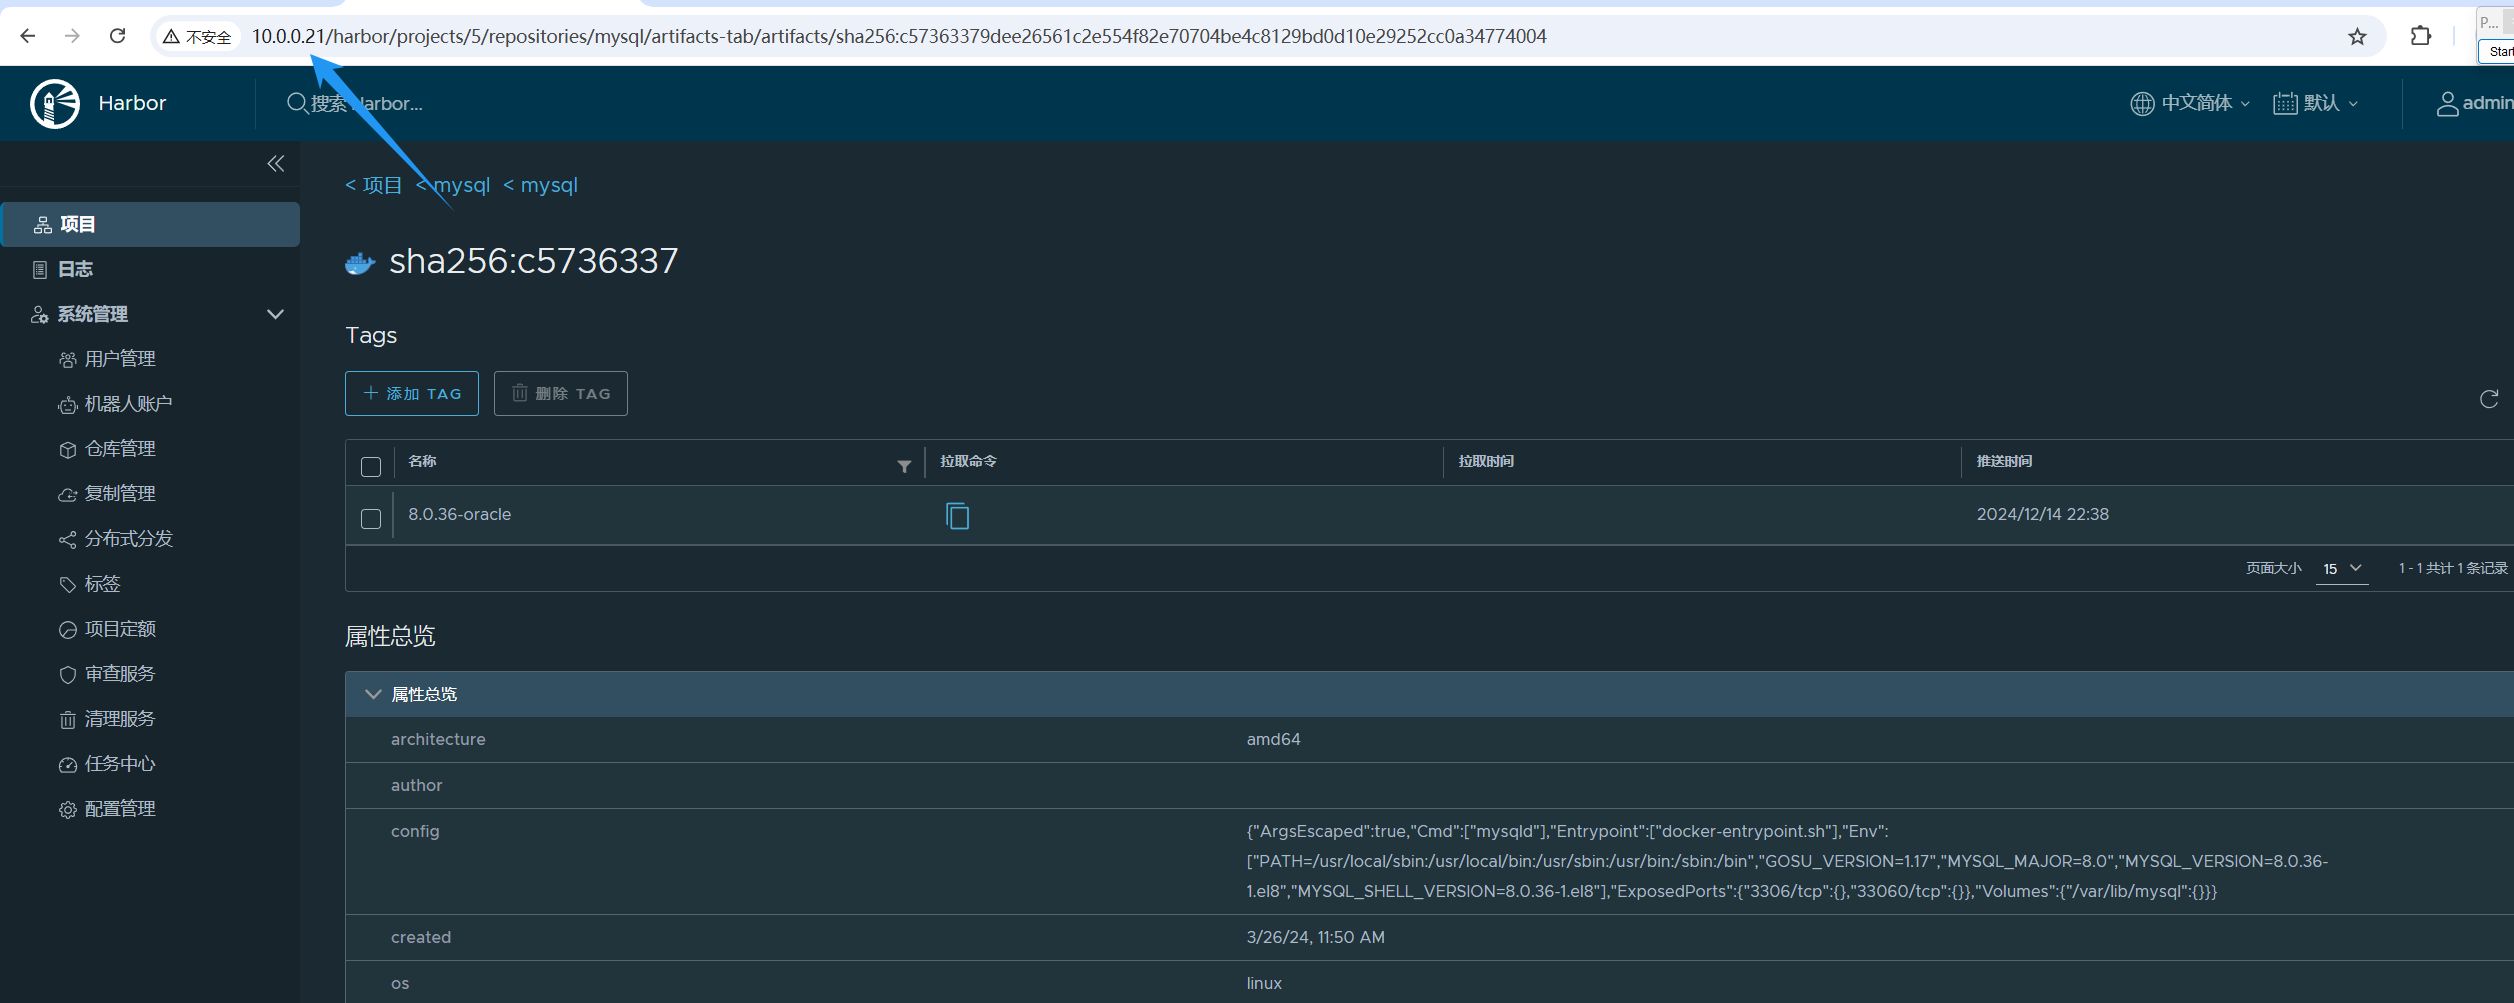
推送镜像到 21 节点,观察 20 是否有同步数据
[root@harbor02:~]# docker push 10.0.0.21/mysql/mysql:8.0.36-oracle

11. 配置keepalived
1. 分别安装keepalived
[root@harbor01:~]# apt -y install keepalived
[root@harbor02:~]# apt -y install keepalived
2. 修改 keepliaved 的配置文件
[root@harbor01:~]# cat > /etc/keepalived/keepalived.conf <<EOF
! Configuration File for keepalived
global_defs {
   router_id 10.0.0.20
}
vrrp_script chk_nginx {
    script "/etc/keepalived/check_port.sh 80"
    interval 2
    weight -20
}
vrrp_instance VI_1 {
    state MASTER
    interface ens33
    virtual_router_id 100
    priority 100
    advert_int 1
    mcast_src_ip 10.0.0.20
    nopreempt
    authentication {
        auth_type PASS
        auth_pass 11111111
    }
    track_script {
         chk_nginx
    }
    virtual_ipaddress {
        10.0.0.99
    }
}
EOF


[root@harbor02:~]# cat > /etc/keepalived/keepalived.conf <<EOF
! Configuration File for keepalived
global_defs {
   router_id 10.0.0.21
}
vrrp_script chk_nginx {
    script "/etc/keepalived/check_port.sh 80"
    interval 2
    weight -20
}
vrrp_instance VI_1 {
    state MASTER
    interface ens33
    virtual_router_id 100
    priority 100
    advert_int 1
    mcast_src_ip 10.0.0.21
    nopreempt
    authentication {
        auth_type PASS
        auth_pass 11111111
    }
    track_script {
         chk_nginx
    }
    virtual_ipaddress {
        10.0.0.99
    }
}
EOF
3. 启动 keepalived
[root@harbor01:~]# systemctl enable --now keepalived
[root@harbor02:~]# systemctl enable --now keepalived
4. 检查VIP地址
[root@harbor01:~]# ip a
...
2: ens33: <BROADCAST,MULTICAST,UP,LOWER_UP> mtu 1500 qdisc fq_codel state UP group default qlen 1000
    link/ether 00:0c:29:b2:85:39 brd ff:ff:ff:ff:ff:ff
    altname enp2s1
    inet 10.0.0.20/24 brd 10.0.0.255 scope global ens33
       valid_lft forever preferred_lft forever
    inet 10.0.0.99/32 scope global ens33
       valid_lft forever preferred_lft forever
    inet6 fe80::20c:29ff:feb2:8539/64 scope link
       valid_lft forever preferred_lft forever


[root@harbor02:~]# ip a
...
2: ens33: <BROADCAST,MULTICAST,UP,LOWER_UP> mtu 1500 qdisc fq_codel state UP group default qlen 1000
    link/ether 00:0c:29:c3:05:1b brd ff:ff:ff:ff:ff:ff
    altname enp2s1
    inet 10.0.0.21/24 brd 10.0.0.255 scope global ens33
       valid_lft forever preferred_lft forever
    inet6 fe80::20c:29ff:fec3:51b/64 scope link
       valid_lft forever preferred_lft forever
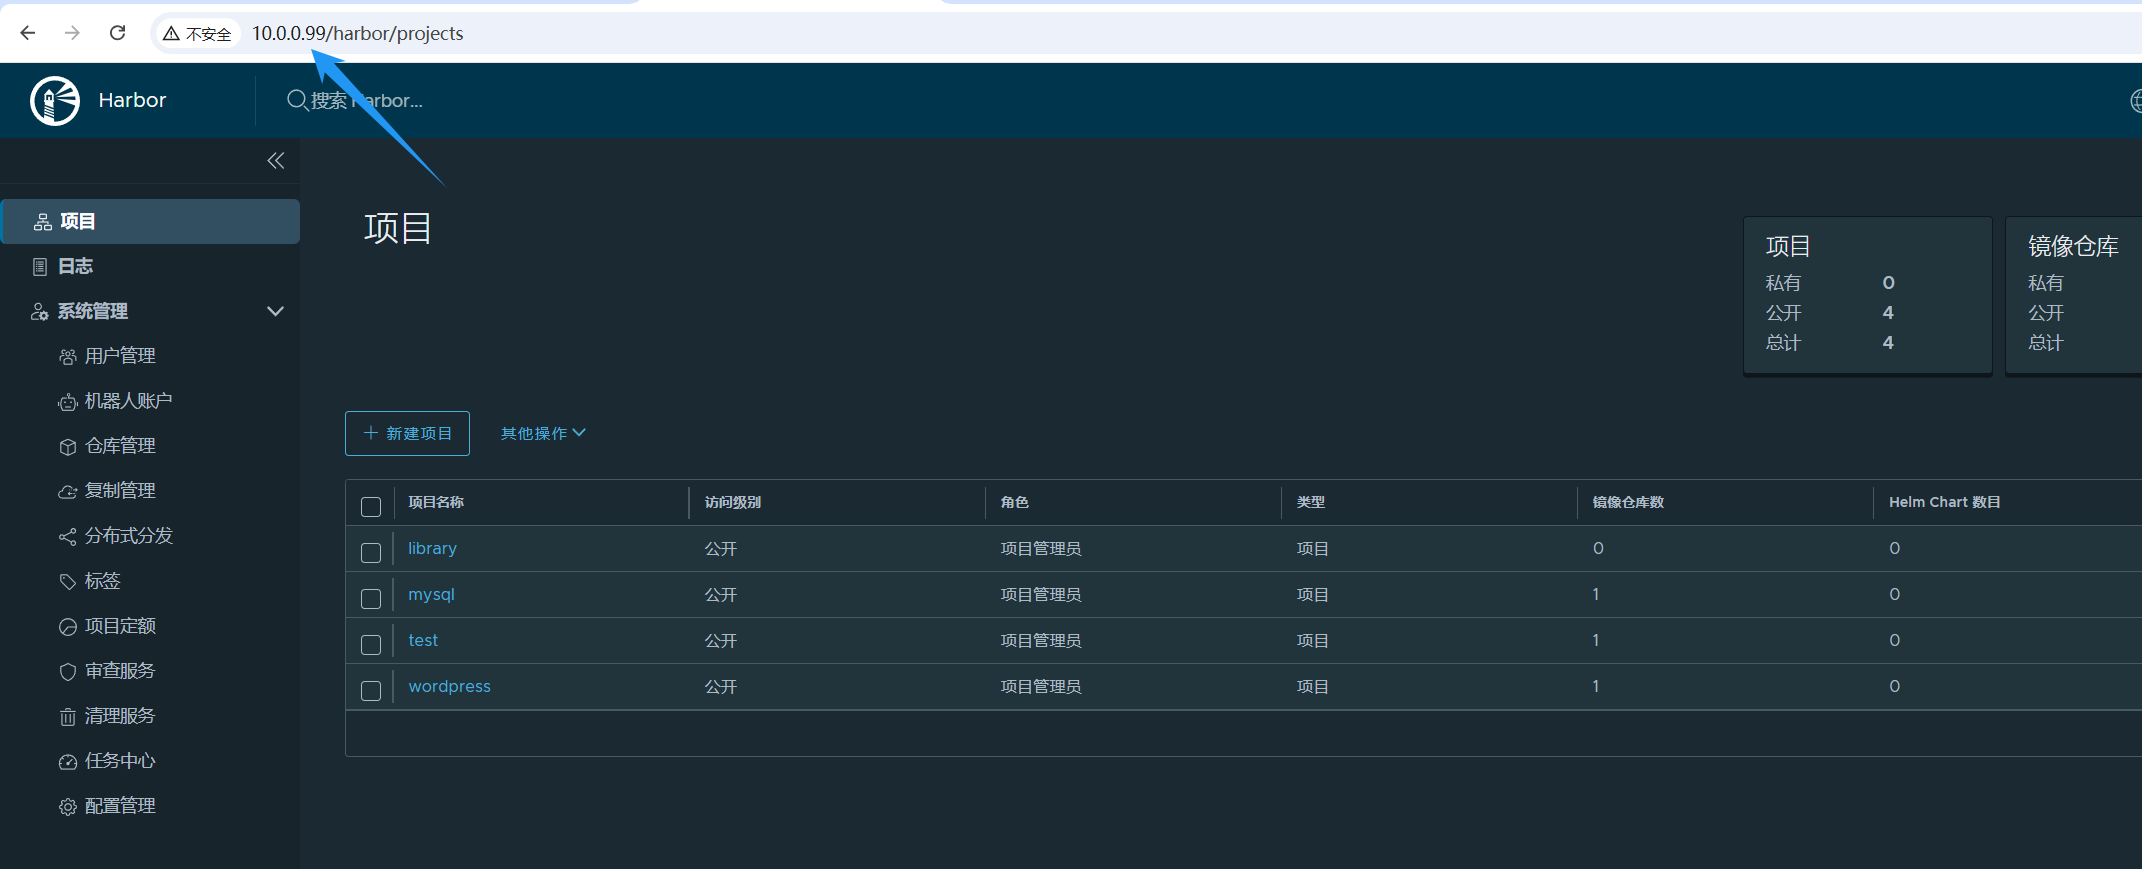
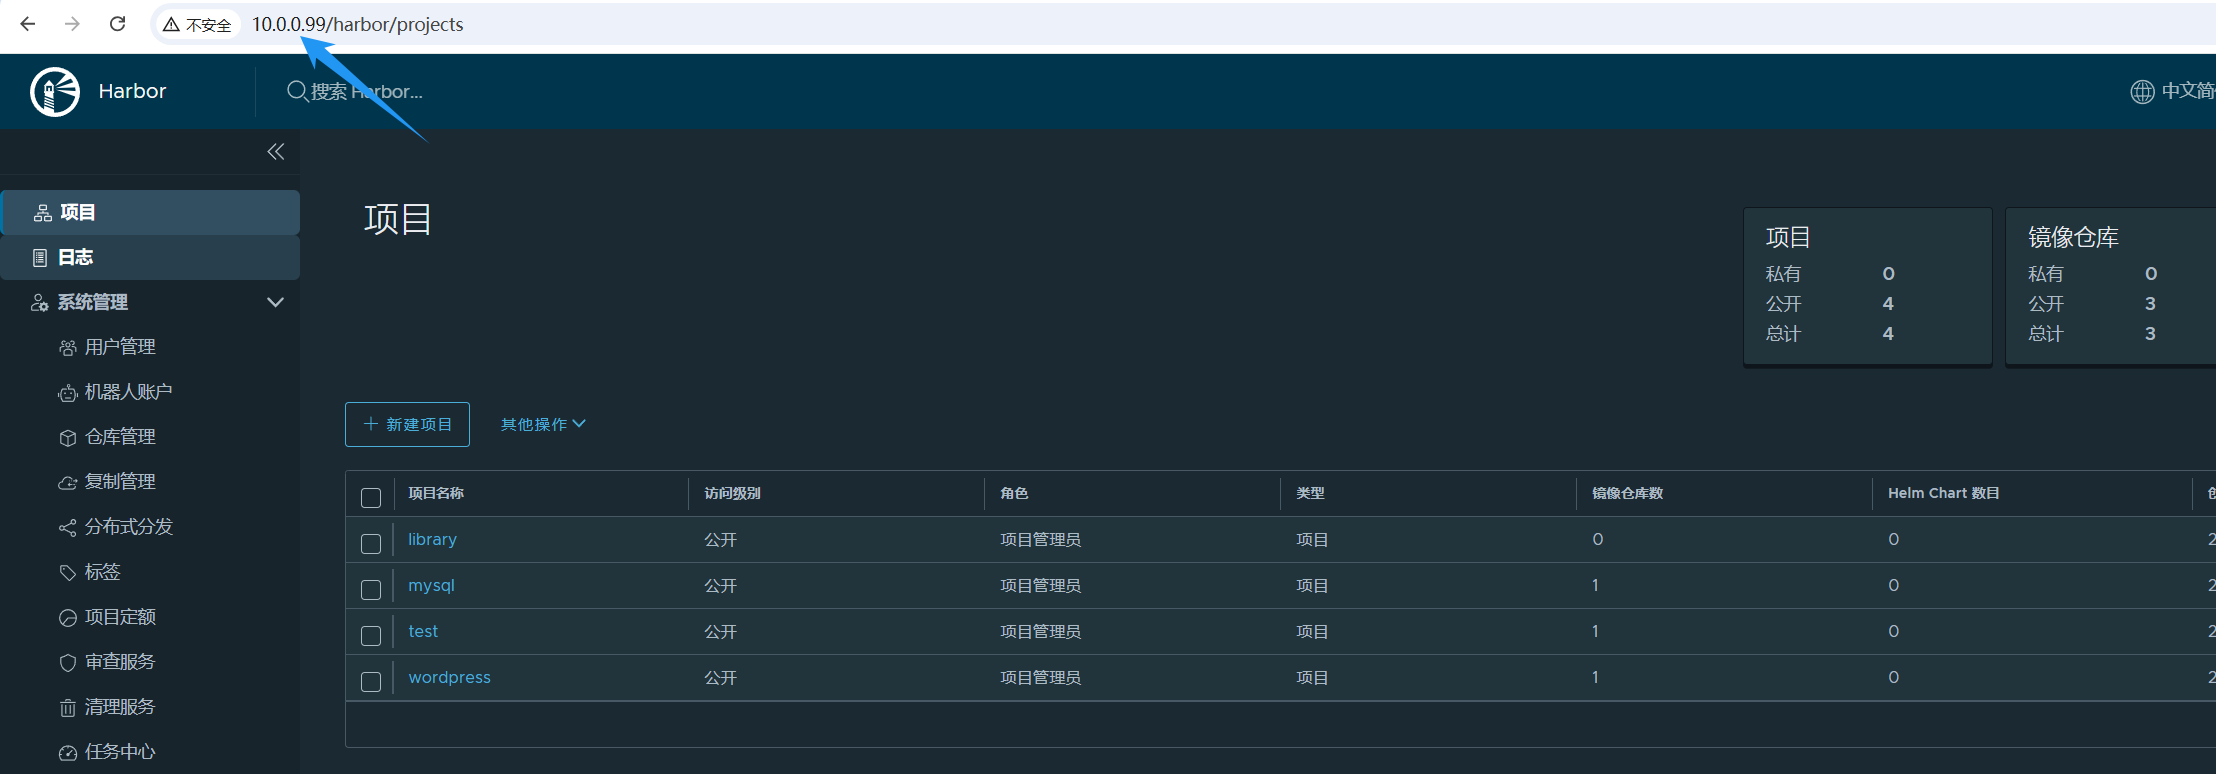
5. 使用VIP地址登录
http://10.0.0.99/
6. 让10.0.0.21节点宕机,观察VIP是否漂移
[root@harbor01:~]# init 0
[root@harbor02:~]# ip a
...
2: ens33: <BROADCAST,MULTICAST,UP,LOWER_UP> mtu 1500 qdisc fq_codel state UP group default qlen 1000
    link/ether 00:0c:29:c3:05:1b brd ff:ff:ff:ff:ff:ff
    altname enp2s1
    inet 10.0.0.21/24 brd 10.0.0.255 scope global ens33
       valid_lft forever preferred_lft forever
    inet 10.0.0.99/32 scope global ens33
       valid_lft forever preferred_lft forever
    inet6 fe80::20c:29ff:fec3:51b/64 scope link
       valid_lft forever preferred_lft forever
harbor仓库正常访问
四、Prometheus监控harbor
1. 修改Prometheus的配置文件
vim prometheus.yml
...
  - job_name: "harbor-exporter"
    static_configs:
      - targets:
          - 10.0.0.99:9099
2. 热加载配置文件
curl -X POST 10.0.0.31:9090/-/reload
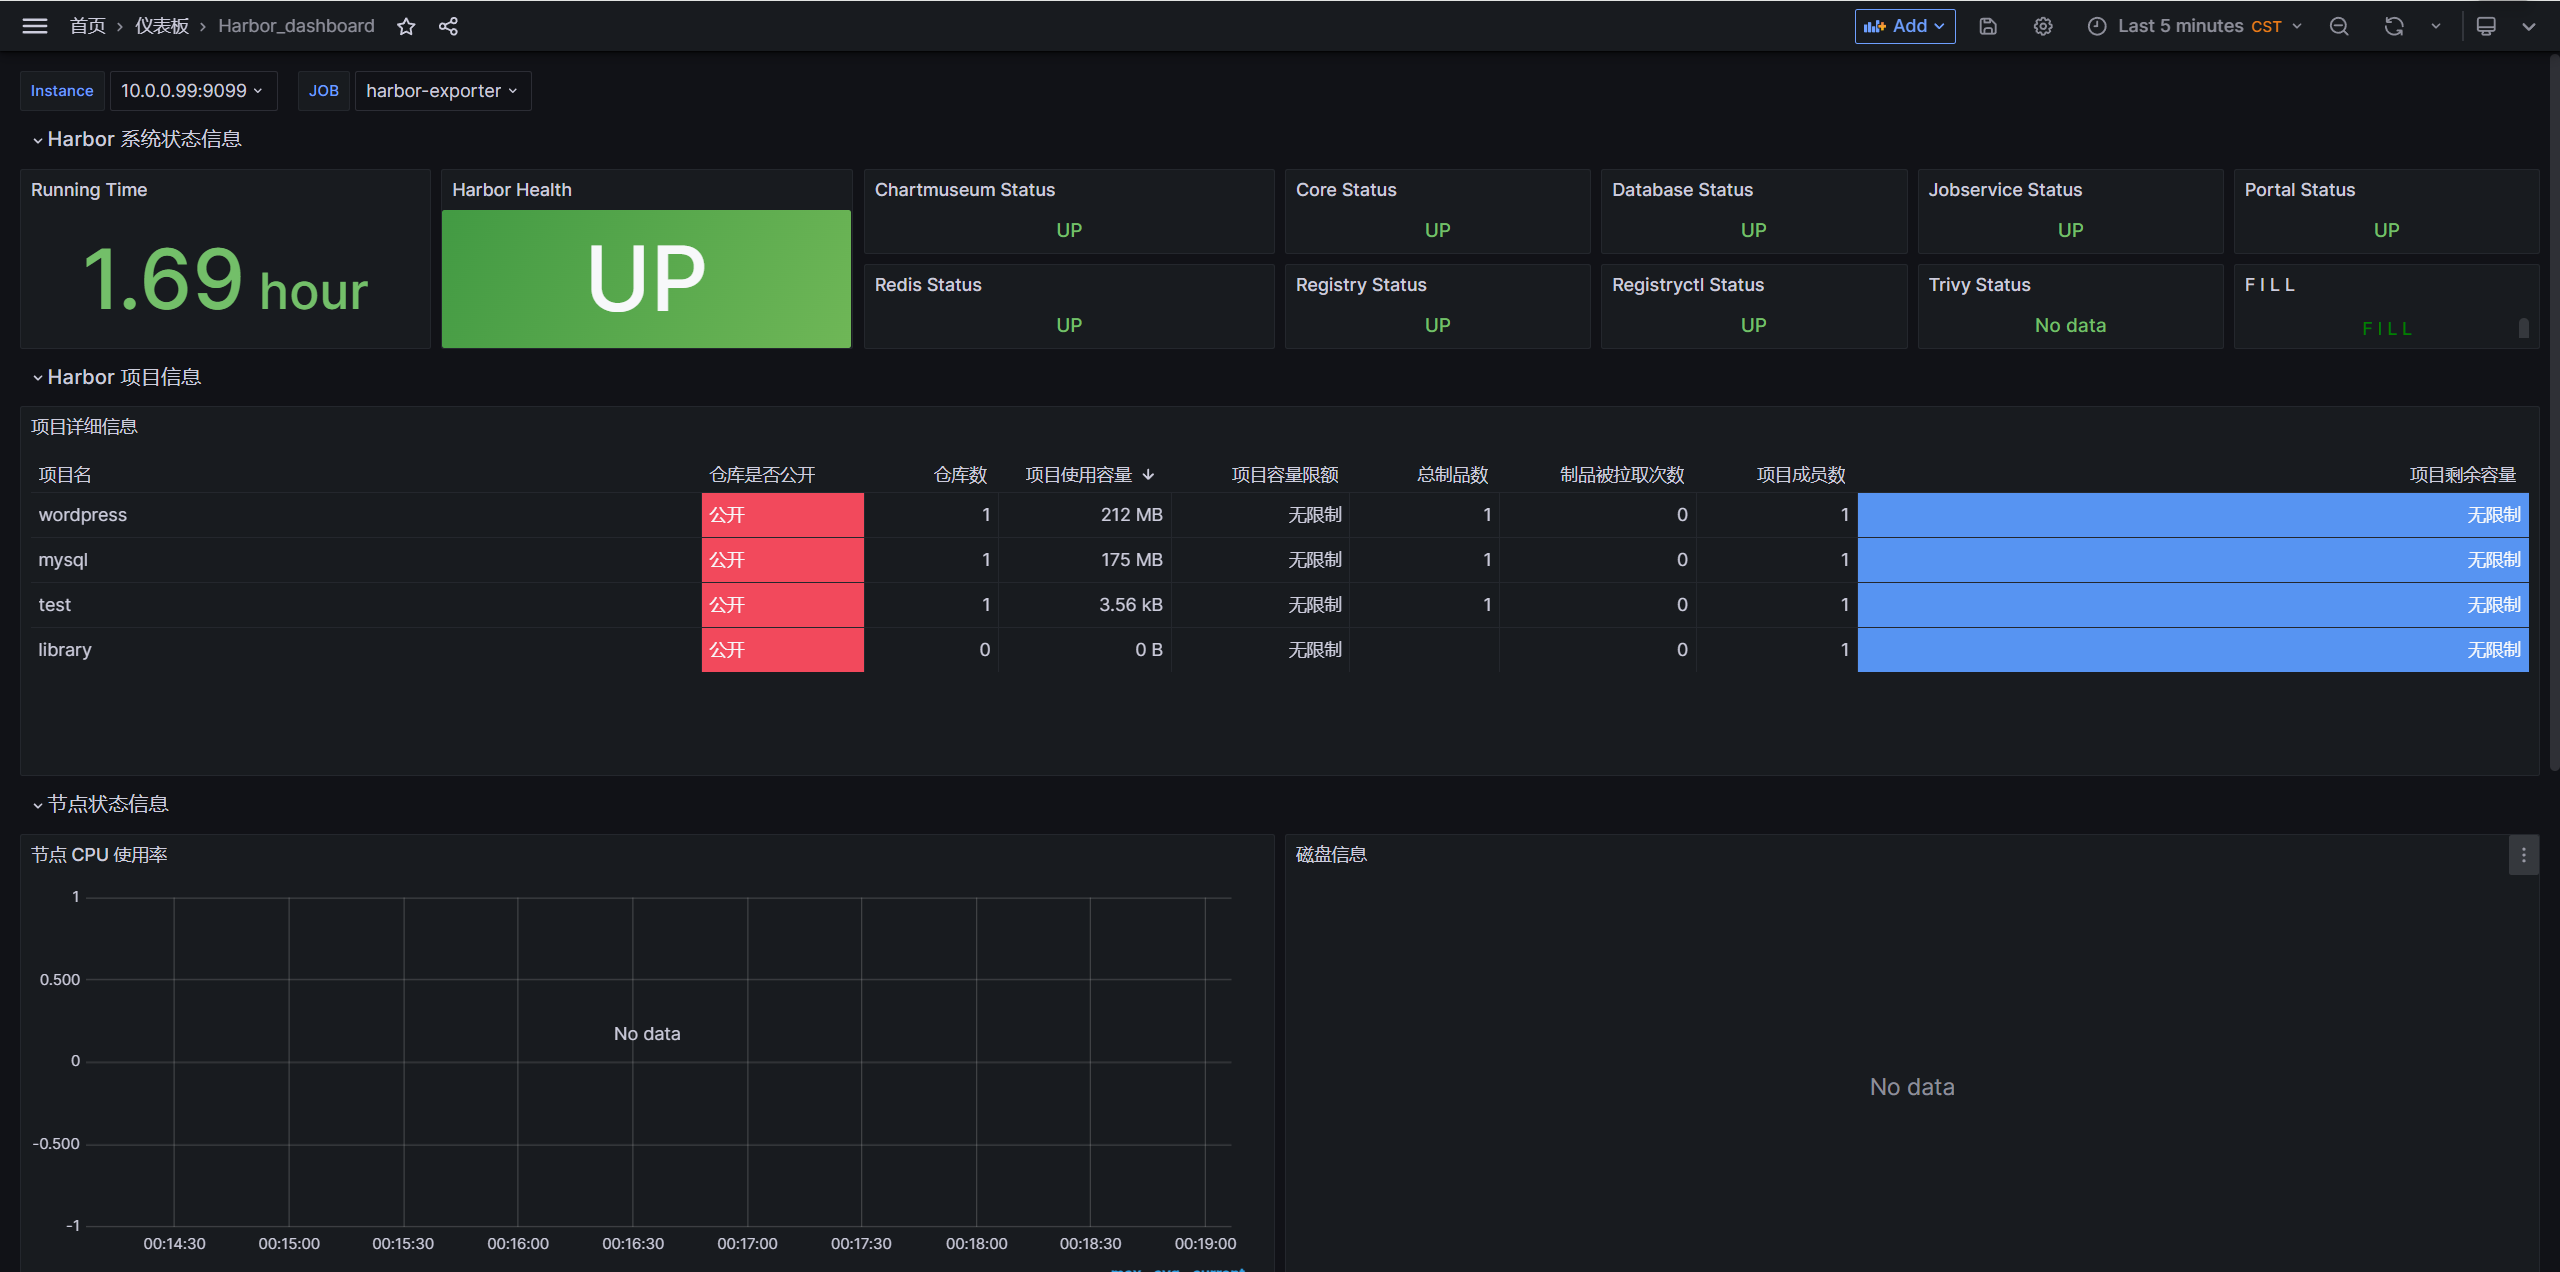
3. 验证是否监控成功
http://10.0.0.31:9090/targets

4. grafana导入模板ID
16686
分类:
docker


【推荐】国内首个AI IDE,深度理解中文开发场景,立即下载体验Trae
【推荐】编程新体验,更懂你的AI,立即体验豆包MarsCode编程助手
【推荐】抖音旗下AI助手豆包,你的智能百科全书,全免费不限次数
【推荐】轻量又高性能的 SSH 工具 IShell:AI 加持,快人一步
· 10年+ .NET Coder 心语 ── 封装的思维:从隐藏、稳定开始理解其本质意义
· 地球OL攻略 —— 某应届生求职总结
· 提示词工程——AI应用必不可少的技术
· Open-Sora 2.0 重磅开源!
· 周边上新:园子的第一款马克杯温暖上架