

springboot2.4下使用JUnit依赖注入失败的解决方案
首先在pom.xml下引入JUnit必须的包:
<dependency>
     <groupId>junit</groupId>
     <artifactId>junit</artifactId>
</dependency>

<dependency>
     <groupId>org.springframework.boot</groupId>
     <artifactId>spring-boot-starter-test</artifactId>
     <scope>test</scope>
</dependency>
然后在项目的test下新建测试类,要求需要跟主程序的启动类在相同的包名下,这点需要注意

测试类代码import org.junit.Test;
import org.junit.runner.RunWith;
import org.junit.jupiter.api.Assertions;
import org.springframework.beans.factory.annotation.Autowired;
import org.springframework.boot.test.context.SpringBootTest;
import org.springframework.test.context.junit4.SpringJUnit4ClassRunner;

@RunWith(SpringJUnit4ClassRunner.class)
@SpringBootTest
public class YshopMallApplicationTests {
    @Autowired
    private RedisUtils redisUtils;

    @Test
    public void test() {
        String val = (String)redisUtils.get("key");
     Assertions.assertEquals("1", status);
   }
}
测试一把,需注意,springboot项目的testcase运行起来的时候,需要加载容器,所以运行测试方法时会打印很多spring的初始化信息,代表正常运行
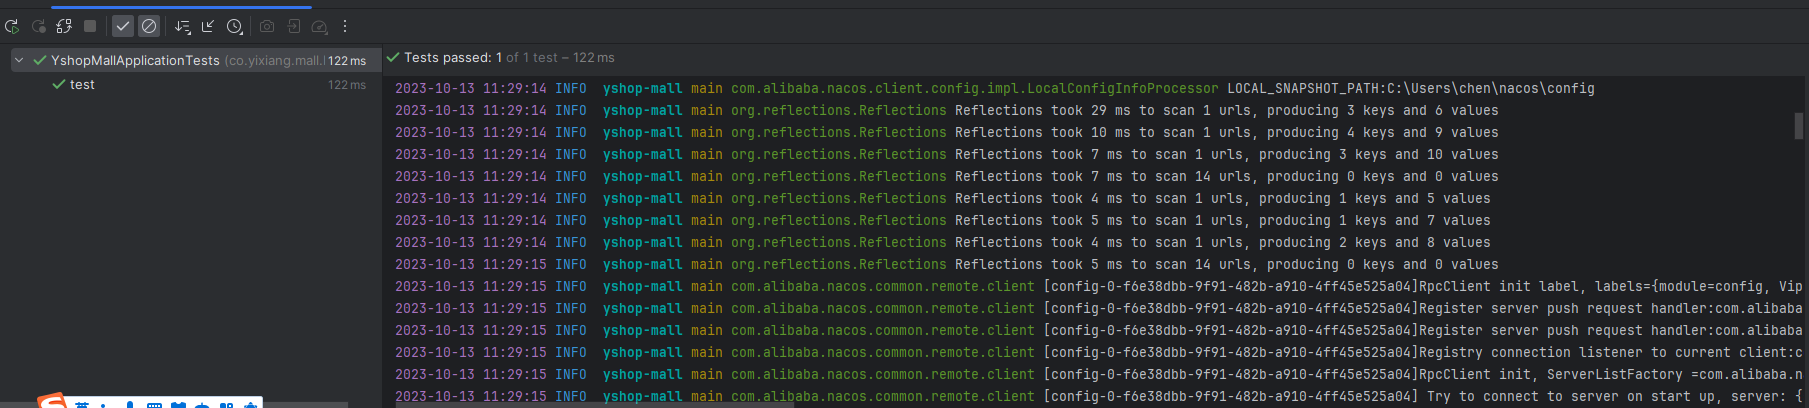
通过!

