对图像进行数据增强
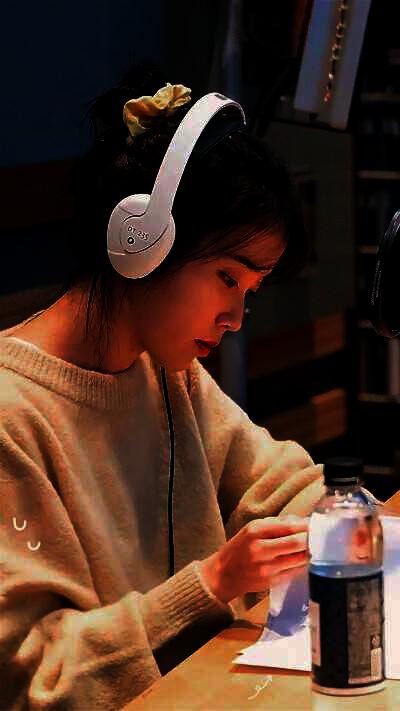
这是原始图像:

- 改变图像的光照程度。
def transform_ei(img_arr):
    def gamma_transform(im_array, gamma):
        res = exposure.adjust_gamma(im_array,gamma)
        return res

    low0 = 0.1
    high0 = 0.7
    low1 = 3
    high1 = 5
    gamma0 = rand.uniform(low0, high0)
    gamma1 = rand.uniform(low1, high1)
    gamma = rand.choice([gamma0, gamma1])
    res = gamma_transform(img_arr,gamma)
    return res
测试代码为:
if __name__ == '__main__':
    img = Image.open('./iu.jpeg')
    img_arr = np.asarray(img)
    # res, _ = transform_mb(img_arr, img_arr)
    res = transform_ei(img_arr)
    im = Image.fromarray(res)
    im.save('iu1.jpeg')
改变后的效果:
![]()
![]()
- 在图像上增加遮挡。
def transform_occ(img_arr):
    occ_obj_w = rand.randrange(1, 200)
    occ_obj_h = rand.randrange(1, 200)
    x_center = rand.randrange(1, 200)
    y_center = rand.randrange(1, 200)
    temp = np.array([rand.randrange(-10,10),rand.randrange(-10,10),rand.randrange(-10,10)],dtype=int)

    rgb_color = np.mean(img_arr, 0)
    random_color_rgb = np.mean(rgb_color, 0)
    random_color_rgb = random_color_rgb.astype(int)
    random_color_rgb = random_color_rgb - temp
    occ_obj = np.ones((occ_obj_h, occ_obj_w, 3), dtype=np.uint8)
    for i in range(3):
        occ_obj[:,:,i] = occ_obj[:,:,i] * random_color_rgb[i]
    res = img_arr
    if res.shape[0] <= y_center + occ_obj_h // 2:
        diff = y_center + occ_obj_h - res.shape[0]
        occ_obj = occ_obj[0:occ_obj_h-diff,:]

    if res.shape[1] <= x_center + occ_obj_w // 2:
        diff = x_center + occ_obj_w - res.shape[1]
        occ_obj = occ_obj[:,0:occ_obj_w-diff]
    res[y_center:y_center+occ_obj_h,x_center:x_center+occ_obj_w] = occ_obj
    img_arr = res

    return img_arr
测试代码:
if __name__ == '__main__':
    img = Image.open('./iu.jpeg')
    img_arr = np.asarray(img)
    res = transform_occ(img_arr)
    im = Image.fromarray(res)
    im.save('iu1.jpeg')
效果:
![]()
![]()
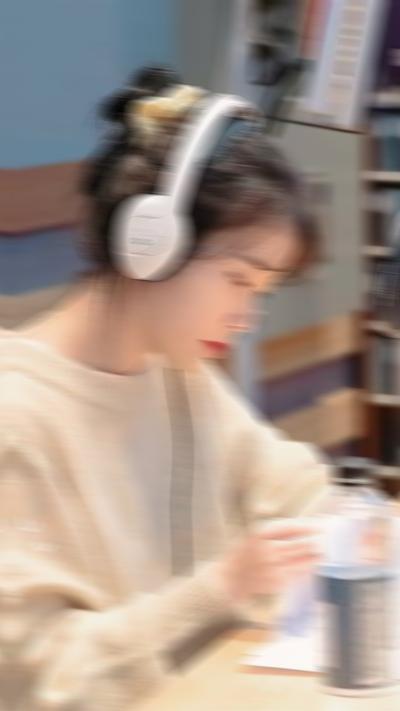
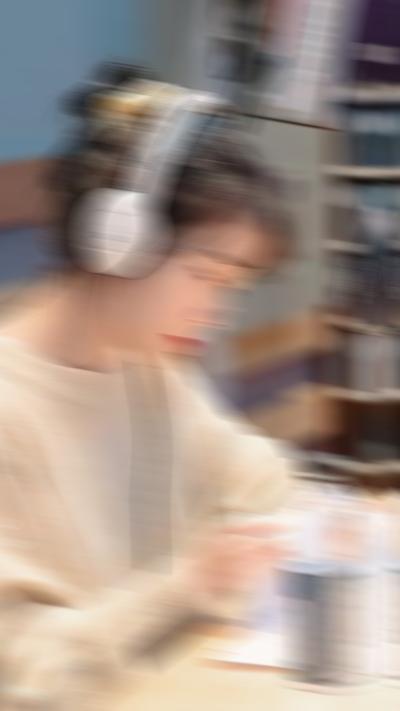
- 增加图像的模糊效果。
def transform_mb(img_arr):

    def motion_blur(im_array, length,angle):
        EPS = np.finfo(float).eps
        alpha = (angle - math.floor(angle / 180) * 180) / 180 * math.pi
        cosalpha = math.cos(alpha)
        sinalpha = math.sin(alpha)
        if cosalpha < 0:
            xsign = -1
        elif angle == 90:
            xsign = 0
        else:
            xsign = 1
        psfwdt = 1;

        sx = int(math.fabs(length * cosalpha + psfwdt * xsign - length * EPS))
        sy = int(math.fabs(length * sinalpha + psfwdt - length * EPS))
        sx = max(sx, 1)
        sy = max(sy, 1)
        psf1 = np.zeros((sy, sx))

        half = length / 2
        for i in range(0, sy):
            for j in range(0, sx):
                psf1[i][j] = i * math.fabs(cosalpha) - j * sinalpha
                rad = math.sqrt(i * i + j * j)
                if  rad >= half and math.fabs(psf1[i][j]) <= psfwdt:
                    temp = half - math.fabs((j + psf1[i][j] * sinalpha) / cosalpha)
                    psf1[i][j] = math.sqrt(psf1[i][j] * psf1[i][j] + temp * temp)
                psf1[i][j] = psfwdt + EPS - math.fabs(psf1[i][j]);
                if psf1[i][j] < 0:
                    psf1[i][j] = 0

        anchor=(0,0)

        if angle < 90 and angle > 0:
            psf1 = np.fliplr(psf1)
            anchor = (psf1.shape[1] - 1, 0)
        elif angle < -90 :
            psf1 = np.flipud(psf1)
            psf1 = np.fliplr(psf1)
            anchor = (psf1.shape[1] - 1, psf1.shape[0] - 1)
        elif angle > -90 and angle < 0:
            psf1 = np.flipud(psf1)
            anchor = (0, psf1.shape[0] - 1)
        psf1 = psf1 / psf1.sum()
        res = cv2.filter2D(im_array, -1, psf1, anchor=anchor)
        return res

    length = rand.randrange(40,100)
    angle = rand.randrange(-179,179)
    img_arr = motion_blur(img_arr, length, angle)
    return img_arr
测试代码:
if __name__ == '__main__':
    img = Image.open('./iu.jpeg')
    img_arr = np.asarray(img)
    res = transform_mb(img_arr)
    im = Image.fromarray(res)
    im.save('iu1.jpeg')
效果:
![]()
![]()


 浙公网安备 33010602011771号