

MahApps.Metro Quick Start
This guide will introduce you to how MahApps.Metro works and how to incorporate it into your app.
原则:xaml不要调用后台代码,后台代码调用xaml。
Installation
You can install MahApps.Metro via the NuGet UI or with the Package Manager Console.
具体步骤参见:Create a new F# WPF Code Behind Application
MahApps build-in styles and themes
All resources of MahApp.Metro are located within separate resource dictionaries. To adopt the MahApps.Metro theme, you will need to add the resource dictionaries to your App.xaml.
<Application
             xmlns="http://schemas.microsoft.com/winfx/2006/xaml/presentation"
             xmlns:x="http://schemas.microsoft.com/winfx/2006/xaml"
             >
  <Application.Resources>
    <ResourceDictionary>
      <ResourceDictionary.MergedDictionaries>
        <!-- MahApps.Metro resource dictionaries. Make sure that all file names are Case Sensitive! -->
        <ResourceDictionary Source="pack://application:,,,/MahApps.Metro;component/Styles/Controls.xaml" />
        <ResourceDictionary Source="pack://application:,,,/MahApps.Metro;component/Styles/Fonts.xaml" />
        <!-- Theme setting -->
        <ResourceDictionary Source="pack://application:,,,/MahApps.Metro;component/Styles/Themes/Dark.Blue.xaml" />
      </ResourceDictionary.MergedDictionaries>
    </ResourceDictionary>
  </Application.Resources>
</Application>
Note
Make sure that all resource file names are Case Sensitive!
Using the MetroWindow
To start with the full MahApps styling and full window support you need to change your normal Window to our MetroWindow.
-
Open up your main window, normally named
MainWindow.xaml -
Add the namespace attribute inside the opening Window tag
xmlns:mah="clr-namespace:MahApps.Metro.Controls;assembly=MahApps.Metro"or
xmlns:mah="http://metro.mahapps.com/winfx/xaml/controls" -
Change the
<Window ... </Window>tag to<mah:MetroWindow ... </mah:MetroWindow>
Now you should have something like this (don't copy and paste this directly)
<mah:MetroWindow
                 xmlns="http://schemas.microsoft.com/winfx/2006/xaml/presentation"
                 xmlns:x="http://schemas.microsoft.com/winfx/2006/xaml"
                 xmlns:d="http://schemas.microsoft.com/expression/blend/2008"
                 xmlns:mc="http://schemas.openxmlformats.org/markup-compatibility/2006"
                 mc:Ignorable="d"
                 xmlns:mah="clr-namespace:MahApps.Metro.Controls;assembly=MahApps.Metro"
                 Title="MainWindow" Width="800" Height="450" WindowStartupLocation="CenterScreen"
                 >
  <Grid>
    <!--  Your content  -->
  </Grid>
</mah:MetroWindow>
You'll also need to modify the code behind of the window file so that the base class matches the MetroWindow class of the XAML file.
But in most cases you can just drop the base class (because this is a partial class the XAML should take care of this).
type FirstMetroWindowXaml = FsXaml.XAML<"FirstMetroWindow.xaml">

type FirstMetroWindow () =
    inherit FirstMetroWindowXaml ()
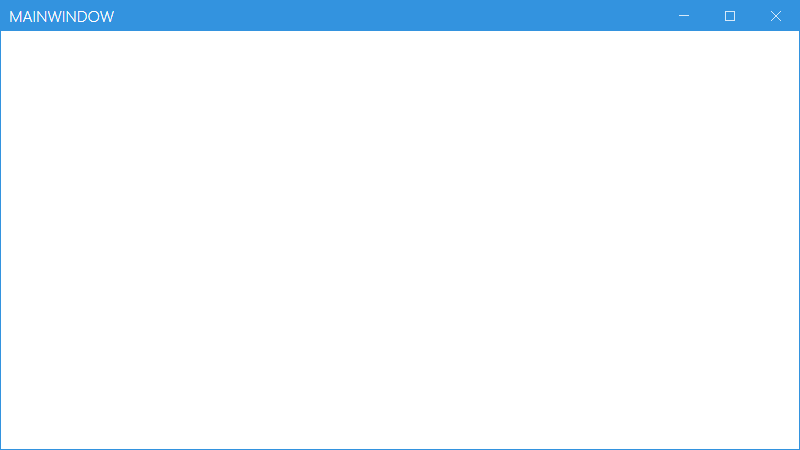
The end result will look something like this:
What's Next?
For extended documentation, take a look at the Styles and Controls section.
文摘自官方文档:MahApps.Metro - Quick Start
