SpringBoot的开发(1)--编写SpringBoot的项目入口、编写application.properties配置文件、按照分层先把包建好
搭建完SpringBoot的环境之后,我们要开始学习如何去做一个SpringBoot的开发
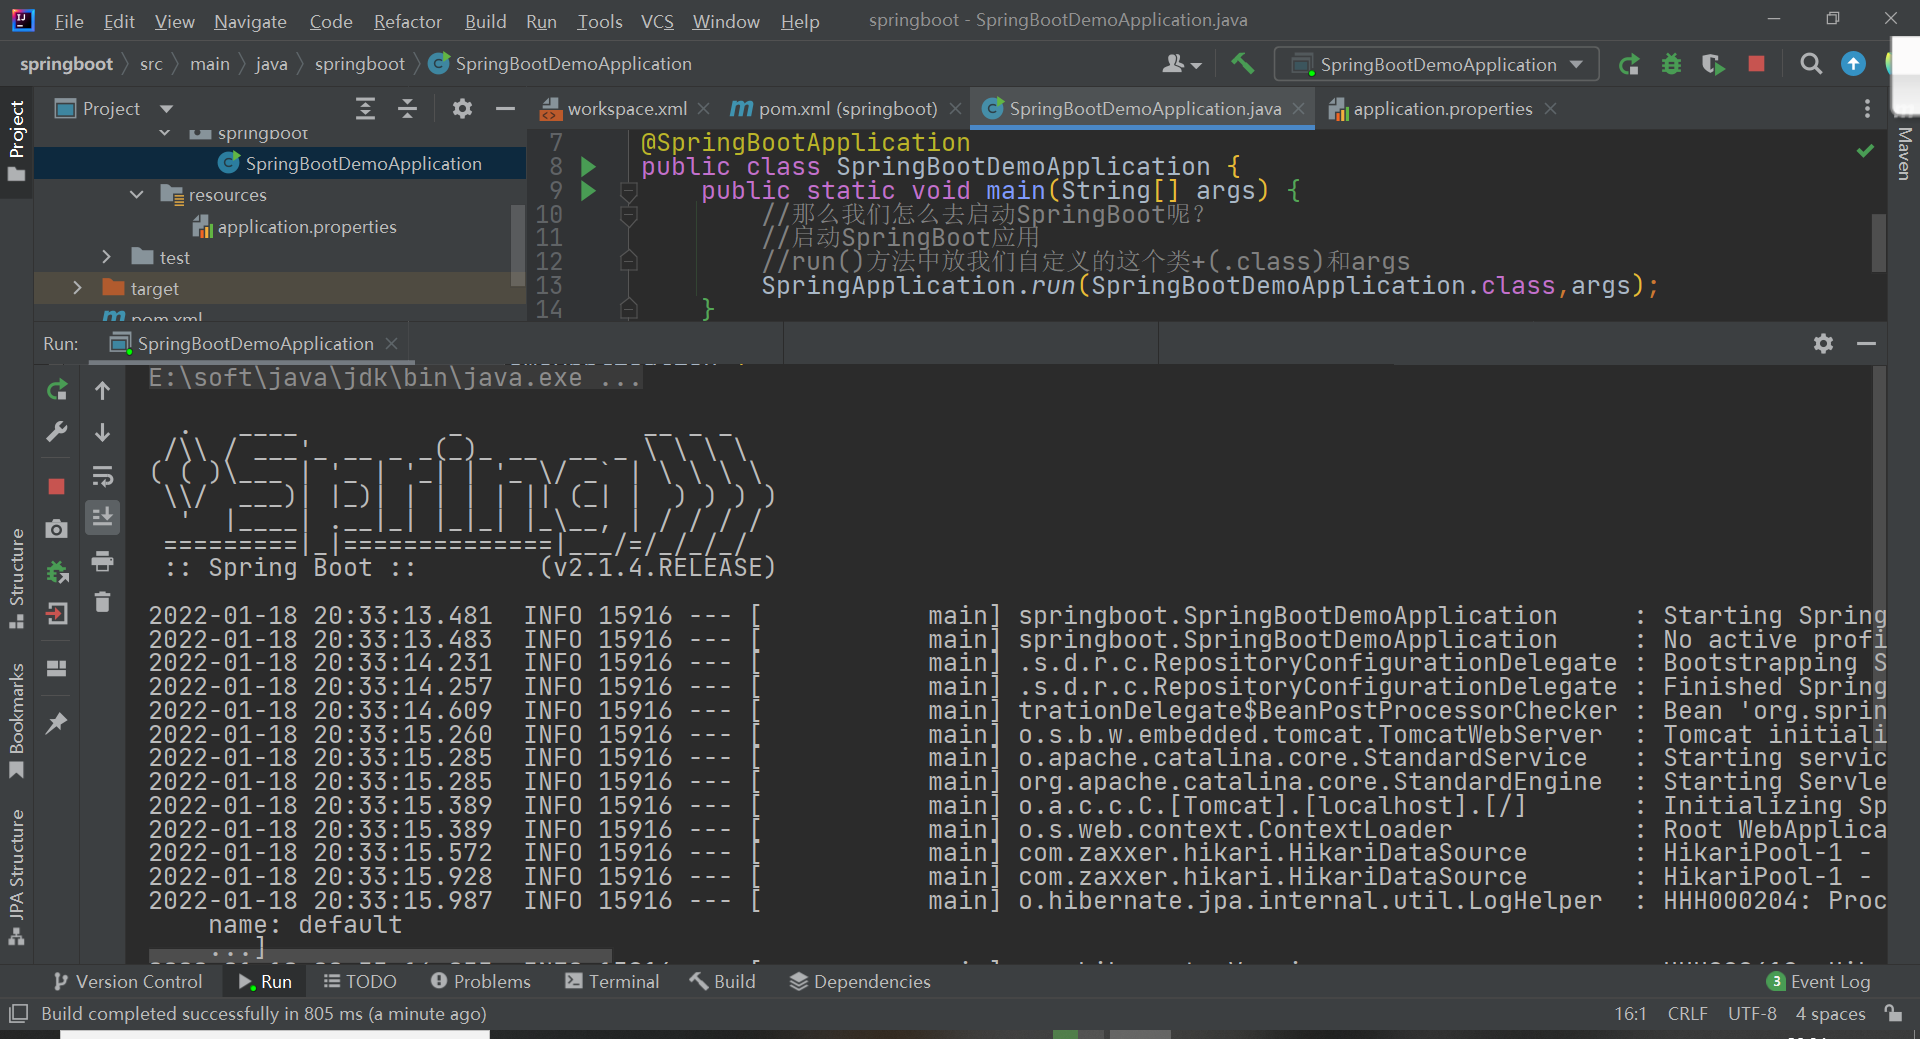
首先我们先写SpringBoot的项目入口

import org.springframework.boot.SpringApplication;
import org.springframework.boot.autoconfigure.SpringBootApplication;

//加上一个这个注解表示:这个类作为我们SpringBoot的一个应用
@SpringBootApplication
public class SpringBootDemoApplication {
    public static void main(String[] args) {
        //那么我们怎么去启动SpringBoot呢?
        //启动SpringBoot应用
        //run()方法中放我们自定义的这个类+(.class)和args
        SpringApplication.run(SpringBootDemoApplication.class,args);
    }
}
##在MySQL中的建表语句
#因为MySQL中忽略大小写,所以你搞个大写的可能会引起歧义,所以这里统一全部用小写,多个单词之间用 _ 连接
create table student(
	id int PRIMARY KEY auto_increment,
	name varchar(255) not null,
	age int not null DEFAULT 0,
	gender varchar(255),
	clazz varchar(255),
	sum_score int
);

-- 对name做索引
create index stu_name_index on student(name);
之后我们再去resources目录(放一些资源和配置的地方)中新建一个File名为application.properties的配置文件(这里的命名都是有讲究的)
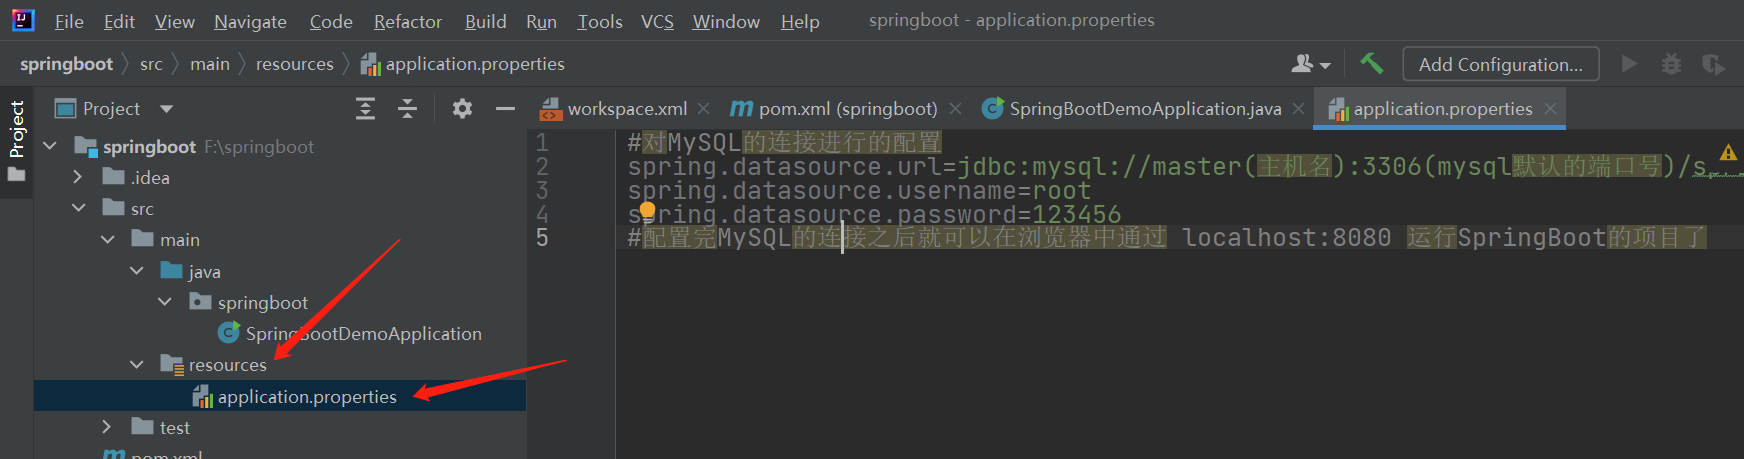
在application.properties文件中添加
## ? 后面加的是参数可写可不写,最好加上
## %2b 是+的意思,在url中是不允许出现中文和一些奇怪的字符的,我们都可以把这些字符和中文转成url的编码,在url中+可能有特殊含义,所以需要转
#对MySQL的连接进行的配置
spring.datasource.url=jdbc:mysql://master(主机名):3306(mysql默认的端口号)/springbootdemo(数据库名)?useUnicode=true&characterEncoding=utf-8&allowMultiQueries=true&useSSL=false&serverTimezone=GMT%2b8
spring.datasource.username=root
spring.datasource.password=123456
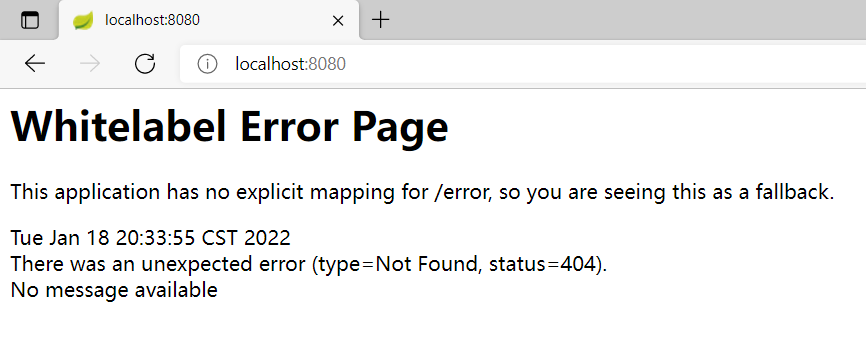
#配置完MySQL的连接之后就可以在浏览器中通过 localhost:8080 运行SpringBoot的项目了
#然而我们这里还需要手动添加MySQL驱动
spring.datasource.driver-class-name=com.mysql.cj.jdbc.Driver#配置完MySQL的连接之后就可以运行SpringBoot的项目,在浏览器中通过 localhost:8080 看一下了
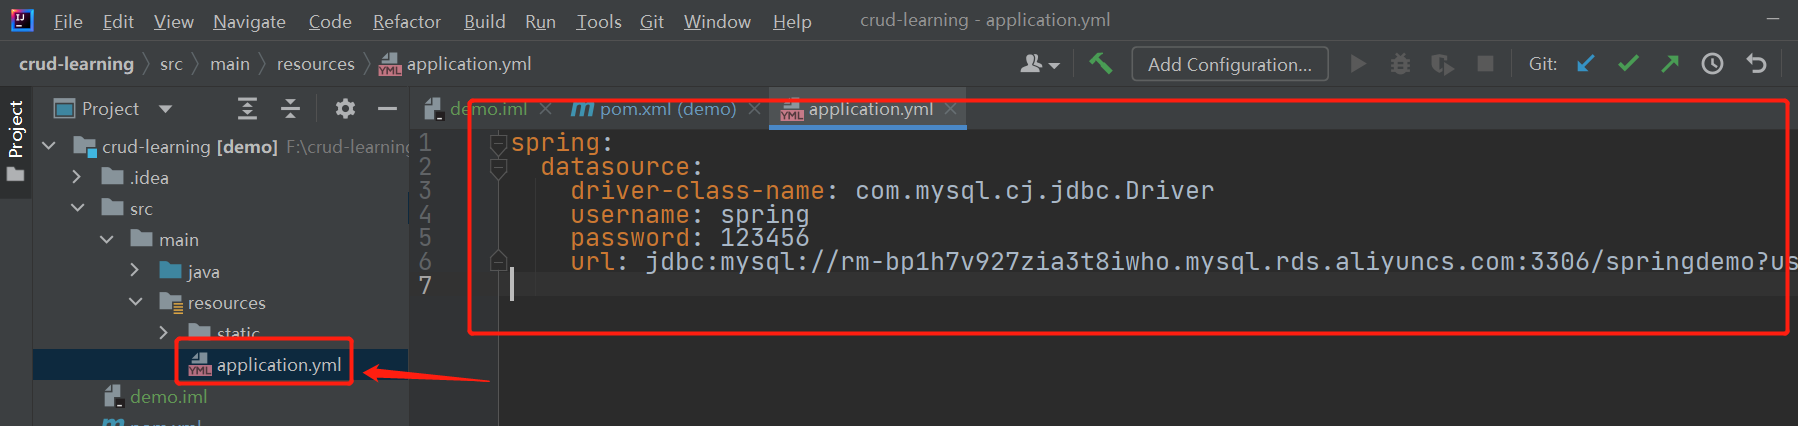
#注如果你的配置文件application.properties文件的后缀名不同,例如application.yml,那么配置文件的格式就不同了
spring:
  datasource:
    driver-class-name: com.mysql.cj.jdbc.Driver
    username: spring
    password: 123456
    url: jdbc:mysql://rm-bp1h7v927zia3t8iwho.mysql.rds.aliyuncs.com:3306/springdemo?useUnicode=true&characterEncoding=utf-8&allowMultiQueries=true&useSSL=false&serverTimezone=GMT%2b8
之后我们按照分层,先把包建好


 浙公网安备 33010602011771号