
ansible工具
快速安装
yum install ansible
yum info ansible #查看安装包信息
配置文件
/etc/ansible/ansible.cfg
/etc/ansible/hosts
最基础配置1:
- 在/etc/ansible/hosts文件增加要管理的服务器IP地址
- 端口:ansible_ssh_port=22
2.命令:
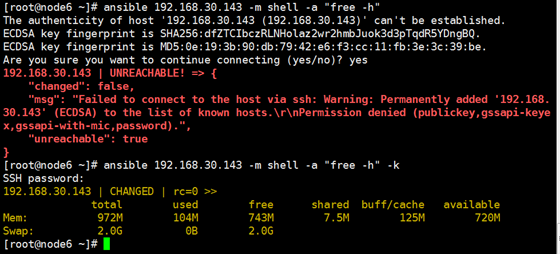
ansible IP地址 -m shell -a "free -h "
ansible IP1,IP2 -m shell -a "free -h " -k
-k :输入密码
免密配置:ssh-keygen
1.在root目录下创建公钥和私钥
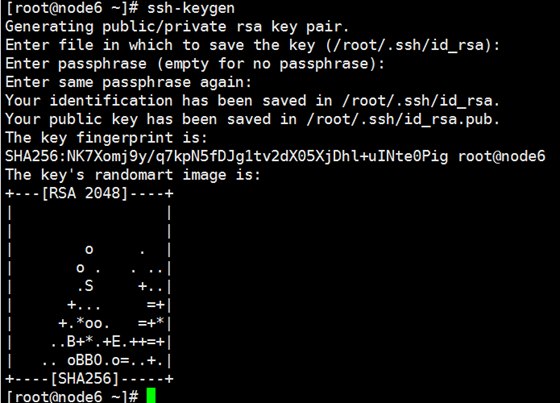
Your identification has been saved in /root/.ssh/idrsa.
Your public key has been saved in /root/.ssh/idrsa.pub.
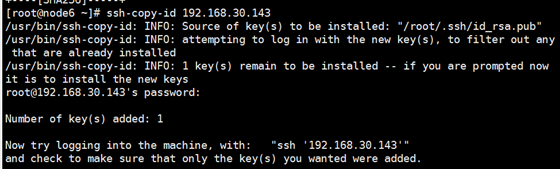
2.把公钥发送给客户端:ssh-copy-id 192.168.143
3.输入143的root密码
主机组:
[web]
192.168.30.143
192.168.30.144
去掉每次连接要求输入yes
打开配置文件:vim /etc/ansible/ansible.cfg
hostkeychecking = False #去掉注释

查看模块帮助命令:
ansible-doc shell
ansible-doc -s shell #只看参数选项,注释项
ansible模块
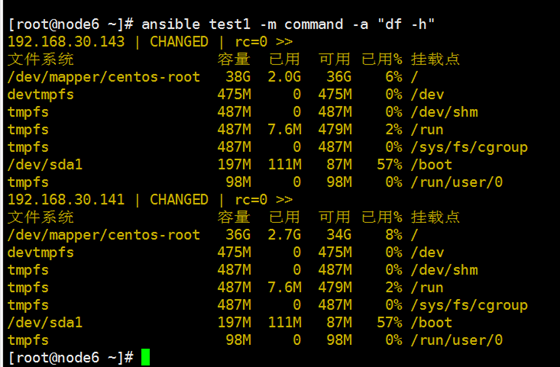
command模块(默认模块):
-m command 可以不写 -a 表示参数
ansible IP1,IP2 -a "df -h"
ansible 组名 -a "df -h"
ansible all -a "df -h" # all 表示所示主机
例:ansible test1 -m command -a "df -h"
指安装包,例如安装httpd
1.先更新元数据:ansible test1 -a "yum makecache"
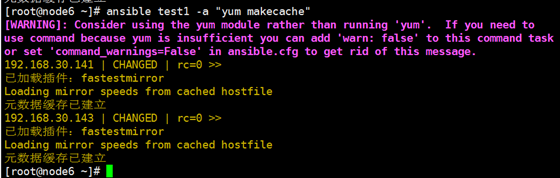
2.安装时记得加 -y
警告信息:建议使用yum模块,如果不想让他提示,修改配置文件'command_warnings=False'
command模块的缺点:
不支持"<"', ">"',"|"', ";"' and"&"'
shell模块
command 的升级版
修改ansible的默认模块为shell,配置文件找到:module_name = command

shell模块的参数:
[root@test1 ~]# ansible-doc -s shell
- name: Execute shell commands on targets
  shell:
      chdir:                 # Change into this directory before running the command.
      cmd:                   # The command to run followed by optional arguments.
      creates:               # A filename, when it already exists, this step will
                               *not* be run.
      executable:            # Change the shell used to execute the command. This
                               expects an absolute path
                               to the executable.
      free_form:             # The shell module takes a free form command to run, as a
                               string. There is no
                               actual parameter named
                               'free form'. See the
                               examples on how to use
                               this module.
      removes:               # A filename, when it does not exist, this step will
                               *not* be run.
      stdin:                 # Set the stdin of the command directly to the specified
                               value.
      stdin_add_newline:     # Whether to append a newline to stdin data.
      warn:                  # Whether to enable task warnings.
chdir: 先cd 再mkdir
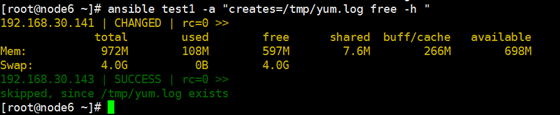
creates: 先判断,文件存在则不执行;
例143有yum.log就不执行,141没有则执行:ansible test1 -a "creates=/tmp/yum.log free -h "
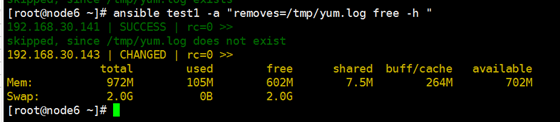
removes: 先判断,文件不存在,则不执行;
ansible test1 -a "removes=/tmp/yum.log free -h "
copy模块:
源 --> 目的
复制文件或目录:
ansible test1 -m copy -a "src=/etc/fstab dest=/tmp/"
等于命令:scp /etc/fstab 192.168.30.141:/tmp/
同时修改文件权限和属主:
注意:多次传输文件会自动覆盖。
保留2个文件:backup=yes
ansible nginx -m copy -a “src=/etc/fstab dest=/tmp mode=600 owner=jfedu backup=yes”
复制字符串:
ansible nginx -m copy -a “content=’welcome to jfedu\n’ dest=/tmp/hello”
实例:zabbix客户端配置文件批量分发
ansible nginx -m copy -a “src=/etc/zabbix_agentd.conf dest=/etc/ backup=yes”
fetch模块(与copy对应)
从远程拉取文件到本地,不支持拉取目录。
远程目标 --> 本地目录
ansible test1 -m fetch -a "src=/etc/fstab dest=/tmp/"
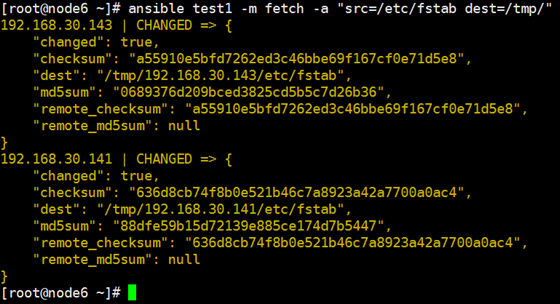
结果:如果远程服务器有多个,以主机IP地址为目录分别存放。
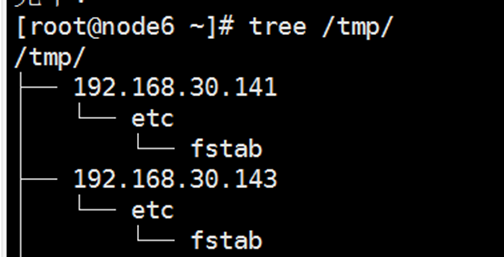
注意:目录名称参考host配置的名称
synchronize模块:
可以实现目录、文件的同步,主要基于rsync命令工具同步目录和文件。
类似sync命令:
1.同步到远程服务器
同步目录:/root
同步文件:/root/
2.拉取文件,只能指定单个主机, 命令:mode=pull
ansible IP -m synchronize -a "src=/root/ dest=/tmp mode=pull"
file模块
该模块可以实现对文件的基本操作。比如,创建文件或目录、删除文件或目录、修改文件权限等。
创建文件:
创建目录:
ansible nginx -m file -a “name=jf1 state=directory”
本文来自博客园,作者:此生逍遥py,转载请注明原文链接:https://www.cnblogs.com/csxy-py/p/16775138.html

 浙公网安备 33010602011771号