11 | Django REST framework+Vue 生鲜超市 ——social_django 集成第三方登录
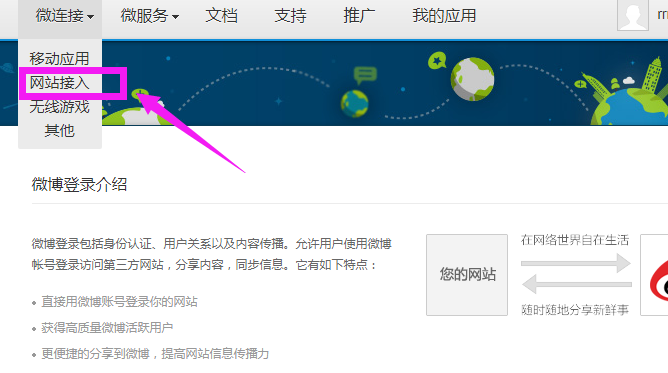
进入微博开放平台,首先要经过认证,然后才可以创建应用
http://open.weibo.com/authentication
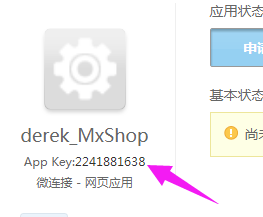
创建应用
写上应用的名字,创建好后,会有个“App Key”,这个非常重要
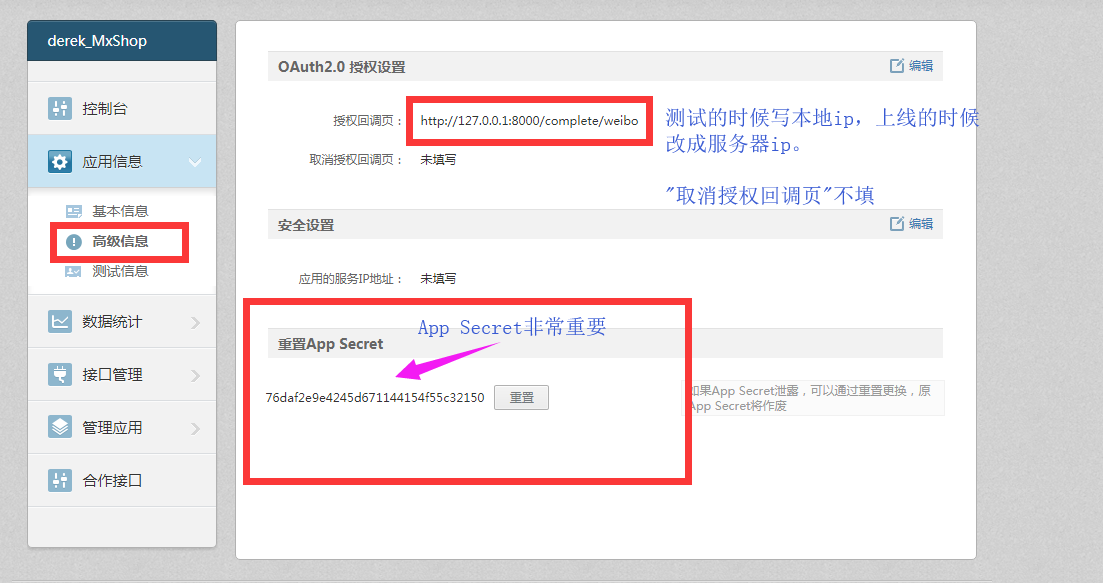
OAuth2.0 授权设置
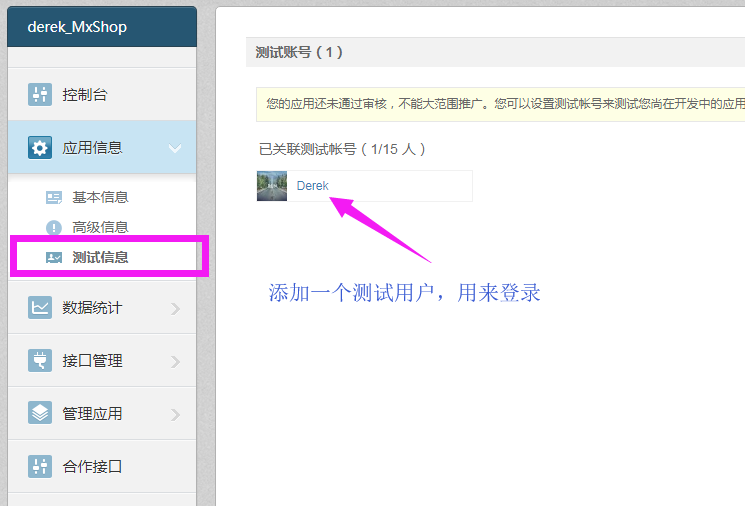
正常情况下,必须经过审核才可以让第三方登录,我们可以先用测试模式来完成。
(1)添加测试用户,可以测试登录
(2)高级信息
调用登陆API获取用户个人消息


def get_auth_url():
    weibo_auth_url = "https://api.weibo.com/oauth2/authorize"
    redirect_url = 'http://127.0.0.1:8000/complete/weibo'
    auth_url = weibo_auth_url+"?client_id={client_id}&redirect_uri={re_url}".format(client_id="2717334989",re_url=redirect_url)
    print(auth_url)

def get_access_token(code='cd3bcdad7d73f9bf9b60b621ebec839a'):
    access_token_url = 'https://api.weibo.com/oauth2/access_token'
    import requests
    re_dict = requests.post(access_token_url,data={
        "client_id":"2717334989",
        "client_secret":"eb24e184aa12e66c76066a18d59a5037",
        "grant_type":"authorization_code",
        "code":code,
        "redirect_uri":"http://127.0.0.1:8000/complete/weibo"

    })

    print(re_dict.text)
    """
    {"access_token":"2.00BsFdOHhxetxCb9a33ee55bw3SS6E","remind_in":"157679999","expires_in":157679999,"uid":"6629115889","isRealName":"true"}
    """

def get_user_info(access_token='2.00BsFdOHhxetxCb9a33ee55bw3SS6E'):
    user_show = "https://api.weibo.com/2/users/show.json?&access_token={access}&uid={uuid}".format(access=access_token,uuid='6629115889')
    print(user_show)


if __name__ == '__main__':
    get_user_info()
social_django第三方库来实现第三方登录
github地址,上面有使用说明
https://github.com/python-social-auth/social-app-django
(1) 安装
pip install social-auth-app-django
(2)INSTALL_APP中配置
'social_django',
(3)生成表
只需要做migrate,因为migration的文件已经生成好了
python manage.py migrate
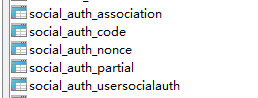
可以看到数据库中多了五张表
(4) 添加到AUTHENTICATION_BACKENDS中
settings
# 设置邮箱和用户名和手机号均可登录
AUTHENTICATION_BACKENDS = (
    'users.views.CustomBackend',
    'social_core.backends.weibo.WeiboOAuth2',
    'social_core.backends.qq.QQOAuth2',
    'social_core.backends.weixin.WeixinOAuth2',
    'django.contrib.auth.backends.ModelBackend',
)
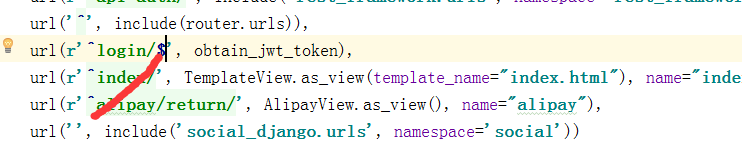
(5)配置url
# 第三方登录
    url('', include('social_django.urls', namespace='social'))
注意在以前的接口login后加一个$
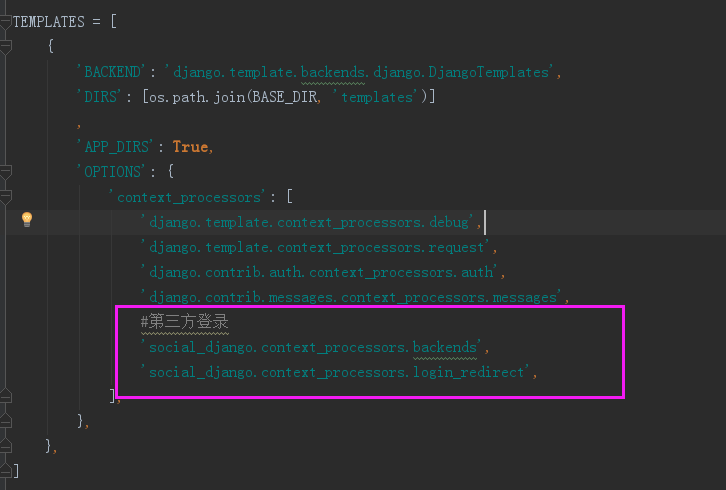
(6)settings里面context_processors
对于template中的用法,向context_processors中加入下面两个
'social_django.context_processors.backends',
'social_django.context_processors.login_redirect',
(7)接口
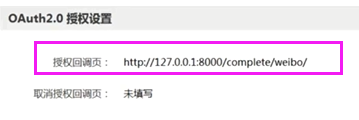
在微博开放平台里面设置回调url,调试的时候设置成本地的就可以了,上线的时候改成服务器的ip地址
http://127.0.0.1:8000/complete/weibo/
(8)APP Secret和App key配置,settings里面
# 第三方登录,里面的值是你的开放平台对应的值
SOCIAL_AUTH_WEIBO_KEY = '2717334989'
SOCIAL_AUTH_WEIBO_SECRET = 'eb24e184aa12e66c76066a18d59a5037'

SOCIAL_AUTH_QQ_KEY = 'xxxxxxx'
SOCIAL_AUTH_QQ_SECRET = 'xxxxxxx'

SOCIAL_AUTH_WEIXIN_KEY = 'xxxxxxx'
SOCIAL_AUTH_WEIXIN_SECRET = 'xxxxxxx'
现在浏览器访问:http://127.0.0.1:8000/login/weibo,就可以登录了,我们还需要设置用户微博登录成功后跳转到首页
#登录成功后跳转到首页
SOCIAL_AUTH_LOGIN_REDIRECT_URL = '/index/'
(9)修改源码
登录成功跳到首页,发现还处于未登录状态,我们需要对源码做修改
social_core/actions.py
原始代码
return backend.strategy.redirect(url)
把social_core拷贝到extra_apps目录下
把social_core/actions.py
修改为
# 修改源码适配drf
    response = backend.strategy.redirect(url)
    payload = jwt_payload_handler(user)
    response.set_cookie("name",user.name if user.name else user.username, max_age=24*3600)
    response.set_cookie("token", jwt_encode_handler(payload), max_age=24*3600)
    return response
在这里如果用户已经登陆,在使用微博登陆的话,会自动的和该账号绑定
如果一开始使用微博登陆会新建一个用户和微博绑定,下次登陆就会识别到

 浙公网安备 33010602011771号