BBS项目-个人站点搭建
1 后端逻辑
1.1 路由
路由匹配的是用户名,url 是哪个用户名就跳转到该用户的个人站点
re_path(r'^(?P<username>\w+)/$', views.site, name='site')1.2 views.py
访问个人站点,就是访问该个人站点下的所有文章。
def site(request, username):
    # 校验当前用户是否存在,有可能url后输入的是不存在的用户名
    user_obj = models.UserInfo.objects.filter(username=username).first()
    # 如果用户不存在应该返回一个404页面,查找的资源不存在
    if not user_obj:
        return render(request, '404error.html')
    # 如果输入的用户名存在,先拿到个人站点,再查询当前个人站点的所有文章展示到前端
    blog = user_obj.blog
    article_queryset = models.Article.objects.filter(blog=blog)
    # 分页器返回page_queryset 给前端
    curren_page = request.GET.get('page', 1)
    all_count = article_queryset.count()
    page_obj = Pagination(current_page=curren_page, all_count=all_count)
    page_queryset = article_queryset[page_obj.start: page_obj.end]
    return render(request, 'site.html', locals())
2 前端页面
搭建一个404页面,拷贝的博客园404页面代码,由于图片防盗链问题,图片不能显示。
参考博客园网站,个人站点包含导航条, 3-9 布局的主页面。左边侧边栏统计标签、分类、日期归档, 右边主页面展示站点下所有文章。
从首页html页面拷贝导航条,左侧边栏,文章展示代码到个人站点页面,调整后页面效果如下:
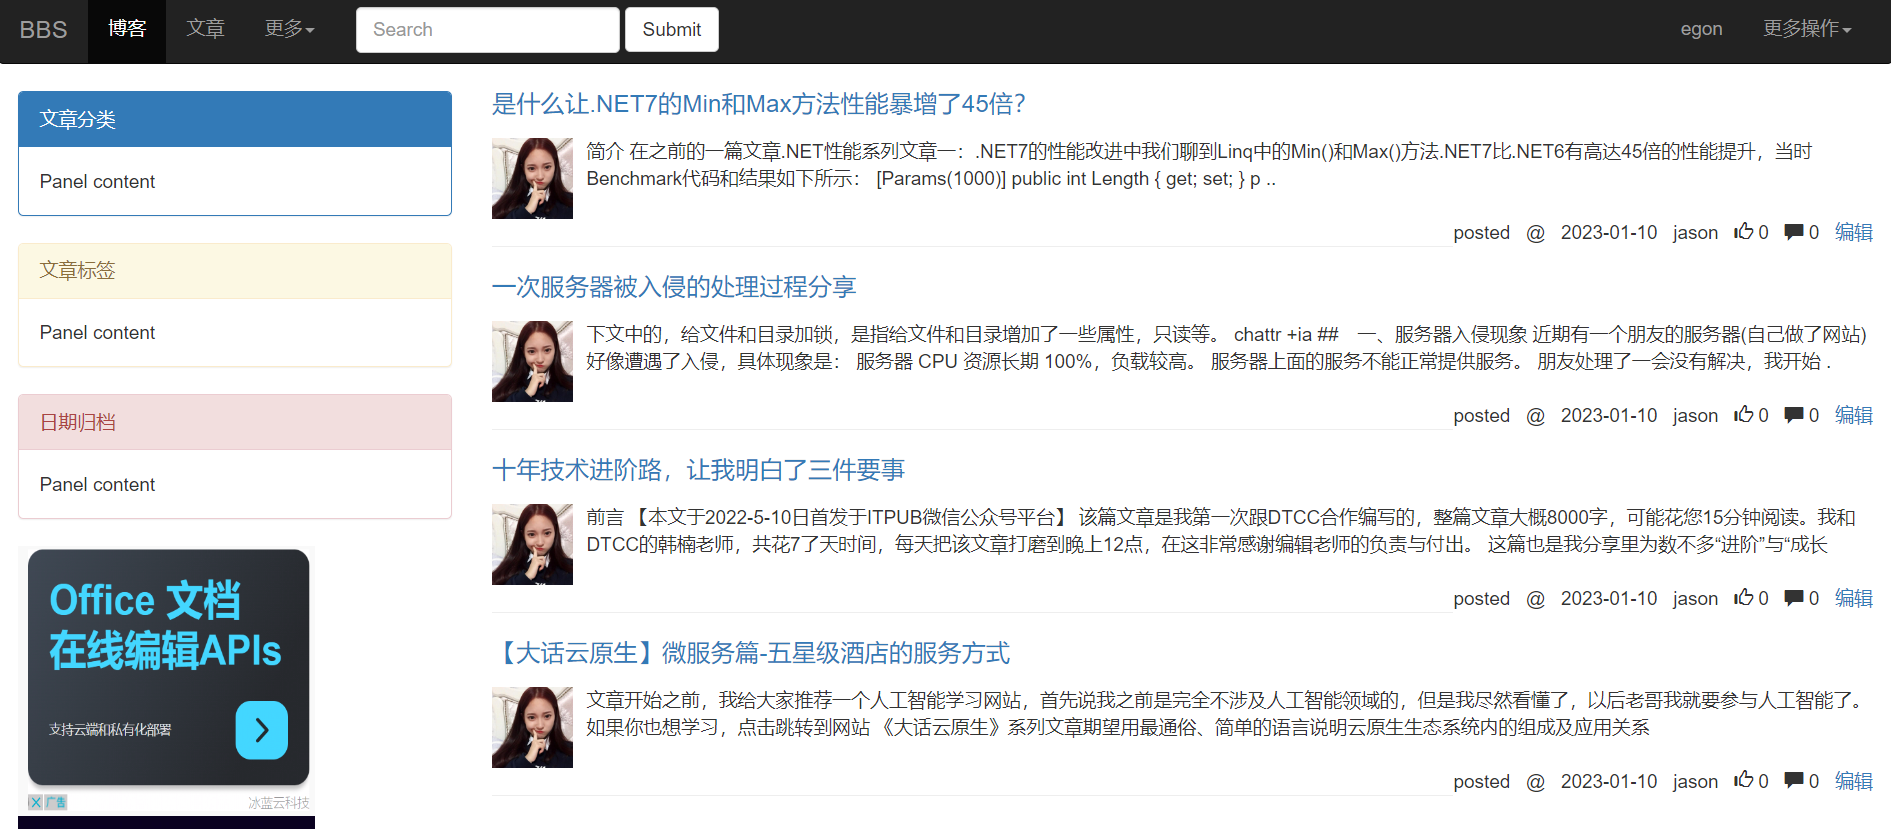
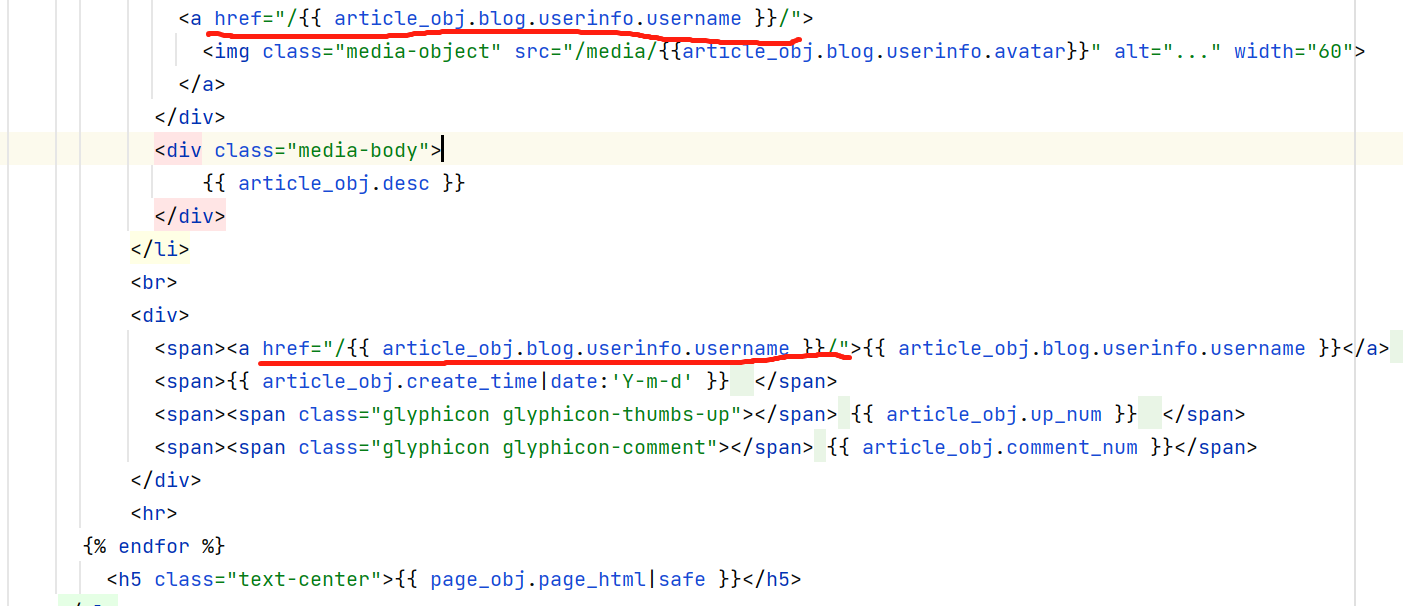
首页的头像和用户名,两个a标签,href 属性为 /用户名/ 路由,点击就跳转到该用户个人站点。
3 侧边栏展示功能
参考博客园,左边侧边栏统计标签、分类、日期归档。
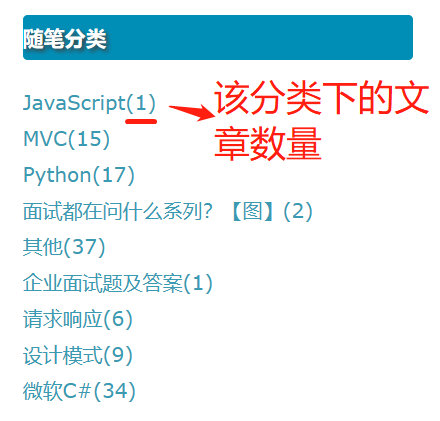
3.1 分类统计
展示的是该站点下的所有分类,以及每个分类下的文章数量,需要用到ORM提供的聚合查询及分组查询。
filter筛选出当前站点下的所有分类,以分类进行分组,关键字annotate内部使用聚合函数 Count,统计数量,跨表查询文章表(反向查询表名小写,双下滑线查询文章表的id字段),'article__pk',values表示分组后想要查找的字段值,返回列表套字典。 用values_list 返回列表套元组,前端模板语法取值方便
from django.db.models import Count

# 查询当前站点下的所有分类及分类下的文章数
categorize_list=models.Categorize.objects.filter(blog=blog).annotate(article_num=Count('article__pk')).values_list('name', 'article_num')
print(categorize_list)

>>><QuerySet [('jason的分类一', 1), ('jason的分类二', 2), ('jason的分类三', 1)]>
后端接口把categorize_list 返回给前端,前端利用模板语法取值。循环出来的categorize对象是一个个元组,按照索引分别取到分类名和对应的文章数量,可以点击跳转,因此套在a标签内。
<div class="panel panel-primary">
<div class="panel-heading">文章分类</div>
<div class="panel-body">
{% for categorize in categorize_list %}
<p><a href="#">{{ categorize.0 }} ({{ categorize.1 }})</a></p>
{% endfor %}
</div>
</div>3.2 标签统计
标签统计和分类统计方法一样。
from django.db.models import Count

# 查询当前站点下的所有标签及标签下的文章数
tag_list = models.Tag.objects.filter(blog=blog).annotate(article_num=Count('article__pk')).values_list('name', 'article_num')
print(tag_list)<div class="panel panel-warning">
<div class="panel-heading">文章标签</div>
<div class="panel-body">
{% for tag in tag_list %}
<p><a href="#">{{ tag.0 }} ({{ tag.1 }})</a></p>
{% endfor %}
</div>
</div>3.3 日期统计
按照发布日期是同年同月的文章归为一档,如:2000年-8月-1号,与2000年-8月-31号发布的文章都属于 2000年-8月 这一个组。
文章表有 create_time字段,但是格式为Y-m-d,因此需要用django官方提供的ORM语法,把y-m-d格式字段截取为y-m格式并赋给一个虚拟字段。
from django.db.models.functions import TruncMonth

date_list = models.Article.objects.filter(blog=blog).annotate(month=TruncMonth('create_time')).values('month')
print(date_list)

>>><QuerySet [{'month': datetime.date(2020, 3, 1)}, {'month': datetime.date(2021, 10, 1)}, {'month': datetime.date(2021, 10, 1)}, {'month': datetime.date(2022, 2, 1)}]>
打印结果中,虚拟字段'month', 就是一个y-m统计(最后一位数字1固定显示不用管)。
现在我们分组的依据是Y-m,即'month'字段。values在关键字annotate前表示group by的字段,values在关键字annotate后表示想要查找的字段值。
date_list = models.Article.objects.filter(blog=blog).annotate(month=TruncMonth('create_time')).values('month').annotate(article_num=Count('pk')).values_list('month', 'article_num')上面这段代码,意思是先过滤出该站点下的所有文章,把create_time字段的格式截取成Y-m格式赋给一个虚拟字段,名字我们取的叫'month',然后按照'month'字段分组,利用聚合查询统计文章数量,最后查询'month' 字段和 'article_num' 字段的值,返回给前端。
前端展示,用到过滤器展示日期格式:
<div class="panel panel-danger">
<div class="panel-heading">日期归档</div>
<div class="panel-body">
{% for date in date_list %}
<p><a href="#">{{ date.0|date:'Y-m' }} ({{ date.1 }})</a></p>
{% endfor %}
</div>
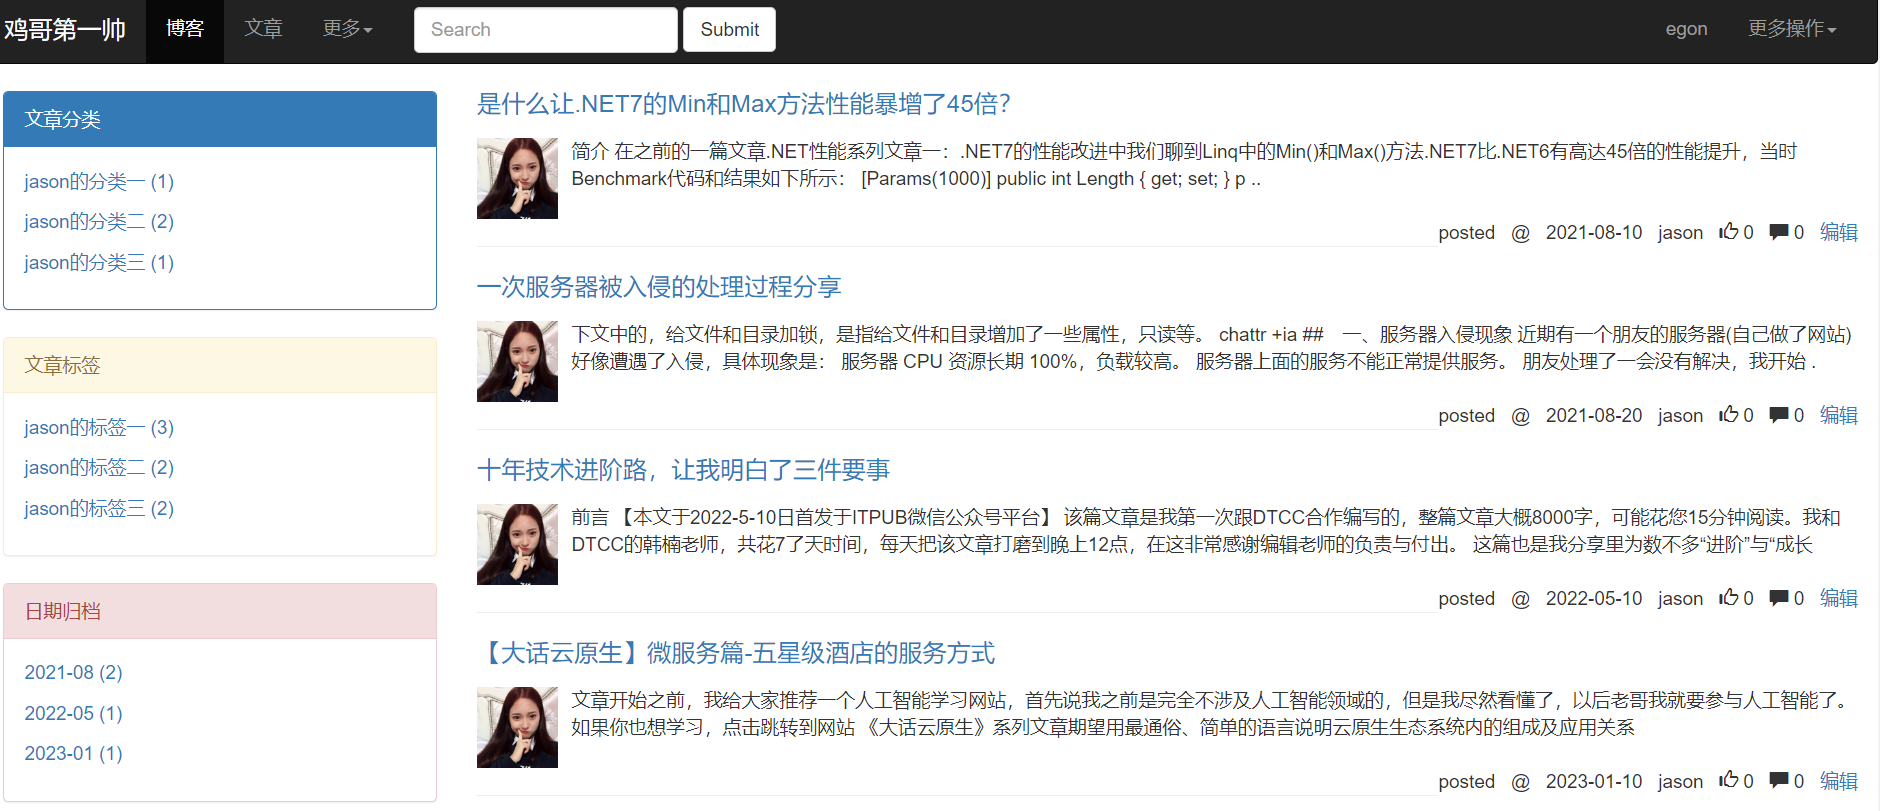
</div>页面最终效果如下:
4 侧边栏筛选功能
个人站点侧边栏按照分类、标签和日期进行了分组查询,并且以a标签展示,即点击文字跳转到对应的url。比如,点击"jason的分类一"就能查看该分类下的所有文章,点击“2021-08”就能查看该月的所有文章。
4.1 设计url
参照博客园url规律是, 用户名/tag/标签名 ; 用户名/category/分类id ; 用户名/archive/Y/m。
https://www.cnblogs.com/jason/tag/Python/                标签
https://www.cnblogs.com/jason/category/850028.html       分类
https://www.cnblogs.com/jason/archive/2016/10.html       日期
我们参照此规律设计url如下:
https://www.cnblogs.com/jason/tag/1/                    标签
https://www.cnblogs.com/jason/category/1                分类
https://www.cnblogs.com/jason/archive/2020-11/          日期
用户名/tag/标签主键 ; 用户名/category/分类主键 ; 用户名/archive/Y-m。
urls.py
re_path(r'^(?P<username>\w+)/categroy/(\d+)/', views.site),
re_path(r'^(?P<username>\w+)/tag/(\d+)/', views.site),
re_path(r'^(?P<username>\w+)/archive/(\w+)/', views.site)
根据路由规律设计了3个url,把3个url 合并成一个
re_path(r'^(?P<username>\w+)/(?P<condition>category|tag|archive)/(?P<param>.*)', views.site)第一个有名分组,关键字参数username,匹配 \w+ 任意字符
第二个有名分组,关键字参数condition,匹配 category、tag、archive 三个中的任意一个
第三个有名分组,关键字参数param,匹配 .*
4.2 后端接口
上述的 url 和 原本的个人站点url 都指向同一个视图函数 views.site
def site(request, username):
    ...
username 后可能有参数传入,也可能没有。username后传入的参数用的有名分组,两个都是关键字参数,因此可以用**kwargs 接收。
如果**kwargs有值,也就意味着要对 article_queryset 做额外的筛选,按照分类、标签、日期再进行筛选。
url输入http://127.0.0.1:8000/jason/tag/1,查看是否能获取到 kwargs
def site(request, username, **kwargs):
    user_obj = models.UserInfo.objects.filter(username=username).first()
    if not user_obj:
        return render(request, '404error.html')
    blog = user_obj.blog
    article_queryset = models.Article.objects.filter(blog=blog)
    # 分页器返回 page_queryset给前端
    curren_page = request.GET.get('page', 1)
    all_count = article_queryset.count()
    page_obj = Pagination(current_page=curren_page, all_count=all_count)
    page_queryset = article_queryset[page_obj.start: page_obj.end]

    if kwargs:
        print(kwargs)
输入结果为:
{'condition': 'tag', 'param': '1'}因此,在 kwargs 有值的情况下,我们要判断用户输入 url 的 condition,基于queryset对象链式操作,对article_queryset做进一步筛选。
def site(request, username, **kwargs):
    user_obj = models.UserInfo.objects.filter(username=username).first()
    if not user_obj:
        return render(request, '404error.html')
    blog = user_obj.blog
    article_queryset = models.Article.objects.filter(blog=blog)
    # 分页器返回 page_queryset 给前端
    curren_page = request.GET.get('page', 1)
    all_count = article_queryset.count()
    page_obj = Pagination(current_page=curren_page, all_count=all_count)
    page_queryset = article_queryset[page_obj.start: page_obj.end]

    if kwargs:
        condition = kwargs.get('condition')
        param = kwargs.get('param')
        # 判断来自于标签、分类还是日期筛选
        if condition == 'category':
            # 筛选分类id为param的文章,文章表有categorize_id字段
            article_list = article_queryset.filter(categorize_id=param)
            # 分页器返回page_queryset 给前端
            page_queryset = paging(request, article_list)
        elif condition == 'tag':
            # 筛选标签id为param的文章,文章表与标签表多对多,基于双下滑线跨表查询,正向查询按字段tages,跨到标签表查id
            article_list = article_queryset.filter(tags__id=param)
            page_queryset = paging(request, article_list)
        else:
            year, month = param.split('-')   # 2020-11 --> 解压赋值 2020, 11
            article_list = article_queryset.filter(create_time__year=year, create_time__month=month)
            page_queryset = paging(request, article_list)

    # 查询当前站点下的所有分类及分类下的文章数
    categorize_list = models.Categorize.objects.filter(blog=blog).annotate(article_num=Count('article__pk')).values_list('name', 'article_num', 'pk')

    # 查询当前站点下的所有标签及标签下的文章数
    tag_list = models.Tag.objects.filter(blog=blog).annotate(article_num=Count('article__pk')).values_list('name', 'article_num', 'pk')

    # 按年月统计文章数
    date_list = models.Article.objects.filter(blog=blog).annotate(month=TruncMonth('create_time')).values('month').annotate(article_num=Count('pk')).values_list('month', 'article_num')

    return render(request, 'site.html', locals())
在查询当前站点下的分类和分类下的文章数,以及标签和标签下的文章数时,多查询一个'pk' 返回给前端,前端 a 标签跳转时需要分类和标签的 id。
把前端 a 标签的href 属性补全:
<div class="panel panel-primary">
<div class="panel-heading">文章分类</div>
<div class="panel-body">
{% for categorize in categorize_list %}
<p><a href="/{{ username }}/category/{{ categorize.2 }}">{{ categorize.0 }} ({{ categorize.1 }})</a></p>
{% endfor %}
</div>
</div>
<div class="panel panel-warning">
<div class="panel-heading">文章标签</div>
<div class="panel-body">
{% for tag in tag_list %}
<p><a href="/{{ username }}/tag/{{ tag.2 }}">{{ tag.0 }} ({{ tag.1 }})</a></p>
{% endfor %}
</div>
</div>
<div class="panel panel-danger">
<div class="panel-heading">日期归档</div>
<div class="panel-body">
{% for date in date_list %}
<p><a href="/{{ username }}/archive/{{ date.0|date:'Y-m' }}">{{ date.0|date:'Y-m' }} ({{ date.1 }})</a></p>
{% endfor %}
</div>
</div>


【推荐】国内首个AI IDE,深度理解中文开发场景,立即下载体验Trae
【推荐】编程新体验,更懂你的AI,立即体验豆包MarsCode编程助手
【推荐】抖音旗下AI助手豆包,你的智能百科全书,全免费不限次数
【推荐】轻量又高性能的 SSH 工具 IShell:AI 加持,快人一步
· AI与.NET技术实操系列:向量存储与相似性搜索在 .NET 中的实现
· 基于Microsoft.Extensions.AI核心库实现RAG应用
· Linux系列:如何用heaptrack跟踪.NET程序的非托管内存泄露
· 开发者必知的日志记录最佳实践
· SQL Server 2025 AI相关能力初探
· 震惊!C++程序真的从main开始吗?99%的程序员都答错了
· winform 绘制太阳,地球,月球 运作规律
· 【硬核科普】Trae如何「偷看」你的代码?零基础破解AI编程运行原理
· 上周热点回顾(3.3-3.9)
· 超详细:普通电脑也行Windows部署deepseek R1训练数据并当服务器共享给他人