antv x6 注册vue组件 响应传值
使用antv x6 vue组件创建节点信息-当节点过于复杂可以考虑,避免使用markup\attr过于复杂
官网 antv -vue组件
示例1 、 使用inject 接收父组件传值
import { Graph } from '@antv/x6'
import { register } from '@antv/x6-vue-shape'
import TestNode from './test1.vue'
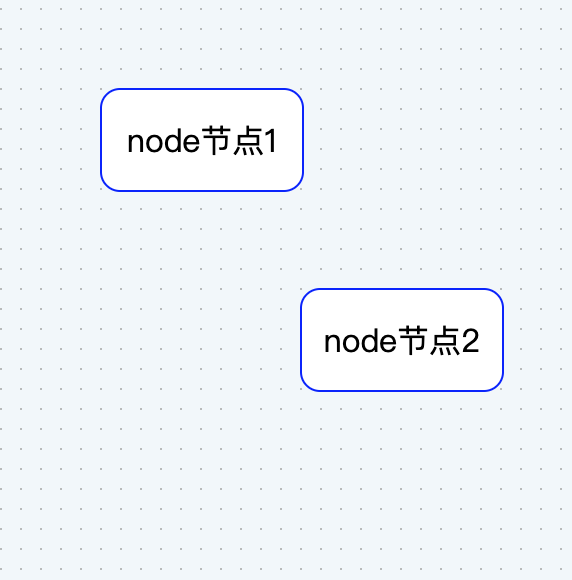
渲染节点

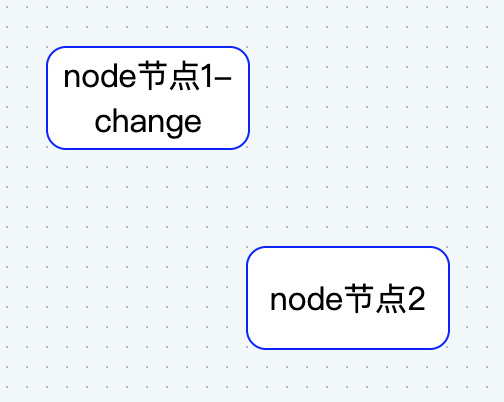
3s后改变值

创建画布
const graph = new Graph({
        container: document.getElementById('container'),
        width: 800,
        height: 600,
        grid: true,
        background: {
          color: '#F2F7FA'
        }
      })
注册vue组件
     register({
        shape: 'custom-vue-node',
        width: 100,
        height: 50,
        component: TestNode
      })
添加节点---使用组件
     graph.addNode({
        id: 'node1',
        shape: 'custom-vue-node',
        x: 240,
        y: 140
      })

      graph.addNode({
        id: 'node2',
        shape: 'custom-vue-node', // 使用 - VUE组件
        x: 340,
        y: 240
      })
改变节点值
 const node = graph.getCellById('node1')
      const node2 = graph.getCellById('node2')
      // 节点1
      node.setData({
        text: 'node节点1'
      })
      // 节点2
      node2.setData({
        text: 'node节点2'
      })

      // 过3s 更改节点值是否是响应
      setTimeout(() => {
        node.setData({
          text: 'node节点1-change'
        })
        console.log('change')
      }, 3000)
以上是基本创建,
TestNode.vue组件
export default {
  name: 'test2View',
  inject: ['getNode'],
  data() {
    return {
      nodeInfo: {}
    }
  },
  mounted() {
    console.log('getNode', this.getNode())
    // console.log('tnode----', this.tnode)

    const node = this.getNode()
    this.nodeInfo = node?.data
    // 监听 change:data数据变化
    node.on('change:data', ({ current }) => {
      console.log('current', current)
      const { text } = current
      this.nodeInfo = current
    })
  },
  methods: {}
}
示例2 、 使用render函数来创建组件、传值、点击组件节点值回传父组件
注册函数
render函数 添加监听事件 on, props
myEvent 绑定事件名称
register({
        shape: 'custom-vue-node',
        width: 100,
        height: 50,
        // component: TestNode
        component: {
          render: (h) =>
            h(TestNode, {
              on: {
                // 监听 TestNode组件触发的事件,获取传递出来的数据
                myEvent: (data) => {
                  this.handleMyEvent(data)
                }
              }
            })
        }
      })
handleMyEvent 调用方法
  methods: {
    handleMyEvent(val) {
      console.log('val----', val)
    },
  }
子组件
  methods: {
    onMyEvent() {
      // 节点组件中触发事件,传递数据
      this.$emit('myEvent', this.node)
    }
  }
控制台

示例3 、props 传值 ,
component: {
          render(h) {
            return h(TestNode, {
              on: {
                // 监听 TestNode组件触发的事件,获取传递出来的数据
                myEvent: (data) => {
                  this.handleMyEvent(data)
                }
              },
              props: { // 给子组件传值
                nodeMsg: this
              }
            })
          }
        }
如何获取当前节点值 ???


