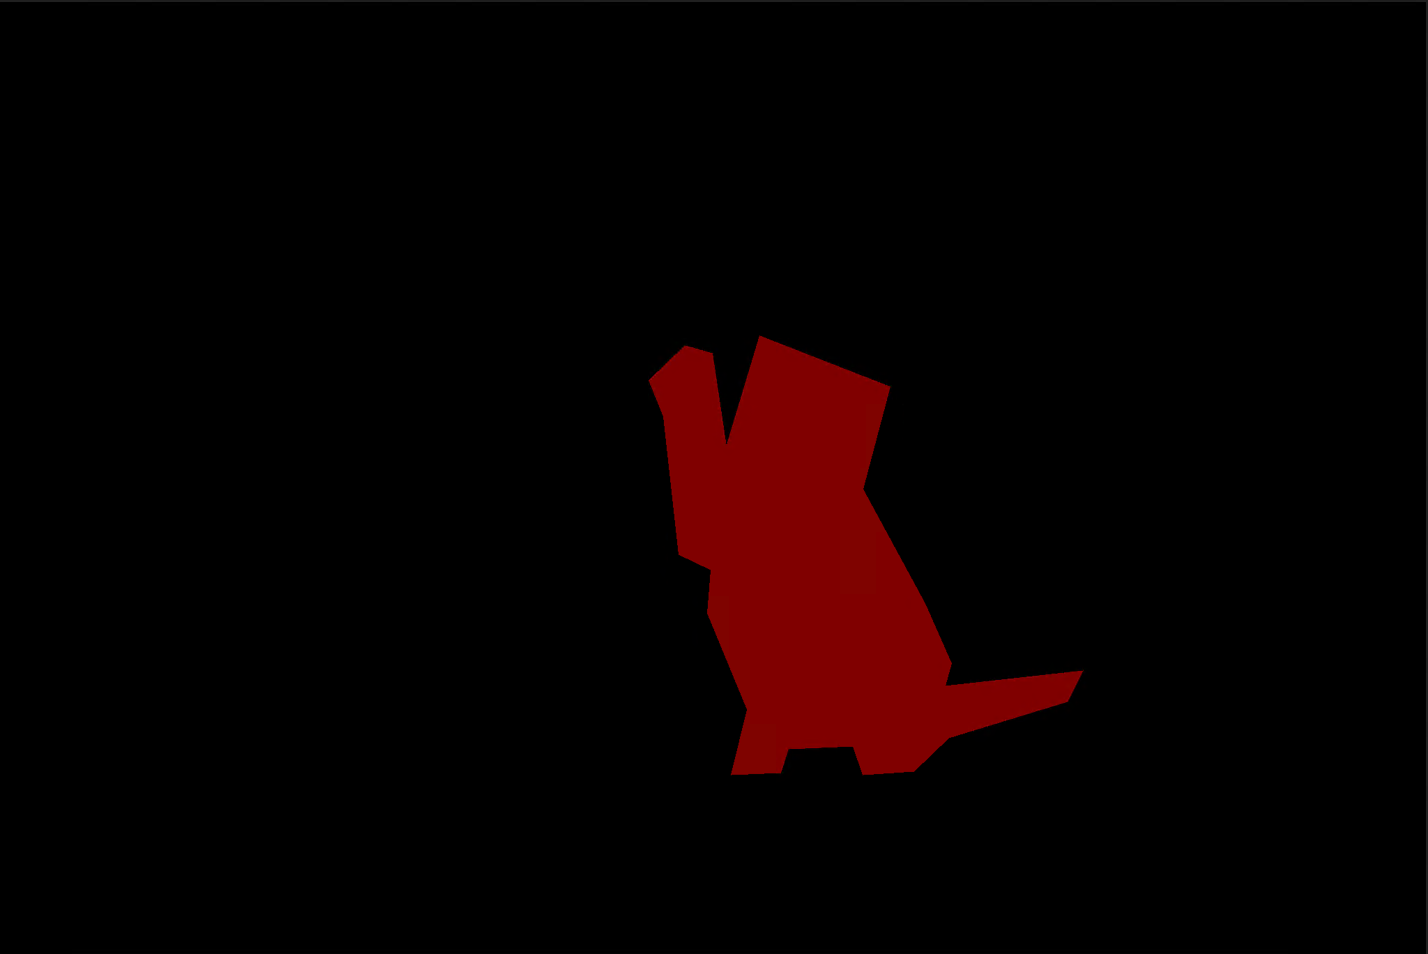
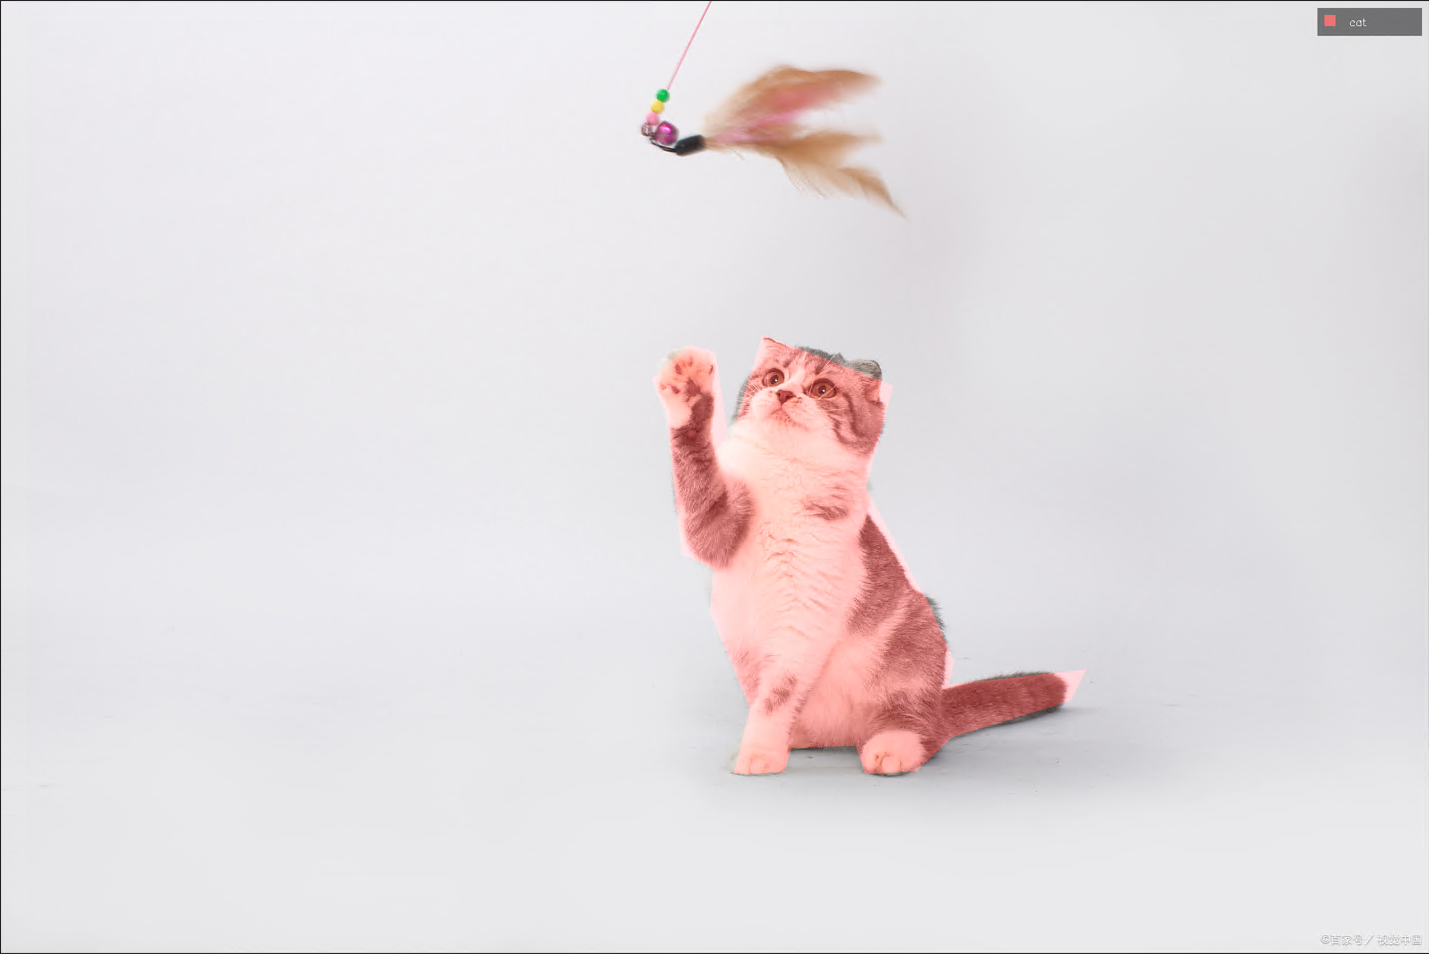
将labelme生成的label和img合并展示
img:

label:

合并达到的效果:

实现代码:
点击查看代码
import cv2
import numpy as np
from PIL import Image

def add_legend(image, colors, labels, alpha=1):
    """
    在图像的右上角添加图例,使用固定的尺寸。
    :param image: 输入的BGR图像。
    :param colors: 颜色字典,键是类值,值是颜色元组(B, G, R)。
    :param labels: 标签字典,键是类值,值是标签文本。
    :param alpha: 叠加透明度。
    :return: 带图例的图像。
    """
    # 图像尺寸
    height, width = image.shape[:2]

    # 固定图例尺寸和参数
    legend_height = 20
    legend_width = 150
    legend_padding = 10
    color_box_size = 15
    text_offset = 20
    text_font_scale = 0.5
    text_thickness = 1
    line_height = 20  # 每一行的高度

    # 创建图例的背景
    legend = np.zeros((legend_height * len(labels) + legend_padding * 2, legend_width, 3), dtype=np.uint8)

    for idx, (key, color) in enumerate(colors.items()):
        # 设置图例的颜色框
        top_left = (legend_padding, idx * line_height + legend_padding)
        bottom_right = (legend_padding + color_box_size, idx * line_height + legend_padding + color_box_size)
        cv2.rectangle(legend, top_left, bottom_right, color[::1], -1)  # 颜色需要从 BGR 转换为 RGB

        # 添加标签文本
        text_position = (legend_padding + color_box_size + text_offset, top_left[1] + color_box_size)
        cv2.putText(legend, labels[key], text_position, cv2.FONT_HERSHEY_SIMPLEX, text_font_scale, (255, 255, 255),
                    text_thickness)

    # 计算图例位置
    legend_x = width - legend_width - legend_padding
    legend_y = legend_padding

    # 将图例叠加到原图像右上角
    overlay = image.copy()
    overlay[legend_y:legend_y + legend.shape[0], legend_x:legend_x + legend.shape[1]] = legend

    # 透明混合
    result = cv2.addWeighted(overlay, alpha, image, 1 - alpha, 0)

    return result

def save_img_label(image_path,mask_path,save_path):
    # image_path=r'.\data_insar\path_all\data\0.png'#三通道彩色图
    # mask_path=r'.\data_insar\path_all\annotations\0.png' #对应的单通道灰度图标签掩码

    #读取原图
    image=cv2.imread(image_path)
    mask=Image.open(mask_path)
    mask = np.array(mask)

    # 创建一个空白的彩色叠加图 (与原图相同大小,但包含透明度通道)
    overlay = np.zeros((image.shape[0], image.shape[1], 3), dtype=np.uint8)

    colors = {
        1: (0, 0, 255),   # 类1 - 红色
    }

    colors_lengend = {
        1: (0, 0, 255),   # 类1 - 红色
    }

    labels = {
        1: 'cat',
    }

    # 遍历掩码中的每个类别,为每个类别设置颜色
    for value, color in colors.items():
        overlay[mask == value] = color

    combined = cv2.addWeighted(overlay, 0.3, image, 1, 0)
    # 添加图例到右上角
    result_with_legend = add_legend(combined, colors_lengend, labels, alpha=0.5)
    #保存结果
    cv2.imwrite(os.path.join(save_path,'cat_label.png'), result_with_legend)

in_img_path = r".\data\cat.png"
in_json_path = r".\annotations\cat_json\label.png"
save_path =  r".\test"
save_img_label(in_img_path,in_json_path,save_path)
其中很大部分都是参考https://www.cnblogs.com/wancy/p/18212547,详细请参考该博主


 浙公网安备 33010602011771号