centos 安装 elasticsearch-head
1. 环境说明
CentOS 7.7 x64
elasticSearch-7.6.1-linux-x64
nodejs v13.10.1
npm 6.13.7
phantomjs-2.1.16-linux-x86_64
2. 安装 nodejs 和 npm
由于 elasticsearch-head 使用 node 构建,所以需要安装。
请参考:node.js 安装配置
3. 安装 phantomjs
这个步骤整段转自:web前端学习笔记之安装和使用 phantomjs
3.1. 下载
访问:https://phantomjs.org/download.html,选择版本,右键,复制链接地址

登录到Linux,进入需要安装的目录,使用 wget 下载:
cd /usr/local/server/phantomjs
wget https://bitbucket.org/ariya/phantomjs/downloads/phantomjs-2.1.1-linux-x86_64.tar.bz2
等待下载完成
3.2. 安装 phantomjs 依赖软件
yum install fontconfig
yum install bzip2
3.3. 解压
解压 bz2 包:
bzip2 -d phantomjs-2.1.1-linux-x86_64.tar.bz2
解压 tar 包:
tar -xvf phantomjs-2.1.1-linux-x86_64.tar
3.4. 配置环境变量
这里不修改 path ,只将 phantomjs 文件软链接到环境变量目录:
ln -s /usr/local/server/phantomjs/phantomjs-2.1.1-linux-x86_64/bin/phantomjs /usr/local/bin/
3.5. 测试命令
输入 “phantomjs”,能够进入命令行:

可以看到,安装成功了。ctrl + c 退出命令行
4. 安装 git
目前 elasticsearch-head 源码托管在 github 上,需要使用 git 下载到本地,然后执行安装
yum install git
5. 下载 elasticsearch-head 安装包
cd /usr/local/server/
git clone https://github.com/mobz/elasticsearch-head.git
6. 安装 grunt
cd elasticsearch-head
npm install grunt --save,结果:

7. 修改配置
7.1. 修改监听的 host 和 端口
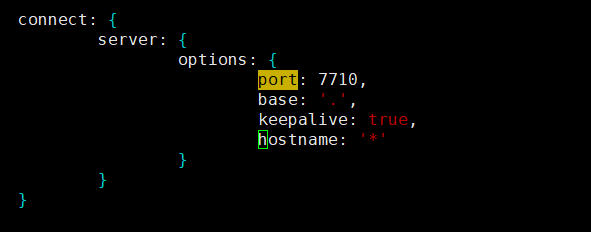
文件:elasticsearch-head/Gruntfile.js
默认监听在 127.0.0.1 的 9200 端口,咱们增加 hostname 为 *,表示监听所有 host,即本地、内网、外网都可以访问;以及修改监听的端口。

7.2. 修改 head 的连接地址,也就是让 head 找到 elasticSearch(可选,这个只是一个默认连接地址,在 es-head 页面可以指定)
文件:elasticsearch/_site/app.js,搜索 “localhost:9200”,找到这一行:

将 localhost 改成 elasticSearch 的服务地址,如:
this.base_uri = this.config.base_uri || this.prefs.get("app-base_uri") || "http://x.x.x.x:7712";
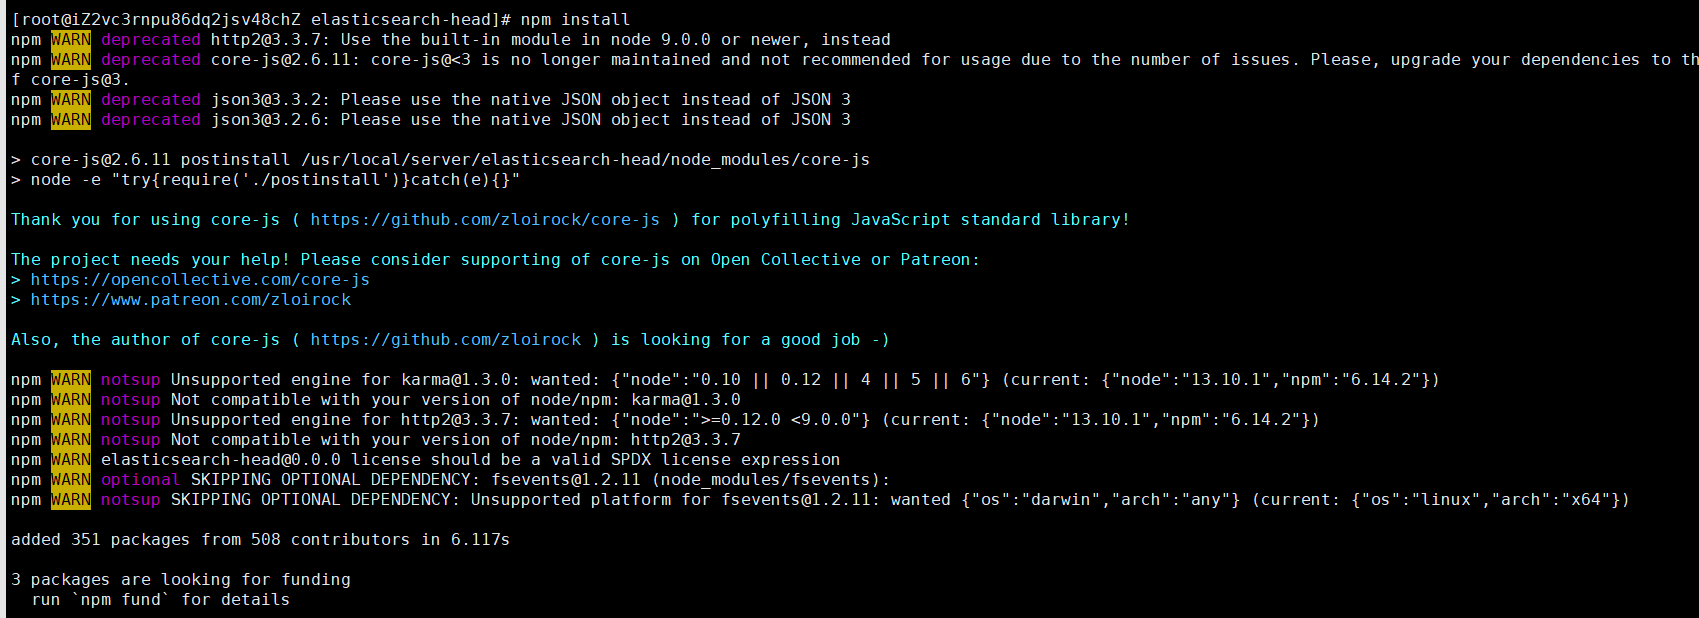
8. 执行 install,下载依赖包
npm install
如果出现如下错误,则先执行 npm install phantomjs-prebuilt@2.1.16 --ignore-scripts ,再执行 npm install 就好了:

安装成功的结果:

9. 启动
npm run start,结果:

10. 浏览器测试访问

我确实只有一个 node-1 节点。至此,elasticsearch-head 安装完成
11. 参考
Linux 下 elasticSearch 安装及 head 安装
ELK学习笔记之CentOS 7下ELK(6.2.4)++LogStash+Filebeat+Log4j日志集成环境搭建


 浙公网安备 33010602011771号