
狂神 SpringBoot笔记
1. 微服务阶段

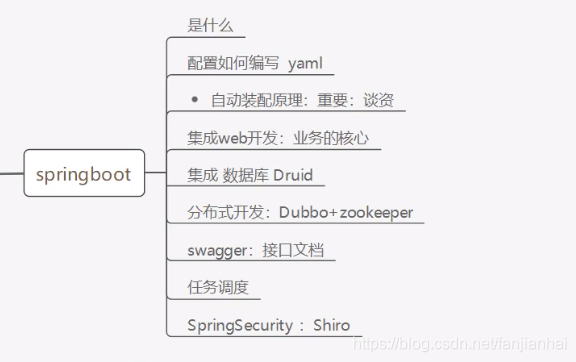

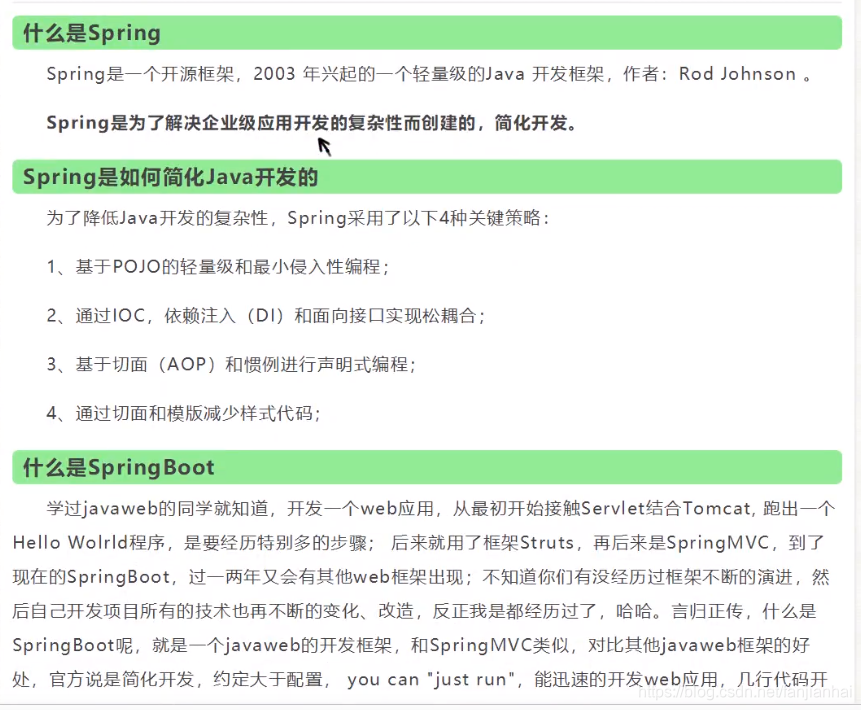
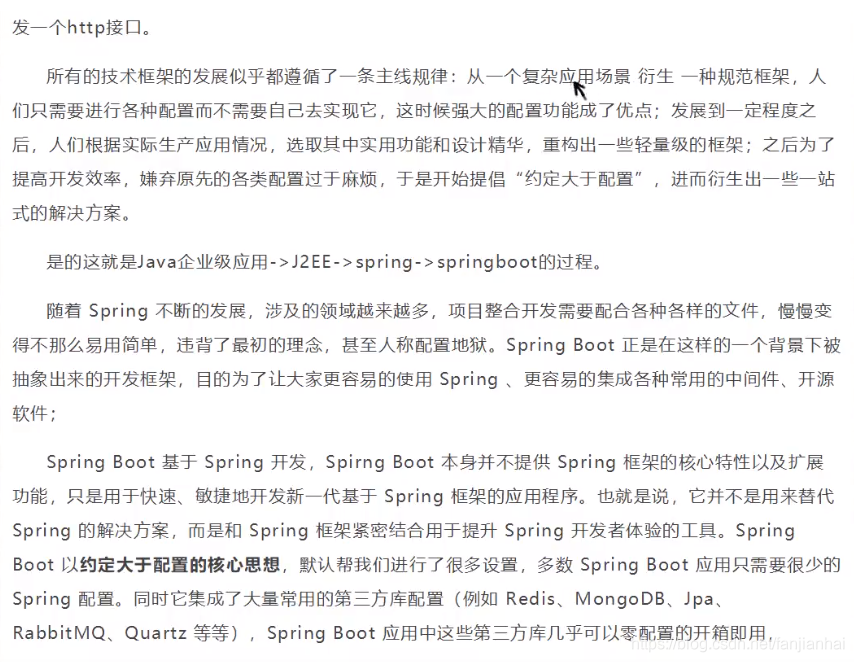
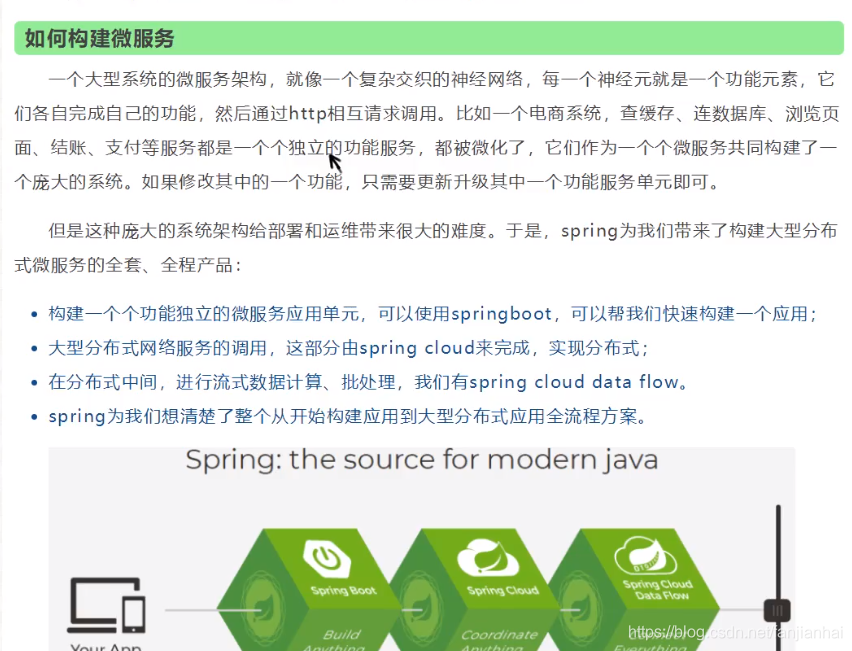
2. 什么是SpringBoot

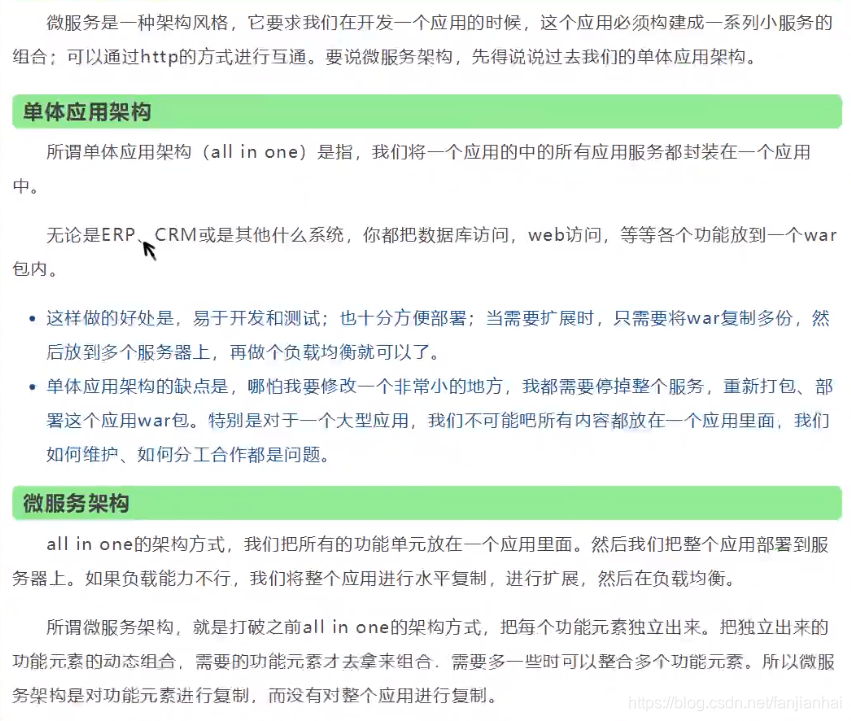
3. 微服务

4. 第一个springboot项目搭建 springboot-01-helloworld


5. SpringBoot自动装配原理
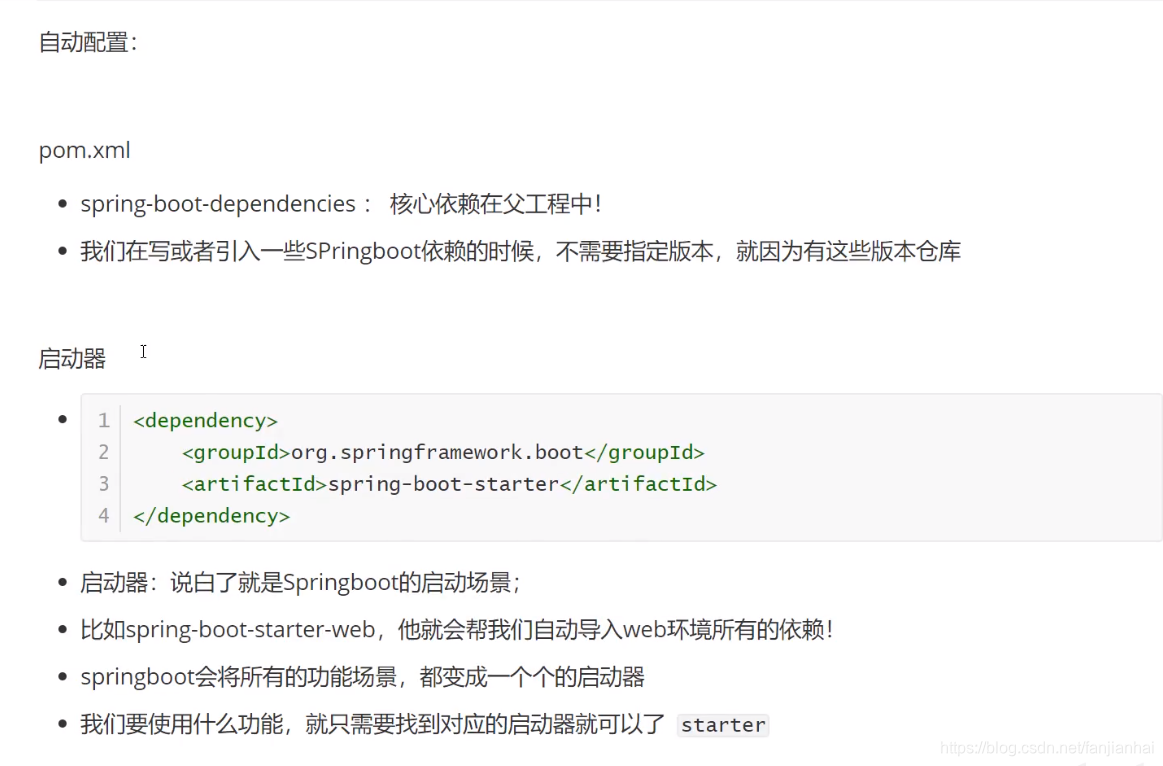


5.1. 自动装配原理分析
-
@SpringBootApplication
-
@SpringBootConfiguration
-
@Configuration
-
@Component
-
-
-
@EnableAutoConfiguration 自动导入包
-
@AutoConfigurationPackage 将 添加该注解的类所在的package 作为 自动配置package 进行管理
-
@Import({Registrar.class})
-
-
@Import({AutoConfigurationImportSelector.class}) 自动导入包的核心
-
getAutoConfigurationEntry(annotationMetadata); 获取自动装配的实体
-
-
-
-
getCandidateConfigurations(annotationMetadata, attributes); 获取候选的配置
-
protected Class<?> getSpringFactoriesLoaderFactoryClass() { return EnableAutoConfiguration.class; } 标注了EnableAutoConfiguration注解的类
-
public static List loadFactoryNames(): 获取所有的加载配置
-
-
-
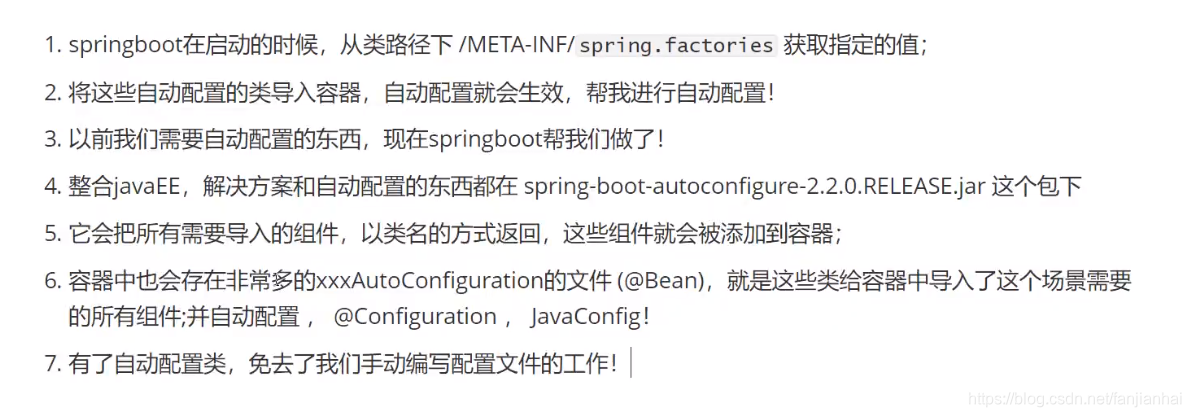
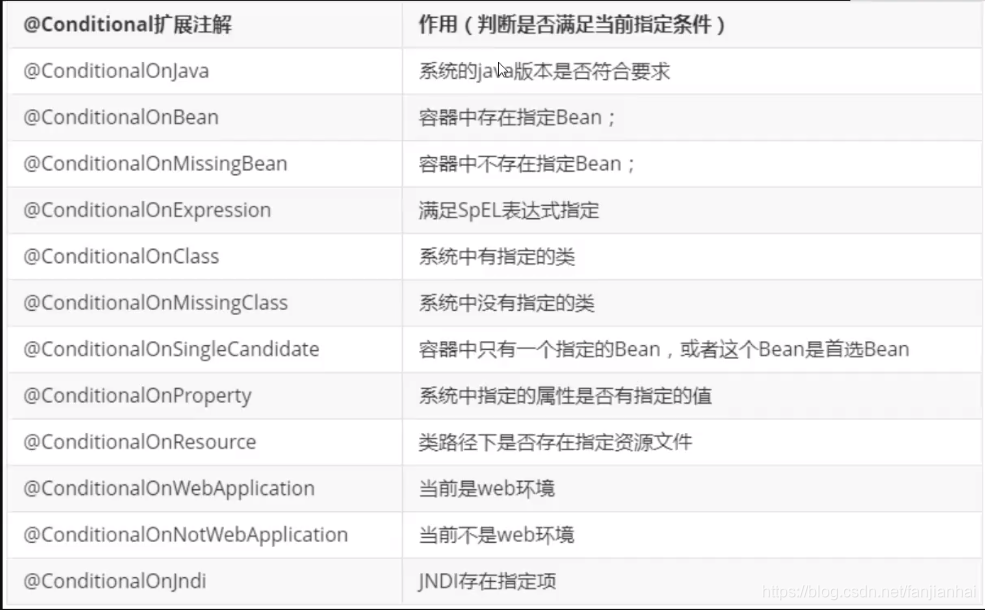
loadFactories() loadSpringFactories() - 项目资源: classLoader.getResources(FACTORIES_RESOURCE_LOCATION) "META-INF/spring.factories"; 从这里获取配置 spring-boot-autoconfigure-2.2.0.RELEASE.jar META-INF spring.factories;所有的自动配置类都在这里了!(自动配置生效,需要导入对应的start核心注解:@ConditionalOnXXX, 如果这里的条件都满足,才生效!)
-
系统资源:classLoader.getSystemResources(FACTORIES_RESOURCE_LOCATION) - 从这些资源中遍历了所有的nextElement(自动配置),遍历完成之后,封装成Properties供我们使用
-
@ComponentScan 扫描当前主启动类同级的包
-
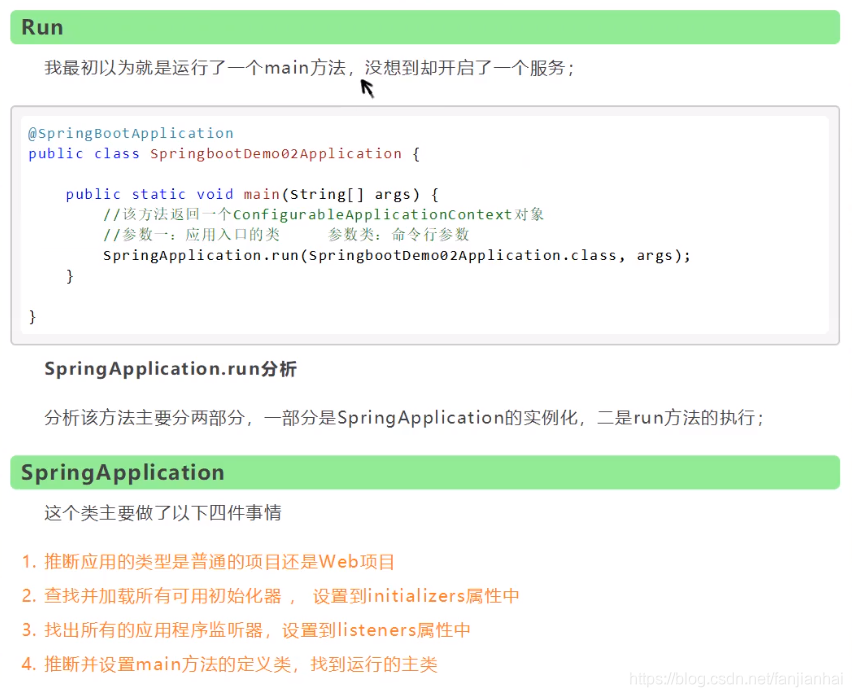
5.2. SpringApplication 启动 run
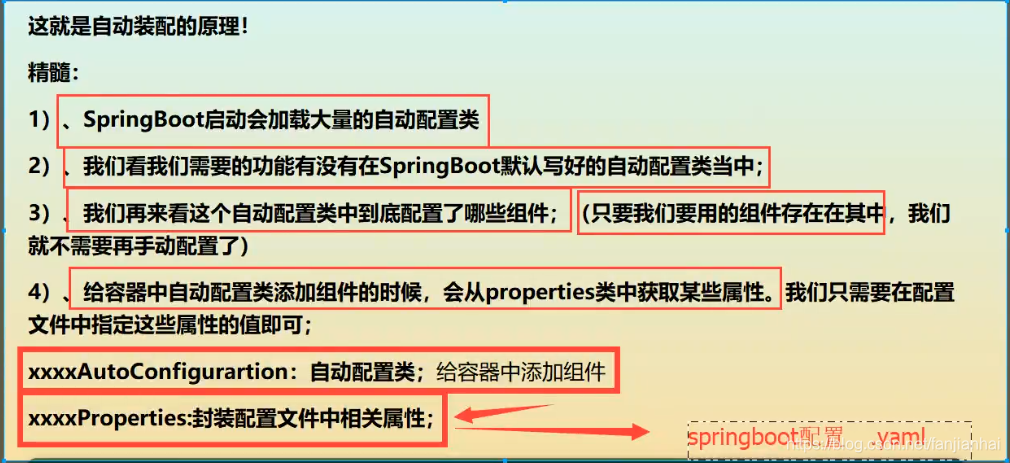
5.3. 自动配置原理再理解

6. yaml讲解
# k = v
# 对空格要求十分严格
# 普通的 key-value
# 注入到我们的配置类中!
name
-
yaml
package com.xiaofan.pojo;
import org.springframework.boot.context.properties.ConfigurationProperties;
import org.springframework.stereotype.Component;
import java.util.Date;
import java.util.List;
import java.util.Map;