Apache Server搭建独立图片服务器
Apache Server搭建独立图片服务器
以下的安装在Windows10下进行
下载Apache Server
下载地址: http://httpd.apache.org/docs/current/platform/windows.html#down
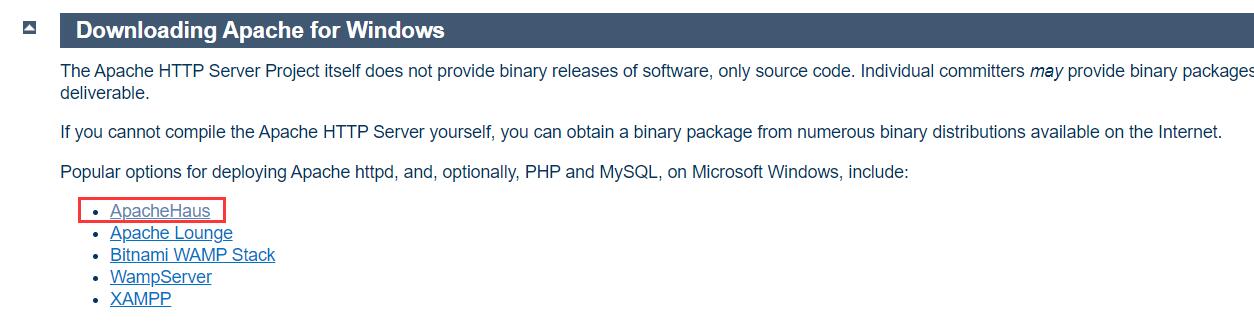
也可以使用素材中提供的安装包
httpd-2.4.47-o111k-x86-vc15.zip。
解压
将下载的压缩文件解压,我解压之后放在C盘,并且修改了文件夹的名称(可以不修改),我的apache解压地址如 下:
C:\DevApp\Apache24。
配置
1、修改SRVROOT
找到Apache Server安装目录下的
conf/httpd.conf的文件

找到38行,修改SRVROOT后面的地址为解压后的apache目录。
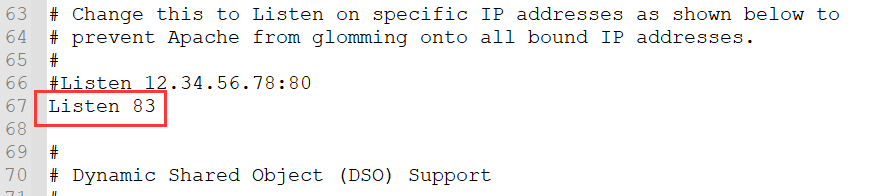
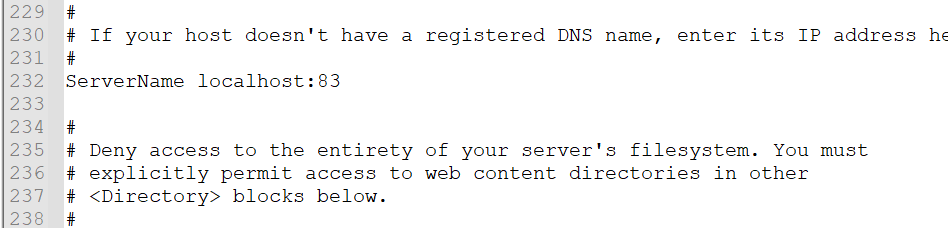
2、修改Apache的端口
默认端口是80,也可以不修改。如果80端口被占用,可以修改端口号,配置如下:
3、安装Apache Server
a、管理员身份打开cmd命令。 b、执行如下命令:
C:\DevApp\Apache24\bin>httpd.exe -k install -n apache-server
Installing the 'apache-server' service
The 'apache-server' service is successfully installed.
Testing httpd.conf....
Errors reported here must be corrected before the service can be started.
其中apache-server是自定义的服务名称。然后等着安装成功,提示如下:“Errors reported here must be corrected before the service can be started”。如果“Errors reported here must be corrected before the service can be started”此句下方有错误代码,表示安装失败。通过“sc delete apache-server”命令删除服务,解决 异常之后,然后重新安装。
4、启动服务
在Apache安装的bin下,双击ApacheMonitor.exe,运行后,出现如下界面:

4、测试
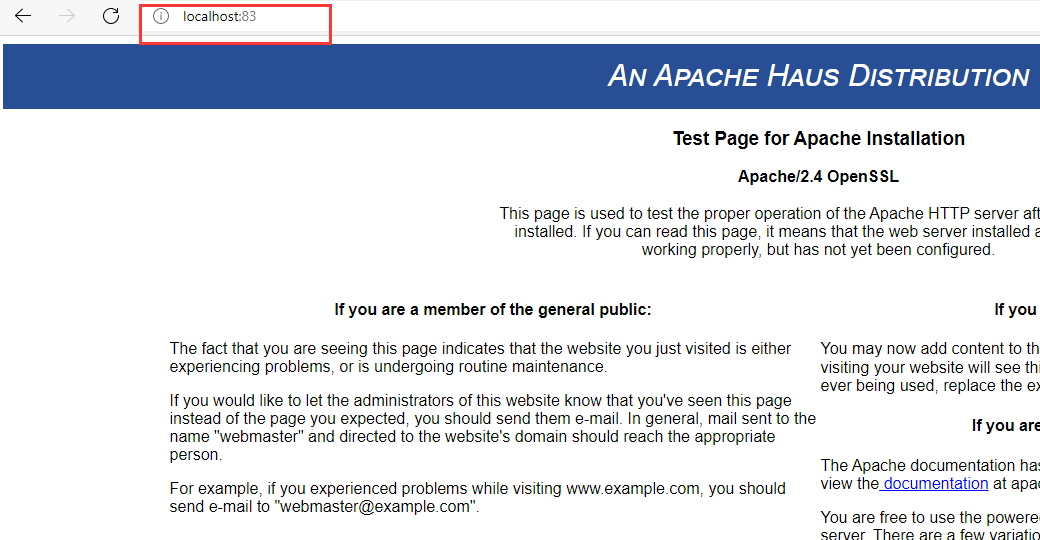
到此,apache服务安装成功。
5、配置图片文件夹
在任意没有中文和特殊符号的目录下创建images目录,用来存放上传的图片。然后打开httpd.conf配置如下
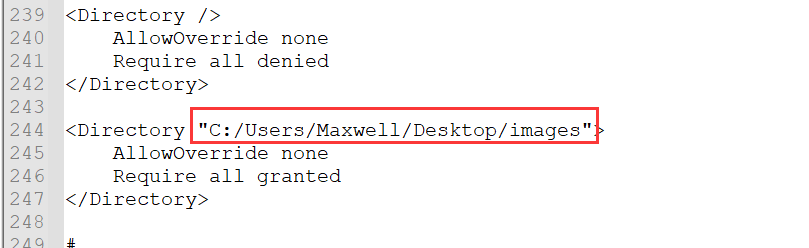
说明:Directory标签下的AllowOverride none 和Require all granted是访问权限的配置。
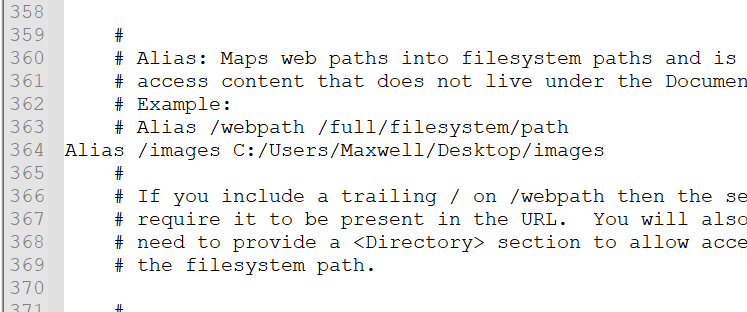
说明:Alias /images C:/Users/Maxwell/Desktop/images,其中C:/Users/Maxwell/Desktop/images是真实的图片地址,/images是用户访问的地址。 配置后,用户访问路径如下:http://localhost:83/images/111.jpg
总结
apache图片服务器的搭建就到此。但是,不仅仅只有apache server能作为图片服务器,可以作为图片服务器的还 有nginx、ftp、fastdfs等等。后面慢慢自己搭建~ 在公司,搭建服务器这种事,一般是运维做的事情。不过懂一点,也是好事。至少跟运维沟通比较顺畅了。

 浙公网安备 33010602011771号