Centos7-Nginx安装和配置
一、概述
Nginx常用版本
- Nginx开源版
- Nginx plus 商业版
- openresty
- Tengine
二、安装(开源版)
2.1 官网下载
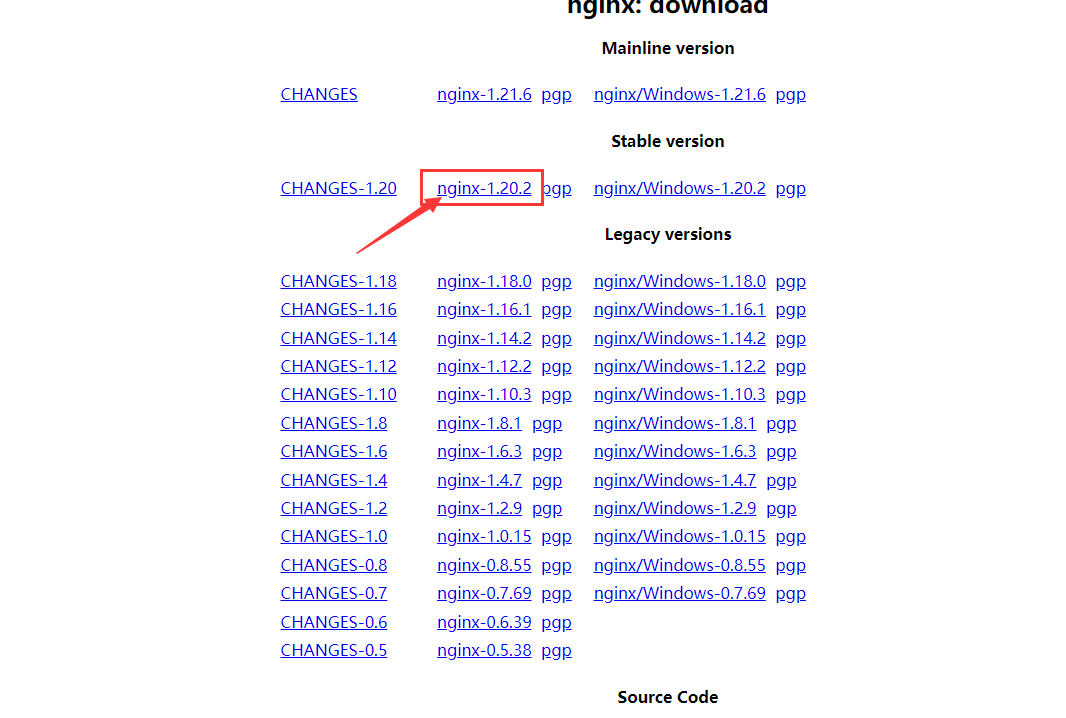
2.2 上传到服务器的 /opt目录下

2.3 解压
tar -zxvf nginx-1.20.2.tar.gz

2.4 编译安装
# 默认安装
./configure --prefix=/usr/local/nginx

# 安装ssl模块 (与上面默认安装 二选一即可)
./configure --prefix=/usr/local/nginx --with-http_stub_status_module --with-http_ssl_module

make

make install
2.5 出现警告或者报错->解决
2.5.1 gcc缺失
checking for OS
+ Linux 3.10.0-693.el7.x86_64 x86_64
checking for C compiler ... not found

./configure: error: C compiler cc is not found
解决
yum install -y gcc
2.5.2 perl库缺失
./configure: error: the HTTP gzip module requires the zlib library.
You can either disable the module by using --without-http_gzip_module
option, or install the zlib library into the system, or build the zlib library
statically from the source with nginx by using --with-zlib=<path> option.
解决 安装perl库
yum install -y pcre pcre-devel
2.5.3 zlib依赖
./configure: error: the HTTP gzip module requires the zlib library.
You can either disable the module by using --without-http_gzip_module
option, or install the zlib library into the system, or build the zlib library
statically from the source with nginx by using --with-zlib=<path> option.
解决: 安装zlib库
yum install -y zlib zlib-devel
2.5.4 OpenSSL依赖
./configure: error: SSL modules require the OpenSSL library.
You can either do not enable the modules, or install the OpenSSL library
into the system, or build the OpenSSL library statically from the source
with nginx by using --with-openssl=<path> option.
解决
yum -y install openssl openssl-devel
然后再执行 make 和 make install
三、启动
进入安装好的目录 /usr/local/nginx/sbin
./nginx #启动
./nginx -s stop #快速停止
./nginx -s quit #优雅关闭,在退出前完成已经接受的连接请求
./nginx -s reload #重新加载配置
四、安装成系统服务(可选)
4.1 创建服务脚本
vim /usr/lib/systemd/system/nginx.service
4.2 服务脚本内容
[Unit]
Description=nginx - web server
After=network.target remote-fs.target nss-lookup.target

[Service]
Type=forking
PIDFile=/usr/local/nginx/logs/nginx.pid
ExecStartPre=/usr/local/nginx/sbin/nginx -t -c /usr/local/nginx/conf/nginx.conf
ExecStart=/usr/local/nginx/sbin/nginx -c /usr/local/nginx/conf/nginx.conf
ExecReload=/usr/local/nginx/sbin/nginx -s reload
ExecStop=/usr/local/nginx/sbin/nginx -s stop
ExecQuit=/usr/local/nginx/sbin/nginx -s quit
PrivateTmp=true

[Install]
WantedBy=multi-user.target
4.3 重新加载系统服务
systemctl daemon-reload
4.4 启动服务
systemctl start nginx.service
4.5 开机启动
systemctl enable nginx.service
五、配置Nginx和Https共存
进入 /usr/local/nginx/conf 目录,配置nginx.conf
worker_processes  1;

events {
    worker_connections  1024;
}


http {
    include       mime.types;
    default_type  application/octet-stream;

    sendfile        on;

    keepalive_timeout  65;

	server {
		listen 80 default backlog=2048;
		listen 443 ssl;  # 1.1版本后这样写
        server_name www.xxxx.com;  #填写绑定证书的域名

        ssl_certificate /opt/ssl/xxxx.pem;   # 指定证书的位置,绝对路径
        ssl_certificate_key /opt/ssl/xxxx.key;  # 绝对路径,同上

        ssl_session_timeout 5m;
        ssl_protocols TLSv1 TLSv1.1 TLSv1.2; #按照这个协议配置
        ssl_ciphers ECDHE-RSA-AES128-GCM-SHA256:HIGH:!aNULL:!MD5:!RC4:!DHE; #按照这个套件配置
        ssl_prefer_server_ciphers on;

		ssl_session_cache shared:SSL:1m;

        fastcgi_param  HTTPS        on;
        fastcgi_param  HTTP_SCHEME     https;


		location / {
			proxy_set_header   X-Real-IP         $remote_addr;
			proxy_set_header   Host              $http_host;
			proxy_set_header   X-Forwarded-For   $proxy_add_x_forwarded_for;
			root   /usr/local/nginx/html;
			index  index.html index.htm;
			try_files $uri $uri/ /index.html;
		}

	}
}
本文来自博客园,作者:CoderTL,转载请注明原文链接:https://www.cnblogs.com/codertl/p/16208572.html

 浙公网安备 33010602011771号