搭建本地GitLab
安装GitLab
注意:
安装使用GitLab需要至少
4GB可用内存(RAM + Swap)! 由于操作系统和其他正在运行的应用也会使用内存, 所以安装GitLab前一定要注意当前服务器至少有4GB的可用内存. 少于4GB内存会导致在reconfigure的时候出现各种问题, 而且在使用过程中也经常会出现500错误。
1、安装依赖
sudo yum install curl policycoreutils openssh-server openssh-clients policycoreutils-python

sudo systemctl enable sshd

sudo systemctl start sshd

sudo yum install postfix

sudo systemctl enable postfix

sudo systemctl start postfix
2、获取rpm安装包
[root@VM-0-15-centos /]# cd /usr/local/src/
[root@VM-0-15-centos src]# wget https://mirrors.tuna.tsinghua.edu.cn/gitlab-ce/yum/el7/gitlab-ce-11.2.3-ce.0.el7.x86_64.rpm
3、安装
[root@VM-0-15-centos src]# rpm -ivh gitlab-ce-11.2.3-ce.0.el7.x86_64.rpm
warning: gitlab-ce-11.2.3-ce.0.el7.x86_64.rpm: Header V4 RSA/SHA1 Signature, key ID f27eab47: NOKEY
Preparing...                          ################################# [100%]
Updating / installing...
   1:gitlab-ce-11.2.3-ce.0.el7        ################################# [100%]
It looks like GitLab has not been configured yet; skipping the upgrade script.

       *.                  *.
      ***                 ***
     *****               *****
    .******             *******
    ********            ********
   ,,,,,,,,,***********,,,,,,,,,
  ,,,,,,,,,,,*********,,,,,,,,,,,
  .,,,,,,,,,,,*******,,,,,,,,,,,,
      ,,,,,,,,,*****,,,,,,,,,.
         ,,,,,,,****,,,,,,
            .,,,***,,,,
                ,*,.


     _______ __  __          __
    / ____(_) /_/ /   ____ _/ /_
   / / __/ / __/ /   / __ `/ __ \
  / /_/ / / /_/ /___/ /_/ / /_/ /
  \____/_/\__/_____/\__,_/_.___/


Thank you for installing GitLab!
GitLab was unable to detect a valid hostname for your instance.
Please configure a URL for your GitLab instance by setting `external_url`
configuration in /etc/gitlab/gitlab.rb file.
Then, you can start your GitLab instance by running the following command:
  sudo gitlab-ctl reconfigure

For a comprehensive list of configuration options please see the Omnibus GitLab readme
https://gitlab.com/gitlab-org/omnibus-gitlab/blob/master/README.md

[root@VM-0-15-centos src]#
4、配置
修改配置文件:
/etc/gitlab/gitlab.rb修改
external_url的地址为:http://IP地址修改完主配置文件后,使用
gitlab-ctl reconfigure重新配置gitlab
5、启动
1、重新配置gitlba后,在浏览地址栏中输入 http://IP地址
| 命令功能 | 执行命令 |
|---|---|
| 重启配置,并启动gitlab服务 | gitlab-ctl reconfigure |
| 启动所有 gitlab | gitlab-ctl start |
| 重新启动GitLab | gitlab-ctl restart |
| 停止所有 gitlab | gitlab-ctl stop |
| 查看服务状态 | gitlab-ctl status |
| 查看Gitlab日志 | gitlab-ctl tail |
| 修改默认的配置文件 | vim /etc/gitlab/gitlab.rb |
| 检查gitlab | gitlab-rake gitlab:check SANITIZE=true --trace |
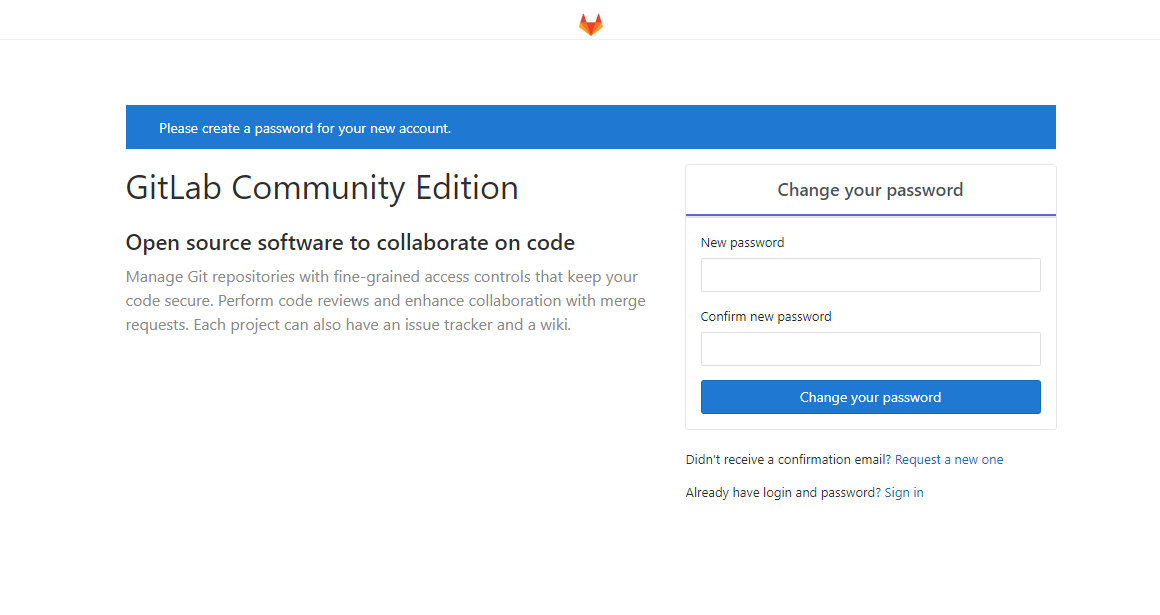
2、配置root用户的密码,完成后进入系统:
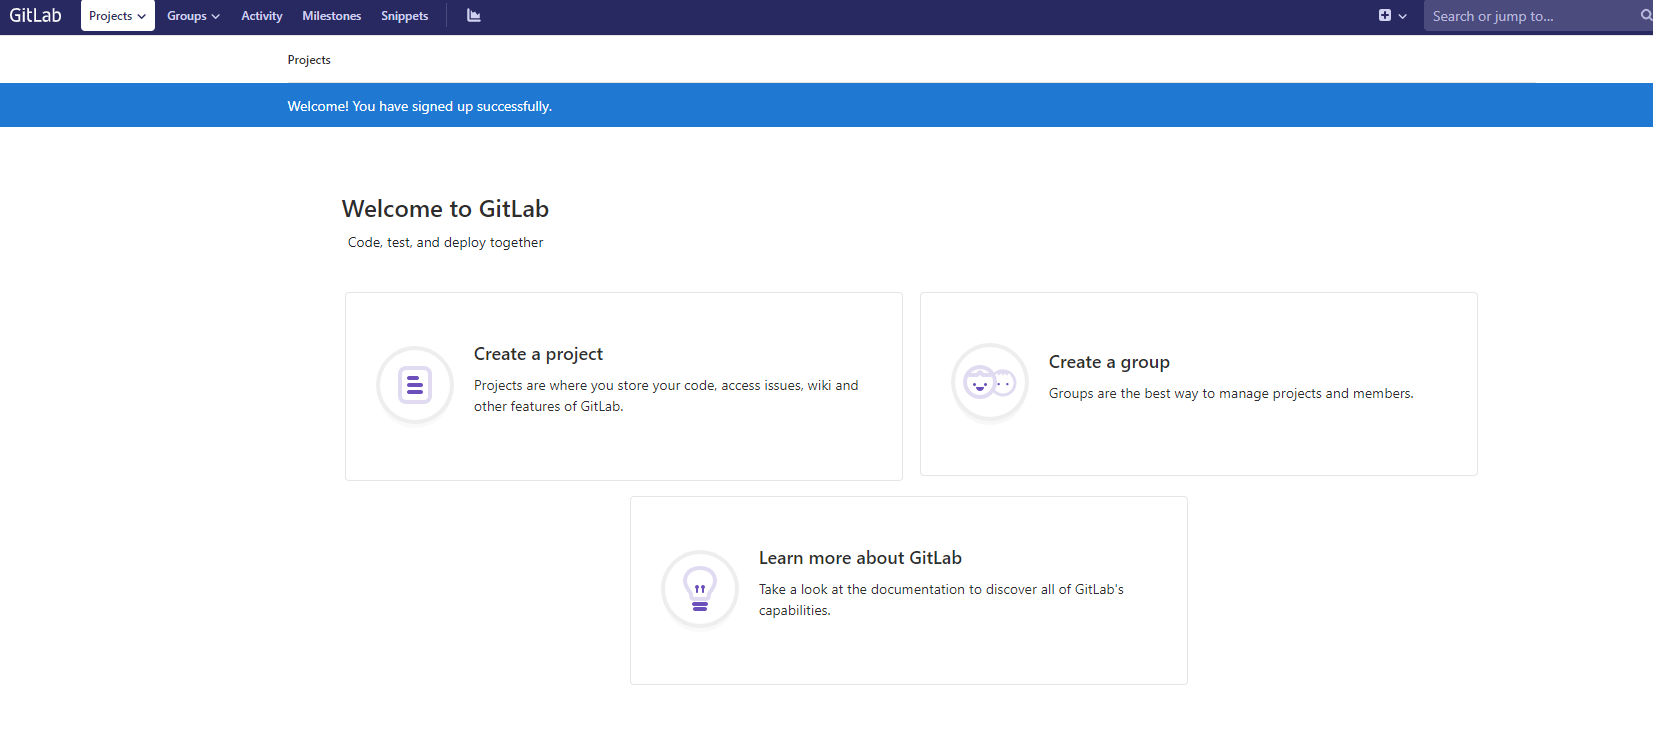
至此我们的GitLab安装已经完成
6、卸载
1、停止gitlab
gitlab-ctl stop
2、卸载gitlab(注意这里写的是gitlab-ce)
rpm -e gitlab-ce
3、查看gitlab进程
ps aux | grep gitlab
4、杀掉第一个进程(就是带有好多.............的进程)
kill -9 PId
杀掉后,在ps aux | grep gitlab确认一遍,还有没有gitlab的进程
5、删除所有包含gitlab文件
find / -name gitlab | xargs rm -rf
本文来自博客园,作者:CoderTL,转载请注明原文链接:https://www.cnblogs.com/codertl/p/15349321.html

 浙公网安备 33010602011771号