【源码剖析】定时器 详解

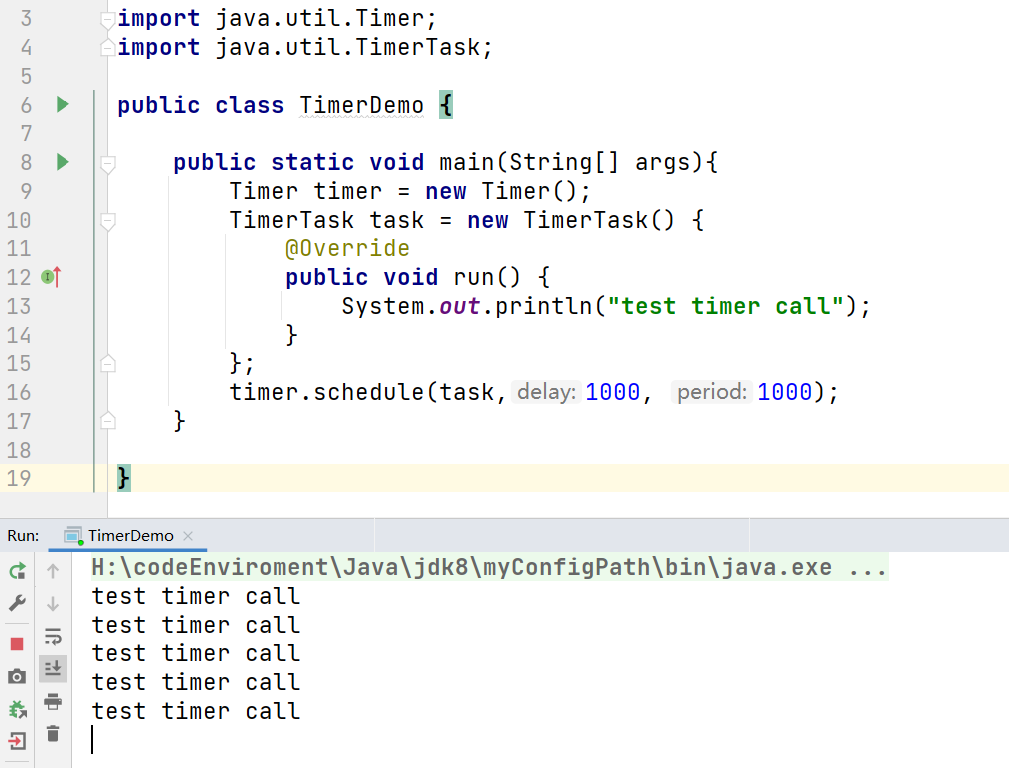
首先,本人来展示下 JDK所提供的定时器 的基本使用:
使用展示:

那么,本人现在来讲解下 JDK所提供的定时器的 底层核心源码:
源码详解:
使用总结:
根据上文讲解,我们能够知道,使用JDK所提供的 Timer 和 TimerTask 类,基本步骤如下:
- 根据具体需求,定义一个 TimerTask类 的 实现子类
- 构造 Timer对象
(一般来讲,空参构造即可)- 构造 自定义TimerTask实现类 的 对象
(一般来讲,空参构造即可,上文展示只是为了在执行逻辑后,直接调用cancel方法)- Timer对象 调用 schedule()方法,参数如下:
- TimerTask task, Date firstTime, long period
- TimerTask task, long delay, long period
- TimerTask task, Date time
- TimerTask task, long delay
那么,本人将以基本步骤为顺序,来讲解 JDK所提供的 定时器 的 源码
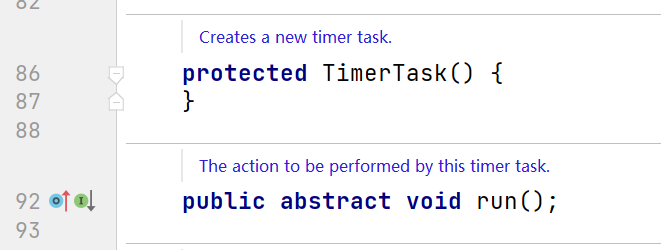
首先是 TimerTask类 的 空参构造:
TimerTask类 🥕 空参构造:

可以看到:
空参构造,什么都没有做
因此,空参构造的意义是:创建TimerTask对象,以及 为静态变量赋值
那么,我们来看看,TimerTask类 都有哪些成员属性:
TimerTask类 🥕 成员属性:
/**
 * This object is used to control access to the TimerTask internals.
 */
final Object lock = new Object();

/**
 * The state of this task, chosen from the constants below.
 */
int state = VIRGIN;

/**
 * This task has not yet been scheduled.
 */
static final int VIRGIN = 0;

/**
 * This task is scheduled for execution.  If it is a non-repeating task,
 * it has not yet been executed.
 */
static final int SCHEDULED   = 1;

/**
 * This non-repeating task has already executed (or is currently
 * executing) and has not been cancelled.
 */
static final int EXECUTED    = 2;

/**
 * This task has been cancelled (with a call to TimerTask.cancel).
 */
static final int CANCELLED   = 3;

/**
 * Next execution time for this task in the format returned by
 * System.currentTimeMillis, assuming this task is scheduled for execution.
 * For repeating tasks, this field is updated prior to each task execution.
 */
long nextExecutionTime;

/**
 * Period in milliseconds for repeating tasks.  A positive value indicates
 * fixed-rate execution.  A negative value indicates fixed-delay execution.
 * A value of 0 indicates a non-repeating task.
 */
long period = 0;
可以看到,其实就只有以下几种 对象成员属性:
- 锁对象
- 当前task状态,及其枚举值:
- 未使用
- 已定时,还未执行(若是repeating模式,则是处于定时状态)
- 已执行(一定是non-repeating模式)
- 已取消
- 下次执行时间
- 执行时间间隔(一定是repeating模式)
在上文的空参构造源码中,本人故意多展示了一段代码 —— run方法
这就代表着,TimerTask类 是一个 Runnable子类:
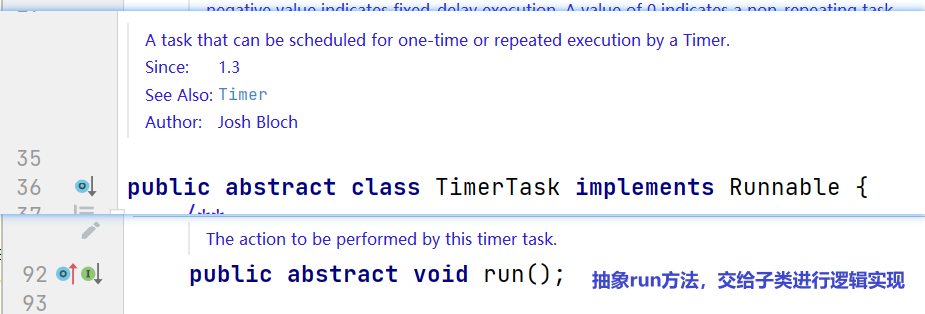
TimerTask类 🥕 继承关系:

可以看到:
TimerTask类 是一个 Runnable子类,因此使用时一般会 创建新线程 去调用 run方法逻辑
TimerTask类 是一个 抽象类,run方法逻辑 由调用方自己实现
接下来,本人来讲解下 Timer类:
首先,本人来展示下 Timer类的 成员属性:
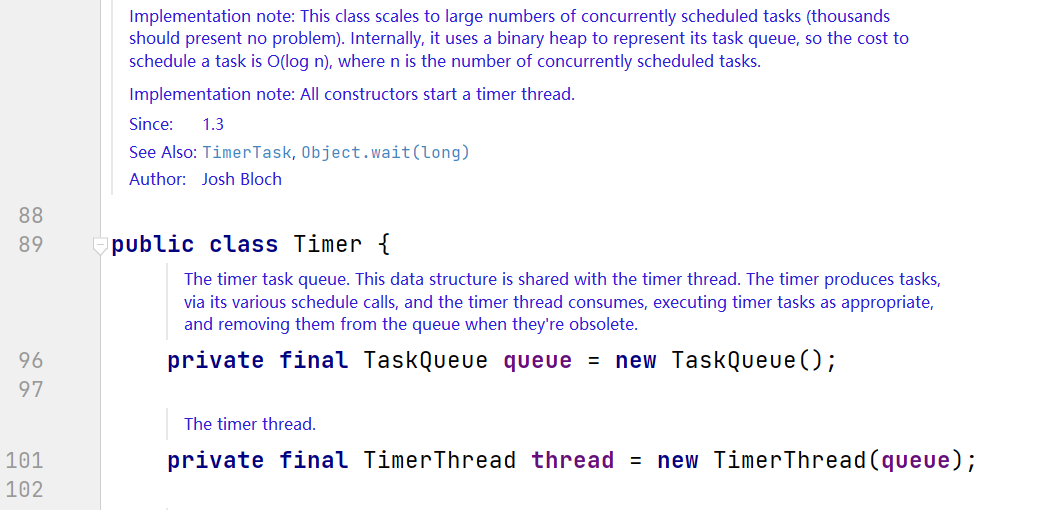
Timer类 🎃 成员属性:

可以看到,成员属性有两个:
- queue:定时任务队列
- thread:定时器线程
Timer类 🎃 空参构造:

可以看到,仅仅是包装了一层其它参数的构造方法,我们点进去:

可以看到,仅仅是创建了thread成员,并启动该线程。
那么,启动该线程,就会执行该线程的 run方法
我们来看看 TimerThread类 的 run方法,执行了什么逻辑:
TimerThread类 🥑 run方法:

可以看到,run方法的逻辑如下:
- 调用执行 mainLoop方法
- 在 线程结束前,同步式 关闭定时器,清除queue
那么,主要逻辑就锁定在了 mainLoop方法:
TimerThread类 🥑 mainLoop方法:
/**
 * The main timer loop.  (See class comment.)
 */
private void mainLoop() {
    while (true) {
        try {
            TimerTask task;
            boolean taskFired;
            synchronized(queue) {
                // Wait for queue to become non-empty
                while (queue.isEmpty() && newTasksMayBeScheduled)
                    queue.wait();
                if (queue.isEmpty())
                    break; // Queue is empty and will forever remain; die

                // Queue nonempty; look at first evt and do the right thing
                long currentTime, executionTime;
                task = queue.getMin();
                synchronized(task.lock) {
                    if (task.state == TimerTask.CANCELLED) {
                        queue.removeMin();
                        continue;  // No action required, poll queue again
                    }
                    currentTime = System.currentTimeMillis();
                    executionTime = task.nextExecutionTime;
                    if (taskFired = (executionTime<=currentTime)) {
                        if (task.period == 0) { // Non-repeating, remove
                            queue.removeMin();
                            task.state = TimerTask.EXECUTED;
                        } else { // Repeating task, reschedule
                            queue.rescheduleMin(
                              task.period<0 ? currentTime   - task.period
                                            : executionTime + task.period);
                        }
                    }
                }
                if (!taskFired) // Task hasn't yet fired; wait
                    queue.wait(executionTime - currentTime);
            }
            if (taskFired)  // Task fired; run it, holding no locks
                task.run();
        } catch(InterruptedException e) {
        }
    }
}
代码很长,具体逻辑如下:
- while(true) 式 执行逻辑
- synchronized(queue) 式 保证线程安全,取出 可执行(定时时间到) 的 task:
- 等待 task入队,没有task前 则一直 wait,不占用CPU资源
- 获取 最近要执行 的 task
- synchronized(task.lock) 式
- 判断 当前task 是否 cancel,若 cancel,则从queue 中移除,继续获取 下一个task 进行判断
- 判断 当前task 是否 定时时间到,将是否时间到记录在 taskFired变量 中
- 若时间到了,则根据 是否为 repeating模式,选择是否 新创建一个task入队
- 若时间未到,则计算 定时时间,超时wait 当前queue
- 若 taskFired变量 为 true,则 执行当前task
那么,以上就是JDK所提供的定时器的 核心逻辑。
相信看到这里,同学们就大致能明白 JDK所提供的 定时器内部的执行逻辑了!
想一年前,开始看源码,是真的很不适应,因此希望能帮到在了解源码的同学!

(本人也在之前自己实现了 定时器 —— 《详解 定时器 的基本实现》)


 浙公网安备 33010602011771号