【Netty】编/解码 详解

在之前的博文中,本人讲解了 Netty 的 模块组件
那么,在本篇博文中,要进行讲解的 编/解码 和 模块组件 也有着很大的联系
因为 涉及到 编/解码 的 模块组件 有 Channel、ChannelHandler、ChannelPipeline 等组件,
那么,本人再来带同学们 重温 一下 相关组件 的 功能:
相关组件:
ChannelHandler:
ChannelHandler 充当了 处理 入站 和 出站数据 的 应用程序逻辑容器
在 日常使用 中
- 实现 ChannelInboundHandler接口(或ChannelInboundHandlerAdapter类),我们就可以 接收入站事件和数据,并且对这些 事件和数据 进行一些 业务逻辑处理
- 当我们需要给 连接的客户端 发送响应时,也可以从 ChannelInboundHandler 冲刷数据
我们的 业务逻辑 通常写在 一个 或者 多个 ChannelInboundHandler 中
ChannelOutboundHandler 的 原理一样,只不过它是用来 处理出站数据 的
ChannelPipeline:
ChannelPipeline 相当于 ChannelHandler链 的 容器
以 客户端应用程序 为例:
- 如果事件的 运动方向 是 从 客户端 到 服务端 的
那么我们称这些事件为 出站事件,
即 客户端 发送给 服务端 的数据,会通过 pipeline中的一系列ChannelOutboundHandler(ChannelOutboundHandler的调用是 从 tail 到 head 方向,逐个调用 每个handler的逻辑),并被这些Handler处理- 反之,我们则称之为 入站事件,入站 只调用 pipeline里的ChannelInboundHandler逻辑(ChannelInboundHandler调用是 从 head 到 tail 方向,逐个调用 每个handler的逻辑)
编/解码器:
当我们通过 Netty 发送 或者 接收 一个消息的时候,就将会发生一次 数据转换
入站消息 会被 解码:
从 字节 转换为 另一种格式(比如java对象)
出站消息,会被 编码:
从 另一种格式(比如java对象) 转换为 字节
Netty 本身提供了一系列实用的 编/解码器,它们都实现了 ChannelInboundHadnler 或者 ChannelOutboundHandler 接口
在这些类中,channelRead()方法 已经被 重写 了
以 入站 为例,对于每个从 入站Channel 读取的消息,channelRead()方法 会被调用
随后,它将调用 已知解码器 所提供的 decode()方法 进行 解码,并将 解码后的字节 转发给 ChannelPipeline 中的 下一个ChannelInboundHandler(责任链模式)
Netty提供了很多编解码器,比如:
- 编解码 字符串:
StringEncoder 和 StringDecoder- 编解码 对象:
ObjectEncoder 和 ObjectDecoder- 等等
如果想要实现 高效的编解码 可以用 protobuf
但是 protobuf 需要维护 大量的proto文件,使用起来比较麻烦
因此,本人推荐使用 protostuff
那么,本人来讲解下 protostuff 这款 编\解码器 的 概念 以及 使用:
protostuff:
概念:
protostuff是一个 基于protobuf实现 的 序列化方法
它较于protobuf最明显的 好处 是:在 几乎不损耗性能 的情况下,做到了 无需手动写.proto文件 来实现序列化
那么,接下来本人来讲解下 protostuff 的使用:
首先,本人来给出 protostuff 的 Maven依赖:
Maven依赖:
<dependency>
    <groupId>com.dyuproject.protostuff</groupId>
    <artifactId>protostuff-api</artifactId>
    <version>1.0.10</version>
</dependency>
<dependency>
    <groupId>com.dyuproject.protostuff</groupId>
    <artifactId>protostuff-core</artifactId>
    <version>1.0.10</version>
</dependency>
<dependency>
    <groupId>com.dyuproject.protostuff</groupId>
    <artifactId>protostuff-runtime</artifactId>
    <version>1.0.10</version>
</dependency>
接下来,本人就来展示下 编/解码 的 基本使用:
基本使用:
首先,本人来给出一个 用于 测试编/解码传输 的 pojo类:
被编/解码类:
package edu.youzg.demo.codec;

import java.io.Serializable;

public class User implements Serializable {
	private static final long serialVersionUID = -4999821729232411223L;

	private int id;
	private int age;
	private String name;

	public User() {
	}

	public User(int id, int age, String name) {
		this.id = id;
		this.age = age;
		this.name = name;
	}

	public int getId() {
		return id;
	}

	public void setId(int id) {
		this.id = id;
	}

	public int getAge() {
		return age;
	}

	public void setAge(int age) {
		this.age = age;
	}

	public String getName() {
		return name;
	}

	public void setName(String name) {
		this.name = name;
	}

	@Override
	public String toString() {
		return "User{" +
				"id=" + id +
				", age=" + age +
				", name='" + name + '\'' +
				'}';
	}

}
接下来,本人来给出一个 用于 编/解码对象 的 工具类:
编/解码 工具类:
工具类:
package edu.youzg.demo.codec.util;

import com.dyuproject.protostuff.LinkedBuffer;
import com.dyuproject.protostuff.ProtobufIOUtil;
import com.dyuproject.protostuff.Schema;
import com.dyuproject.protostuff.runtime.RuntimeSchema;

import java.util.Map;
import java.util.concurrent.ConcurrentHashMap;


/**
 * 封装自 ProtobufIOUtil 工具类,并使其具备 缓存功能 的 工具类
 * @Author: Youzg
 * @CreateTime: 2021-05-05 16:17
 * @Description: 带你深究Java的本质!
 */
public class ProtostuffUtil {
    private static Map<Class<?>, Schema<?>> cacheSchema = new ConcurrentHashMap<Class<?>, Schema<?>>();

    /**
     * 根据 参数所传Class对象,获取 相应的Schema对象
     * @param klass 目标Class对象
     * @param <T> 目标Class类型
     * @return 相应的Schema对象
     */
    private static <T> Schema<T> getSchema(Class<T> klass) {
        Schema<T> schema = (Schema<T>) cacheSchema.get(klass);
        if (schema == null) {
            schema = RuntimeSchema.getSchema(klass);
            if (schema == null) {
                cacheSchema.put(klass, schema);
            }
        }
        return schema;
    }

    /**
     * 序列化 参数对象
     * @param obj 目标对象
     * @param <T> 目标对象 的 类型
     * @return 目标对象 序列化后的 字节数组
     */
    public static <T> byte[] serializer(T obj) {
        Class<?> klass = obj.getClass();
        LinkedBuffer buffer = LinkedBuffer.allocate(LinkedBuffer.DEFAULT_BUFFER_SIZE);
        try {
            Schema<T> schema = (Schema<T>) getSchema(klass);
            return ProtobufIOUtil.toByteArray(obj, schema, buffer);
        } catch (Exception e) {
            throw  new IllegalStateException(e.getMessage(), e);
        } finally {
            buffer.clear();
        }
    }

    /**
     * 反序列化 参数字节数组
     * @param data 目标 字节数组
     * @param klass 目标对象 的 Class对象
     * @param <T> 目标对象 的 类型
     * @return 反序列化 后的 对象
     */
    public static <T> T deserializer(byte[] data, Class<T> klass) {
        T obj = null;
        try {
            obj = klass.newInstance();
            Schema<T> schema = getSchema(klass);
            ProtobufIOUtil.mergeFrom(data, obj, schema);
        } catch (Exception e) {
            e.printStackTrace();
        }
        return obj;
    }

}
测试类:
package edu.youzg.demo.codec.test;

import edu.youzg.demo.codec.User;
import edu.youzg.demo.codec.util.ProtostuffUtil;

/**
 * @Author: Youzg
 * @CreateTime: 2021-05-05 16:36
 * @Description: 带你深究Java的本质!
 */
public class YouzgTest {

    public static void main(String[] args) {
        User user = new User(1, 666, "Youzg");
        byte[] bytes = ProtostuffUtil.serializer(user);
        User user1 = ProtostuffUtil.deserializer(bytes, User.class);

        System.out.println(user1);
    }

}
测试结果:
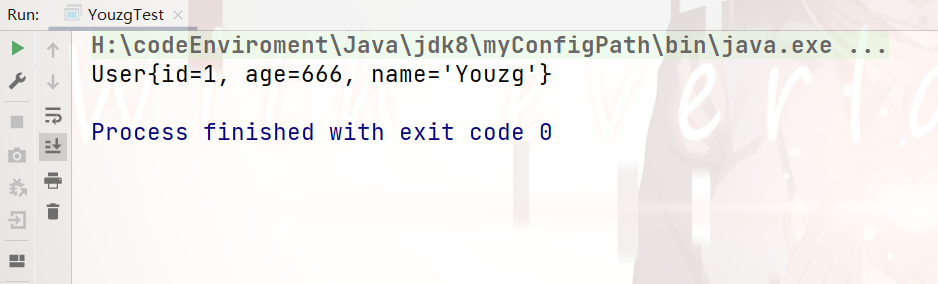
我们可以看到:
编/解码 成功了!
那么,依据上述原理,我们来实现下 服务端:
服务端:
服务端 编/解码处理器:
package edu.youzg.demo.codec;

import edu.youzg.demo.codec.util.ProtostuffUtil;
import io.netty.buffer.ByteBuf;
import io.netty.channel.ChannelHandlerContext;
import io.netty.channel.ChannelInboundHandlerAdapter;

/**
 * 服务端 编解码处理器
 * @Author: Youzg
 * @CreateTime: 2021-05-05 16:13
 * @Description: 带你深究Java的本质!
 */
public class CodecServerHandler extends ChannelInboundHandlerAdapter {

    @Override
    public void channelRead(ChannelHandlerContext ctx, Object msg) throws Exception {
        ByteBuf byteBuf = (ByteBuf) msg;
        byte[] bytes = new byte[byteBuf.readableBytes()];
        byteBuf.readBytes(bytes);
        System.out.println("用户信息为:" + ProtostuffUtil.deserializer(bytes, User.class));
    }

    @Override
    public void exceptionCaught(ChannelHandlerContext ctx, Throwable cause) throws Exception {
        cause.printStackTrace();
        ctx.close();
    }

}
服务端 Netty服务器:
package edu.youzg.demo.codec;

import io.netty.bootstrap.ServerBootstrap;
import io.netty.channel.ChannelFuture;
import io.netty.channel.ChannelInitializer;
import io.netty.channel.ChannelPipeline;
import io.netty.channel.EventLoopGroup;
import io.netty.channel.nio.NioEventLoopGroup;
import io.netty.channel.socket.SocketChannel;
import io.netty.channel.socket.nio.NioServerSocketChannel;

/**
 * @Author: Youzg
 * @CreateTime: 2021-05-05 16:51
 * @Description: 带你深究Java的本质!
 */
public class NettyServerDemo {

    public static void main(String[] args) {
        EventLoopGroup bossGroup = new NioEventLoopGroup(1);
        EventLoopGroup workerGroup = new NioEventLoopGroup(1);

        try {
            ServerBootstrap serverBootstrap = new ServerBootstrap();
            serverBootstrap.group(bossGroup, workerGroup)
                    .channel(NioServerSocketChannel.class)
                    .childHandler(new ChannelInitializer<SocketChannel>() {
                        @Override
                        protected void initChannel(SocketChannel socketChannel) throws Exception {
                            ChannelPipeline pipeline = socketChannel.pipeline();
                            pipeline.addLast(new CodecServerHandler());
                        }
                    });
            System.out.println("Netty Server start...");
            ChannelFuture channelFuture = serverBootstrap.bind(9000).sync();
            channelFuture.channel().closeFuture().sync();
        } catch (InterruptedException e) {
            e.printStackTrace();
        } finally {
            bossGroup.shutdownGracefully();
            workerGroup.shutdownGracefully();
        }
    }

}
接下来是 客户端:
客户端:
客户端 编/解码处理器:
package edu.youzg.demo.codec;

import edu.youzg.demo.codec.util.ProtostuffUtil;
import io.netty.buffer.ByteBuf;
import io.netty.buffer.Unpooled;
import io.netty.channel.ChannelHandlerContext;
import io.netty.channel.ChannelInboundHandlerAdapter;

/**
 * @Author: Youzg
 * @CreateTime: 2021-05-05 16:14
 * @Description: 带你深究Java的本质!
 */
public class CodecClientHandler extends ChannelInboundHandlerAdapter {

    @Override
    public void channelActive(ChannelHandlerContext ctx) throws Exception {
        System.out.println("向服务端发送当前用户信息...");
        ByteBuf byteBuf = Unpooled.copiedBuffer(ProtostuffUtil.serializer(new User(2, 18, "YouzFan")));
        ctx.writeAndFlush(byteBuf);
    }

    @Override
    public void channelRead(ChannelHandlerContext ctx, Object msg) throws Exception {
        System.out.println("收到[服务端]消息为:" + msg);
    }

}
客户端 Netty服务器:
package edu.youzg.demo.codec;

import io.netty.bootstrap.Bootstrap;
import io.netty.channel.ChannelFuture;
import io.netty.channel.ChannelInitializer;
import io.netty.channel.ChannelPipeline;
import io.netty.channel.EventLoopGroup;
import io.netty.channel.nio.NioEventLoopGroup;
import io.netty.channel.socket.SocketChannel;
import io.netty.channel.socket.nio.NioSocketChannel;

/**
 * @Author: Youzg
 * @CreateTime: 2021-05-05 16:51
 * @Description: 带你深究Java的本质!
 */
public class NettyClientDemo {

    public static void main(String[] args) {
        EventLoopGroup group = new NioEventLoopGroup();

        try {
            Bootstrap bootstrap = new Bootstrap();
            bootstrap.group(group)
                    .channel(NioSocketChannel.class)
                    .handler(new ChannelInitializer<SocketChannel>() {
                        @Override
                        protected void initChannel(SocketChannel socketChannel) throws Exception {
                            ChannelPipeline pipeline = socketChannel.pipeline();
                            pipeline.addLast(new CodecClientHandler());
                        }
                    });
            System.out.println("Netty Client start...");
            ChannelFuture channelFuture = bootstrap.connect("127.0.0.1", 9000).sync();
            channelFuture.channel().closeFuture().sync();
        } catch (InterruptedException e) {
            e.printStackTrace();
        } finally {
            group.shutdownGracefully();
        }
    }

}
现在,本人来展示下 运行结果:
运行结果:
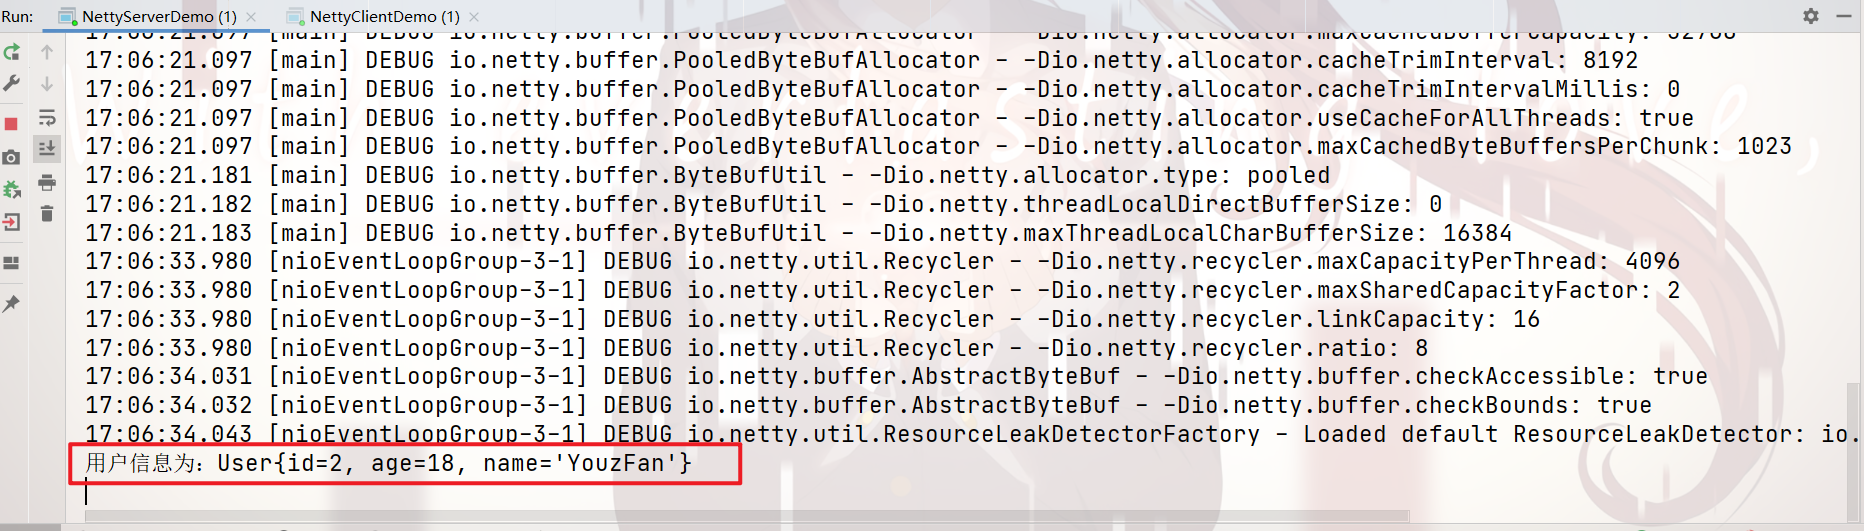
我们可以看到:
编/解码 在
Netty中运用成功了!
那么,至此,Netty 的 编/解码 就讲解完毕了!

 浙公网安备 33010602011771号