Windows平台下载、安装、配置Apache全攻略
本文介绍了如何在windows平台进行apache服务器的下载、安装和配置过程。
1.下载
首先进入apache for windows的官方下载地址[猛戳这里],依次在下列页面进行下载操作:
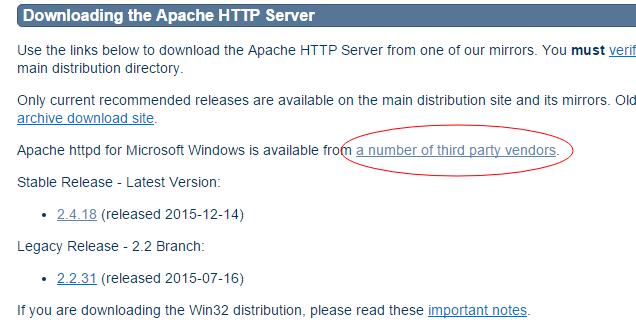

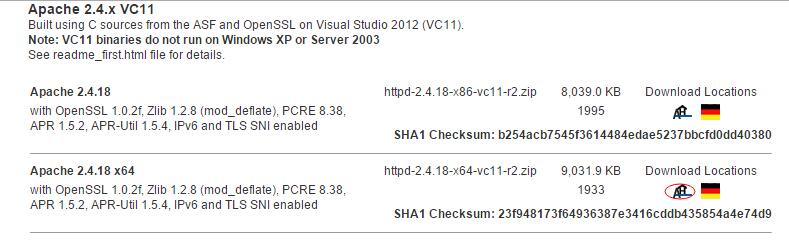
我这里下载的安装包名称为:httpd-2.4.18-x64-vc11-r2.zip。
2.安装
将下载好的文件解压到磁盘目录下,比如:D:\Programs\Apache24,然后接下来进行配置工作。
3.配置
进入D:\Programs\Apache24\conf目录,找到httpd.conf文件,进行如下配置工作:
1)修改Apache程序的位置
将SRVROOT修改为你具体放置的位置,具体如下:
#
# ServerRoot: The top of the directory tree under which the server's
# configuration, error, and log files are kept.
#
# Do not add a slash at the end of the directory path.  If you point
# ServerRoot at a non-local disk, be sure to specify a local disk on the
# Mutex directive, if file-based mutexes are used.  If you wish to share the
# same ServerRoot for multiple httpd daemons, you will need to change at
# least PidFile.
#

Define SRVROOT "D:/Programs/Apache24"
ServerRoot "${SRVROOT}"
2)修改email地址
将ServerAdmin的email修改为你的邮件地址
ServerAdmin admin@iwwenbo.com
3)修改域名
将ServerName修改为你自己的域名
ServerName www.iwwenbo.com:80
4)修改网站根目录
将DocumentRoot修改为你自己的目录位置
DocumentRoot "${SRVROOT}/htdocs"
4.启动
打开cmd窗口,进入apache的bin目录,执行如下图所示命令,进行服务安装:>>>阅读全文

 浙公网安备 33010602011771号