Nginx+RTMP服务器推流方案二
服务器推流方案二
一、环境准备
-
服务器系统:
Centos7 -
直播服务器:
Nginx -
拓展模块:
nginx-http-flv-module(支持rtmp、http-flv、http-hls等)
二、环境搭建
1.安装依赖
yum install gcc make pcre pcre-devel openssl openssl-devel
2.下载并解压Nginx
-
这里下载的是
nginx-1.22.0.tar.gz安装包,并将其放在了root目录下wget https://nginx.org/download/nginx-1.22.0.tar.gz -
在
/usr/local下创建nginx文件夹并进入cd /usr/local/ mkdir nginx cd /nginx -
将
nginx安装包解压到/usr/local/nginx中tar zxvf /root/nginx-1.22.0.tar.gz -C ./解压完成后,在
/usr/local/nginx目录下出现一个nginx-1.22.0目录
3.下载并解压插件
这里下载的是nginx-http-flv-module模块,放在/usr/local/nginx目录下
# 通过wget命令下载
[root@localhost nginx] wget https://github.com/winshining/nginx-http-flv-module/archive/v1.2.7.tar.gz
# 解压
[root@localhost nginx] tar zxvf v1.2.7.tar.gz -C ./
# 重命名
[root@localhost nginx] mv v1.2.7 nginx-http-flv-module
4.配置和编译安装
[root@localhost nginx] cd nginx-1.22.0
[root@localhost nginx-1.22.0] ./configure --add-module=../nginx-http-flv-module
# 编译安装
[root@localhost nginx-1.22.0] make
[root@localhost nginx-1.22.0] make install
5.查看安装结果
[root@localhost nginx-1.22.0] /usr/local/nginx/sbin/nginx -v
# 输出 nginx version: nginx/1.22.0 即为安装成功
三、配置Nginx
1.设置Nginx开机启动
# 创建Nginx服务文件
vi /usr/lib/system/system/nginx.service
输入以下内容
[Unit]
Description=nginx - high performance web server
After=network.target remote-fs.target nss-lookup.target
[Service]
Type=forking
ExecStart=/usr/local/nginx/sbin/nginx
ExecReload=/usr/local/nginx/sbin/nginx -s reload
ExecStop=/usr/local/nginx/sbin/nginx -s stop
[Install]
WantedBy=multi-user.target
启动Nginx服务
systemctl start nginx
systemctl enable nginx
2.修改Nginx配置文件
vi /usr/local/nginx/conf/nginx.conf
配置模板
user root;
worker_processes  auto;
#worker_processes  auto;

#worker_cpu_affinity  0001 0010 0100 1000;
worker_cpu_affinity  auto;
error_log logs/error.log error;


#load_module modules/ngx_http_flv_live_module.so;

events {
    worker_connections  4096;
}

http {
    include       mime.types;
    default_type  application/octet-stream;

    keepalive_timeout  65;

    server {
        listen       80;

        location / {
        root   /usr/local/nginx/nginx-http-flv-module-1.2.10/test/www;
	 			index  index.html index.htm;
        }

        error_page   500 502 503 504  /50x.html;
        location = /50x.html {
            root   html;
        }


		location /flv {
            flv_live on;
            chunked_transfer_encoding on;
            add_header 'Access-Control-Allow-Origin' '*';
            add_header 'Access-Control-Allow-Credentials' 'true';
        }

        location /hls {
            types {
                application/vnd.apple.mpegurl m3u8;
                video/mp2t ts;
            }

            root /usr/local/nginx/nginx-http-flv-module-1.2.10;
            add_header 'Cache-Control' 'no-cache';
        }

        location /dash {
            root /usr/local/nginx/nginx-http-flv-module-1.2.10;
            add_header 'Cache-Control' 'no-cache';
        }

        location /stat {
            rtmp_stat all;
            rtmp_stat_stylesheet stat.xsl;
        }

        location /stat.xsl {
            root /usr/local/nginx/nginx-http-flv-module-1.2.10;
        }


        #location /stat {
        #    rtmp_stat all;
        #    rtmp_stat_format json;
        #}

        location /control {
            rtmp_control all;
        }
    }
}

rtmp_auto_push on;
rtmp_auto_push_reconnect 1s;
rtmp_socket_dir /usr/local/nginx/nginx-http-flv-module-1.2.10;

rtmp {
    out_queue           4096;
    out_cork            8;
    max_streams         128;
    timeout             30s;
    drop_idle_publisher 30s;

    log_interval 5s;
    log_size     1m;

    server {
        listen 1935;
       # server_name www.test.*;

        application live {
            live on;
            gop_cache on;
        }

        application hls {
            live on;
            hls on;
            hls_path /usr/local/nginx/nginx-http-flv-module-1.2.10/hls;
        }

        application dash {
            live on;
            dash on;
            dash_path /usr/local/nginx/nginx-http-flv-module-1.2.10/dash;
        }
    }
}
3.重启Nginx,开启端口
sudo firewall-cmd --add-port=1935/tcp --permanent
sudo firewall-cmd --add-port=80/tcp --permanent
sudo firewall-cmd --add-port=8080/tcp --permanent
sudo firewall-cmd --reload
1935端口是默认的推流端口
# 重启Nginx
systemctl restart nginx
4.浏览器查看

出现Welcom to nginx ,配置成功
5.网页测试是否都显示正常
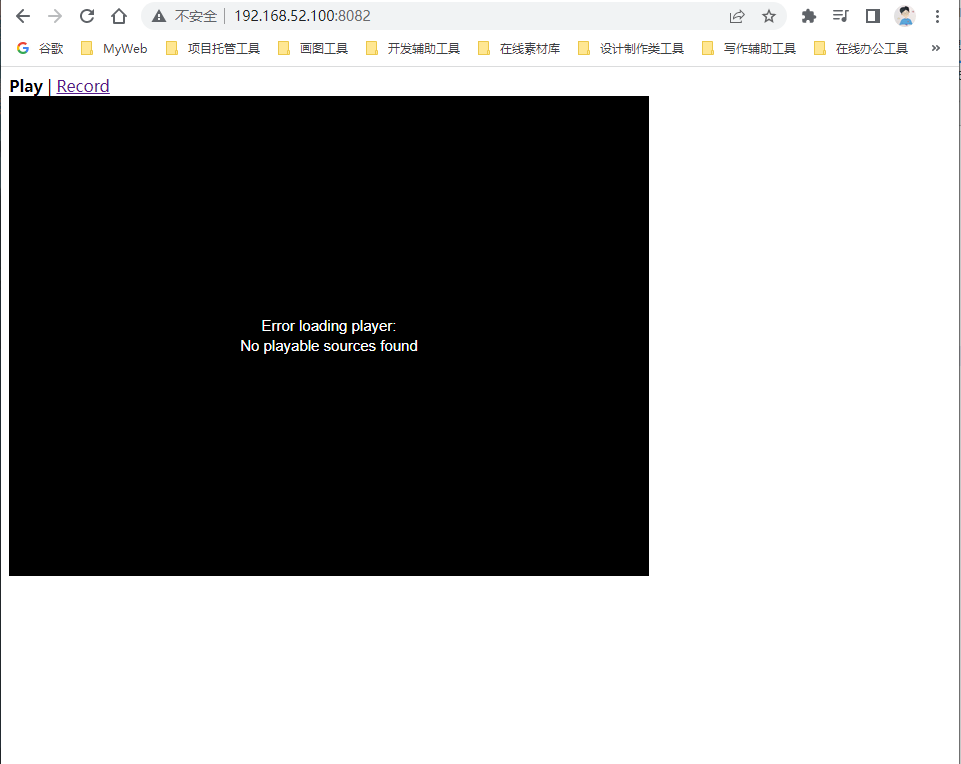
直接在网页输入http://ip:port, 如果出现如下页面,证明首页和基本配置没有问题了

在网页输入http://ip:port/stat,如果出现如下页面,正面监控功能没问题
四、推流测试
打开OBS,在文件 -> 设置->直播中,填入rtmp://ip:port/live/,以及推流码

五、拉流测试
如果发布的流名称是demo
那么http-flv视频流就是
ttp://ip:80/flv?port=1935&app=live&stream=demo
rtmp流是
rtmp://ip:rtmpPort/live/demo
http-hls是
http://ip:port/hls/demo.m3u8
本文作者:CNPolaris
本文链接:https://www.cnblogs.com/cnpolaris/p/17137881.html
版权声明:本作品采用知识共享署名-非商业性使用-禁止演绎 2.5 中国大陆许可协议进行许可。


【推荐】国内首个AI IDE,深度理解中文开发场景,立即下载体验Trae
【推荐】编程新体验,更懂你的AI,立即体验豆包MarsCode编程助手
【推荐】抖音旗下AI助手豆包,你的智能百科全书,全免费不限次数
【推荐】轻量又高性能的 SSH 工具 IShell:AI 加持,快人一步
· 10年+ .NET Coder 心语 ── 封装的思维:从隐藏、稳定开始理解其本质意义
· 地球OL攻略 —— 某应届生求职总结
· 周边上新:园子的第一款马克杯温暖上架
· Open-Sora 2.0 重磅开源!
· 提示词工程——AI应用必不可少的技术