第二十一 BBS(2)
对评论内容进行评论
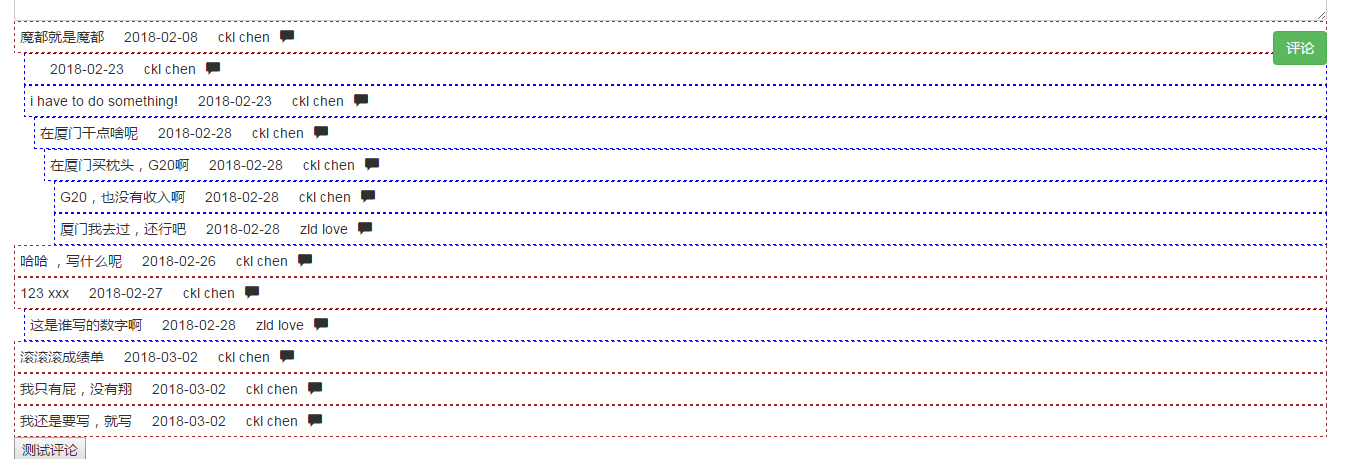
1.1.增加评论按钮
comment_hander.py
def render_tree_node(tree_dic,margin_val):
    html = ""
    #展示子集评论
    for k, v in tree_dic.items():
        #合成评论、日期、用户名及评论按钮
        ele = "<div class='comment-node' style='margin-left:%spx'>" % margin_val + k.comment + "<span style='margin-left:20px'>%s</span>" %k.date \
              + "<span style='margin-left:20px'>%s</span>" %k.user.name \
              + '<span comment-id="%s"' %k.id +' style="margin-left:10px" class="glyphicon glyphicon-comment add-comment" aria-hidden="true"></span>' \
              + "</div>"
        html += ele
        html += render_tree_node(v,margin_val+10)
    return html

def render_comment_tree(tree_dic):
    #展示父级评论
    html = ""
    for k,v in tree_dic.items():
        ele = "<div class='root-comment'>" + k.comment + "<span style='margin-left:20px'>%s</span>" %k.date \
              + "<span style='margin-left:20px'>%s</span>" %k.user.name \
              + '<span comment-id="%s"' %k.id + 'style="margin-left:10px" class="glyphicon glyphicon-comment add-comment" aria-hidden="true"></span>' \
              + "</div>"
        html += ele
        html += render_tree_node(v,10)
    return html
查看效果:
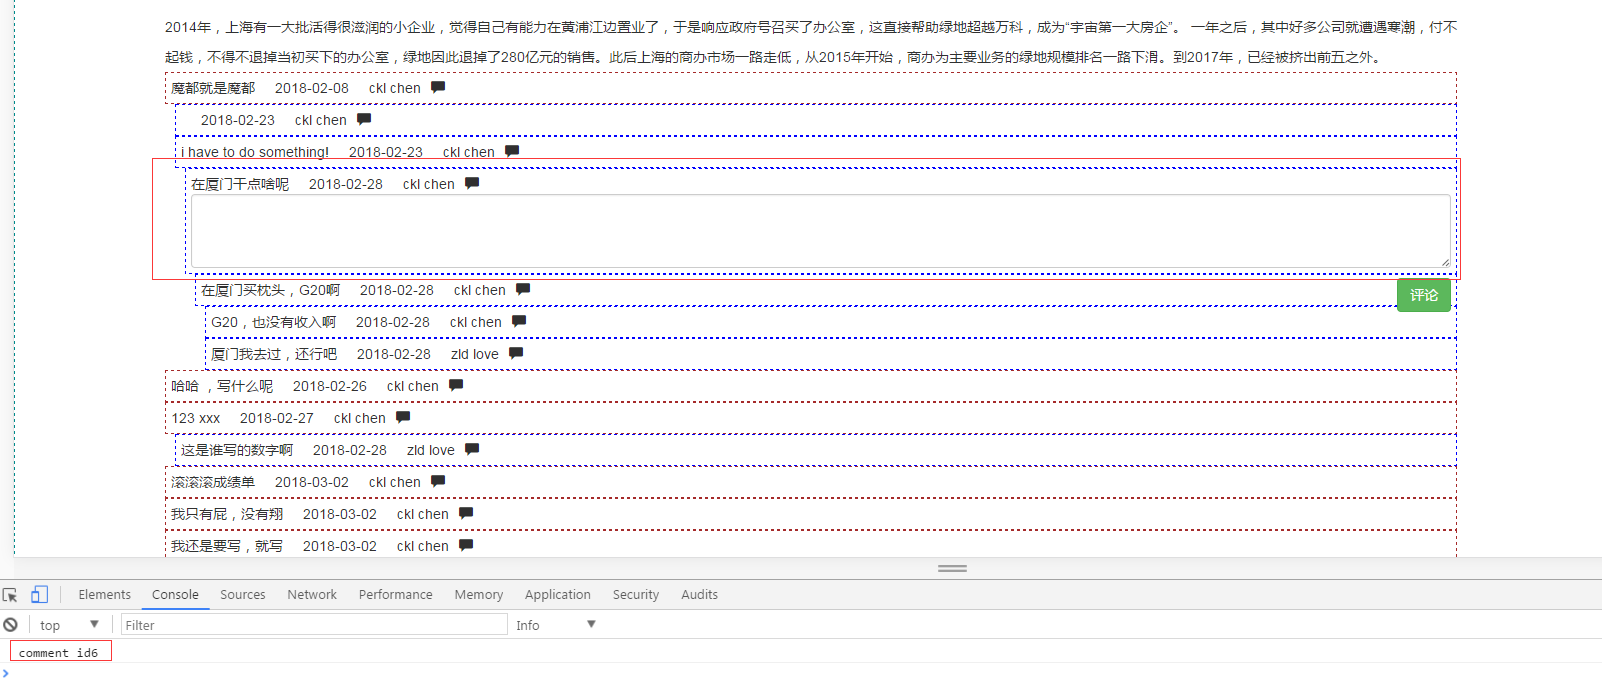
1.2.点击评论按钮,展示评论框
1.2.1.克隆原来评论框
article_detail.html
 {% if request.user.is_authenticated %}
                <!-- 判断用户已经登录,输入框输入评论 -->
                <div class="new-comment-box"> <!-- 评论框增加样式 -->
                    <textarea class="form-control" rows="3"></textarea>
                    <!-- 按钮样式 -->
                    <button type="button" style="margin-top: 10px;" class="btn btn-success pull-right">评论</button>
                </div>
            {% else %}
                <div class="jumbotron">
                 <!-- 点击登录后,跳转到原先准备评论的页面,也就是给原路径加next?xxx -->
                  <h4 class="text-center"><a class="btn-link" href="{% url 'login' %}?next={{ request.path }}">登录</a>后评论</h4>
                </div>
            {% endif %}
<script>
    //评论展示
    function getComments() {
        $.get("{% url 'get_comments' article_obj.id %}",function(callback){
            //console.log(callback);
            $(".comment-list").html(callback);

            //start add comment
            $(".add-comment").click(function () {
                var comment_id = $(this).attr("comment-id");
                console.log("comment id" + comment_id);
                //克隆评论框并添加
                var new_comment_box_div = $(".new-comment-box").clone();
                $(".new-comment-box").remove();//删除之前的评论框,不删除会展示所有评论框
                $(this).parent().append(new_comment_box_div);
            })
        });
    }
1.2.2.查看效果
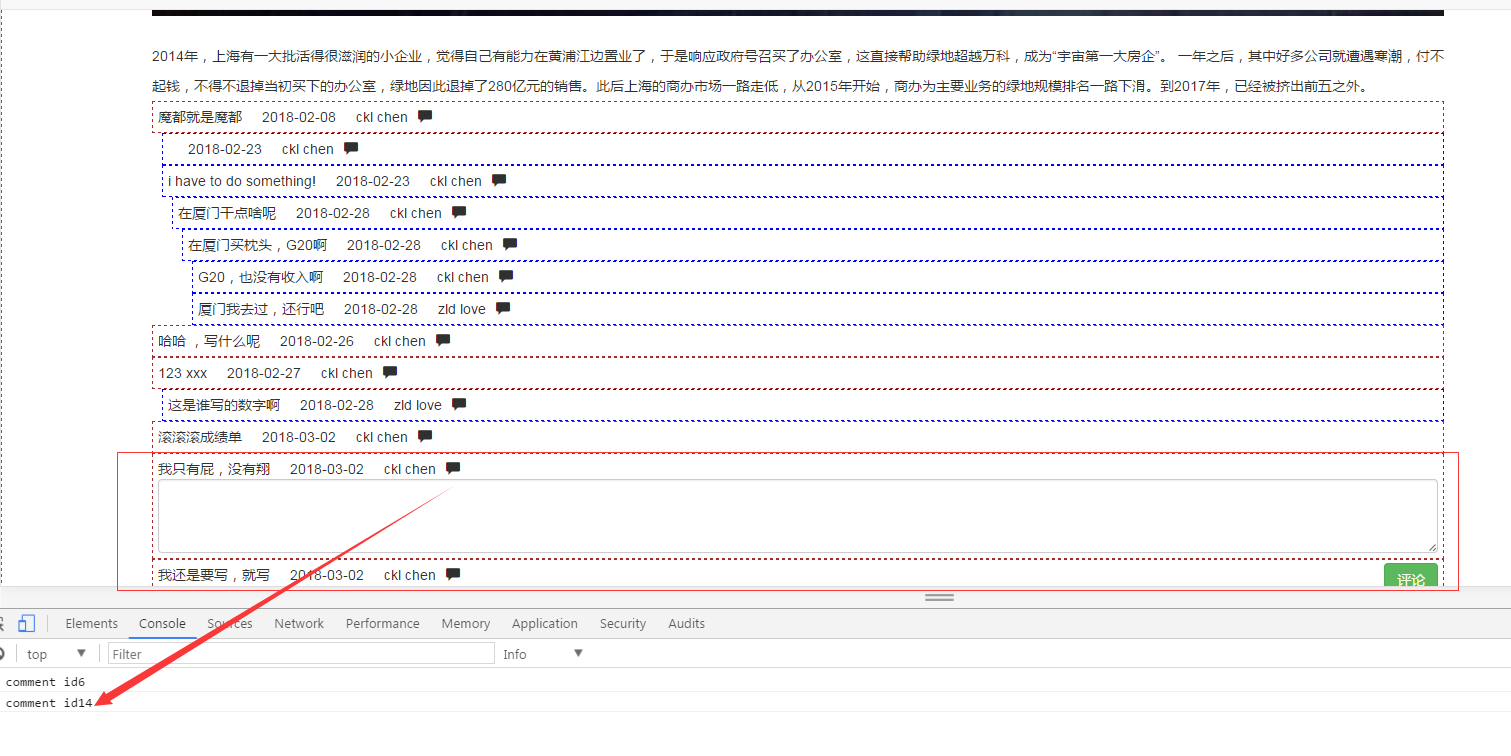
1.3.新加评论内容并加到底部
1.3.1.评论新增
article_detail.html
<script>
    //评论展示
    function getComments() {
        $.get("{% url 'get_comments' article_obj.id %}",function(callback){
            //console.log(callback);
            $(".comment-list").html(callback);

            //start add comment
            $(".add-comment").click(function () {
                var comment_id = $(this).attr("comment-id");
                console.log("comment id" + comment_id);
                //克隆评论框并添加
                var new_comment_box_div = $(".new-comment-box").clone(true);
                $(".new-comment-box").remove();//删除之前的评论框,不删除会展示所有评论框
                $(this).parent().append(new_comment_box_div);
            })
        });
    }
       $(".comment-box button").click(function () {
           var comment_text = $(".comment-box textarea").val()
           if (comment_text.trim().length < 5){
               alert("评论字数不能少于5");
           }else{
               //post
               //添加评论id
               var parent_comment_id = $(this).parent().prev().attr('comment-id');

               $.post("{% url 'post_comment' %}",
                   {
                       //1为评论
                       'comment_type':1,
                       article_id:"{{ article_obj.id }}",
                       parent_comment_id:parent_comment_id,
                       //评论内容
                       'comment':comment_text.trim(),
                       //获取csrf
                       'csrfmiddlewaretoken':getCsrf()
                   },
                   function(callback){
                       console.log(callback);
                       if (callback == "success"){
                           var new_comment_box_div = $(".new-comment-box").clone(true);
                           //在刷新评论之前,把评论框再放回文章底部
                           $(".comment-list").before(new_comment_box_div);
                           $(".new-comment-box textarea").val("");
                           //alert("hahhahahahha")
                           getComments();
                       }
               })//end post
           }//end if
       });//end button click
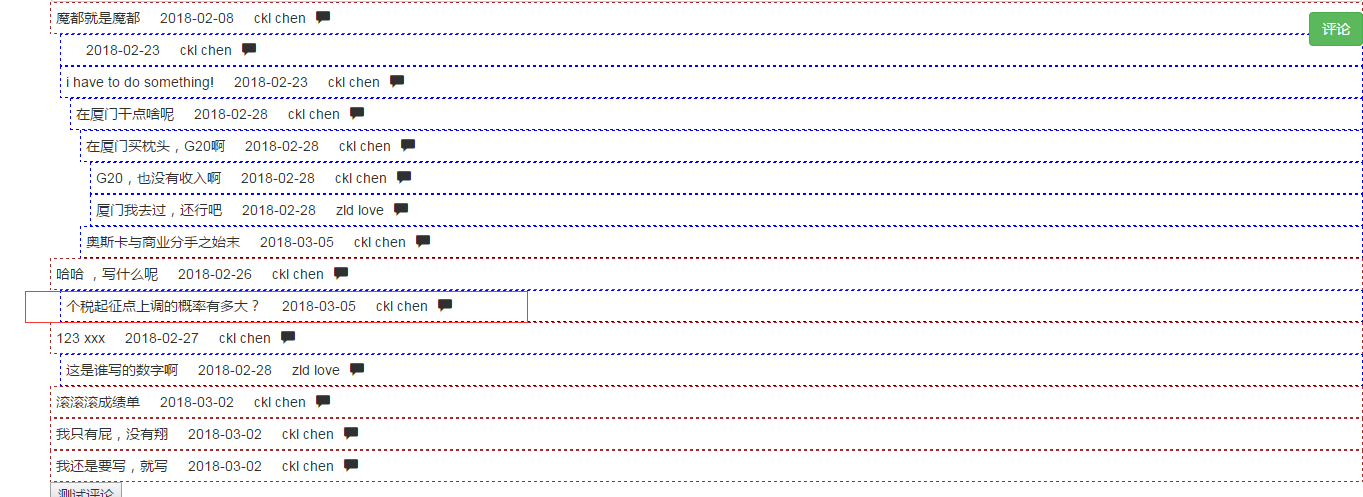
1.3.2.新增评论

2.配置发帖
2.1.主页新增发帖选项
base.html
       <ul class="nav navbar-nav navbar-right">
              <!-- 如果用户登录,则显示用户名及注销,否则显示登录 -->
              {% if request.user.is_authenticated %}
                  <li class=""><a href="#">{{ request.user.userprofile.name }}</a></li>
                  <li class=""><a href="{% url 'logout' %}">注销</a></li>
              {% else %}
                  <li class=""><a href="{% url 'login' %}">登录/注册</a></li>
              {% endif %}
              <li class=""><a href="{% url 'new-article' %}">发帖</a></li>
          </ul>
2.2.配置url
from django.conf.urls import url,include
from bbs import views
urlpatterns = [
    url(r'^$', views.index),
    url(r'category/(\d+)/$', views.category),
    url(r'detail/(\d+)/$', views.article_detail,name="article_detail"),
    url(r'comment/$', views.comment,name="post_comment"),
    url(r'^comment_list/(\d+)/$', views.get_comments,name="get_comments"),
    url(r'^new_article/$', views.new_article,name="new-article"),
]
2.3.配置方法
2.3.1.配置modelForm

#!/usr/bin/env python
# -*- coding: utf-8 -*-

from django.forms import ModelForm
from bbs import models

class ArticleModelForm(ModelForm):
    class Meta:
        model = models.Article
        exclude = ()
2.3.2.配置views
view.py
from bbs import form
def new_article(request):
    if request.method == 'GET':
        article_form = form.ArticleModelForm()
        return render(request,'bbs/new_article.html',{'article_form':article_form})
2.4.配置静态返回页面
{% extends 'base.html' %}
{% load custom %}
{% block page-container %}
    <div class="wrap-left">
        <form>
            {{ article_form }}
        </form>
    </div>
    <div class="wrap-right">
        right
    </div>
    <div class="clear-both"></div>
{% endblock %}
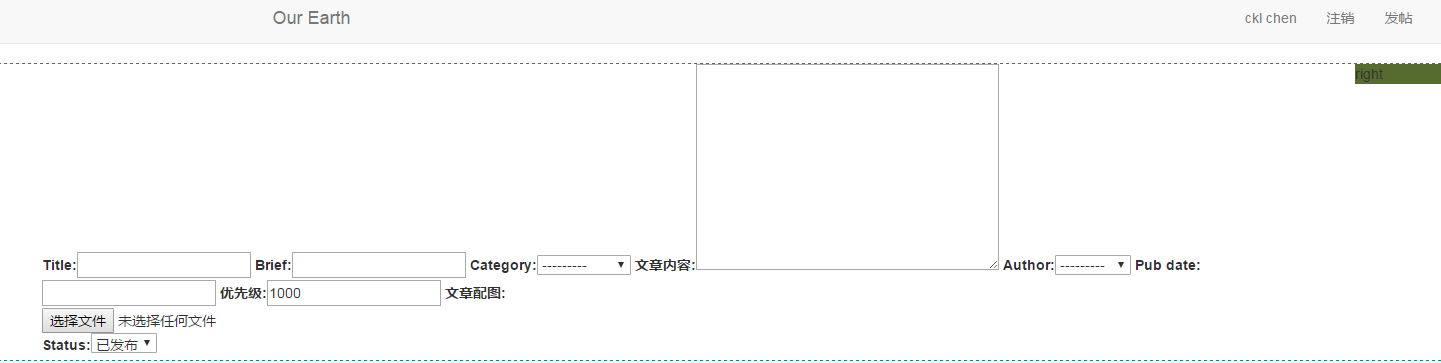
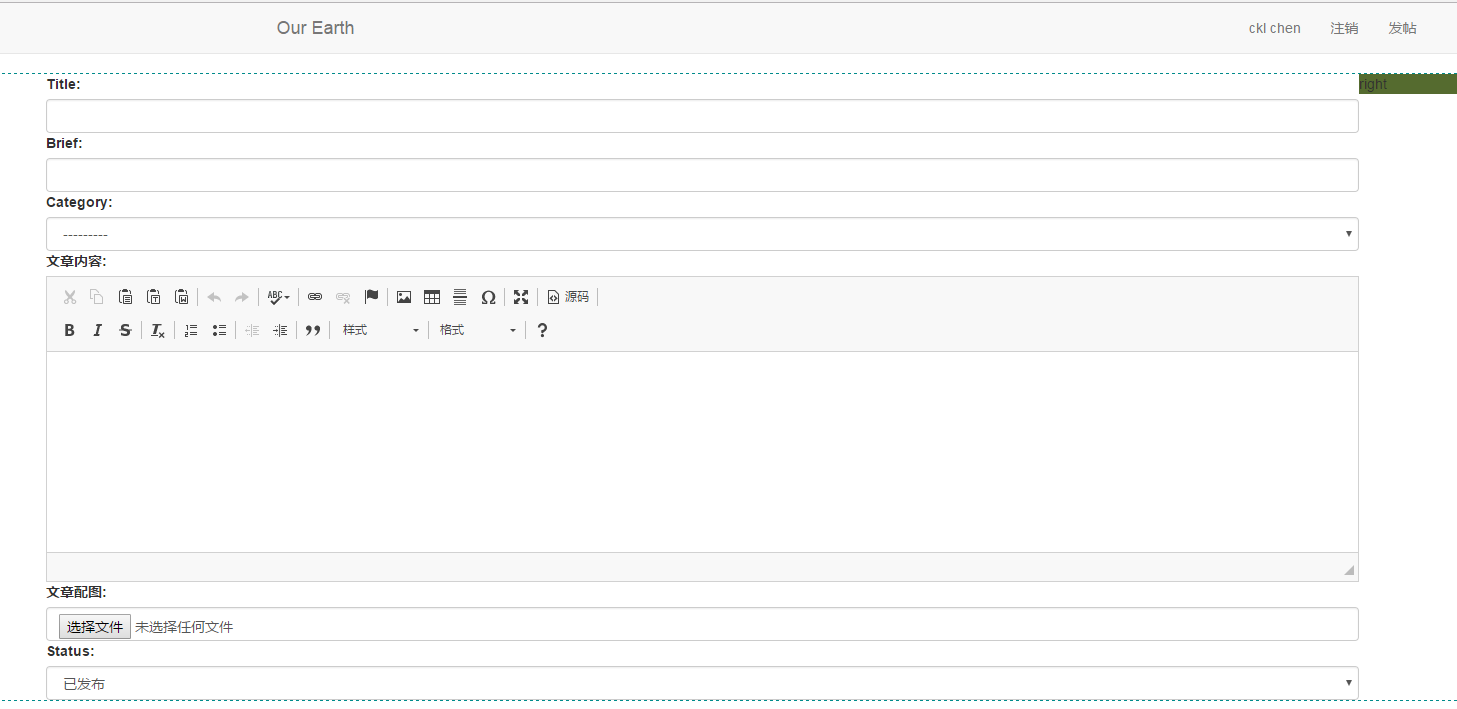
2.5.查看结果

2.6.配置编辑页面
2.6.1.下载文件
https://docs.ckeditor.com/ckeditor4/latest/guide/dev_installation.html#download
2.6.2.配置引用
添加文件目录
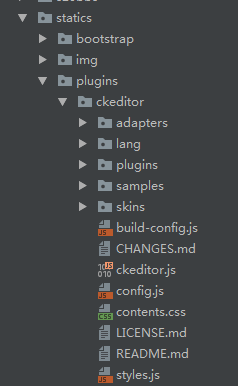
配置文件引用
{% extends 'base.html' %}
{% load custom %}
{% block page-container %}
    <div class="wrap-left">
        <form>
            <textarea name="ckl" id="article-fatie"></textarea>
            {{ article_form }}
        </form>
    </div>
    <div class="wrap-right">
        right
    </div>
    <div class="clear-both"></div>
{% endblock %}
{% block bottom-js %}
    <script src="/static/plugins/ckeditor/ckeditor.js"></script>
    <script>
            CKEDITOR.replace('article-fatie');
    </script>
{% endblock %}
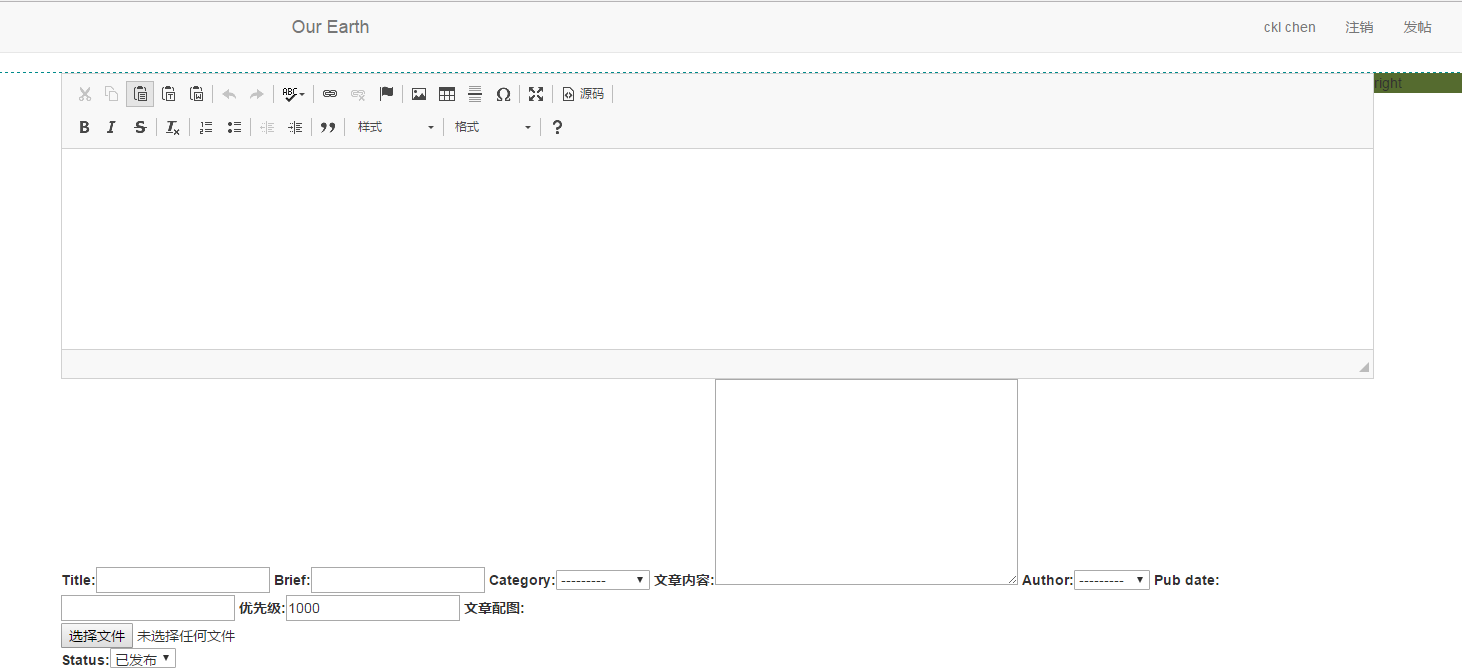
查看效果:
2.7.美化form表单
2.7.1.配置列表排列方式
拷贝之前的代码 form.py
#!/usr/bin/env python
# -*- coding: utf-8 -*-

from django.forms import ModelForm
from bbs import models

class ArticleModelForm(ModelForm):
    class Meta:
        model = models.Article
        exclude = ()

    def __init__(self, *args, **kwargs):
        super(ArticleModelForm, self).__init__(*args, **kwargs)
        # self.fields['qq'].widget.attrs["class"] = "form-control"

        for filed_name in self.base_fields:
            filed = self.base_fields[filed_name]
            filed.widget.attrs.update({'class': 'form-control'})
查看效果:

2.7.2.过滤掉不需要的选项
form.py
#!/usr/bin/env python
# -*- coding: utf-8 -*-

from django.forms import ModelForm
from bbs import models

class ArticleModelForm(ModelForm):
    class Meta:
        model = models.Article
        exclude = ('author','pub_date','priority')

    def __init__(self, *args, **kwargs):
        super(ArticleModelForm, self).__init__(*args, **kwargs)
        # self.fields['qq'].widget.attrs["class"] = "form-control"

        for filed_name in self.base_fields:
            filed = self.base_fields[filed_name]
            filed.widget.attrs.update({'class': 'form-control'})
2.7.3.引用替换原有的textarea
{% extends 'base.html' %}
{% load custom %}
{% block page-container %}
    <div class="wrap-left">
        <form>
            {{ article_form }}
        </form>
    </div>
    <div class="wrap-right">
        right
    </div>
    <div class="clear-both"></div>
{% endblock %}
{% block bottom-js %}
    <script src="/static/plugins/ckeditor/ckeditor.js"></script>
    <script>
            CKEDITOR.replace('id_content');
    </script>
{% endblock %}
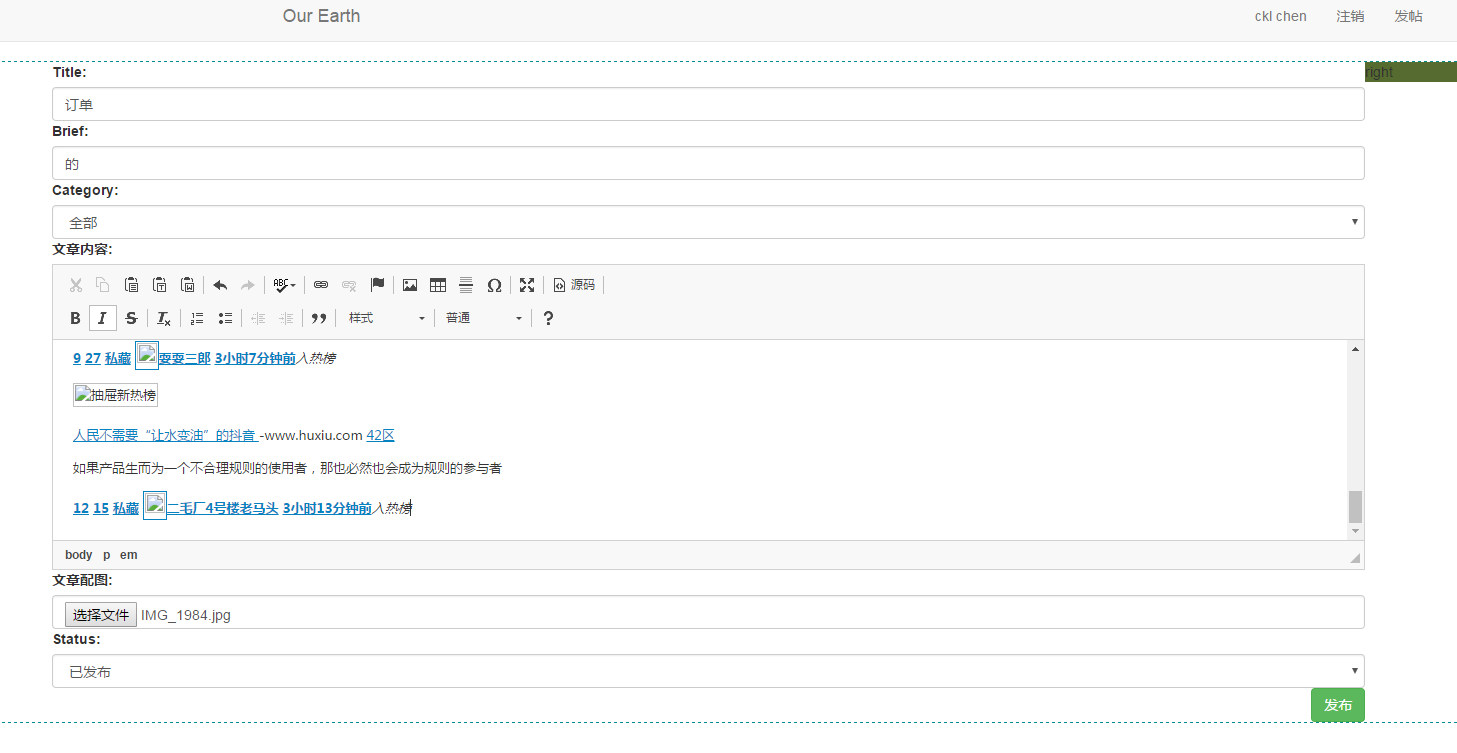
查看效果:
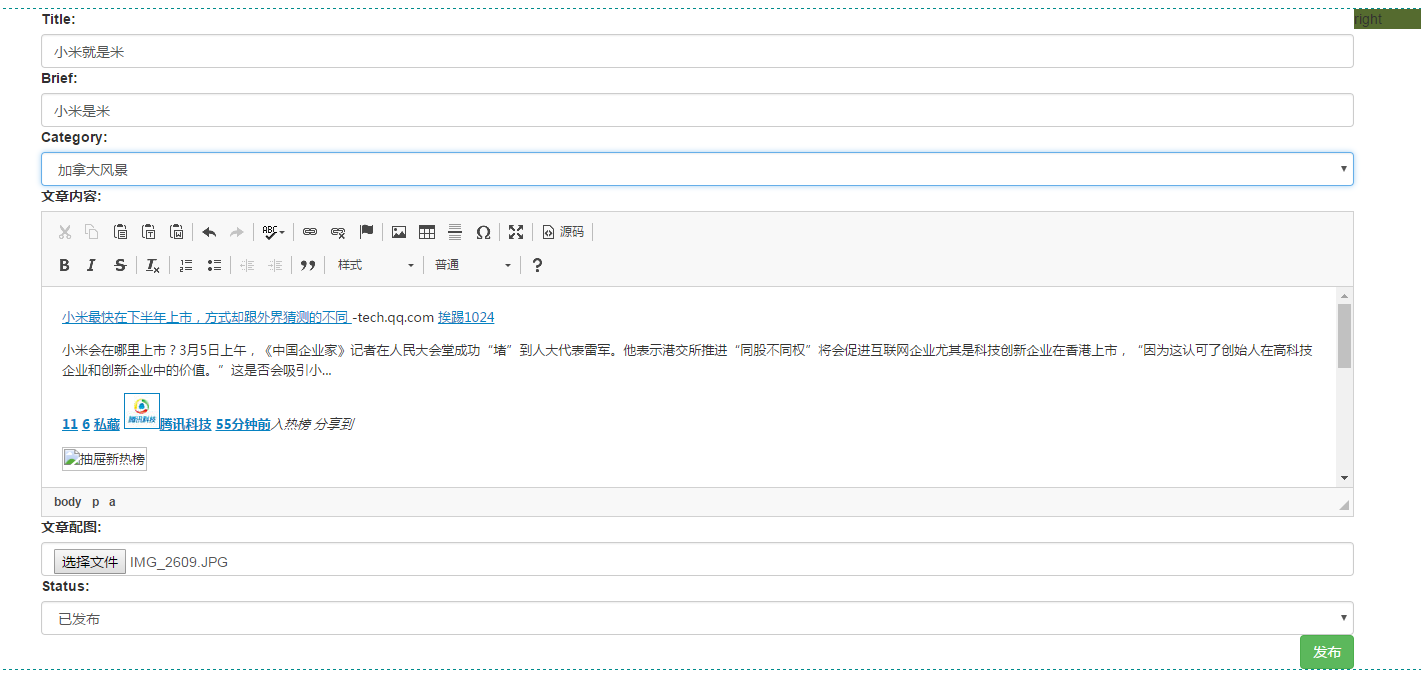
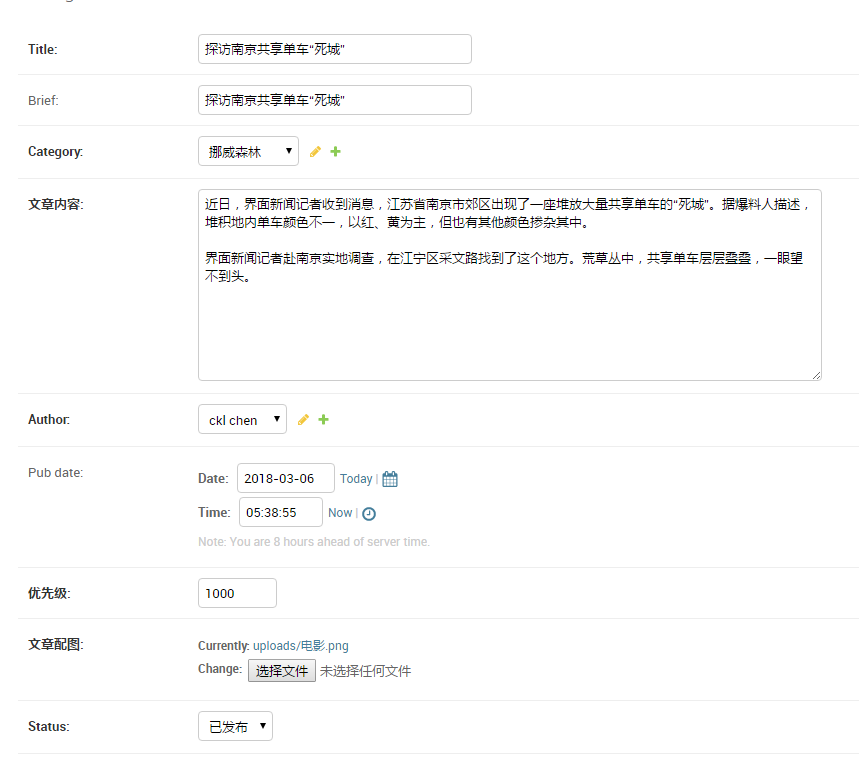
2.8.发布文章
2.8.1.配置views.py
def new_article(request):
    if request.method == 'GET':
        article_form = form.ArticleModelForm()
        return render(request,'bbs/new_article.html',{'article_form':article_form})
    elif request.method == 'POST':
        print(request.POST)
        article_form = form.ArticleModelForm(request.POST)
        if article_form.is_valid():
            article_form.save()
        return HttpResponse('new article has been published!')
2.8.2.配置发布按钮
new_article.html
....
        <form>
            {{ article_form }}
            <input type="submit" class="btn btn-success pull-right" value="发布"/>
        </form>
....
2.8.3.发布文章测试
2.8.4.报错
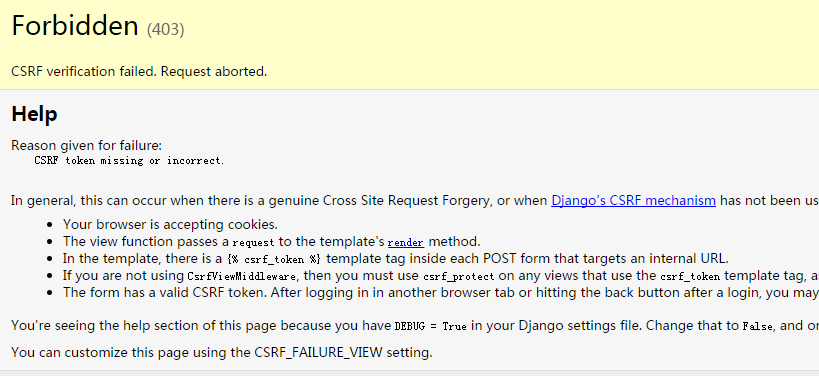
2.8.5.新增CSRF
new_article.html
    <div class="wrap-left">
        <form method="post">{% csrf_token %}
            {{ article_form }}
            <input type="submit" class="btn btn-success pull-right" value="发布"/>
        </form>
    </div>
提交报错:
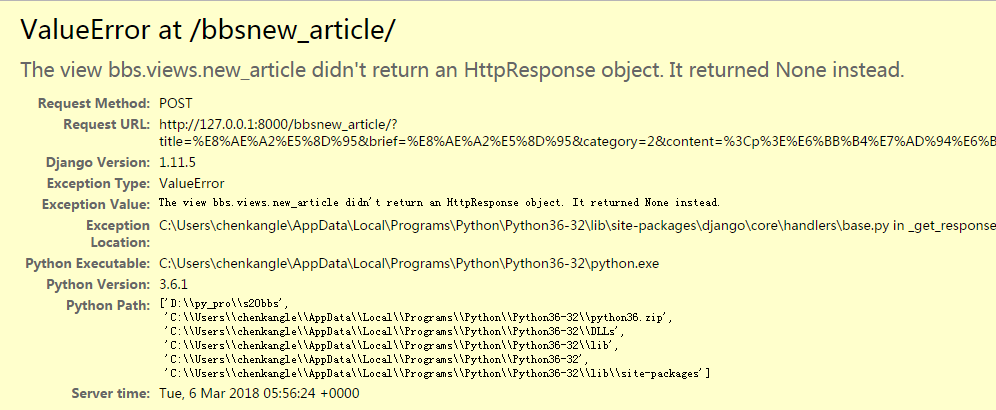
2.8.6.增加post方法
def new_article(request):
    if request.method == 'GET':
        print("this is get")
        print(request.method)
        article_form = form.ArticleModelForm()
        return render(request,'bbs/new_article.html',{'article_form':article_form})
    elif request.method == 'POST':
        print(request.POST)
        article_form = form.ArticleModelForm(request.POST)
        if article_form.is_valid():
            article_form.save()
            return HttpResponse('new article has been published!')
        else:
            return render(request,'bbs/new_article.html',{'article_form':article_form})
再次提交:
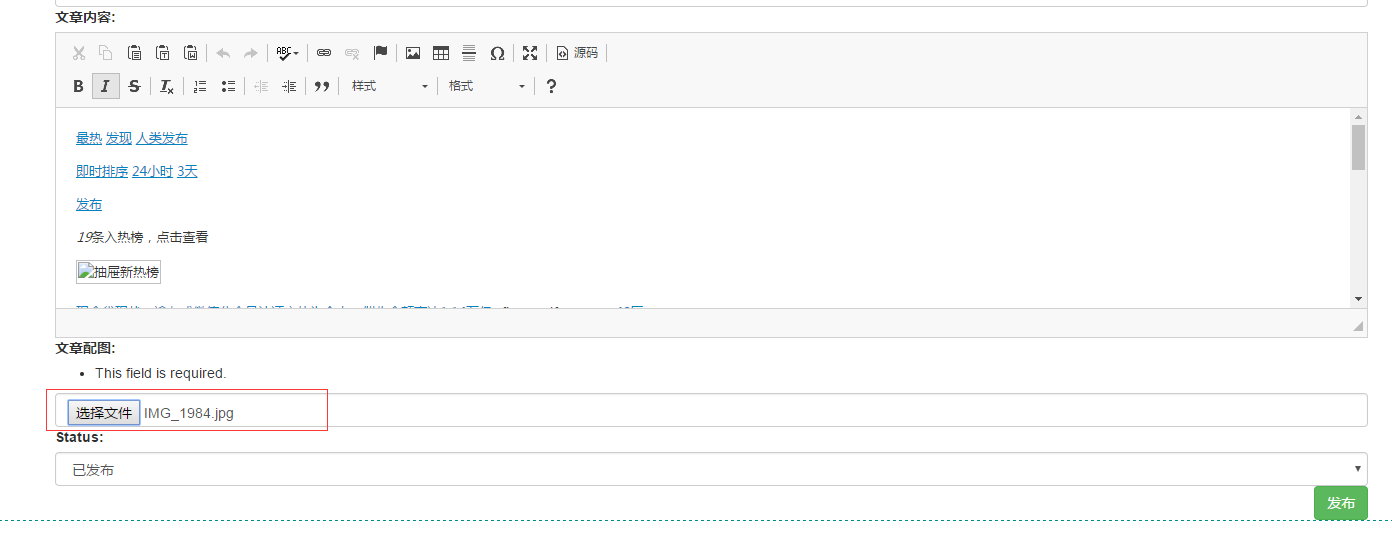
2.8.7.文件已经选择,仍然报错
django 上传文件需要加字段
def new_article(request):
    if request.method == 'GET':
        print("this is get")
        print(request.method)
        article_form = form.ArticleModelForm()
        return render(request,'bbs/new_article.html',{'article_form':article_form})
    elif request.method == 'POST':
        print(request.POST)
        article_form = form.ArticleModelForm(request.POST,request.FILES)
        if article_form.is_valid():
            article_form.save()
            return HttpResponse('new article has been published!')
        else:
            return render(request,'bbs/new_article.html',{'article_form':article_form})
再次提交:

仍然提示,未选择任何文件,解决如下:
修改new_article.html
    <div class="wrap-left">
        <form method="post" enctype="multipart/form-data">{% csrf_token %}
            {{ article_form }}
            <input type="submit" class="btn btn-success pull-right" value="发布"/>
        </form>
再次提交:
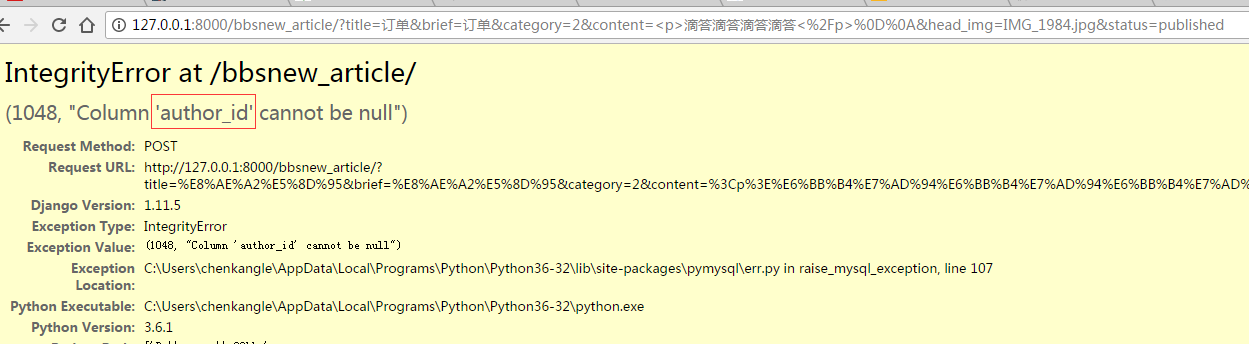
作者id不能为空
2.8.8.处理作者id
修改方法,插入作者id数据:
def new_article(request):
    if request.method == 'GET':
        print("this is get")
        print(request.method)
        article_form = form.ArticleModelForm()
        return render(request,'bbs/new_article.html',{'article_form':article_form})
    elif request.method == 'POST':
        print(request.POST)
        article_form = form.ArticleModelForm(request.POST,request.FILES)
        if article_form.is_valid():
            #获取数据
            data = article_form.cleaned_data
            data['author_id'] = request.user.userprofile.id
            article_obj = models.Article(**data)
            article_obj.save()
            #article_form.save()
            return HttpResponse('new article has been published!')
        else:
            return render(request,'bbs/new_article.html',{'article_form':article_form})
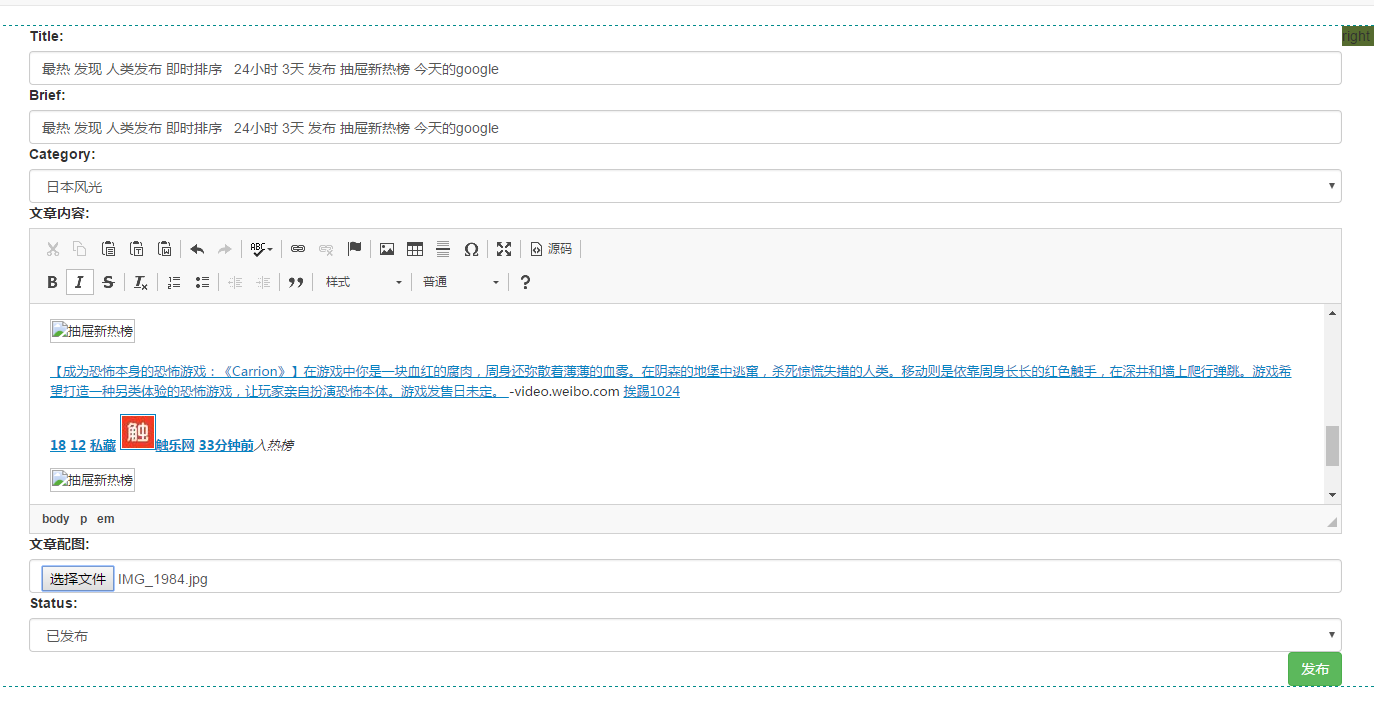
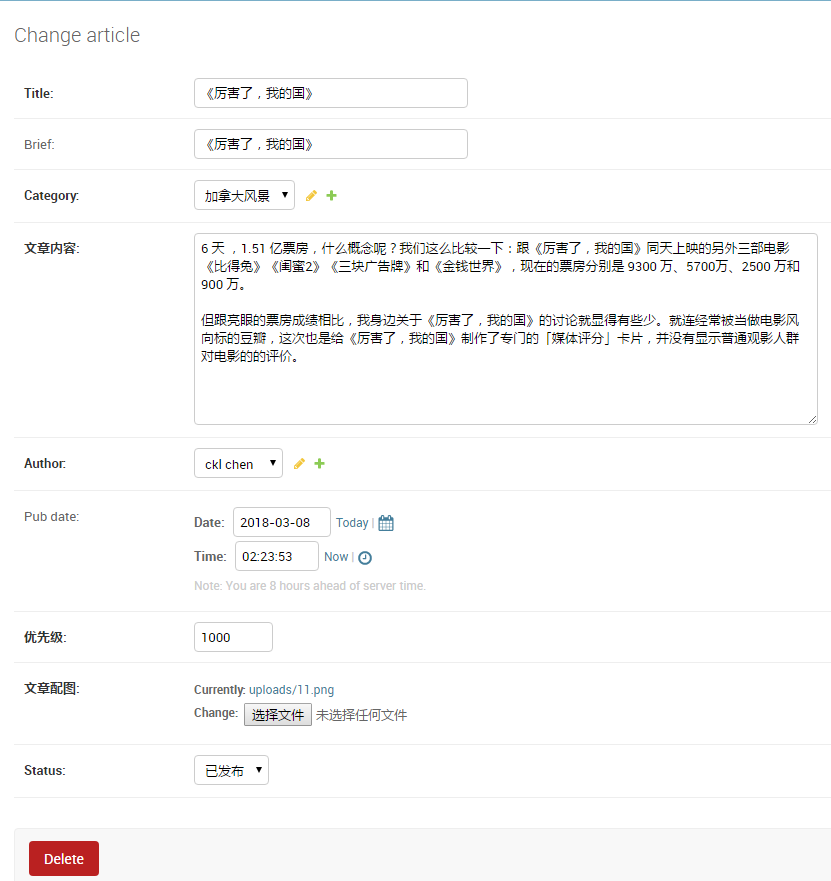
提交内容:
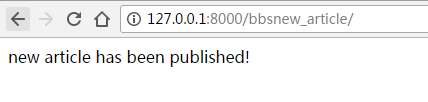
发布成功:
查看页面:
页面却是html元素格式:
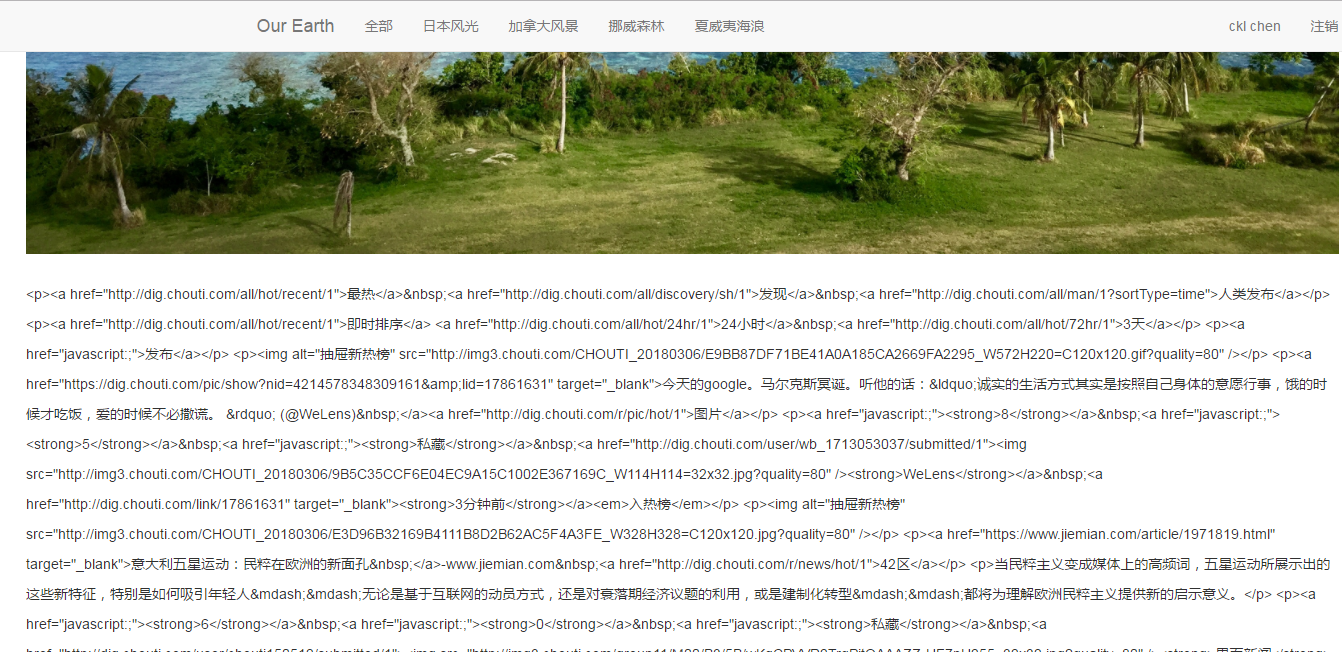
修改如下:
article_detail.html
        <div class="article-content">
            <img class="article-detail-head-img" src="/static/{{ article_obj.head_img|truncate_url }}">
            <!-- 文章内容 -->
            {{ article_obj.content|safe }}
        </div>
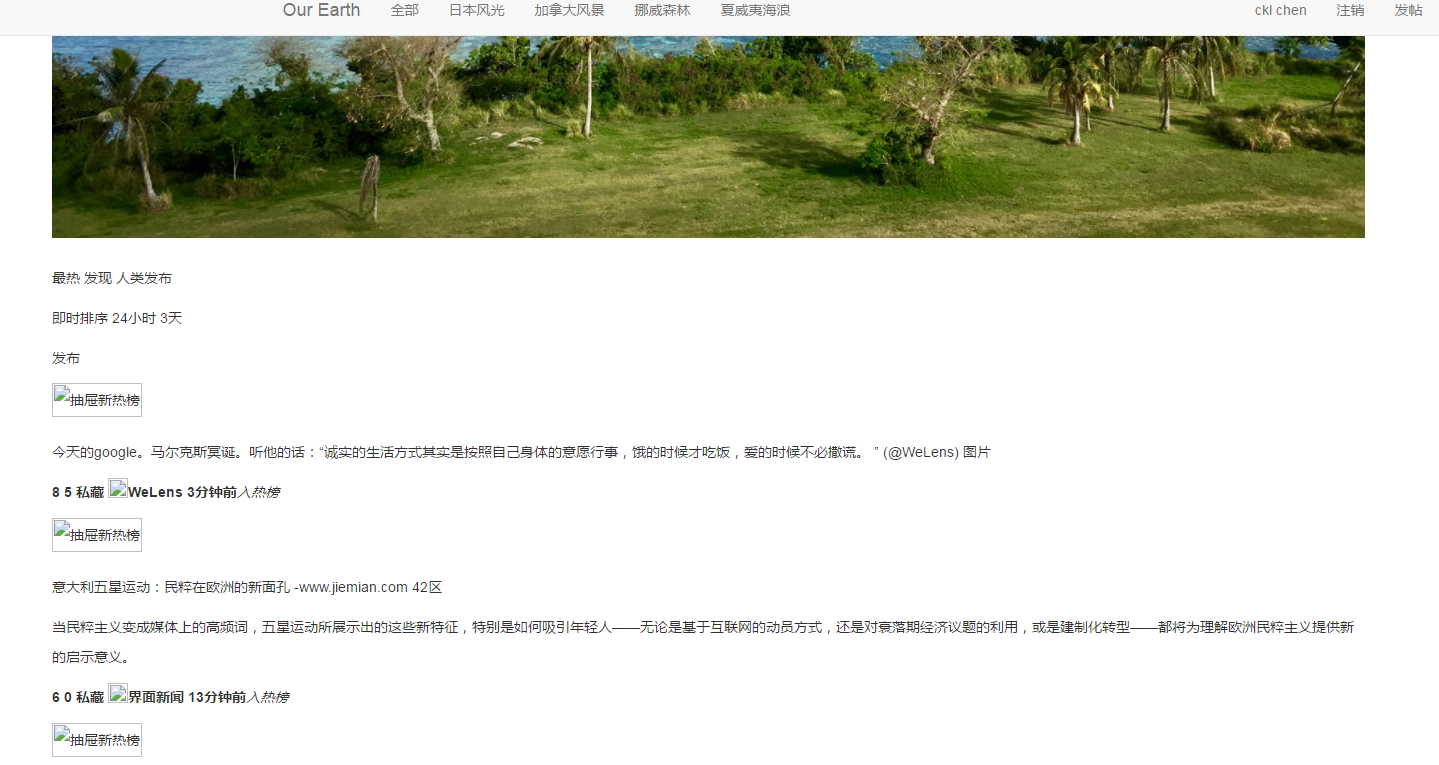
再次查看
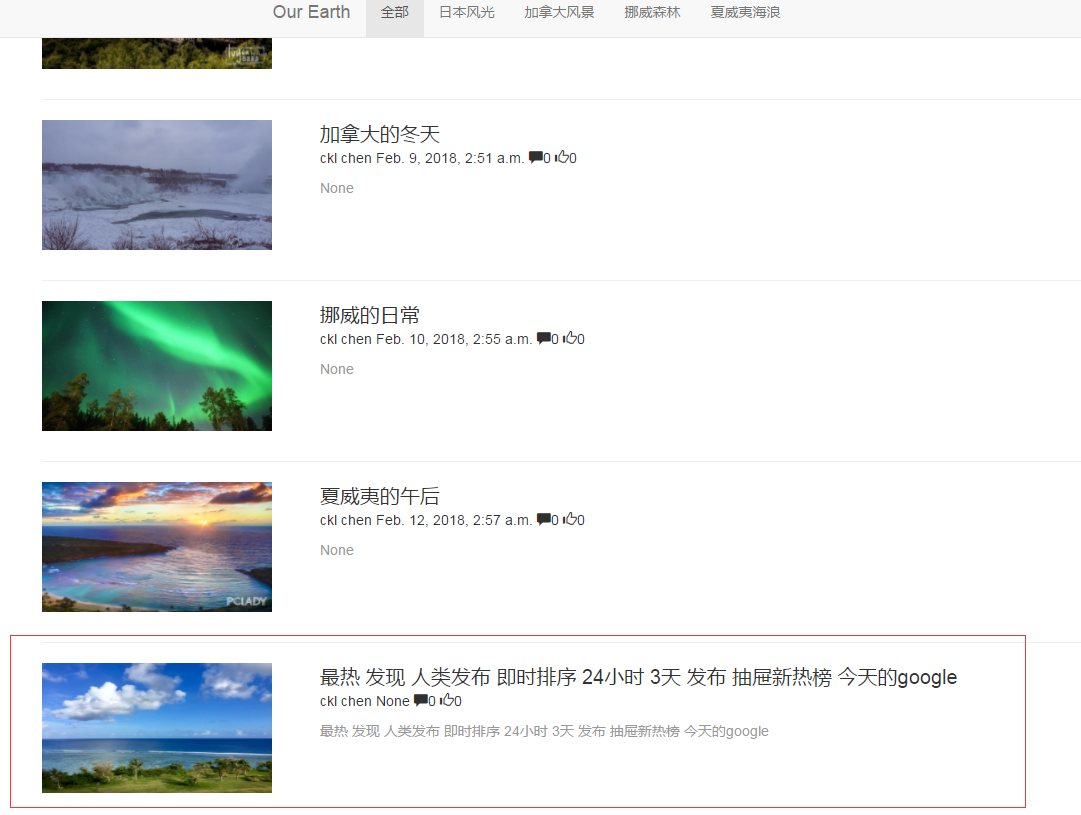
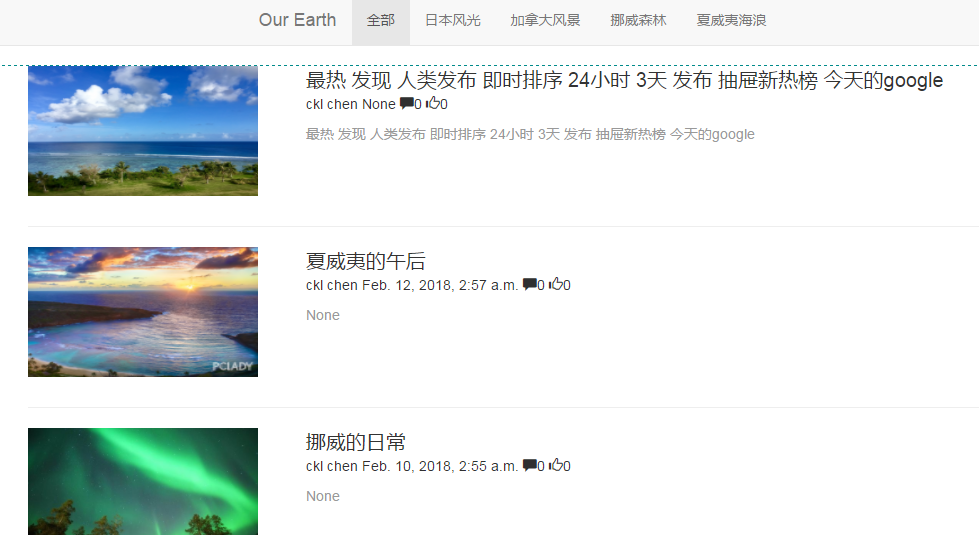
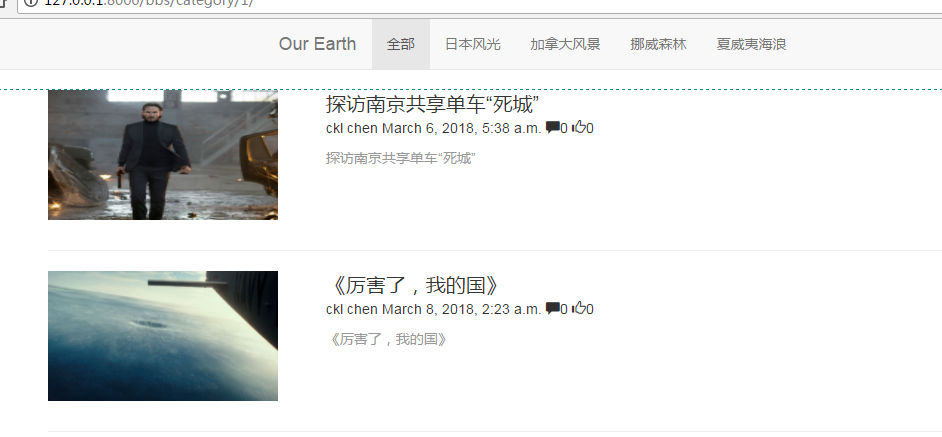
页面排序,按最新发布排序,修改index.html:
....
     {% for article in article_list reversed %}
            <div class="article-box row">
                <!-- 展示文章图片 -->
....
2.8.9.在用户不登录的情况下发帖
报错如下:
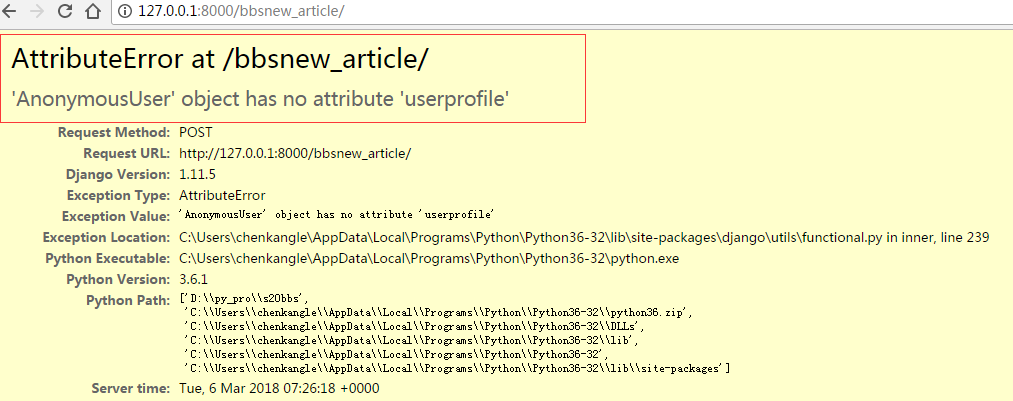
匿名用户没有相关属性,用户必须登录验证
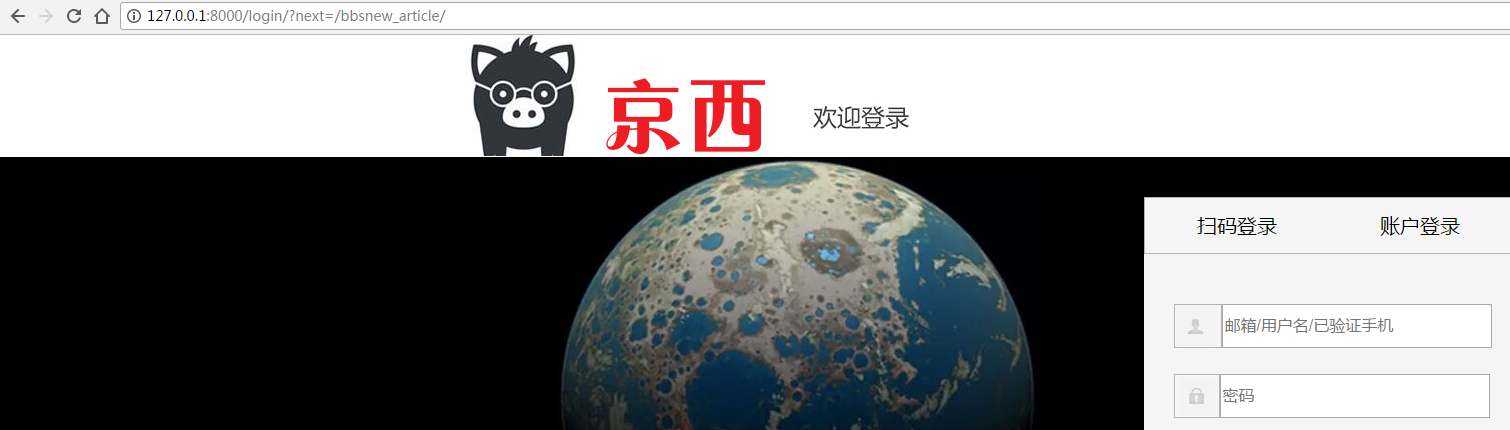
2.8.10.增加用户验证
在settings里增加login url:
STATIC_URL = '/static/'

STATICFILES_DIRS = [
    os.path.join(BASE_DIR, "statics"),
    os.path.join(BASE_DIR, "uploads")
    # '/var/www/static/',
]

LOGIN_URL ='/login/'
增加验证:
@login_required()
def new_article(request):
    if request.method == 'GET':
        print("this is get")
        print(request.method)
        article_form = form.ArticleModelForm()
        return render(request,'bbs/new_article.html',{'article_form':article_form})
    elif request.method == 'POST':
        print(request.POST)
        article_form = form.ArticleModelForm(request.POST,request.FILES)
        if article_form.is_valid():
            #获取数据
            data = article_form.cleaned_data
            data['author_id'] = request.user.userprofile.id
            article_obj = models.Article(**data)
            article_obj.save()
            #article_form.save()
            return HttpResponse('new article has been published!')
        else:
            return render(request,'bbs/new_article.html',{'article_form':article_form})
未登录发帖:

跳转到登录:
2.9.单独文件上传
2.9.1.新增文件上传
修改new_article.html
    <div class="wrap-left">
        <form method="post" enctype="multipart/form-data">{% csrf_token %}
            {{ article_form }}
            <input type="submit" class="btn btn-success pull-right" value="发布"/>
        </form>

        <hr/>
        <!-- 单独上传文件 -->
        <form method="post"  enctype="multipart/form-data" action="{% url 'file-upload' %}">
            <input name="filename" type="file">{% csrf_token %}
            <input type="submit" value="上传">
        </form>
    </div>
2.9.2.配置views.py
...
def file_upload(request):
    print(request.FILES)
    return render(request,'bbs/new_article.html')
2.9.3.配置url
新增file_upload
from django.conf.urls import url,include
from bbs import views
urlpatterns = [
    url(r'^$', views.index),
    url(r'category/(\d+)/$', views.category),
    url(r'detail/(\d+)/$', views.article_detail,name="article_detail"),
    url(r'comment/$', views.comment,name="post_comment"),
    url(r'^comment_list/(\d+)/$', views.get_comments,name="get_comments"),
    url(r'^new_article/$', views.new_article,name="new-article"),
    url(r'file_upload/$', views.file_upload,name="file-upload"),
]
2.9.4.测试文件上传
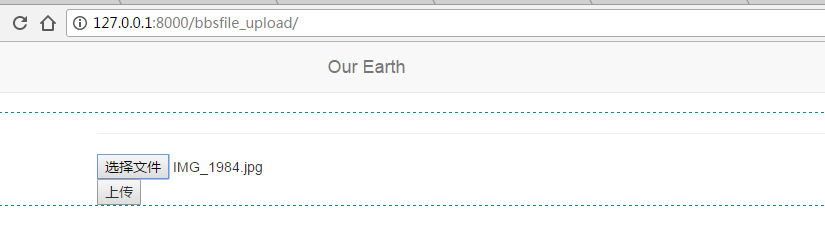
获取到文件名:

说明:文件小于2.5M直接传入到内存,再写入磁盘,如果文件大于2.5M,则先写入临时文件,再加载到本地磁盘
测试上传一个大文件,结果:

2.9.5.修改上传方法
def file_upload(request):
    file_obj = request.FILES.get('filename')
    print(file_obj.name)
    with open('uploads/%s' % file_obj.name, 'wb+') as destination:
        for chunk in file_obj.chunks():
            destination.write(chunk)
    return render(request,'bbs/new_article.html')
2.9.5.1.上传文件测试:

查看结果:
2.9.5.2.上传大文件
上传进度:

查看结果:
3.新消息提醒添加
3.1.添加静态方法
思路:通过文章id来获取最后一篇文章的id值,每隔3秒检查,当目前id大于最后id则认为是新消息
修改index.html
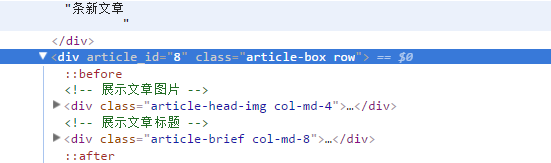
3.1.1添加id
<div article_id="{{ article.id }}" class="article-box row">
3.1.2.添加js
{% block bottom-js %}
<script>
$(document).ready(function () {
var new_article_refresh = setInterval(function () {
var latest_article_id = $(".wrap-left").children(":first").attr("article_id");
$.getJSON("{% url 'get_latest_article_count' %}",{latest_id:latest_article_id},function(callback){
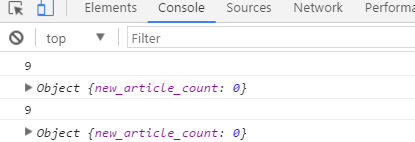
console.log(callback);
});// end get
console.log(latest_article_id);
},3000) //end interval
}); //end document
</script>
{% endblock %}
3.2.添加url
from django.conf.urls import url,include
from bbs import views
urlpatterns = [
    url(r'^$', views.index),
    url(r'category/(\d+)/$', views.category),
    url(r'detail/(\d+)/$', views.article_detail,name="article_detail"),
    url(r'comment/$', views.comment,name="post_comment"),
    url(r'^comment_list/(\d+)/$', views.get_comments,name="get_comments"),
    url(r'^new_article/$', views.new_article,name="new-article"),
    url(r'file_upload/$', views.file_upload,name="file-upload"),
    url(r'^latest_article_count/$', views.get_latest_article_count,name="get_latest_article_count"),
]
3.3.添加views方法
def get_latest_article_count(request):
    latest_article_id = request.GET.get("latest_id")
    new_article_count = models.Article.objects.filter(id__gt = latest_article_id).count()
    print("new_article_count",new_article_count)
    return HttpResponse(json.dumps({'new_article_count':new_article_count}))
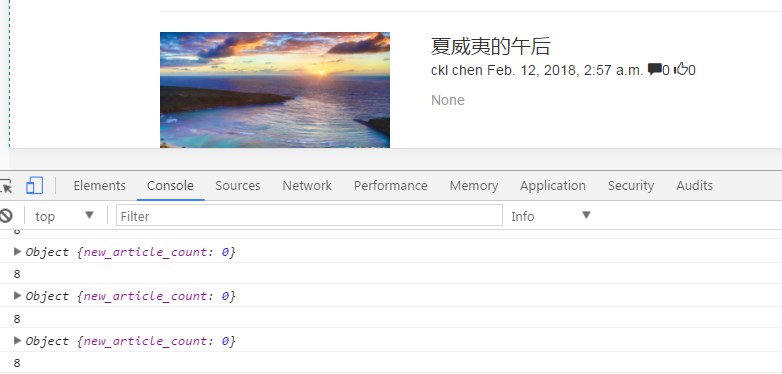
3.4.查看获取
3.4.1.获取文章id及当前新文章
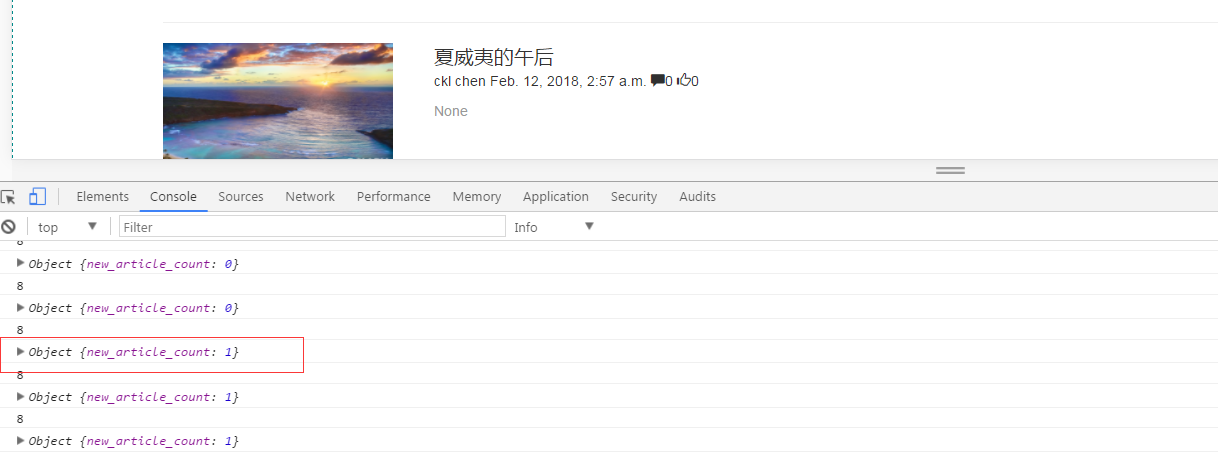
3.4.2.新增一篇文章
新增文章变成1:
3.5.新消息显示
3.5.1.新增静态显示index.html
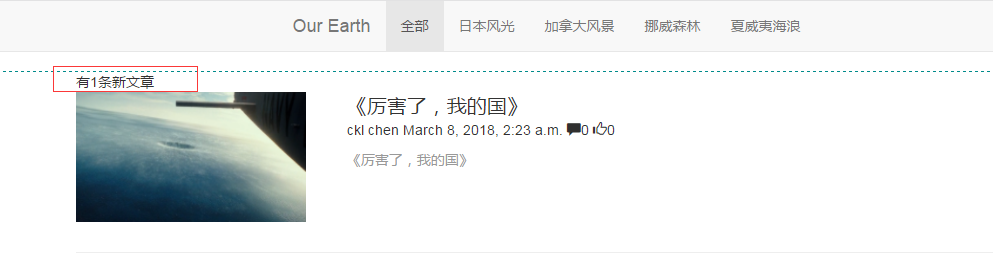
        <div class="new-article-notify hide">
                有<span></span>条新文章
        </div>
 <script>
        $(document).ready(function () {
           var new_article_refresh = setInterval(function () {
               var latest_article_id = $(".wrap-left").children(":first").attr("article_id");
               $.getJSON("{% url 'get_latest_article_count' %}",{latest_id:latest_article_id},function(callback){
                    console.log(callback);

                    if (callback.new_article_count > 0){
                        $(".new-article-notify").toggle("hide");
                        $(".new-article-notify span").html(callback.new_article_count);
                    }
               });// end get
               console.log(latest_article_id);
           },3000) //end interval
        }); //end document
    </script>
3.5.2.运行报错

解决:
def get_latest_article_count(request):
    latest_article_id = request.GET.get("latest_id")
    if latest_article_id:
        new_article_count = models.Article.objects.filter(id__gt = latest_article_id).count()
        print("new_article_count",new_article_count)
    else:
        latest_article_id = 0
        new_article_count = models.Article.objects.filter(id__gt=latest_article_id).count()
    return HttpResponse(json.dumps({'new_article_count':new_article_count}))
结果:

3.6.新消息显示问题
3.6.1.修改最新id
最新id:

3.6.2.修改为8
仍然没有消息显示,获取最新的id错误,修改如下:
<script>
        $(document).ready(function () {
           var new_article_refresh = setInterval(function () {
               //获取第一个值
               var latest_article_id = $(".wrap-left").children()[1].attr("article_id");
               $.getJSON("{% url 'get_latest_article_count' %}",{latest_id:latest_article_id},function(callback){
                    console.log(callback);

                    if (callback.new_article_count > 0){
                        $(".new-article-notify").toggle("hide");
                        $(".new-article-notify span").html(callback.new_article_count);
                    }
               });// end get
               console.log(latest_article_id);
           },3000) //end interval
        }); //end document
    </script>
报错:

解决:
//如果外面不加$(),那么返回的是一个html元素,而不是一个对象,没有attr属性
var latest_article_id = $($(".wrap-left").children()[1]).attr("article_id");
结果:
3.6.3.修改新消息显示
有新消息之后,将隐藏属性去掉:
  <script>
        $(document).ready(function () {
           var new_article_refresh = setInterval(function () {
               //获取第一个值
               var latest_article_id = $($(".wrap-left").children()[1]).attr("article_id");
               $.getJSON("{% url 'get_latest_article_count' %}",{latest_id:latest_article_id},function(callback){
                    console.log(callback);

                    if (callback.new_article_count > 0){
                        //$(".new-article-notify").toggle("hide");
                        if($(".new-article-notify").hasClass("hide")){
                            $(".new-article-notify").removeClass("hide");
                        }
                        $(".new-article-notify span").html(callback.new_article_count);
                    }
               });// end get
               console.log(latest_article_id);
           },3000) //end interval
        }); //end document
    </script>
修改属性:

查看结果:
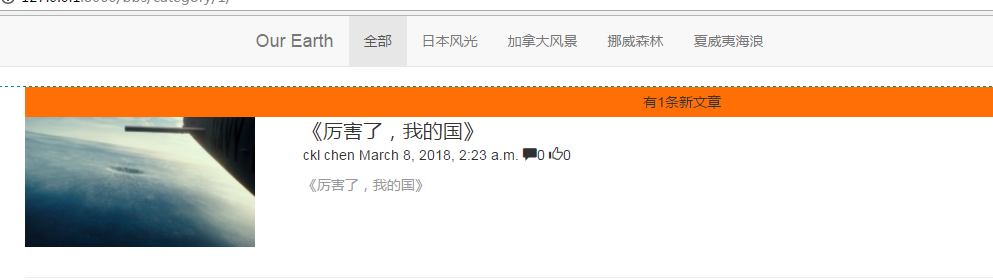
3.6.4.为新消息增加样式
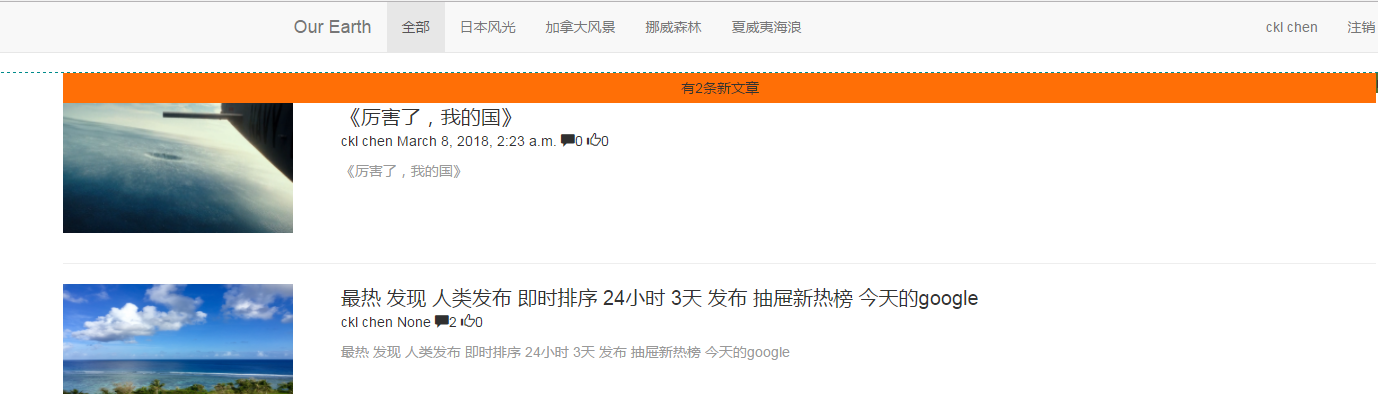
custom.css
.new-article-notify {
    background-color: #ff6f06;
    padding: 5px;
    text-align: center;
}
返回当前页面,刷新整个页面,比较粗糙:
        <div class="new-article-notify hide">
                <a href="{{ request.path }}">有<span></span>条新文章</a>
        </div>
查看样式:
3.6.5.增加新文章
结果:
点击新消息:

 浙公网安备 33010602011771号