k8s 单节点
准备
192.168.124.100 k8s-master01
192.168.124.101 k8s-node01
192.168.124.102 k8s-node02
192.168.124.200 registry
设置hosts文件
vim /etc/hosts
192.168.124.100 k8s-master01
192.168.124.101 k8s-node01
192.168.124.102 k8s-node02
安装依赖包
yum -y install conntrack ntpdate ntp ipvsadm ipset jq iptables curl sysstat
yum -y install bash-com*
设置防火墙为Iptables并设置规则
systemctl stop firewalld && systemctl disable firewalld
yum -y install iptables-services && systemctl start iptables && systemctl enable iptables && iptables -F && service iptables save
关闭SELINUX 和SWAP
swapoff -a && sed -i '/swap/ s/^\(.*\)$/#\1/g' /etc/fstab
setenforce 0 && sed -i ' s/^SELINUX=.*/SELINUX=disabled/' /etc/selinux/config
调整内核参数
cat > kubernetes.conf <<EOF
net.bridge.bridge-nf-call-iptables=1
net.bridge.bridge-nf-call-ip6tables=1
net.ipv4.ip_forward=1
net.ipv4.tcp_tw_recycle=0
vm.swappiness=0
vm.overcommit_memory=1
vm.panic_on_oom=0
fs.inotify.max_user_instances=8192
fs.inotify.max_user_watches=1048576
fs.file-max=52706963
fs.nr_open=52706963
net.ipv6.conf.all.disable_ipv6=1
net.netfilter.nf_conntrack_max=2310720
EOF

cp kubernetes.conf /etc/sysctl.d/kubernetes.conf
sysctl -p /etc/sysctl.d/kubernetes.conf
调整系统时区
- 查看系统时区
timedatectl
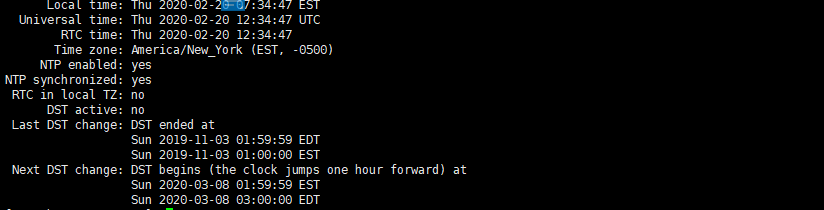
- 设置系统时区为 中国/上海
timedatectl set-timezone Asia/Shanghai
- 将当前的UTC时间写入硬件时钟
timedatectl set-local-rtc 0
- 重启依赖于系统事件的服务
systemctl restart rsyslog.service
systemctl restart crond.service
- 关闭系统不需要的服务
systemctl stop postfix.service && systemctl disable postfix.service
设置rsyslogd和systemd journald
mkdir /var/log/journal
mkdir /etc/systemd/journald.conf.d
cat > /etc/systemd/journald.conf.d/99-prophet.cof <<EOF
[Journal]
# 持久化保存到磁盘
Storage=persistent

# 压缩历史日志
Compress=yes

SyncIntervalSec=5m
RateLimitInterval=30s
RateLimitBurst=1000

# 最大占用空间10G
SystemMaxUse=10G

# 单日志文件最大 200M
SystemMaxFileSize=200M

# 日志保存时间2周
MaxRetentionSec=2week

# 不将日志转发到syslog
ForwardToSyslog=no
EOF

systemctl restart systemd-journald.service
Kube-proxy开启ipvs的前置条件
modprobe br_netfilter
cat > /etc/sysconfig/modules/ipvs.modules <<EOF
#!/bin/bash
modprobe -- ip_vs
modprobe -- ip_vs_rr
modprobe -- ip_vs_wrr
modprobe -- ip_vs_sh
modprobe -- nf_conntrack_ipv4
EOF

chmod 755 /etc/sysconfig/modules/ipvs.modules && bash
/etc/sysconfig/modules/ipvs.modules && lsmod |grep -e ip_vs -e nf_conntrack_ipv4
安装docker
yum -y install yum-utils device-mapper-persistent-data lvm2
yum-config-manager --add-repo http://mirrors.aliyun.com/docker-ce/linux/centos/docker-ce.repo
yum update -y
- 查看所有版本的docker
yum list docker-ce --showduplicates|sort -r
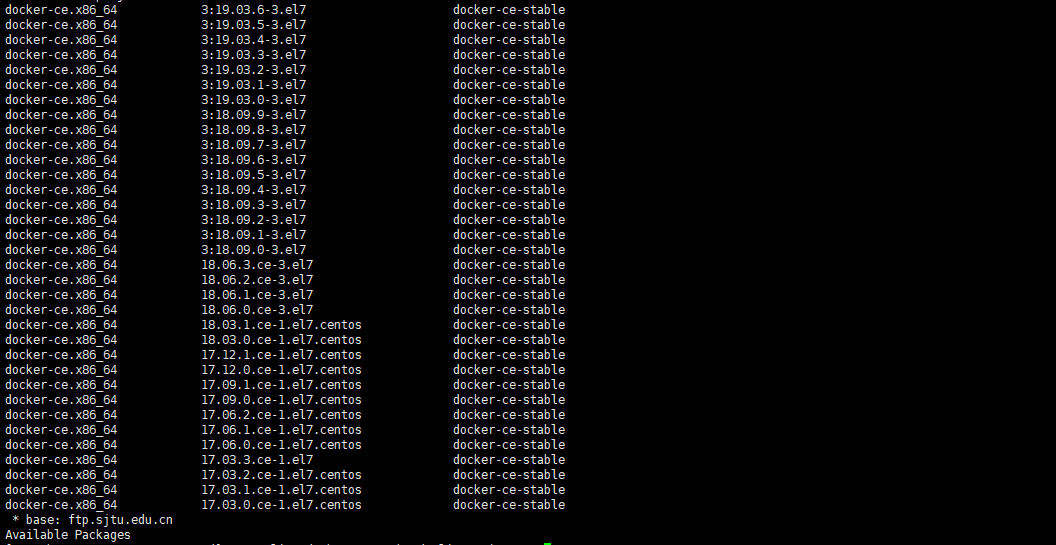
- 安装18.06版本的docker
yum -y install docker-ce-18.06.3.ce
- 配置daemon
mkdir /etc/docker
cat >> /etc/docker/daemon.json<<EOF
{
    "exec-opts": ["native.cgroupdriver=systemd"],
     "log-driver": "json-file",
    "log-opts": {"max-size": "100m"}
}
EOF

mkdir -p /etc/systemd/system/docker.service.d
systemctl daemon-reload
systemctl start docker
systemctl enable docker
升级内核
rpm -Uvh http://www.elrepo.org/elrepo-release-7.0-3.el7.elrepo.noarch.rpm
yum --enablerepo=elrepo-kernel install -y kernel-lt

grub2-set-default 'CentoS Linux(4.4.214-1.el7.elrepo.×86_64) 7 (Core)'
reboot
uname -r
4.4.214-1.el7.elrepo.x86_64
安装kubeadm
cat <<EOF >/etc/yum.repos.d/kubernetes.repo
[kubernetes]
name=Kubernetes
baseurl=http://mirrors.aliyun.com/kubernetes/yum/repos/kubernetes-el7-x86_64
enabled=1
gpgcheck=0
repo_gpgcheck=0
gpgkey=http://mirrors.aliyun.com/kubernetes/yum/doc/yum-key.gpg
http://mirrors.aliyun.com/kubernetes/yum/doc/rpm-package-key.gpg
EOF

yum -y install kubeadm kubectl kubelet
systemctl enable kubelet
下载镜像
- 准备镜像文件
k8s.gcr.io/pause:3.1=registry.cn-shanghai.aliyuncs.com/deam2020-k8s/pause:3.1
k8s.gcr.io/kube-controller-manager:v1.17.3=registry.cn-shanghai.aliyuncs.com/yingzhuo/kube-controller-manager:v1.17.3
k8s.gcr.io/kube-scheduler:v1.17.3=registry.cn-shanghai.aliyuncs.com/yingzhuo/kube-scheduler:v1.17.3
k8s.gcr.io/kube-proxy:v1.17.3=registry.cn-shanghai.aliyuncs.com/yingzhuo/kube-proxy:v1.17.3
k8s.gcr.io/kube-apiserver:v1.17.3=registry.cn-shanghai.aliyuncs.com/yingzhuo/kube-apiserver:v1.17.3
k8s.gcr.io/etcd:3.4.3-0=registry.cn-hangzhou.aliyuncs.com/wez-kubeadmi/etcd:3.4.3-0
k8s.gcr.io/coredns:1.6.5=registry.cn-hangzhou.aliyuncs.com/kube-iamges/coredns:1.6.5
k8s.gcr.io/kubernetes-dashboard-amd64:v1.10.1=registry.cn-hangzhou.aliyuncs.com/google_containers/kubernetes-dashboard-amd64:v1.10.1
quay.io/kubernetes-ingress-controller/nginx-ingress-controller:0.26.1=registry.cn-hangzhou.aliyuncs.com/google_containers/nginx-ingress-controller:0.26.1
- 执行脚本
#!/bin/bash

file="images.properties"

if [ -f "$file" ]
then
  echo "$file found."

  while IFS='=' read -r key value
  do
    #echo "${key}=${value}"
    docker pull ${value}
    docker tag ${value} ${key}
    docker rmi ${value}
  done < "$file"

else
  echo "$file not found."
fi
安装k8s
初始化主节点
192.168.124.100 k8s-master01
- 准备yaml文件
kubeadm config print init-defaults > kubeadm-config.yaml

vim kubeadm-config.yaml
apiVersion: kubeadm.k8s.io/v1beta2
bootstrapTokens:
- groups:
  - system:bootstrappers:kubeadm:default-node-token
  token: abcdef.0123456789abcdef
  ttl: 24h0m0s
  usages:
  - signing
  - authentication
kind: InitConfiguration
localAPIEndpoint:
  advertiseAddress: 192.168.124.100
  bindPort: 6443
nodeRegistration:
  criSocket: /var/run/dockershim.sock
  name: k8s-master01
  taints:
  - effect: NoSchedule
    key: node-role.kubernetes.io/master
---
apiServer:
  timeoutForControlPlane: 4m0s
apiVersion: kubeadm.k8s.io/v1beta2
certificatesDir: /etc/kubernetes/pki
clusterName: kubernetes
controllerManager: {}
dns:
  type: CoreDNS
etcd:
  local:
    dataDir: /var/lib/etcd
imageRepository: k8s.gcr.io
kind: ClusterConfiguration
kubernetesVersion: v1.17.3
networking:
  dnsDomain: cluster.local
  podSubnet: "10.244.0.0/16"
  serviceSubnet: 10.96.0.0/12
scheduler: {}
---
apiVersion: kubeproxy.config.k8s.io/v1alpha1
kind: KubeProxyConfiguration
featureGates:
  SupportIPVSProxyMode: true
mode: ipvs
- 执行初始化命令
kubeadm init --config=kubeadm-config.yaml --upload-certs | tee kubeadm-init.log


- 配置管理节点
 mkdir -p $HOME/.kube
 sudo cp -i /etc/kubernetes/admin.conf $HOME/.kube/config
 sudo chown $(id -u):$(id -g) $HOME/.kube/config
kubectl get node
部署网络
https://www.jianshu.com/p/93e7cb4da070
https://www.jianshu.com/p/5e9e2e5312d9
wget https://docs.projectcalico.org/v3.10/manifests/calico.yaml
- 获取需要下载的镜像
grep 'image: ' calico.yaml |awk '{print $2}'

- 从阿里云寻找链接,下载镜像
准备镜像文件
k8s.gcr.io/calico-cni:3.10.3=registry.cn-hangzhou.aliyuncs.com/dice-third-party/calico-cni:v3.10.3
k8s.gcr.io/calico-pod2daemon-flexvol:v3.10.3=registry.cn-hangzhou.aliyuncs.com/dice-third-party/calico-pod2daemon-flexvol:v3.10.3
k8s.gcr.io/calico-node:v3.10.3=registry.cn-hangzhou.aliyuncs.com/dice-third-party/calico-node:v3.10.3
k8s.gcr.io/calico-kube-controller:v3.10.3=registry.cn-shenzhen.aliyuncs.com/sqeven/quay.io.calico.kube-controllers:v3.10.3
执行脚本
k8s.gcr.io/calico-cni:3.10.3=registry.cn-hangzhou.aliyuncs.com/dice-third-party/calico-cni:v3.10.3
k8s.gcr.io/calico-pod2daemon-flexvol:v3.10.3=registry.cn-hangzhou.aliyuncs.com/dice-third-party/calico-pod2daemon-flexvol:v3.10.3
k8s.gcr.io/calico-node:v3.10.3=registry.cn-hangzhou.aliyuncs.com/dice-third-party/calico-node:v3.10.3
k8s.gcr.io/calico-kube-controller:v3.10.3=registry.cn-shenzhen.aliyuncs.com/sqeven/quay.io.calico.kube-controllers:v3.10.3
#!/bin/bash

file="images.properties"

if [ -f "$file" ]
then
  echo "$file found."

  while IFS='=' read -r key value
  do
    #echo "${key}=${value}"
    docker pull ${value}
    docker tag ${value} ${key}
    docker rmi ${value}
  done < "$file"

else
  echo "$file not found."
fi
- 安装calico
kubectl apply -f calico.yaml


加入节点
从主节点初始化可以看到命令

kubeadm join 192.168.124.100:6443 --token abcdef.0123456789abcdef --discovery-token-ca-cert-hash sha256:a1dcb14cd8d9bf478875ac044432ad701c2eb30702833bb913d5931224a306e4

无法加入, 在master段重新生成token
kubeadm token create
openssl x509 -pubkey -in /etc/kubernetes/pki/ca.crt | openssl rsa -pubin -outform der 2>/dev/null | openssl dgst -sha256 -hex | sed 's/^.* //'

kubeadm join 192.168.124.100:6443 --token o4181f.vzf1nb6ekov9voqa --discovery-token-ca-cert-hash sha256:a1dcb14cd8d9bf478875ac044432ad701c2eb30702833bb913d5931224a306e4

在master端可以看到加入的2个节点
kubectl get node

- 查看kubelet启动日志
journalctl -xefu kubelet.service
https://github.com/sunweisheng/Kubernetes
