UIView的自适应(代码实现)
效果:(代码中只对大的view的frame进行的修改,但是view的子视图的frame跟着改变)


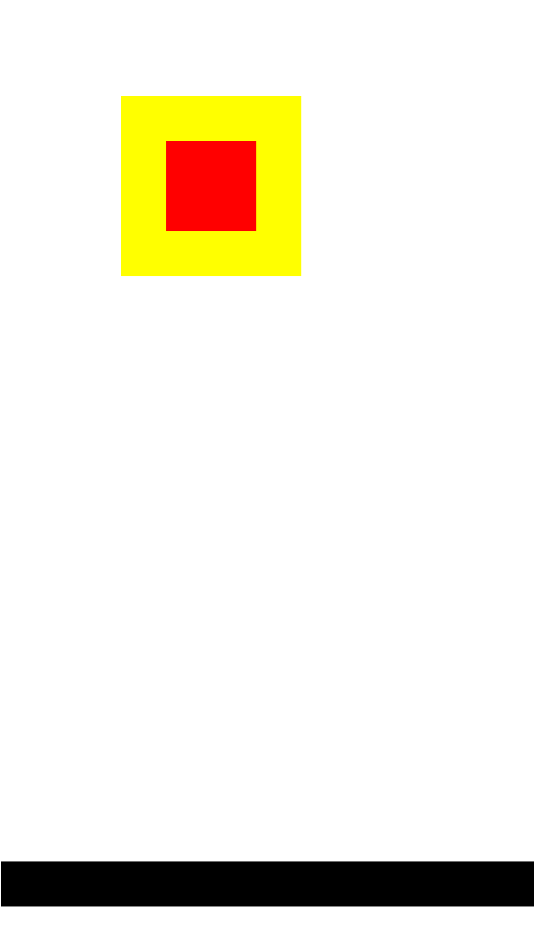
这段代码大概是现实的是每点击button一次的时候,view的frame改变,然后view1的frame也会跟着变化,但是view1是受view的约束的。
实现方式(在写好两个view的基础上,其中view1是添加在view上):
第1步:
设置view的autoresizesSubviews为YES, 即:view.autoresizesSubviews = YES;允许子视图自适应。
第二步:
设置view1的autoresizingMask
即:
view1.autoresizingMask = UIViewAutoresizingFlexibleRightMargin|UIViewAutoresizingFlexibleLeftMargin|UIViewAutoresizingFlexibleTopMargin|UIViewAutoresizingFlexibleBottomMargin|UIViewAutoresizingFlexibleWidth|
UIViewAutoresizingFlexibleHeight;
我这里是选择了多种autoresizingMask的类型,你们可以根据自己的实际情况去设置,可以每个试一下。
- (void)viewDidLoad {
[super viewDidLoad];
// Do any additional setup after loading the view, typically from a nib.
UIView *view = [[UIView alloc]initWithFrame:CGRectMake(100, 100, 100, 100)];
view.backgroundColor = [UIColor yellowColor];
view.autoresizesSubviews = YES;
view.tag = 1001;
[self.view addSubview:view];
UIView *view1 = [[UIView alloc]initWithFrame:CGRectMake(25, 25, 50, 50)];
view1.backgroundColor = [UIColor redColor];
view1.autoresizingMask = UIViewAutoresizingFlexibleRightMargin|UIViewAutoresizingFlexibleLeftMargin|UIViewAutoresizingFlexibleTopMargin|UIViewAutoresizingFlexibleBottomMargin|UIViewAutoresizingFlexibleWidth|
UIViewAutoresizingFlexibleHeight;
[view addSubview:view1];
UIButton *button = [UIButton buttonWithType:UIButtonTypeSystem];
button.frame = CGRectMake(10, 600, 355, 30);
button.backgroundColor = [UIColor blackColor];
[button addTarget:self action:@selector(buttonAction:) forControlEvents:(UIControlEventTouchUpInside)];
[self.view addSubview:button];
}
- (void)buttonAction:(UIButton*)sender
{
UIView *view = [self.view viewWithTag:1001];
view.frame = CGRectMake(view.frame.origin.x-5, view.frame.origin.y-5, view.frame.size.width+10, view.frame.size.height+10);
}
posted on 2015-09-25 02:07 cityingMa 阅读(2393) 评论(0) 编辑 收藏 举报

