sublime3配置php环境
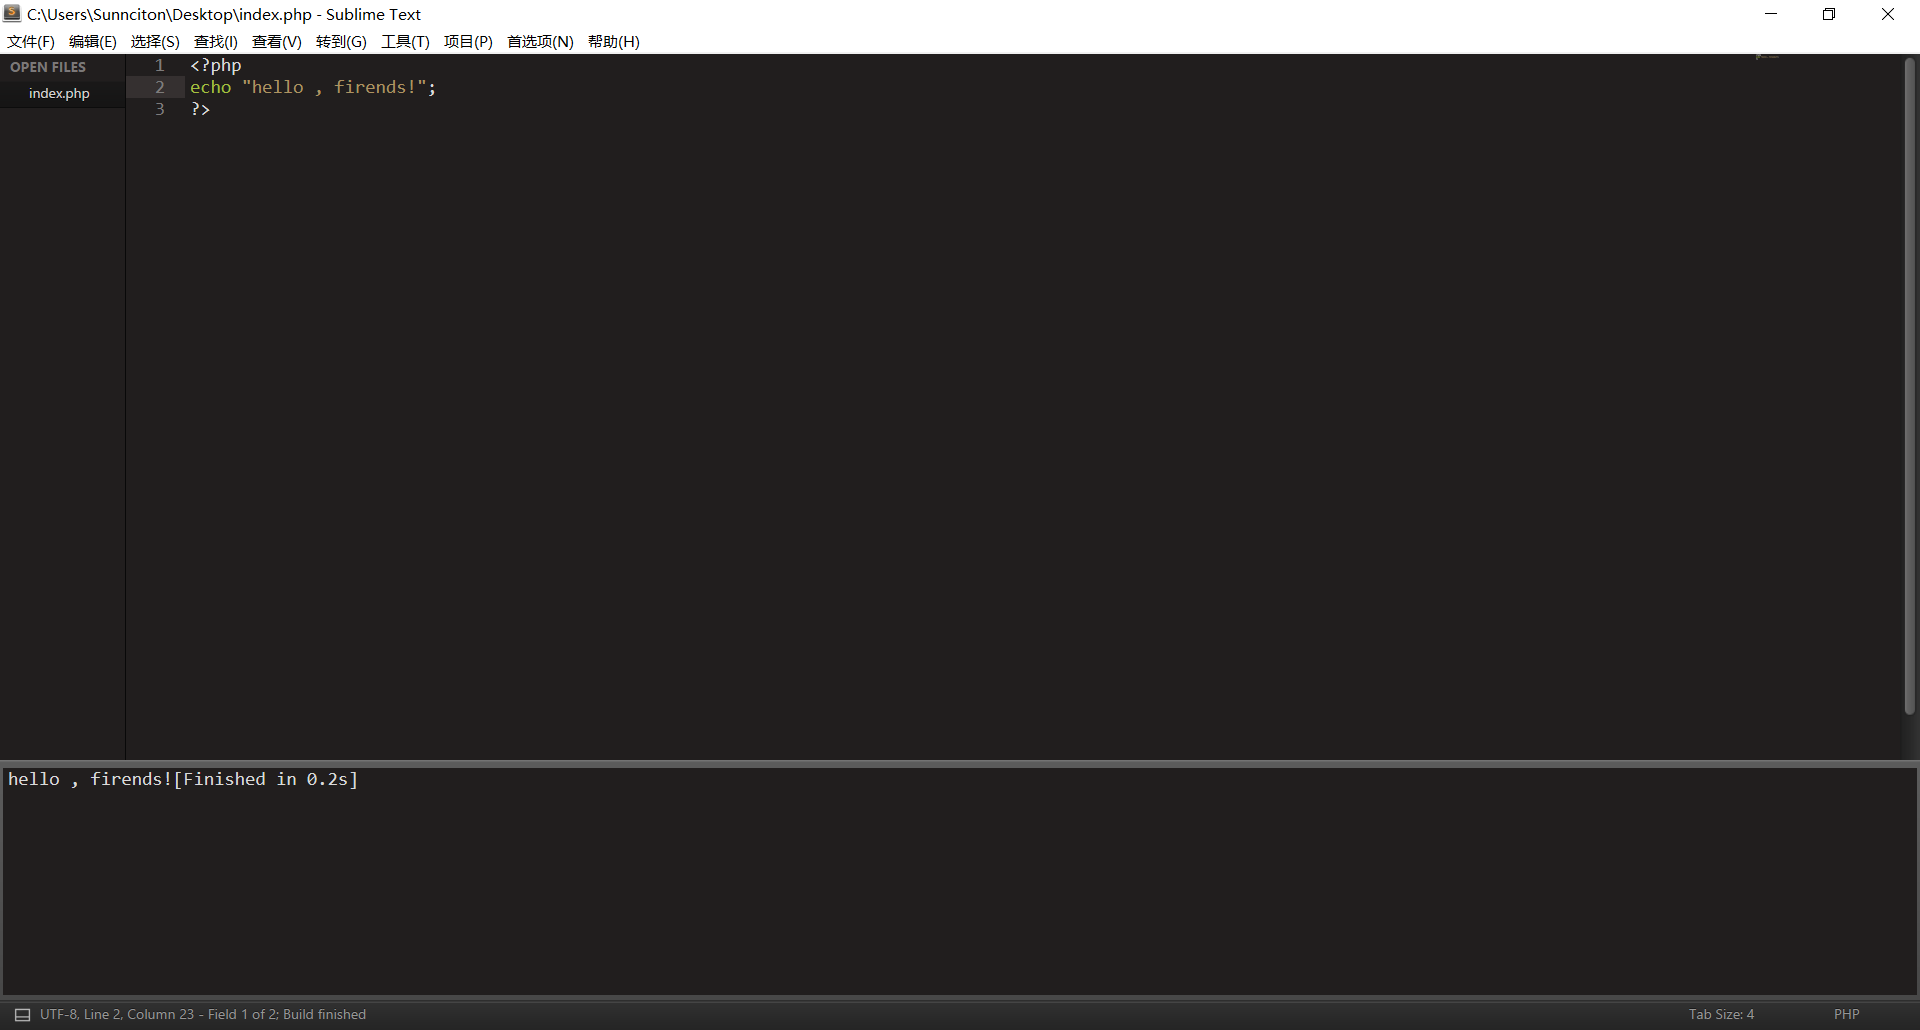
最后的演示效果:
1. 按照sublime3开始前的准备工作
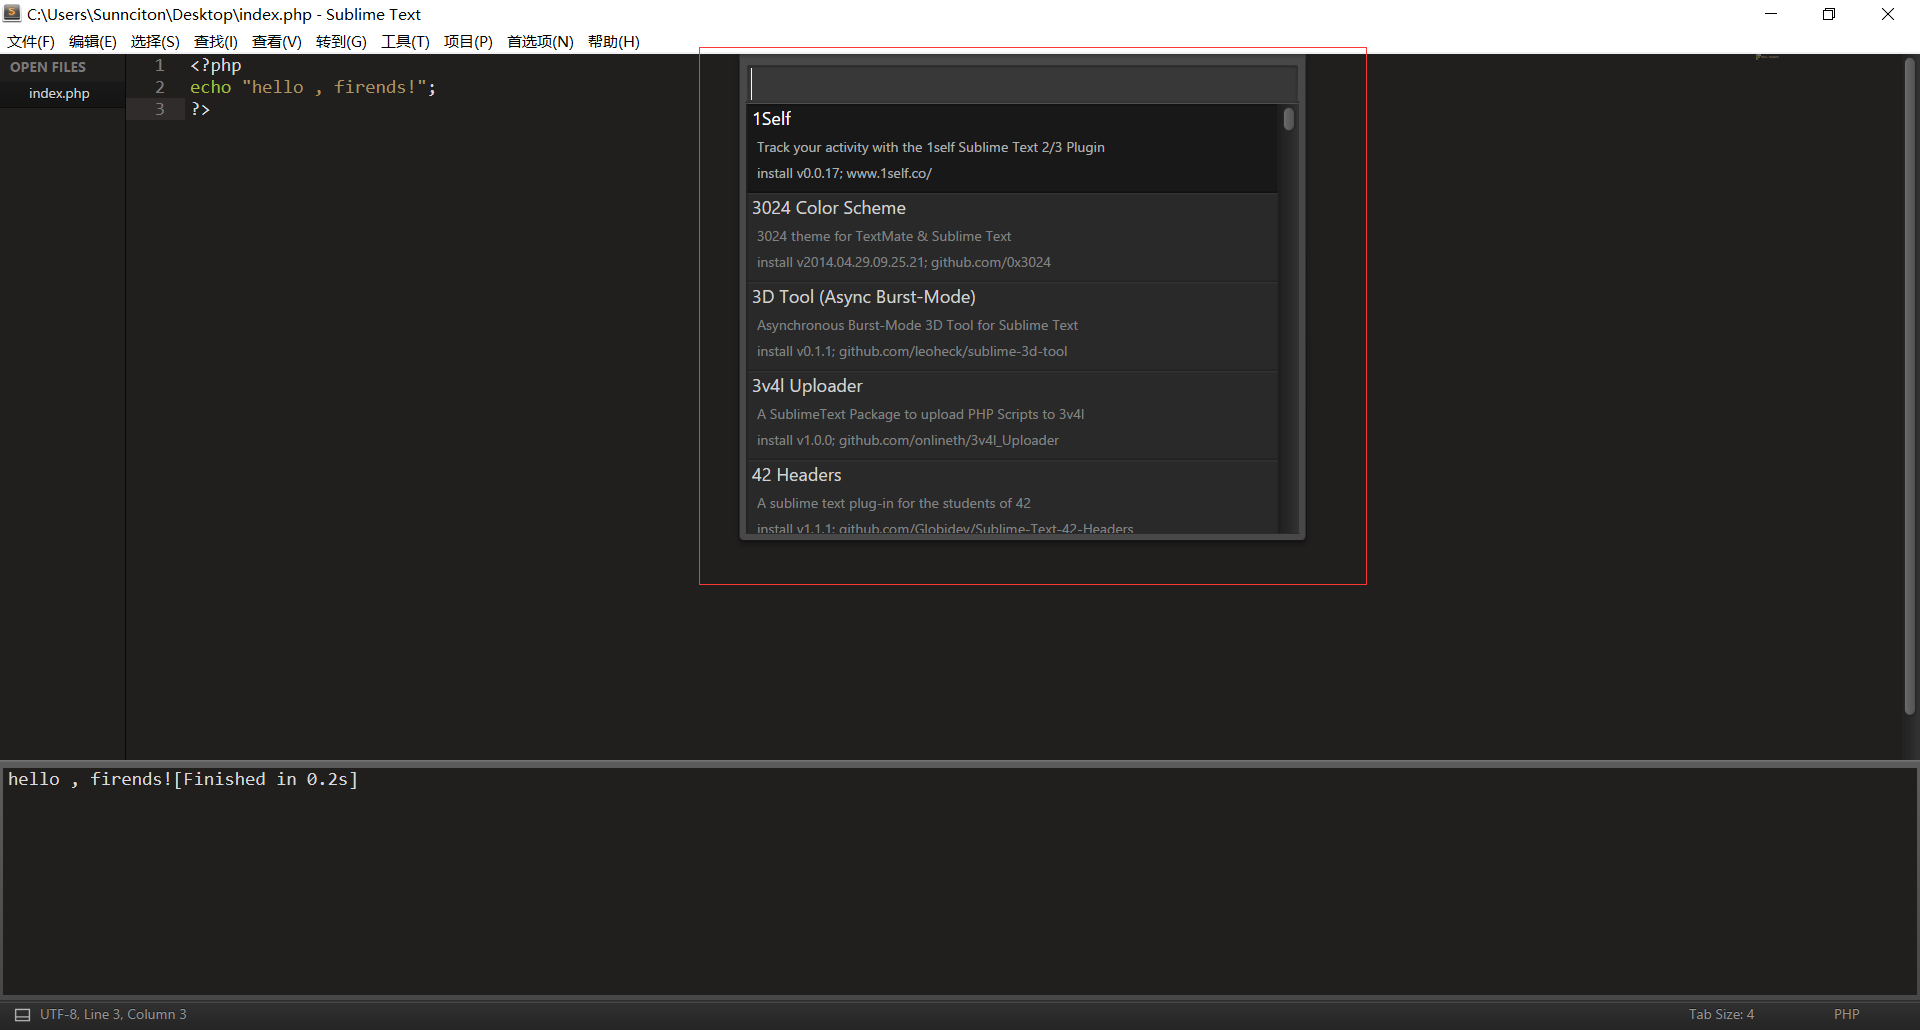
Ctrl+Shift+P,再输入install ,最后再输入想要安装的软件 (输入install会有几十秒的延迟,请不要重复操作)
配置php环境,目前只需要配置两个,首先配置SublimeLinter
先安装好SublimeLinter ,再进入下面的步骤(如果不懂英语翻译中文那么就去翻译)
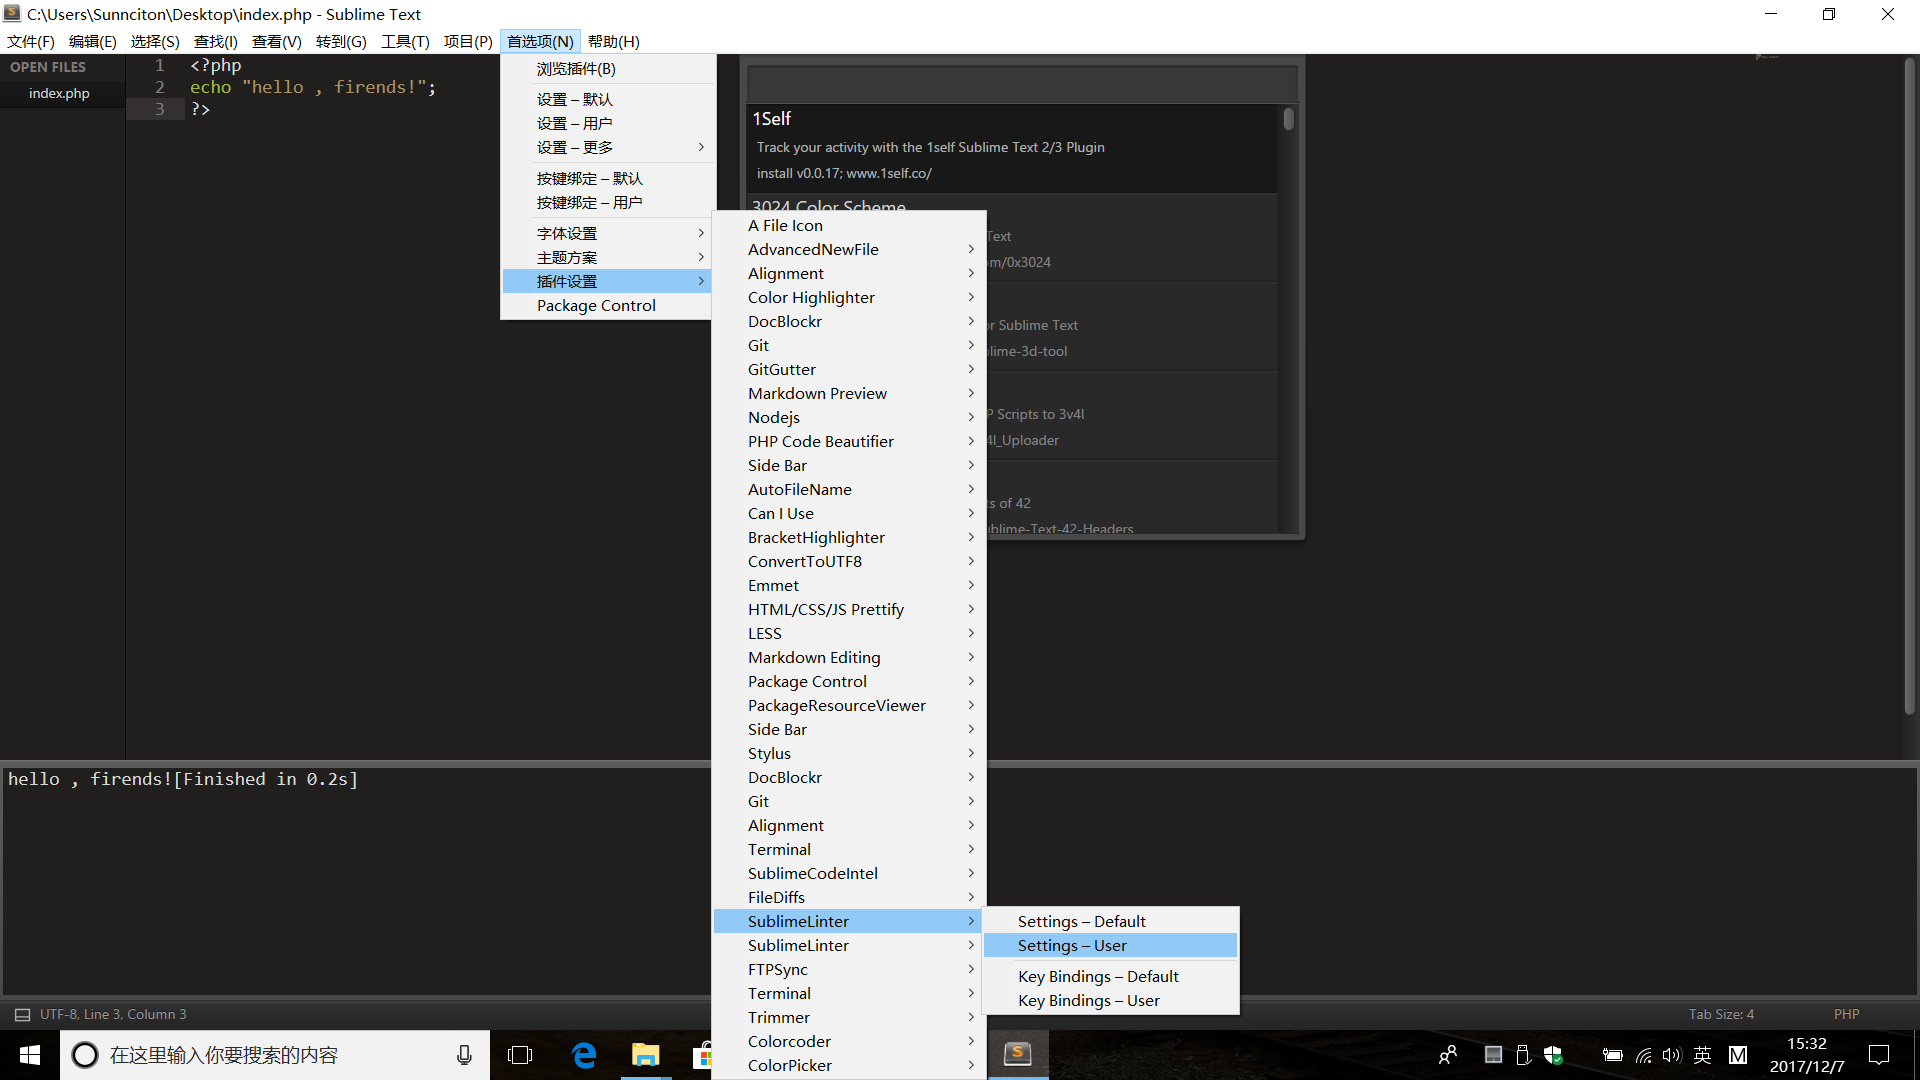
Settings-User
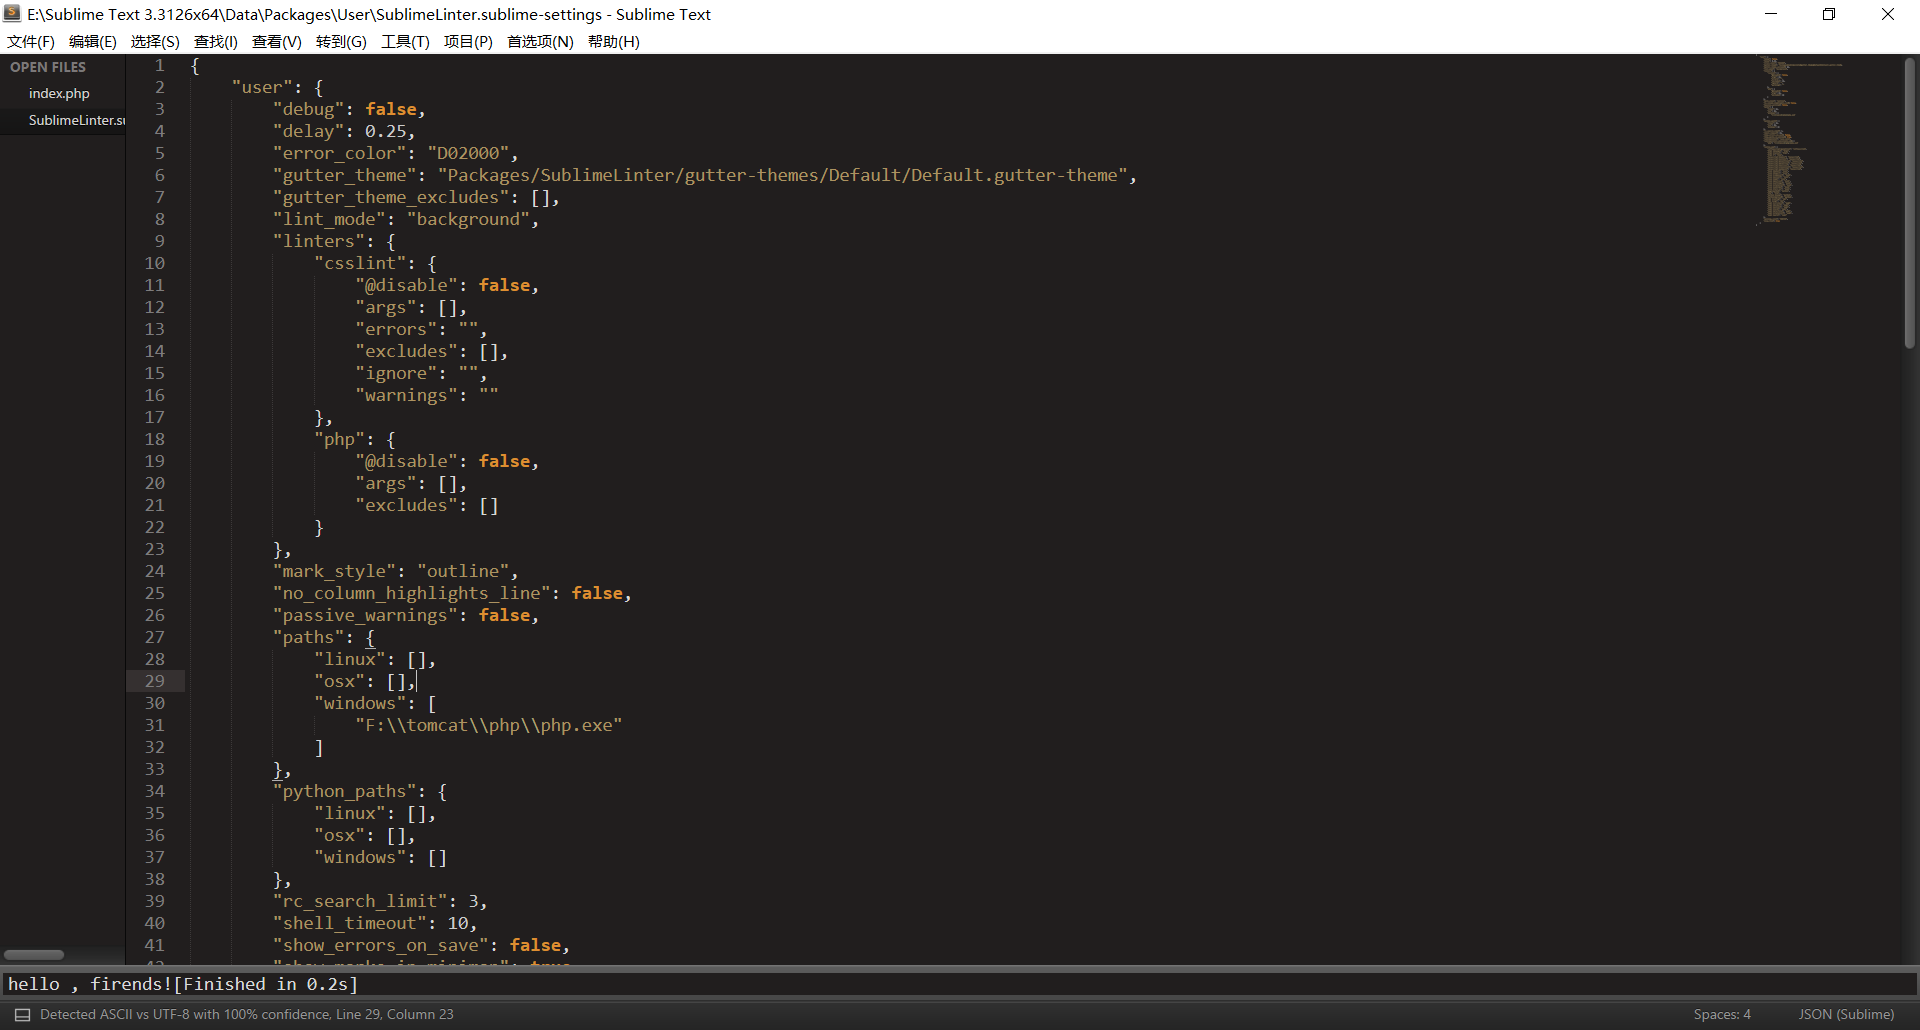
直接拷贝下面的代码上去即可,修改一下31和45行的路径即可(记得全部拷贝!)
 1 {
 2     "user": {
 3         "debug": false,
 4         "delay": 0.25,
 5         "error_color": "D02000",
 6         "gutter_theme": "Packages/SublimeLinter/gutter-themes/Default/Default.gutter-theme",
 7         "gutter_theme_excludes": [],
 8         "lint_mode": "background",
 9         "linters": {
10             "csslint": {
11                 "@disable": false,
12                 "args": [],
13                 "errors": "",
14                 "excludes": [],
15                 "ignore": "",
16                 "warnings": ""
17             },
18             "php": {
19                 "@disable": false,
20                 "args": [],
21                 "excludes": []
22             }
23         },
24         "mark_style": "outline",
25         "no_column_highlights_line": false,
26         "passive_warnings": false,
27         "paths": {
28             "linux": [],
29             "osx": [],
30             "windows": [
31                 "F:\\tomcat\\php\\php.exe"
32             ]
33         },
34         "python_paths": {
35             "linux": [],
36             "osx": [],
37             "windows": []
38         },
39         "rc_search_limit": 3,
40         "shell_timeout": 10,
41         "show_errors_on_save": false,
42         "show_marks_in_minimap": true,
43         "sublimelinter": "save-only",
44         "sublimelinter_executable_map": {
45             "php": "F:\\tomcat\\php\\php.exe"
46         },
47         "syntax_map": {
48             "coffeescript (gulpfile)": "coffeescript",
49             "html (django)": "html",
50             "html (rails)": "html",
51             "html 5": "html",
52             "javascript (babel)": "javascript",
53             "javascript (eslint)": "javascript",
54             "javascript (gruntfile)": "javascript",
55             "javascript (gulpfile)": "javascript",
56             "javascript (postcss)": "javascript",
57             "javascript (stylelint)": "javascript",
58             "javascript (webpack)": "javascript",
59             "json (babel)": "json",
60             "json (bower)": "json",
61             "json (composer)": "json",
62             "json (eslint)": "json",
63             "json (npm)": "json",
64             "json (postcss)": "json",
65             "json (settings)": "json",
66             "json (stylelint)": "json",
67             "json (sublime)": "json",
68             "json (tern js)": "json",
69             "magicpython": "python",
70             "php": "html",
71             "python django": "python",
72             "pythonimproved": "python",
73             "xml (config)": "xml",
74             "xml (svg)": "xml",
75             "yaml (circleci)": "yaml",
76             "yaml (docker)": "yaml",
77             "yaml (eslint)": "yaml",
78             "yaml (lock)": "yaml",
79             "yaml (procfile)": "yaml",
80             "yaml (stylelint)": "yaml",
81             "yaml (yarn)": "yaml"
82         },
83         "warning_color": "DDB700",
84         "wrap_find": true
85     }
86 }
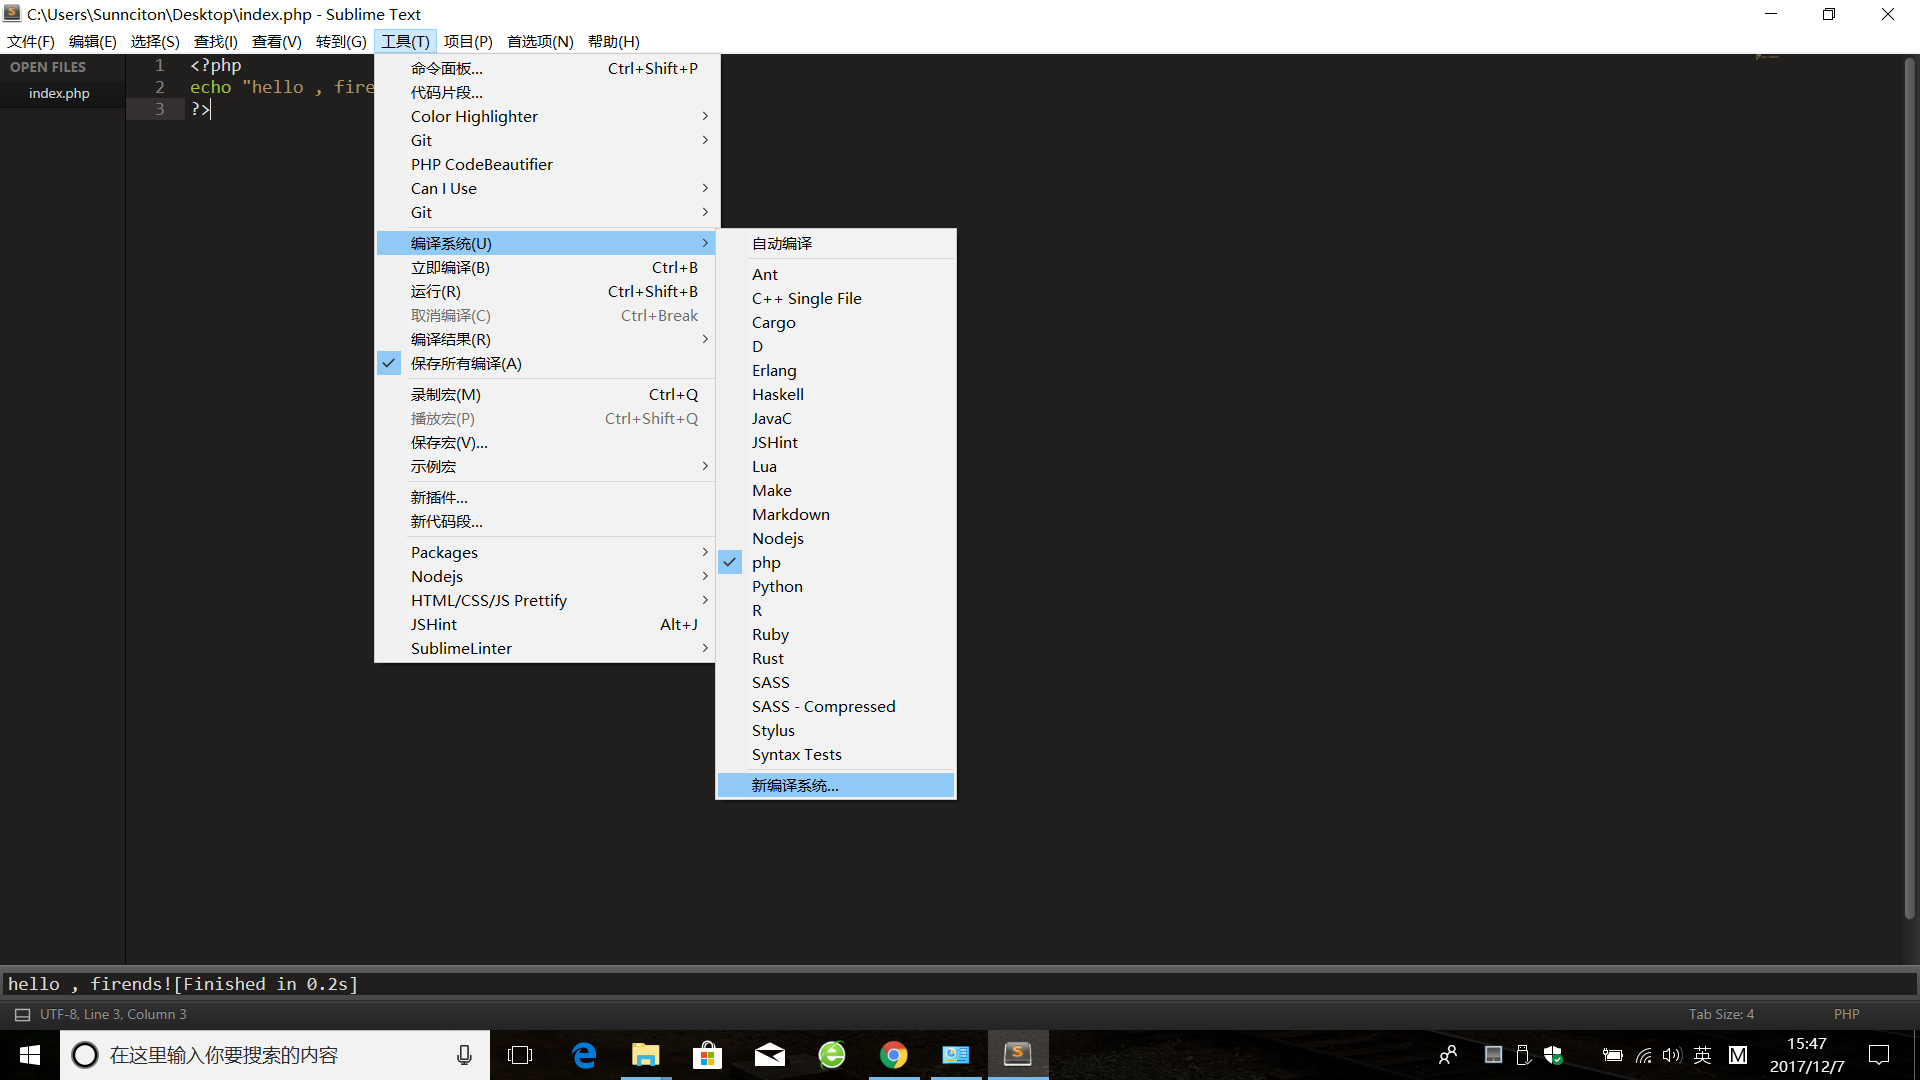
好了,再说配置php 编译系统的事情
一张图阐释配置系统环境
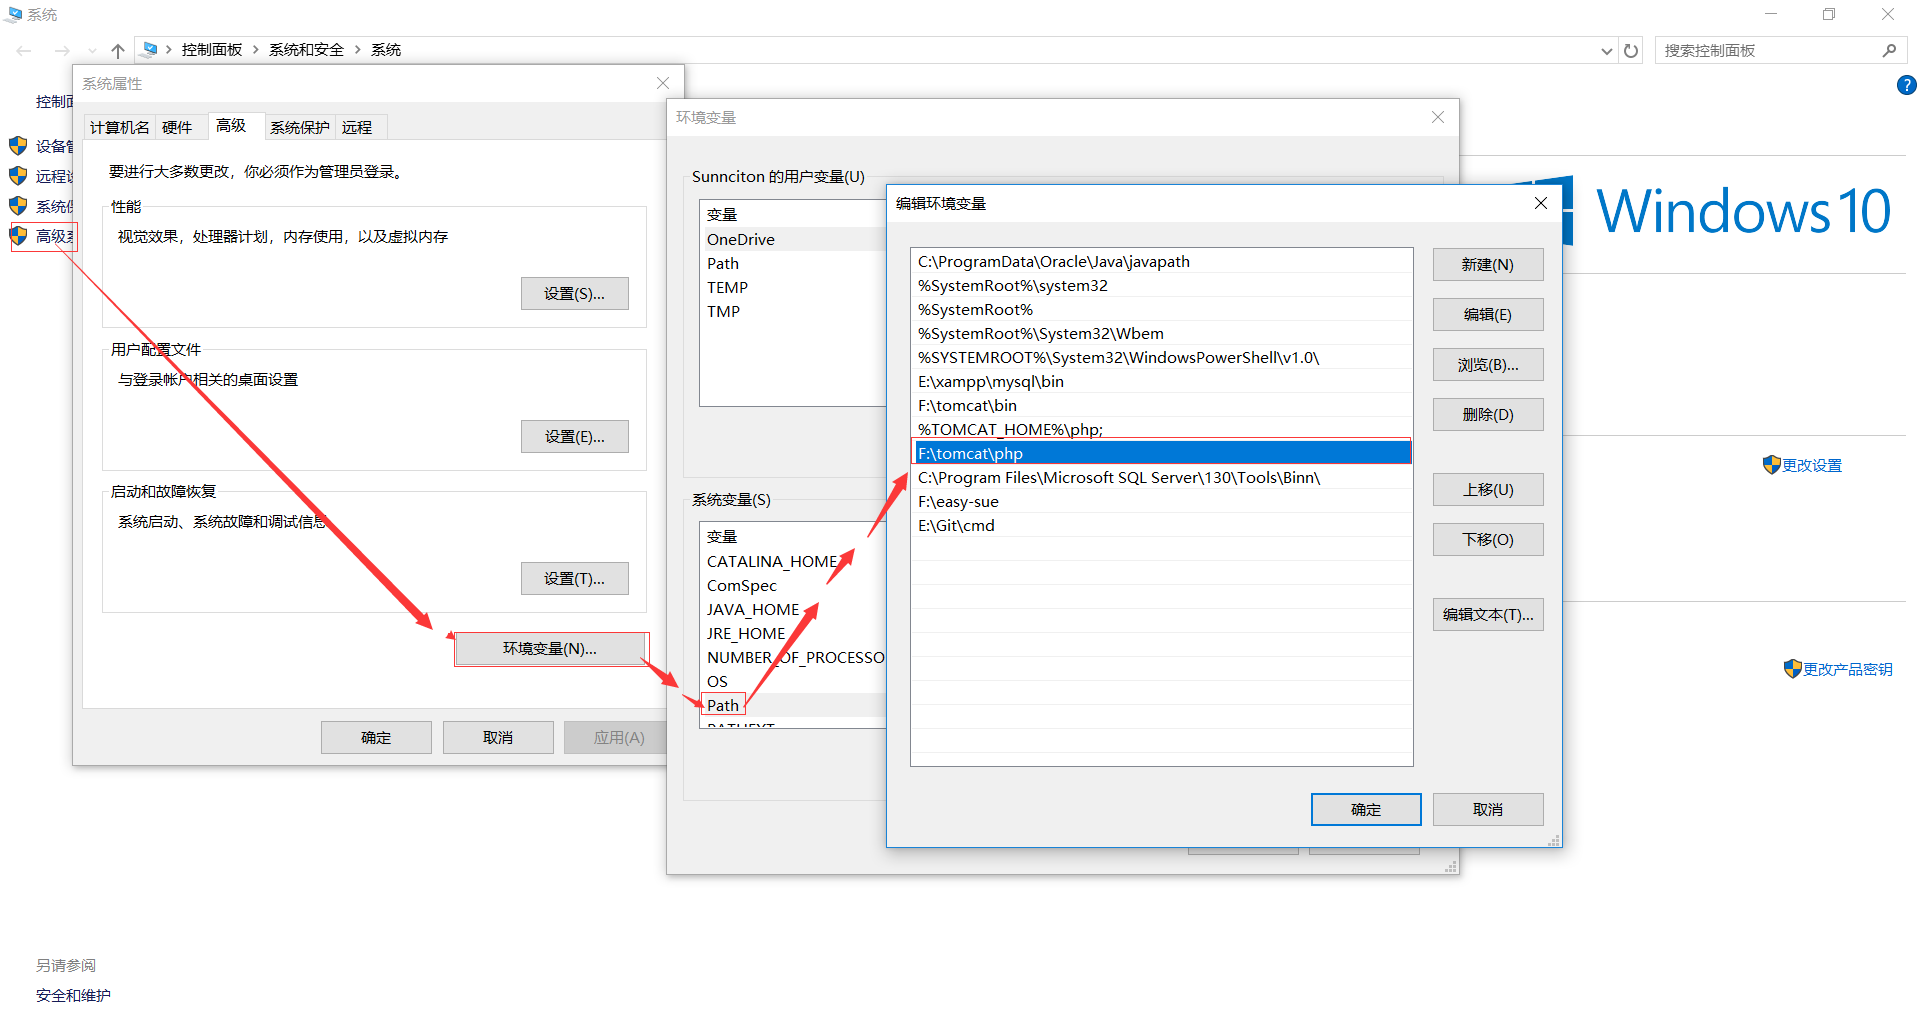
默认是有php的,不管你信不信,反正我是信了,来,说说配置php的编译系统吧!!!
先把里面的内容删除!
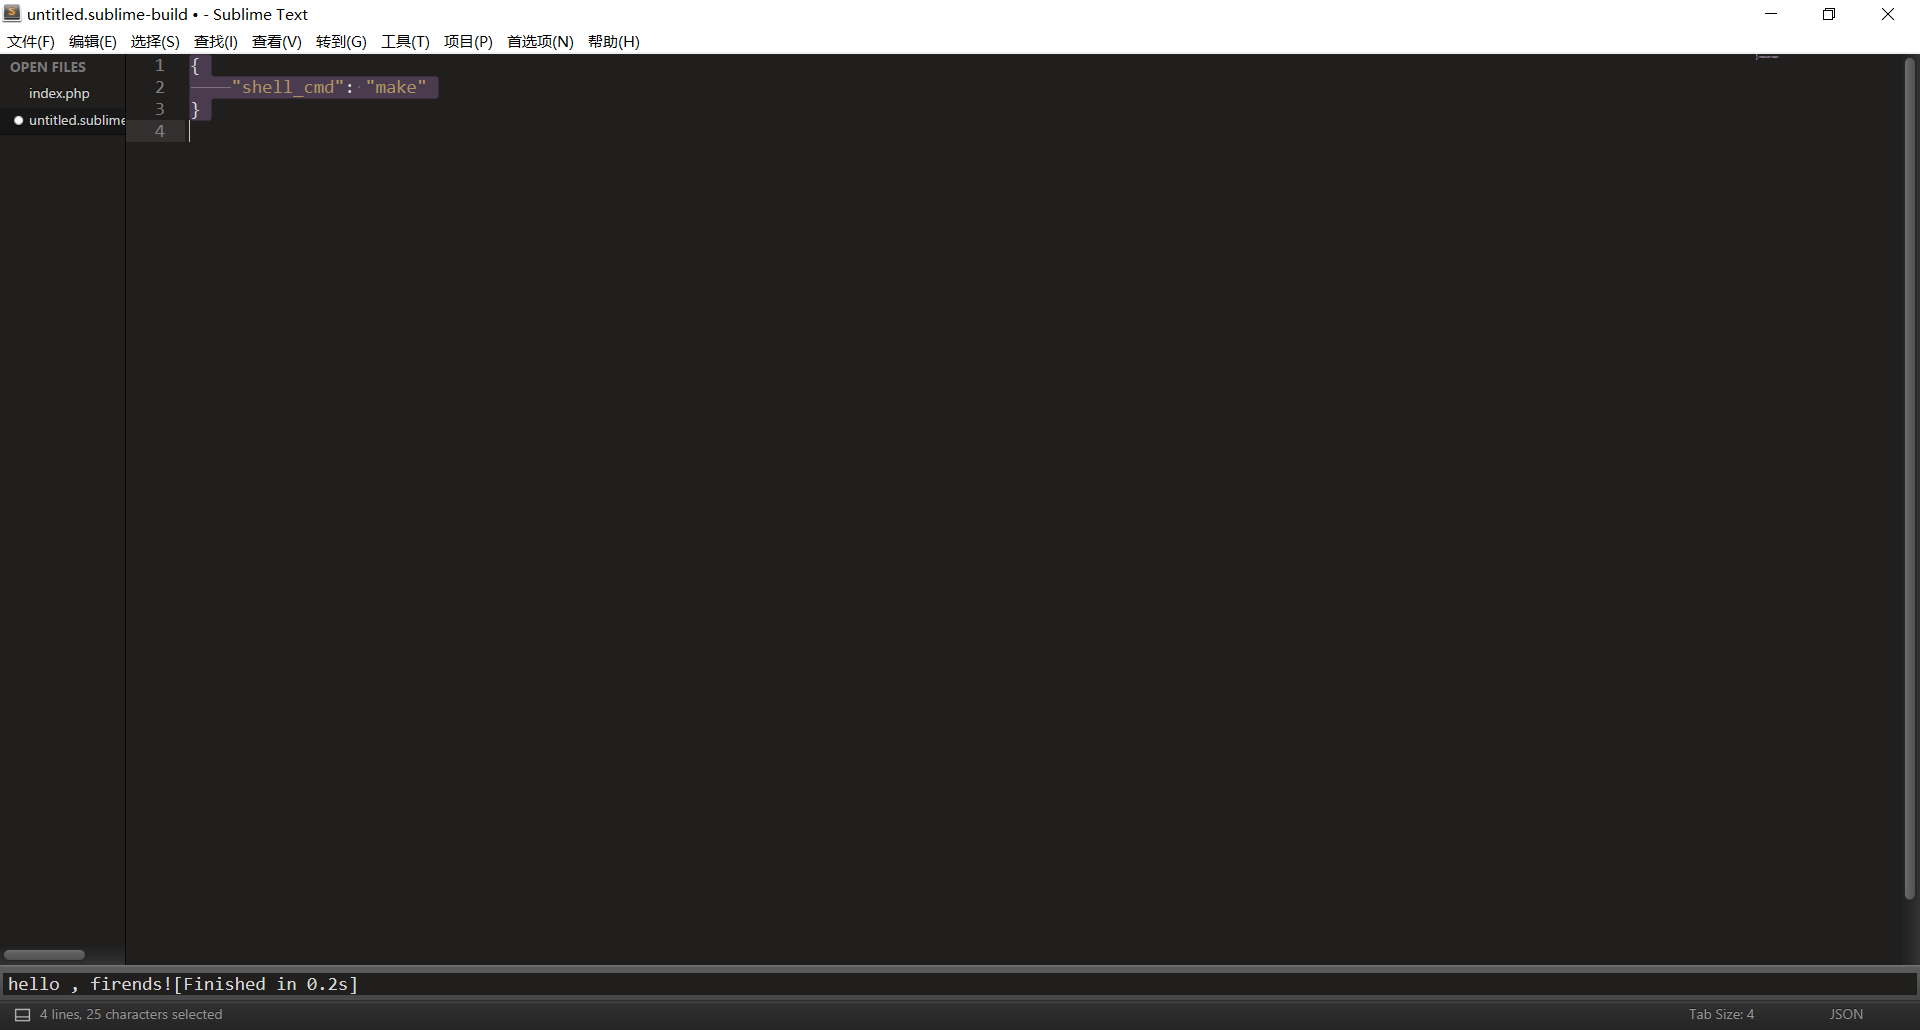
再加入以下代码:
{
    "cmd":["php","$file"],"file_regex":
    "php$","selector":"source.php"
}
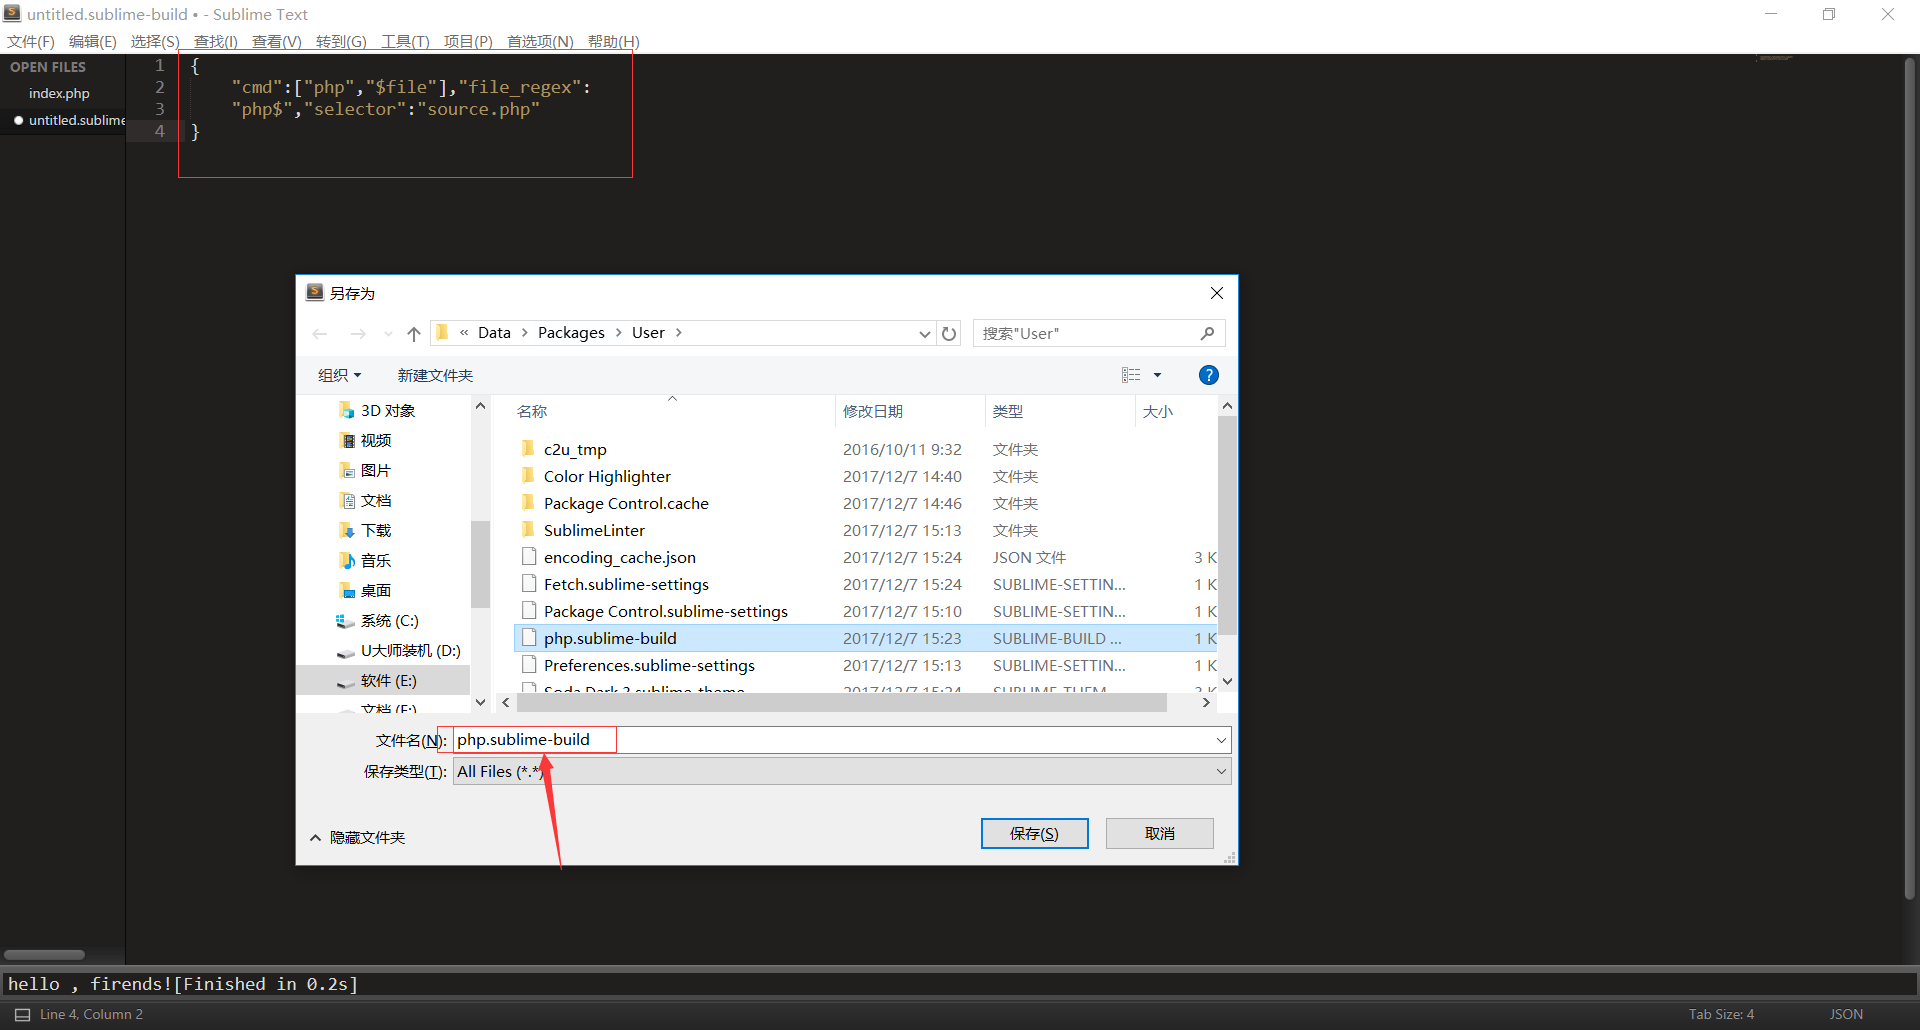
重命名为:php.sublime-build,最后保存即可,这是我们就可以在编译系统看见php了,这时我们再勾选上即可。

 浙公网安备 33010602011771号