docsify - 怎么搭建
话不多说,docsify 的搭建!
1. 装了node以后,使用如下命令行全局安装
npm i -g docsify-cli
2. 然后新建一个文件夹(docsify),在文件夹路径使用命令行生成package.json ,包依赖管理
npm init -y
3. 使用以下命令生成所需的一些文件
docsify init ./docs
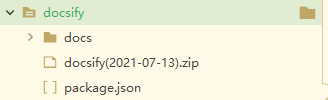
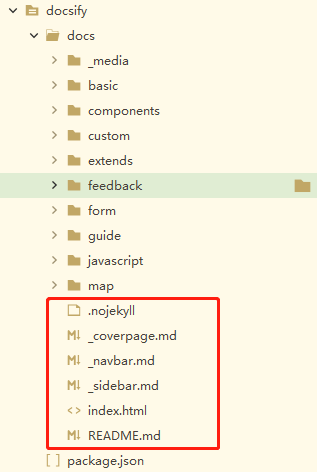
引用官网的 —— 初始化成功后,可以看到 ./docs 目录下创建的几个文件
index.html入口文件README.md会做为主页内容渲染.nojekyll用于阻止 GitHub Pages 忽略掉下划线开头的文件
直接编辑 docs/README.md 就能更新文档内容
我使用的一些插件(详见index.html配置),一般可以在UNPKG - docsify查询到
代码复制:docsify-copy-code
回到顶部:docsify-scroll-to-top.min.js
本地搜索:search.min.js
图片放大:zoom-image.min.js
表情:emoji.min.js
计数:countable.js
分页:docsify-pagination.min.js
以上插件建议保存在本地,我放在custom目录下。
千万注意一件事!!!
千万注意一件事!!!
千万注意一件事!!!
docsify没有构建这个词汇! 不要删除docs目录

我的index.html,配置项太多了就没标注,具体查询:配置项 (docsify.js.org)
<!DOCTYPE html>
<html lang="en">
	<head>
		<meta charset="UTF-8">
		<title>Document</title>
		<meta http-equiv="X-UA-Compatible" content="IE=edge,chrome=1" />
		<meta name="description" content="Description">
		<meta name="viewport" content="width=device-width, initial-scale=1.0, minimum-scale=1.0">
		<link rel="stylesheet" href="//cdn.jsdelivr.net/npm/docsify@4/lib/themes/vue.css">
		<link rel="stylesheet" href="/custom/themes/style.css">
	</head>
	<body>
		<div id="app"></div>
		<script>
			window.$docsify = {
				// 文档标题
				name: '',
				// 配置了地址以后指向地址
				repo: 'https://github.com/itwanger/TechSisterLearnJava',
				// 更换页面以后是否自动回到顶部
				auto2top: true,
				// 是否要封面页
				coverpage: true,
				// 执行文档里的 script 标签里的脚本
				executeScript: true,
				// 加载自定义侧边栏
				loadSidebar: true,
				// 加载自定义导航栏
				loadNavbar: true,
				// 小屏设备下合并导航栏到侧边栏
				mergeNavbar: true,
				// 最大层级
				maxLevel: 4,
				// 侧栏最大层级
				subMaxLevel: 2,
				// 主题颜色
				// themeColor: '#0475fd',
				// 代码复制配置
				copyCode: {
					buttonText: '复制代码',
					errorText: 'fail',
					successText: 'success'
				},
				// 回到顶部配置
				scrollToTop: {
					auto: true,
					text: 'Top',
					right: 15,
					bottom: 15,
					offset: 500
				},
				// 分页配置
				pagination: {
					previousText: '上一页',
					nextText: '下一页'
				},
				// 计数配置
				count: {
					countable: true,
					fontsize: '0.9em',
					color: 'rgb(90,90,90)',
					language: 'chinese'
				},
				// 搜索配置
				search: {
					noData: {
						'/zh-cn/': '没有结果!',
						'/es': 'No result!'
					},
					paths: 'auto',
					placeholder: {
						'/zh-cn/': '搜索',
						'/': '搜索'
					},
					pathNamespaces: ['/zh-cn', '/es']
				},
				// 时间
				formatUpdated: '{YYYY}/{MM}/{DD} {HH}:{mm}',
				// 全局顶部配置
				plugins: [
					function(hook, vm) {
						hook.beforeEach(function(html) {
							var url = 'https://gitee.com/YanKeyon/YanKeyon/blob/master/' + vm.route.file
							var editHtml = '[:memo: 上次修改发生于:{docsify-updated} ,在 Github 编辑此页](' + url + ')\n';
							return (
								editHtml +
								html +
								'\n\n----\n\n' +
								'<a href="#" target="_blank" style="color: inherit; font-weight: normal; text-decoration: none;">Powered by ml</a>'
							);
						})
					}
				]

			}
		</script>
		<!-- Docsify v4 -->
		<script src="//cdn.jsdelivr.net/npm/docsify@4"></script>
		<script src="/custom/plugins/search.min.js"></script>
		<script src="/custom/plugins/docsify-copy-code.js"></script>
		<script src="/custom/plugins/zoom-image.min.js"></script>
		<script src="/custom/plugins/emoji.min.js"></script>
		<script src="/custom/plugins/countable.js"></script>
		<script src="/custom/plugins/docsify-pagination.min.js"></script>
		<script src="/custom/plugins/docsify-scroll-to-top.min.js"></script>
	</body>
</html>
到了最后一步,如何新建md文件呢?
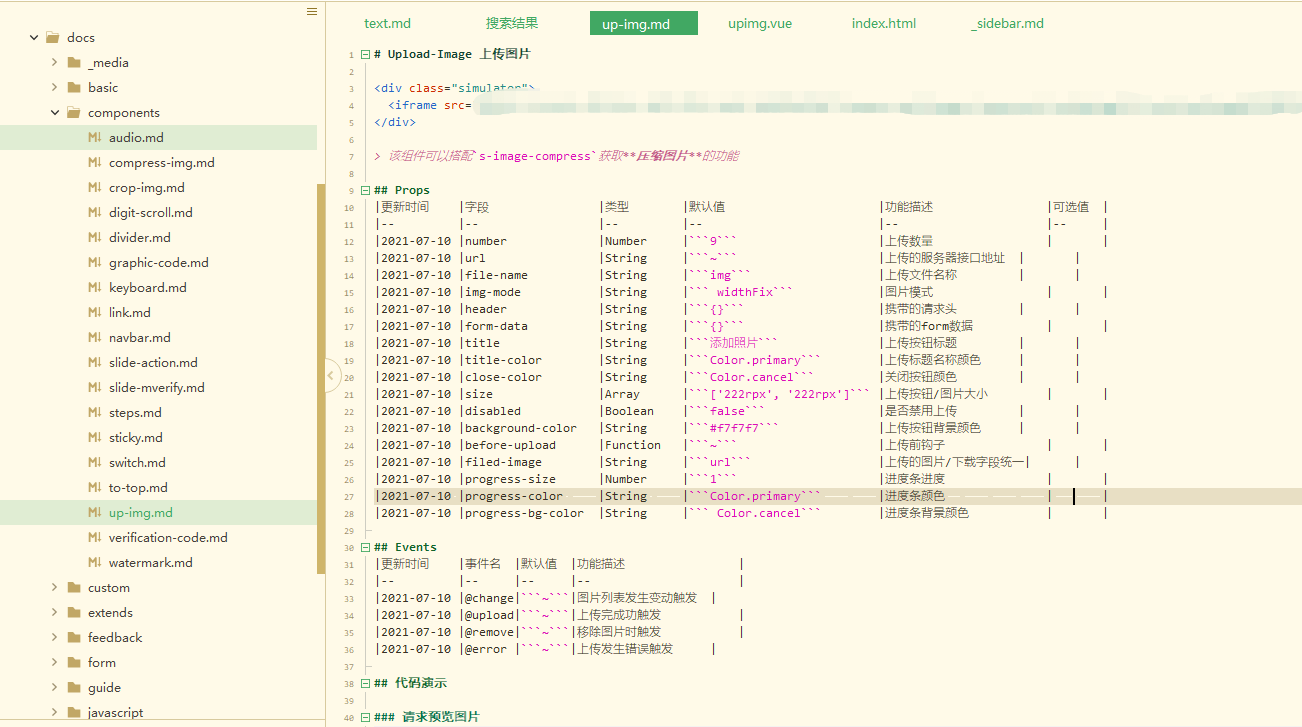
可以看到我这边在docs目录新建了components文件夹,然后再在里面新建了steps.md、switch.md等文件
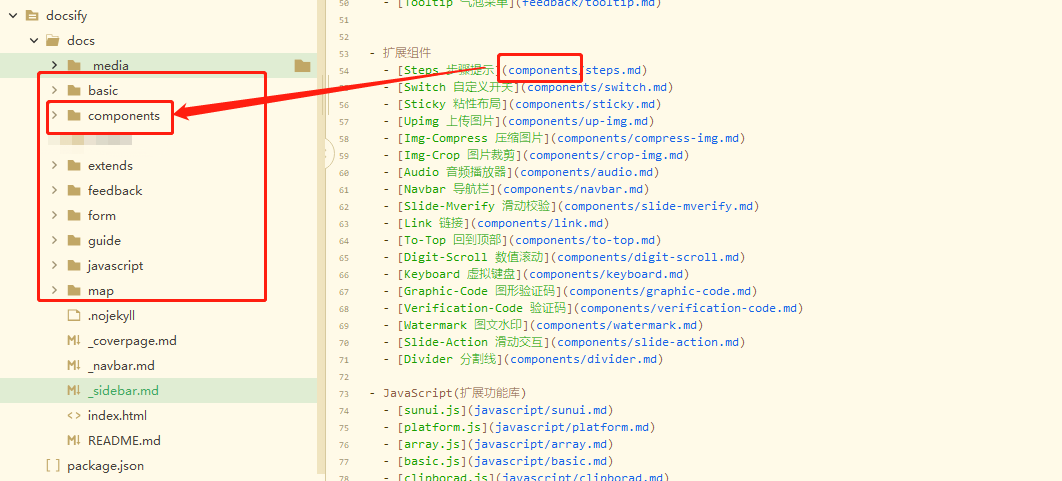
我们先要在_sidebar.md新建索引以后才能正确识别路径 ,


 浙公网安备 33010602011771号