ElasticSearch简介
1.ES是什么
1.1 ES被称为全文检索服务器,底层基于Lucene,支持集群,时时检索效率高,利用RestFulAPI将LuceneAPI操作进行封装,实施方案更加简单
2.ES安装和配置
2.1 ES解压完毕,进入到bin目录运行.bat脚本文件,依赖于JDK,启动成功后通过9200端口进行访问

2.2 解压ES-head图形化工具压缩包
2.3 安装Node.js需要用到管理员权限
2.3.1 以管理员身份运行cmd
2.3.2 切换到node.js安装文件目录
2.3.3 msiexec /package node-v8.9.4-x64.msi
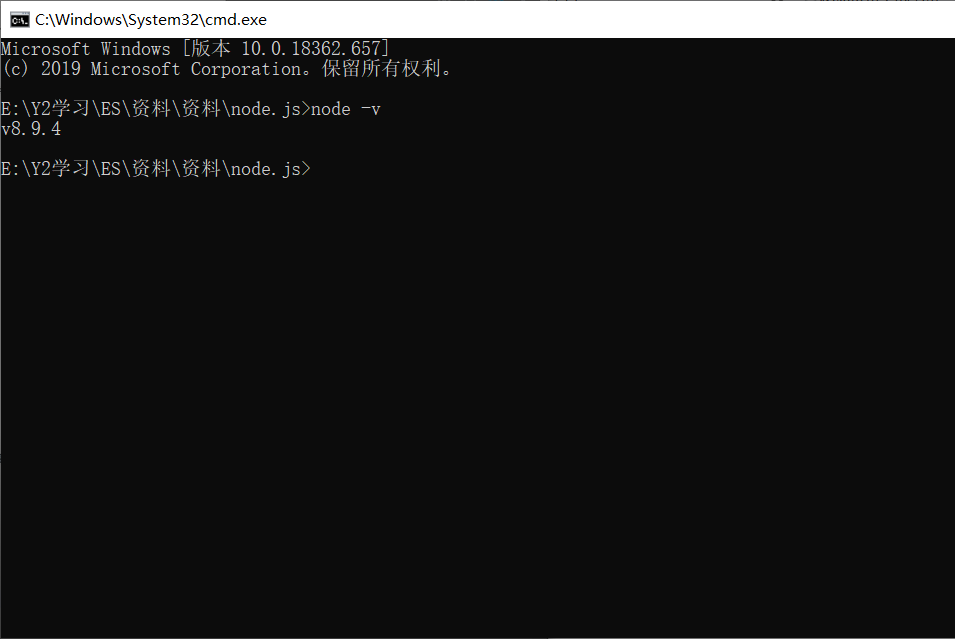
2.3.4 将当前cmd关闭 然后通过node -v查看版本

2.4 切换到head解压目录下运行grunt server命令启动node.js
如果报grunt不是内部命令:
npm install -g grunt -cli
npm install

2.5 head连接ES报跨域问题
找到ES解压目录下config文件夹,找到elasticsearch.yml文件,添加如下:
http.cors.enabled: true
http.cors.allow-origin: "*"
修改完毕保存后重新启动ES

3.ES客户端的简单操作
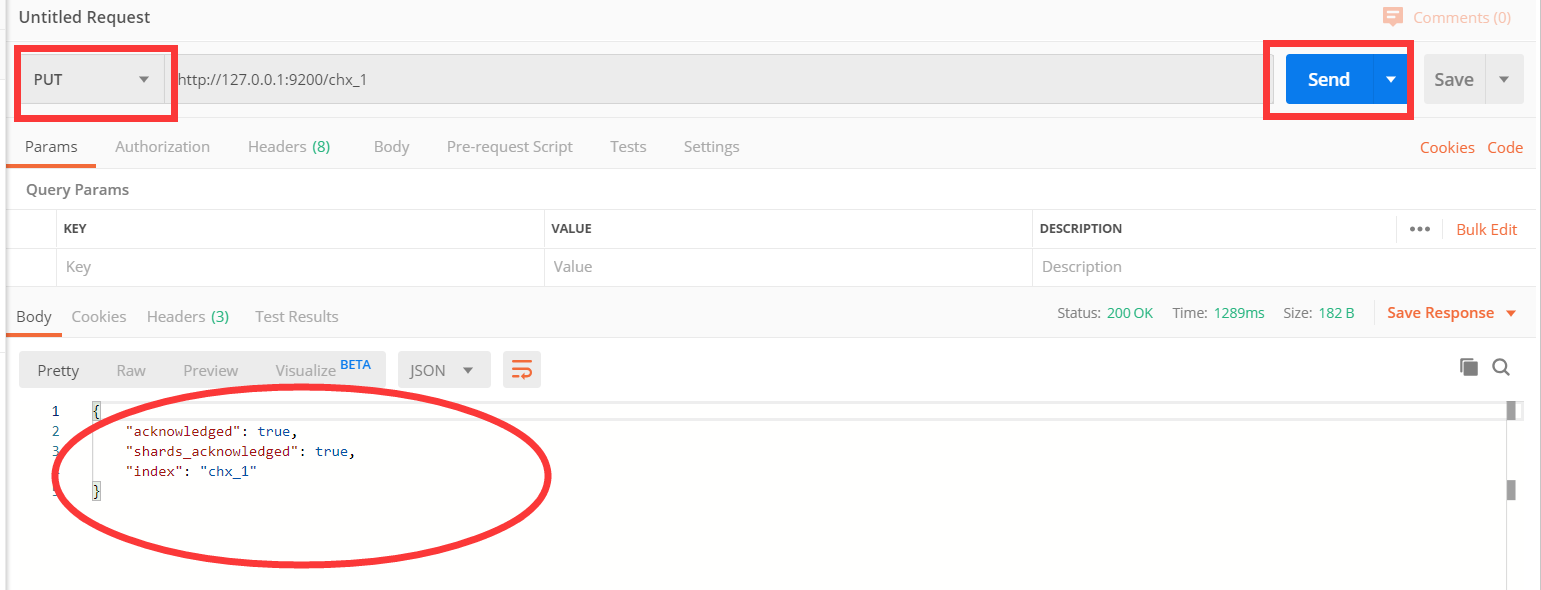
3.1 利用postMan工具发送restfulAPI添加索引库 请求方式为put代表添加 http://ip:9200/索引库名称
http://127.0.0.1:9200/chx_1


3.2 利用postMan工具发送restfulAPI添加索引库并且指定Type
利用put发送添加索引库请求,指定请求体为raw,
        {
                    "mappings":{
                        "type_table1":{
                            "properties": {
                                "id":{
                                    "type":"long",
                                    "store":true,
                                    "index":"not_analyzed"
                                },
                                "title":{
                                    "type":"text",
                                    "store":true,
                                    "index":"analyzed",
                                    "analyzer":"standard"
                                },
                                "content":{
                                    "type":"text",
                                    "store":true,
                                    "index":"analyzed",
                                    "analyzer":"standard"
                                }
                            }
                        }
                    }
                }
3.3 利用PostMan修改索引库,添加一个Type,并且指定type的映射规则:POST请求 http://127.0.0.1:9200/wdksoft_1/hello/_mapping 地址/索引库/Type/_mapping
                {
                    "hello":{
                        "properties": {
                            "id":{
                                "type":"long",
                                "store":true,
                                "index":"not_analyzed"
                            },
                            "title":{
                                "type":"text",
                                "store":true,
                                "index":"analyzed",
                                "analyzer":"standard"
                            },
                            "content":{
                                "type":"text",
                                "store":true,
                                "index":"analyzed",
                                "analyzer":"standard"
                            }
                        }
                    }
                }
3.4 删除索引库 请求方式为DELETE url地址为 :localhost:9200/索引库
4.ES当中核心概念:
Lucene:Document-----field------Term


 浙公网安备 33010602011771号