

ubuntu系统安装mysql
一、下载安装包
https://downloads.mysql.com/archives/community/

使用wget命令下载tar包
wget https://downloads.mysql.com/archives/get/p/23/file/mysql-server_5.7.42-1ubuntu18.04_amd64.deb-bundle.tar

sudo tar -xvf mysql-server_5.7.42-1ubuntu18.04_amd64.deb-bundle.tar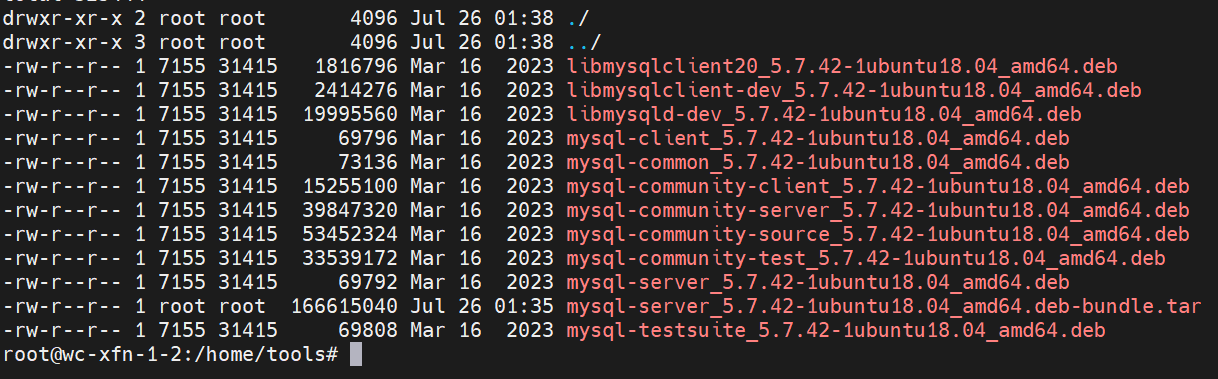
二、安装MySQL
#更新依赖源数据
sudo apt-get update
#安装依赖lib包
sudo apt-get install ./libmysql*
sudo apt-get install libtinfo5
#安装客户端和服务端,按提示可能要先安装community版本
sudo apt-get 安装客户端和服务端,按提示可能要先安装community版本install ./mysql-community-client_5.7.42-1ubuntu18.04_amd64.deb
sudo apt-get install ./mysql-client_5.7.42-1ubuntu18.04_amd64.deb
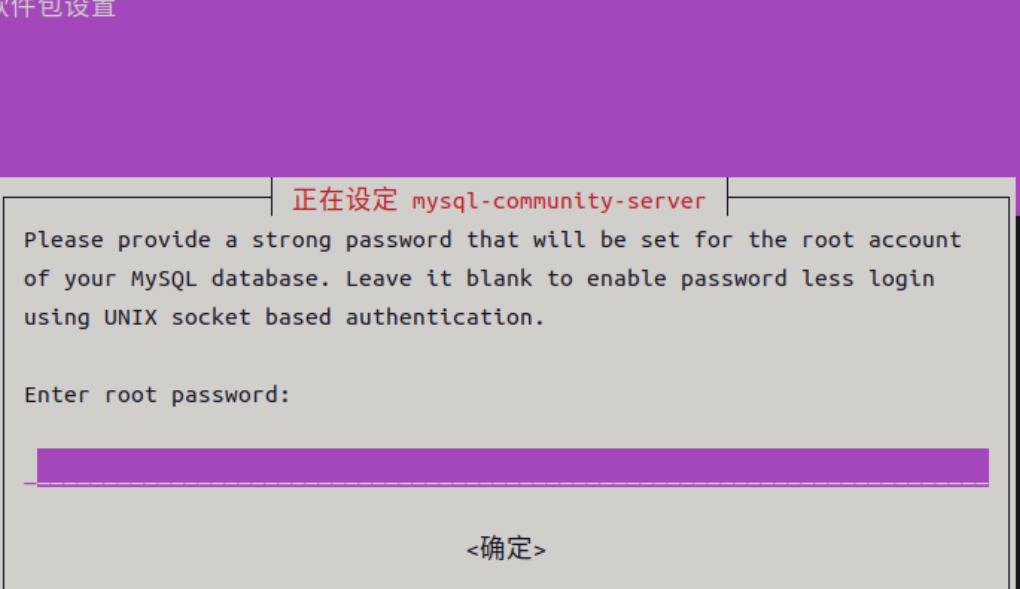
sudo apt-get install ./mysql-community-server_5.7.42-1ubuntu18.04_amd64.deb
sudo apt-get install ./mysql-server_5.7.42-1ubuntu18.04_amd64.deb 第三行命令执行时会提示设置MySQL的密码,用户名默认root
三、启动MySQL
systemctl start mysql
配置mysql
vim /etc/mysql/mysql.conf.d/mysqld.cnf
[mysqld]
log_bin = /var/log/mysql/mysql-bin.log
server_id = 3
expire_logs_days = 10
max_binlog_size = 100M

sql_mode=STRICT_TRANS_TABLES,NO_ZERO_IN_DATE,NO_ZERO_DATE,ERROR_FOR_DIVISION_BY_ZERO,NO_AUTO_CREATE_USER,NO_ENGINE_SUBSTITUTION
重启mysql


【推荐】国内首个AI IDE,深度理解中文开发场景,立即下载体验Trae
【推荐】编程新体验,更懂你的AI,立即体验豆包MarsCode编程助手
【推荐】抖音旗下AI助手豆包,你的智能百科全书,全免费不限次数
【推荐】轻量又高性能的 SSH 工具 IShell:AI 加持,快人一步
· winform 绘制太阳,地球,月球 运作规律
· AI与.NET技术实操系列(五):向量存储与相似性搜索在 .NET 中的实现
· 超详细:普通电脑也行Windows部署deepseek R1训练数据并当服务器共享给他人
· 【硬核科普】Trae如何「偷看」你的代码?零基础破解AI编程运行原理
· 上周热点回顾(3.3-3.9)