OpenDaylight安装和配置
环境:
Ubuntu 14.04.6 LTS (GNU/Linux 4.4.0-142-generic x86_64)
注意,需要确保虚拟机中安装有jdk
root@UbuntuDesktop:~# java -version
java version "1.8.0_151"
Java(TM) SE Runtime Environment (build 1.8.0_151-b12)
Java HotSpot(TM) 64-Bit Server VM (build 25.151-b12, mixed mode)
一、下载
方法一:官网下载压缩包
官网:Index of /repositories/public/org/opendaylight/integration/distribution-karaf/0.3.0-Lithium
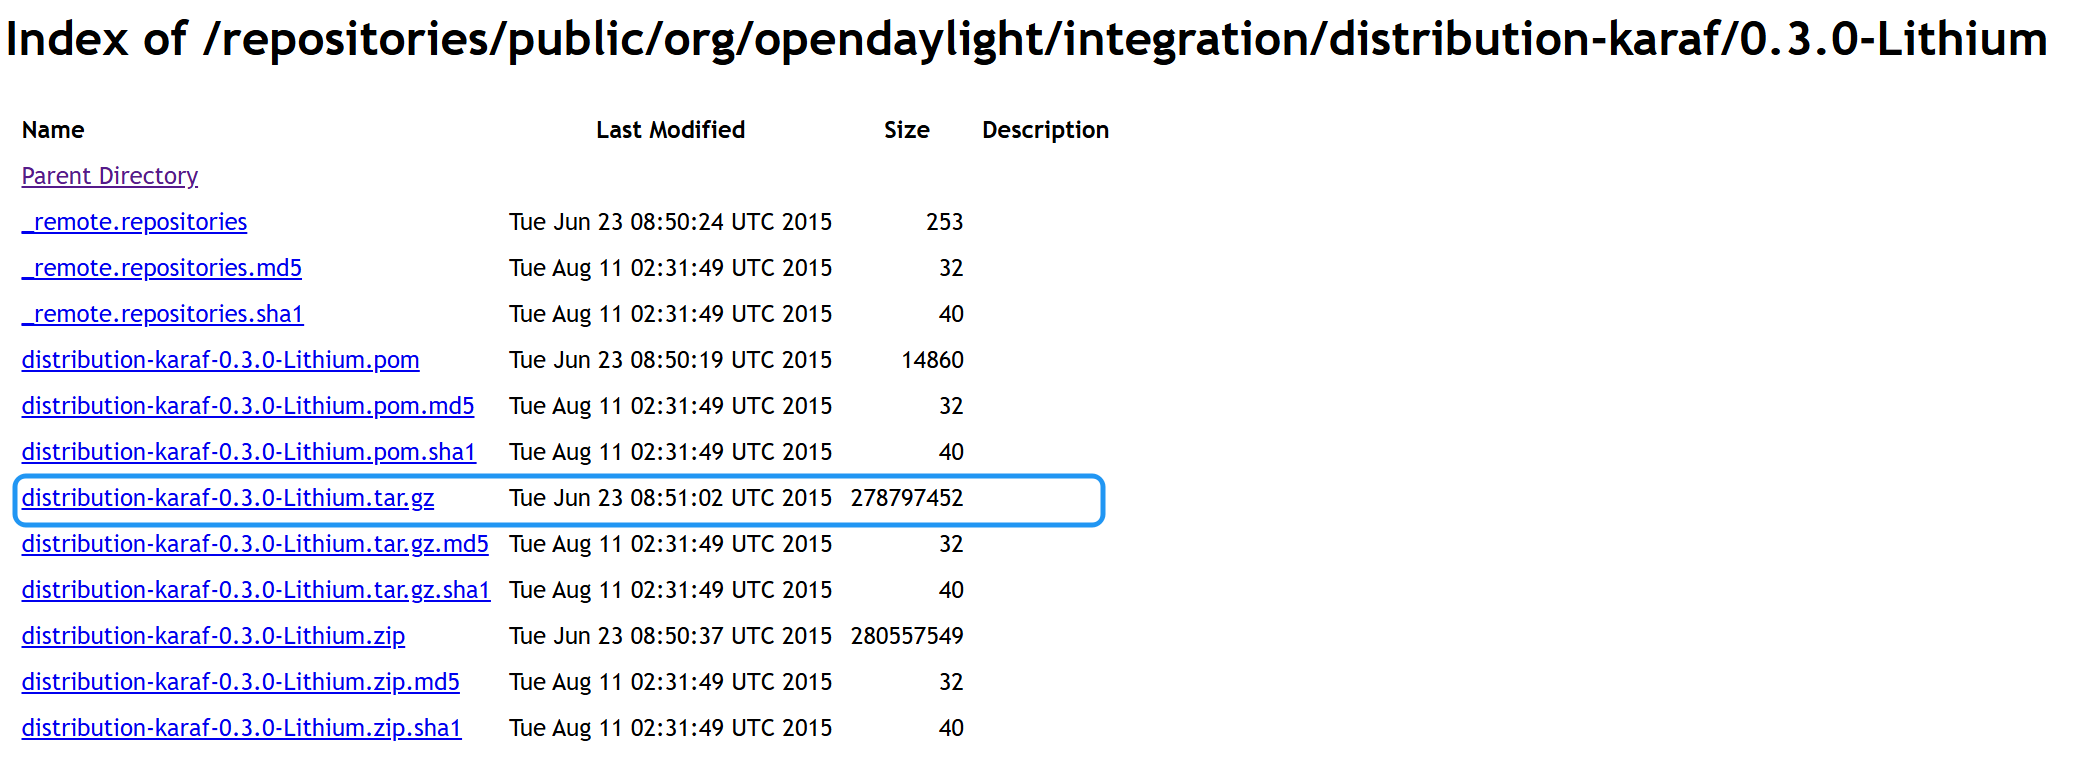
下载完成后复制到虚拟机进行解压。下载速度较慢(不推荐)
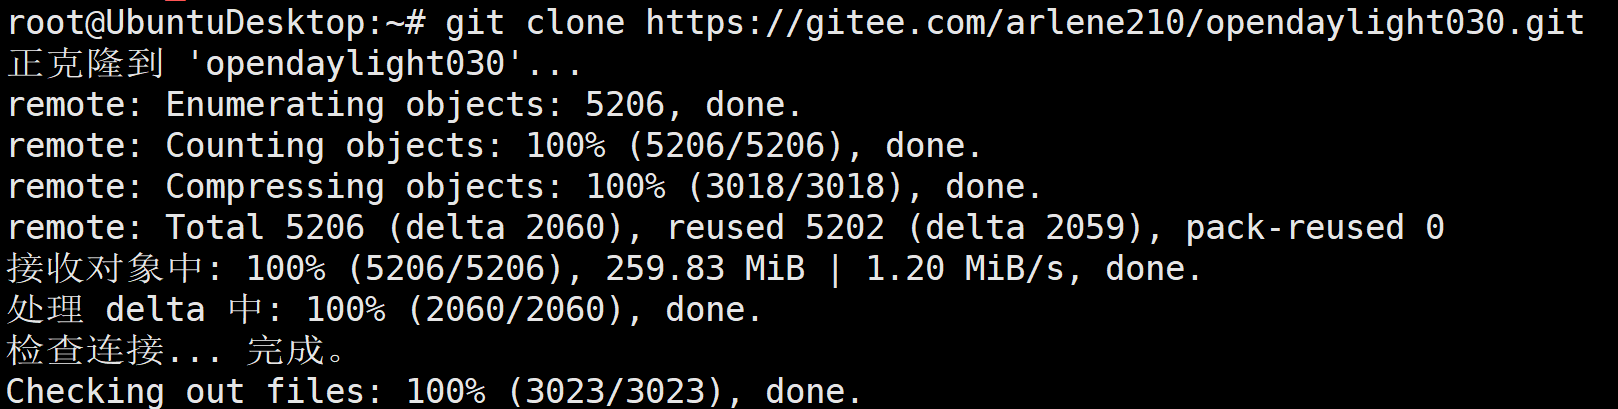
方法二:git
gitee: https://gitee.com/arlene210/opendaylight030.git
Ubuntu中执行下面的命令,将opendaylight克隆到本地。
git clone https://gitee.com/arlene210/opendaylight030.git
二、安装组件
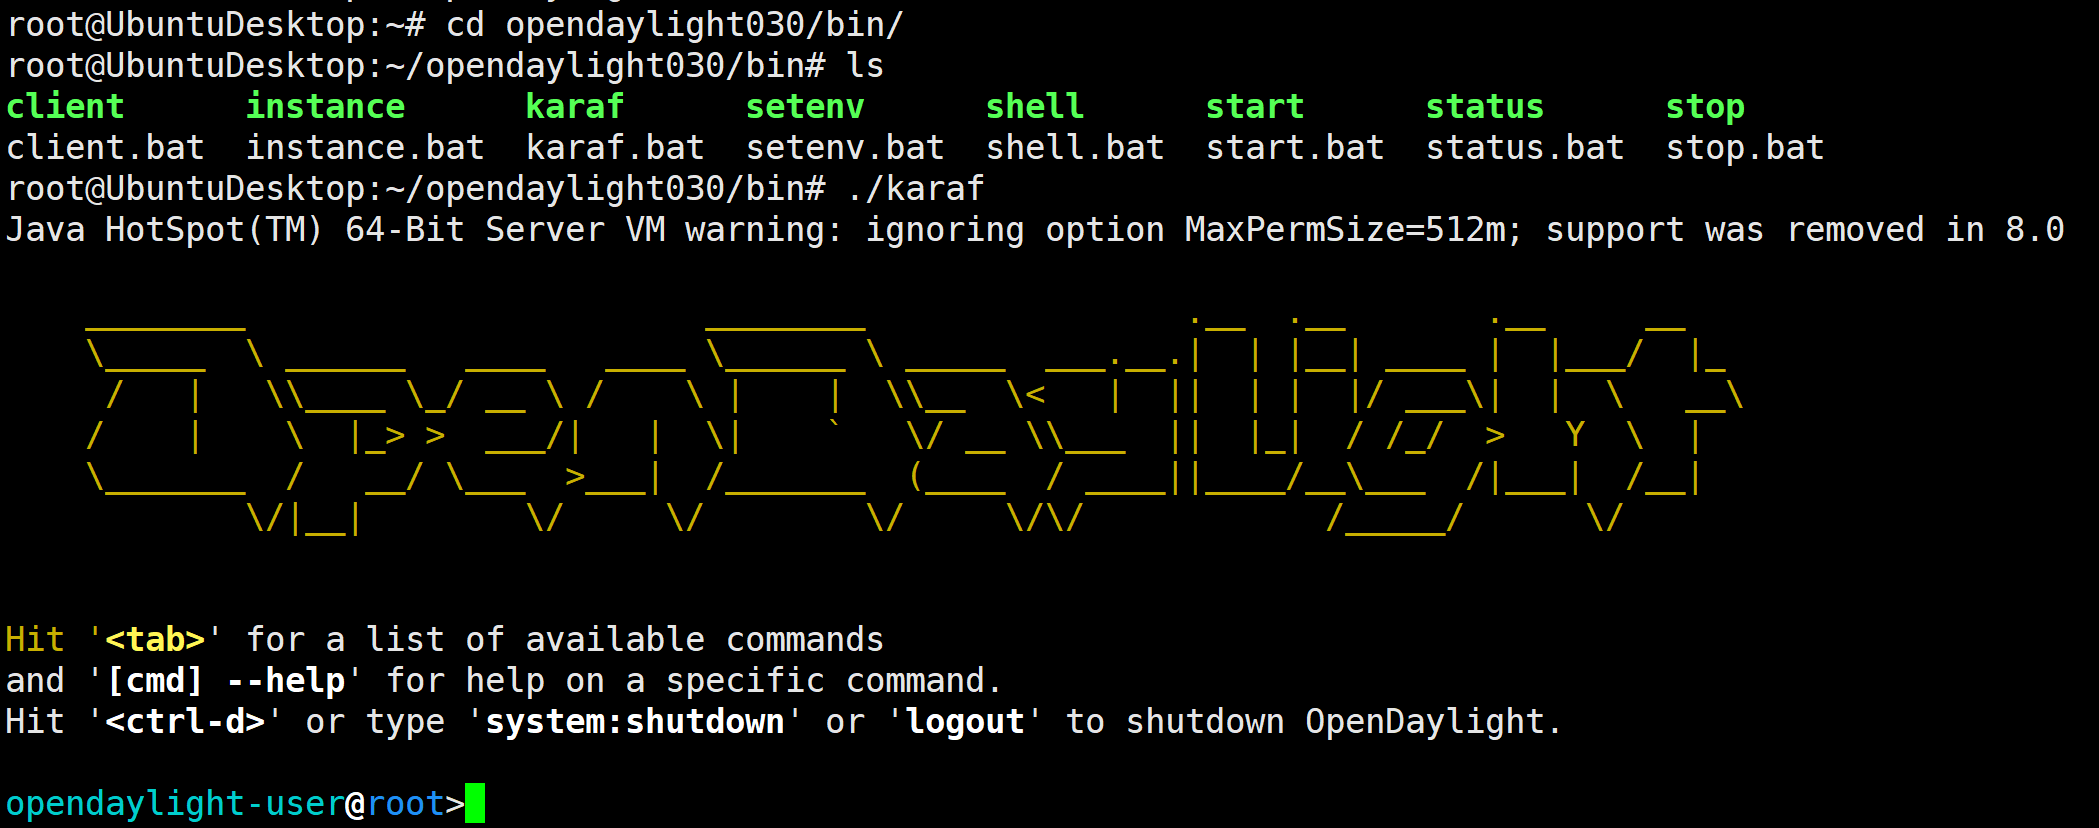
启动karaf
cd opendaylight030/bin
# 以管理员身份运行
./karaf
安装opendaylight组件
# 命令
feature:install 组件名称
# 例如:
opendaylight-user@root>feature:install odl-restconf
本实验要安装的组件:
feature:install odl-restconf
feature:install odl-l2switch-switch-ui
feature:install odl-openflowplugin-flow-services-ui
feature:install odl-mdsal-all
feature:install odl-dlux-all
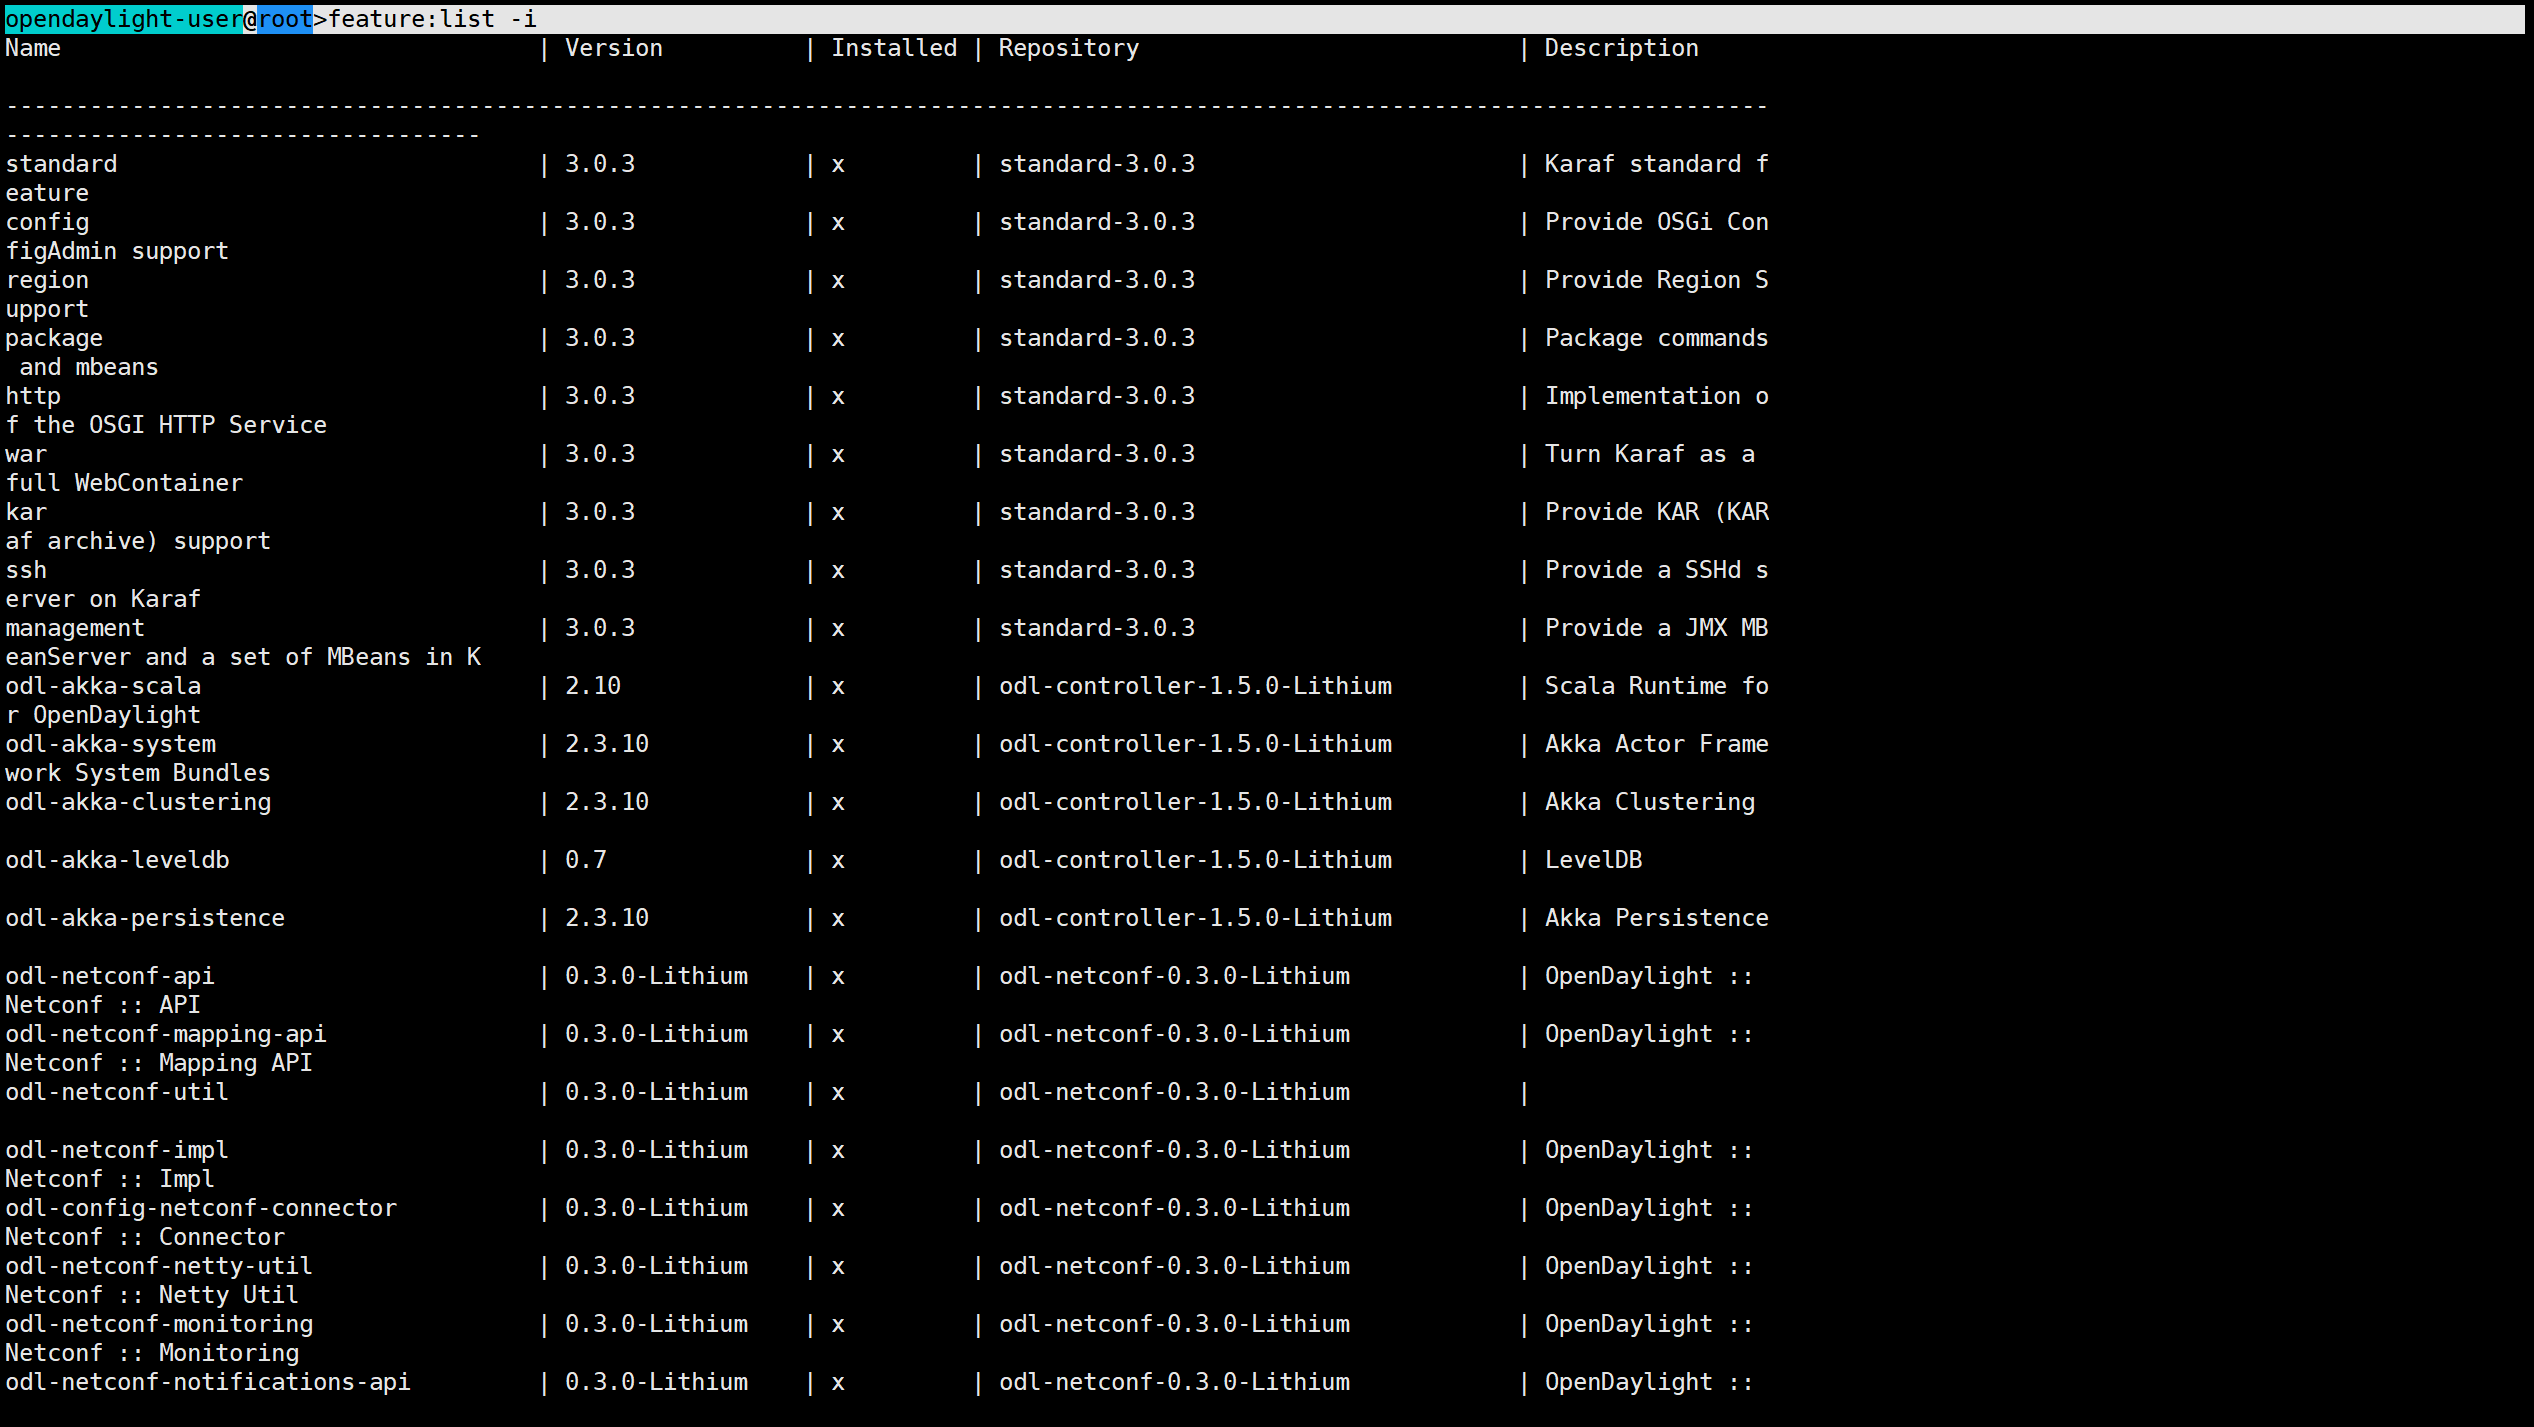
查看已安装的组件:
opendaylight-user@root>feature:list -i
三、验证
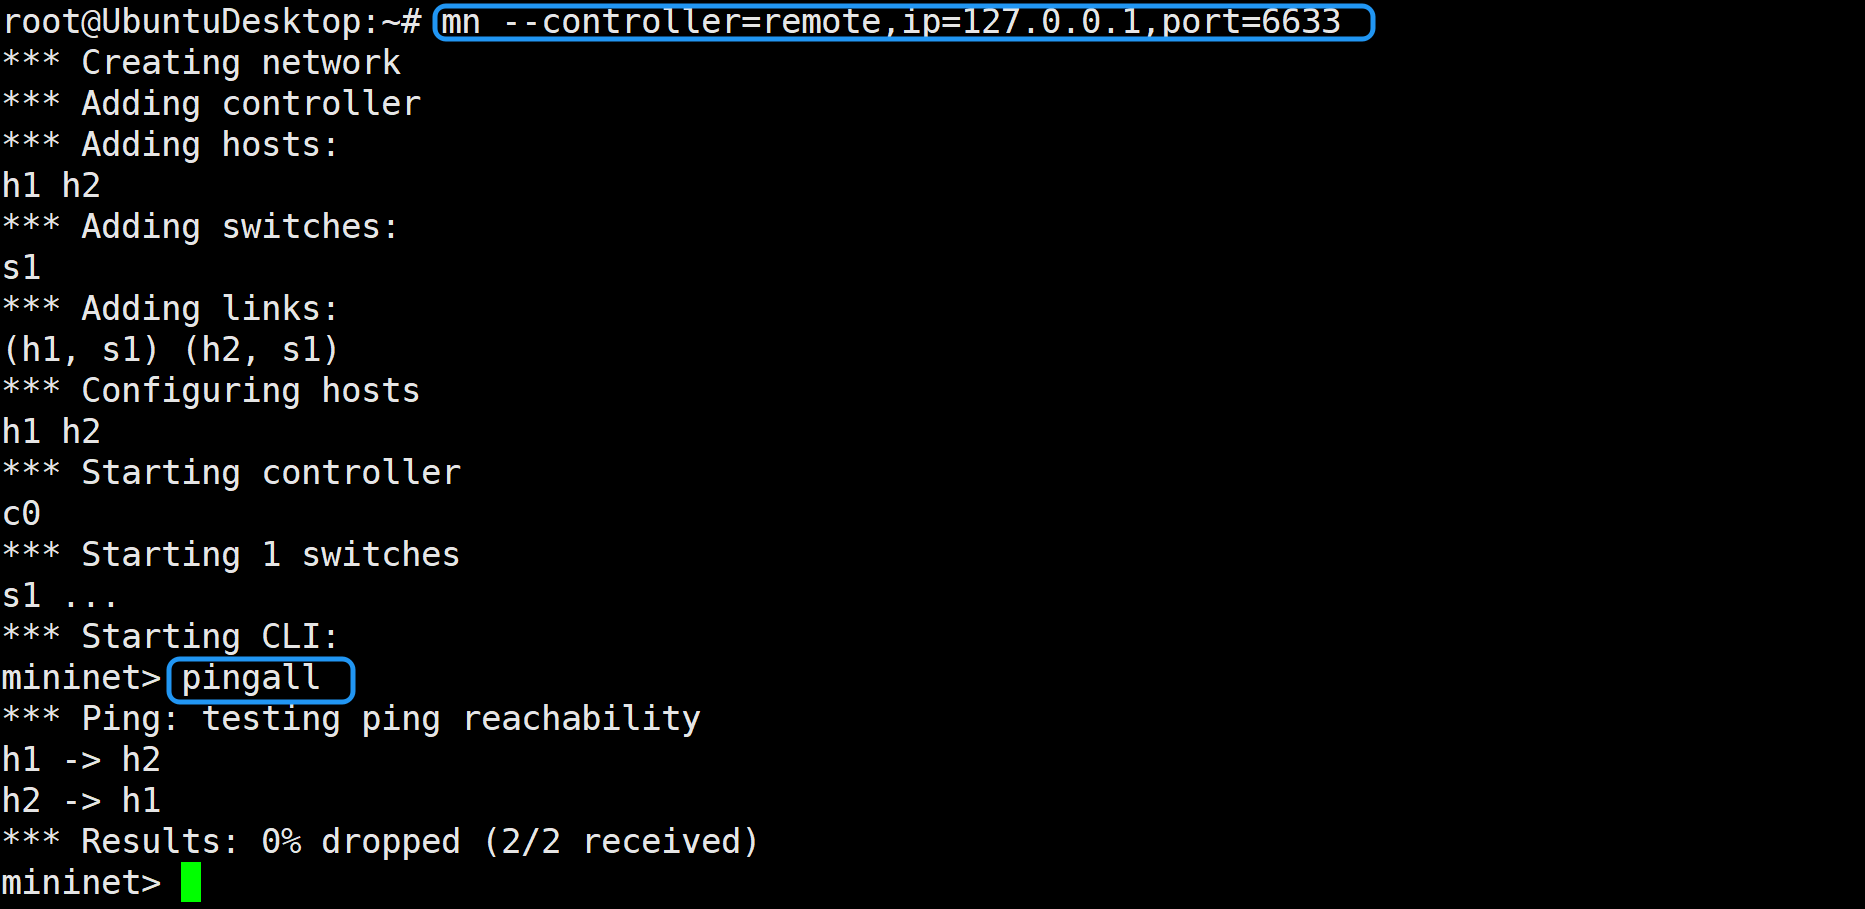
重新打开一个终端,执行下面的命令,创建topo并连接控制器。
mn --controller=remote,ip=127.0.0.1,port=6633
进入到Mininet交互界面后,执行pingall命令。
在物理机浏览器地址栏中输入虚拟机IP:8080/index.html访问OpenDaylight Web界面。
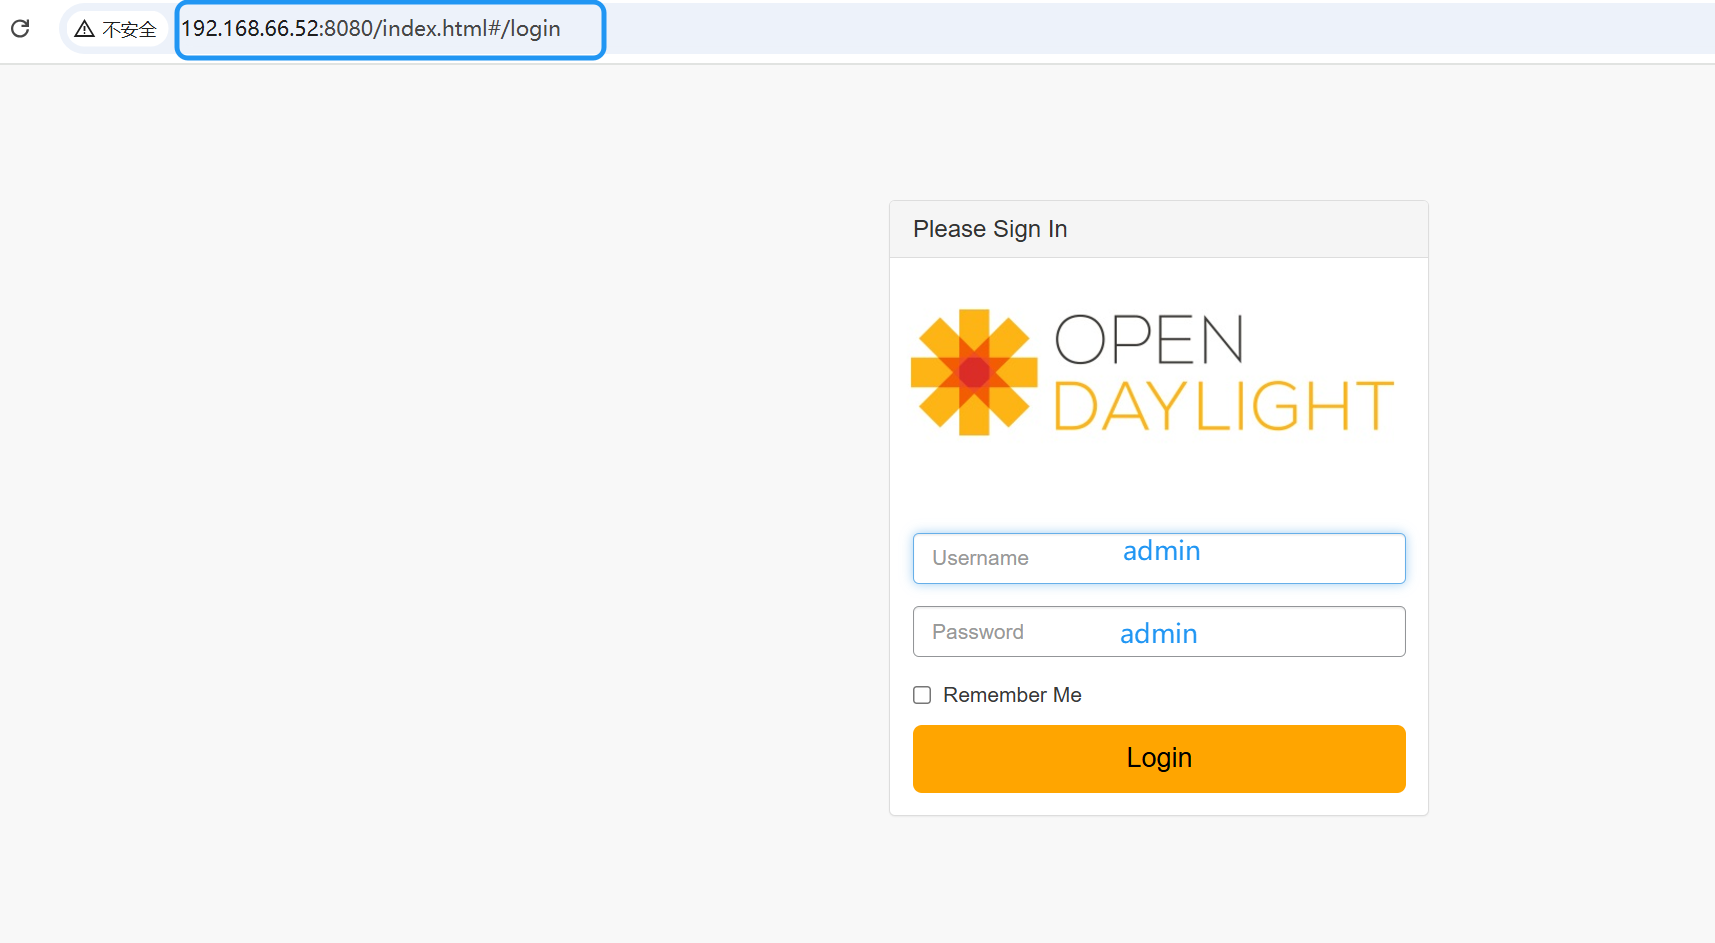
账户名和密码都是admin,登录界面后如下图所示。

 浙公网安备 33010602011771号