基于N卡的TensorFlow安装配置
TensorFlow相关组件的安装
安装Anaconda3
- 安装Anaconda3的时候可以安装在任意磁盘中,在勾选path的时候全部勾选即可。
- 更换Anaconda3的下载源为清华大学源,在此期间不要打开Anaconda3,在cmd中依次输入以下即可:
conda config --add channels https://mirrors.tuna.tsinghua.edu.cn/anaconda/pkgs/free/
conda config --add channels https://mirrors.tuna.tsinghua.edu.cn/anaconda/pkgs/main/
conda config --set show_channel_urls yes
安装Cuda 10.1
显卡驱动版本请先更新至最新版本。 及以上。
及以上。
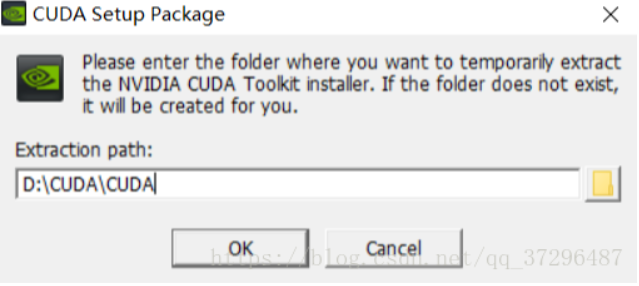
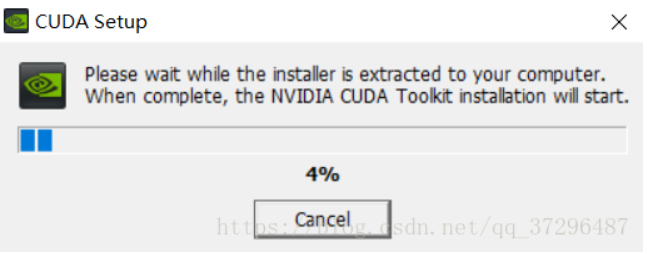

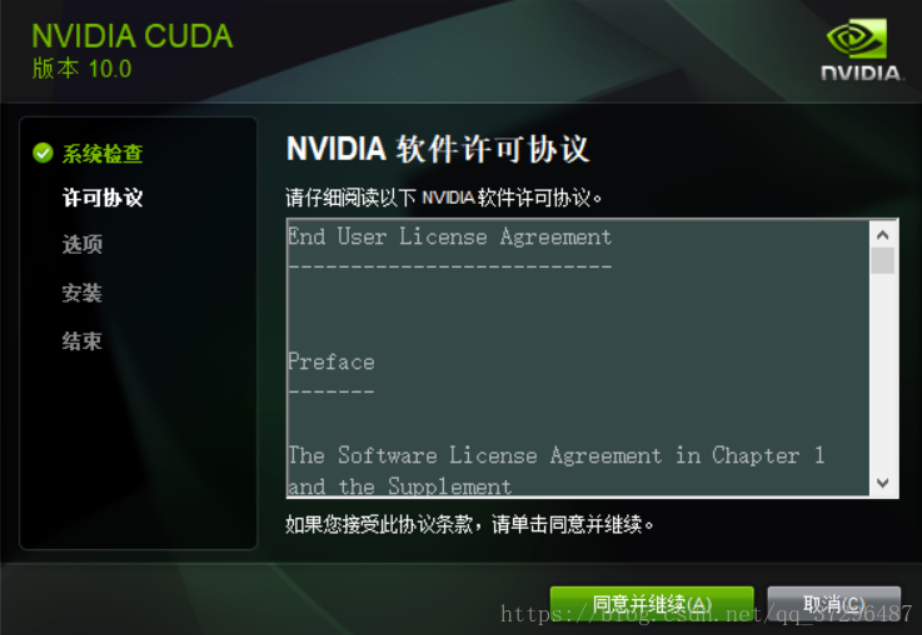
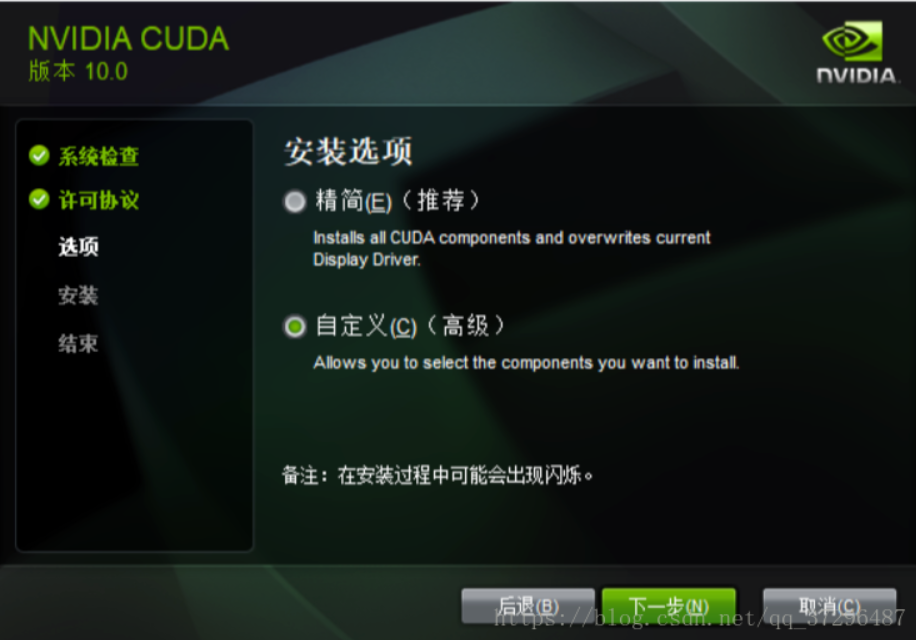
一步步默认安装即可
安装Cudnn-10.1
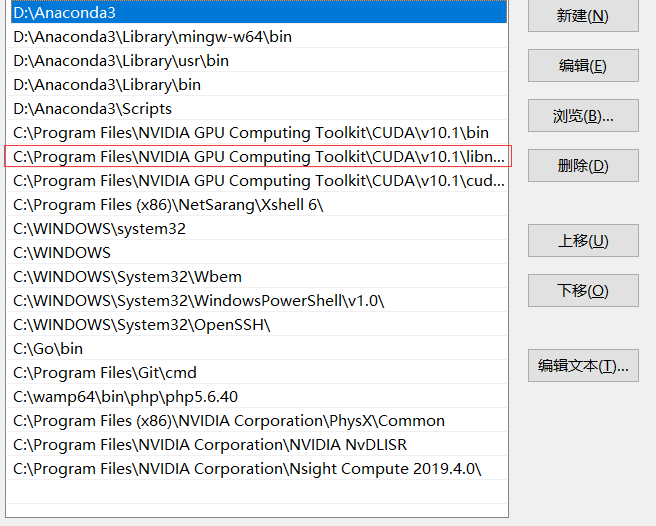
- 首先在cuda安装根目录中找到

- 进入下面目录中

- 将cudnn-10.1压缩包解压处理后 将cudnn文件夹放在上图中的v10.1中
- 复制这个路径

- 配置路径 🡪 1.打开环境变量配置,找到系统变量🡪Path,双击配置🡪新建🡪将复制的路径粘贴进来。并将其上移到下图选中的下方 ,点击确定即可
配置TensorFlow GPU 2.0
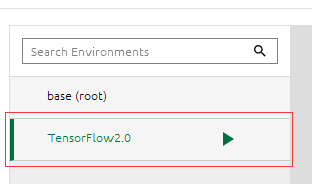
- 打开Anaconda3,进入首页后点击Environments 🡪 下方的“Create”
- 命名为TensorFlow2.0🡪选择Python3.7,另外R 不选。
 选中
选中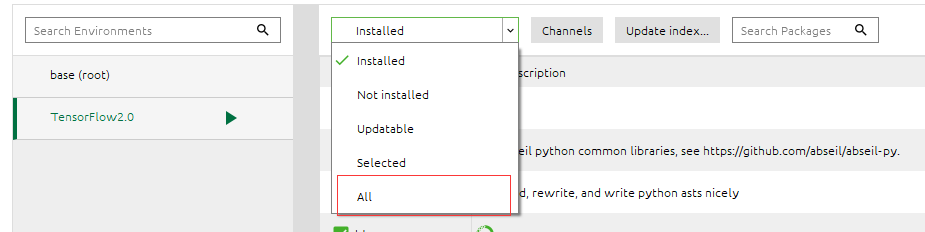 选中 All
- 搜索tensorflow

- 找到 tensorflow-gpu 2.0.0版本 点击apply等待下载,因为更改为清华大学的源所以下载很快。

我的第一个TensorFlow程序
- 打开goland开发工具(没有就自己安装)并新建项目
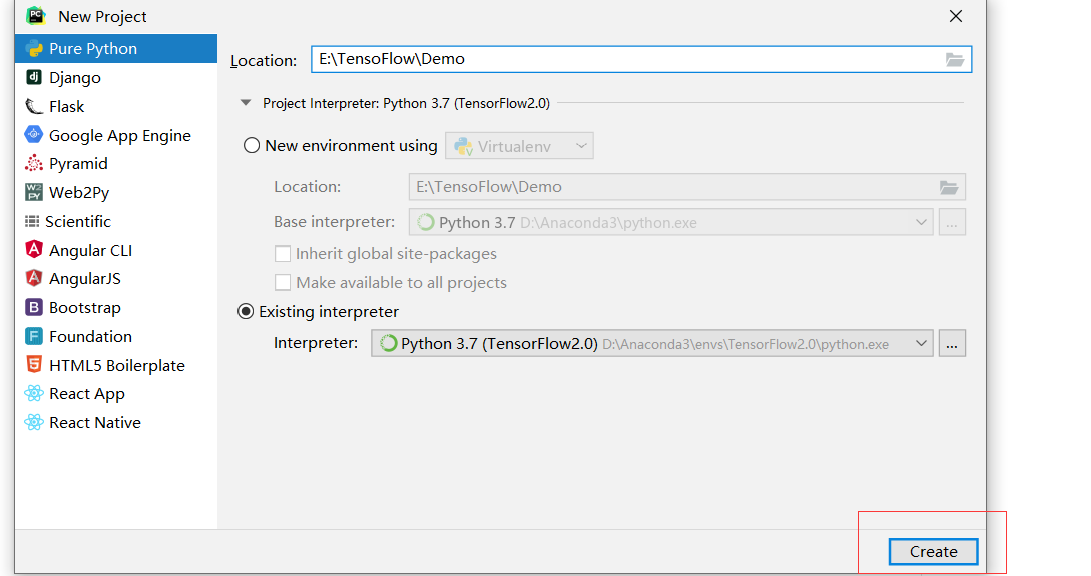
安装这样的路径创建文件
下面是一段代码
from __future__ import absolute_import, division, print_function, unicode_literals
# 安装 TensorFlow
import tensorflow as tf
mnist = tf.keras.datasets.mnist
(x_train, y_train), (x_test, y_test) = mnist.load_data()
x_train, x_test = x_train / 255.0, x_test / 255.0
model = tf.keras.models.Sequential([
tf.keras.layers.Flatten(input_shape=(28, 28)),
tf.keras.layers.Dense(128, activation='relu'),
tf.keras.layers.Dropout(0.2),
tf.keras.layers.Dense(10, activation='softmax')
])
model.compile(optimizer='adam',
loss='sparse_categorical_crossentropy',
metrics=['accuracy'])
model.fit(x_train, y_train, epochs=5)
model.evaluate(x_test, y_test, verbose=2)
复制上面的代码到你项目的.py文件中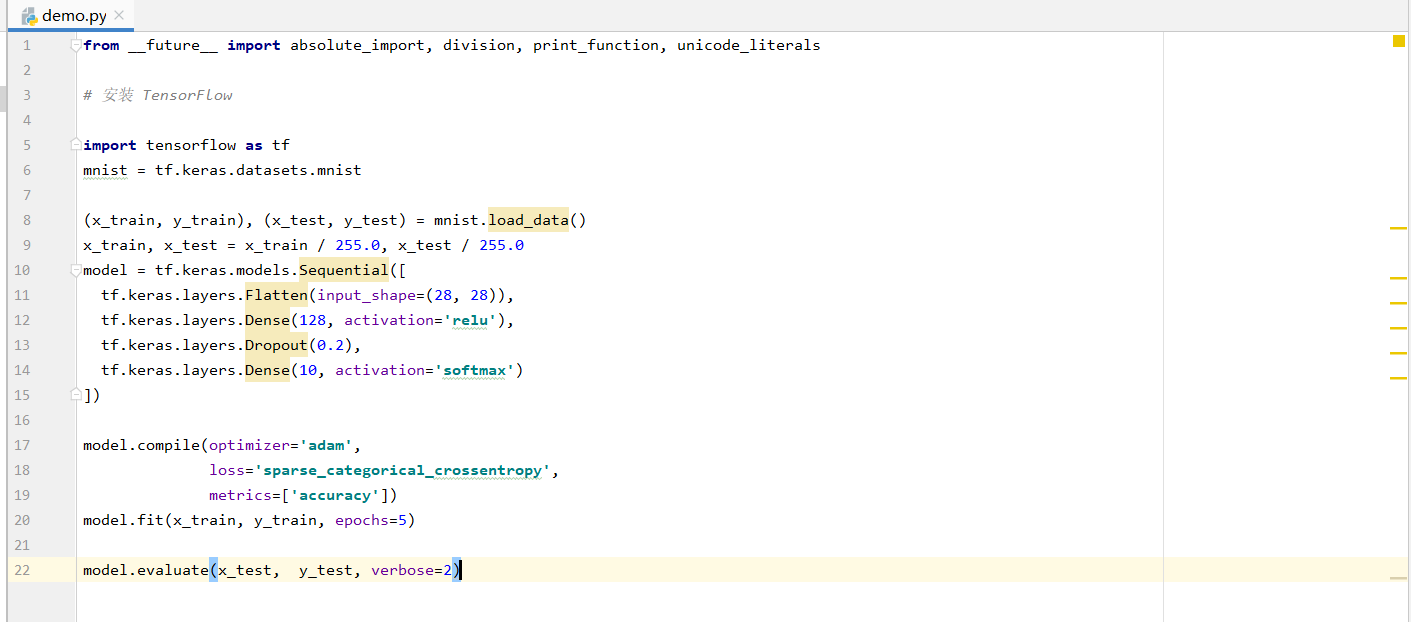
然后,右击选择运行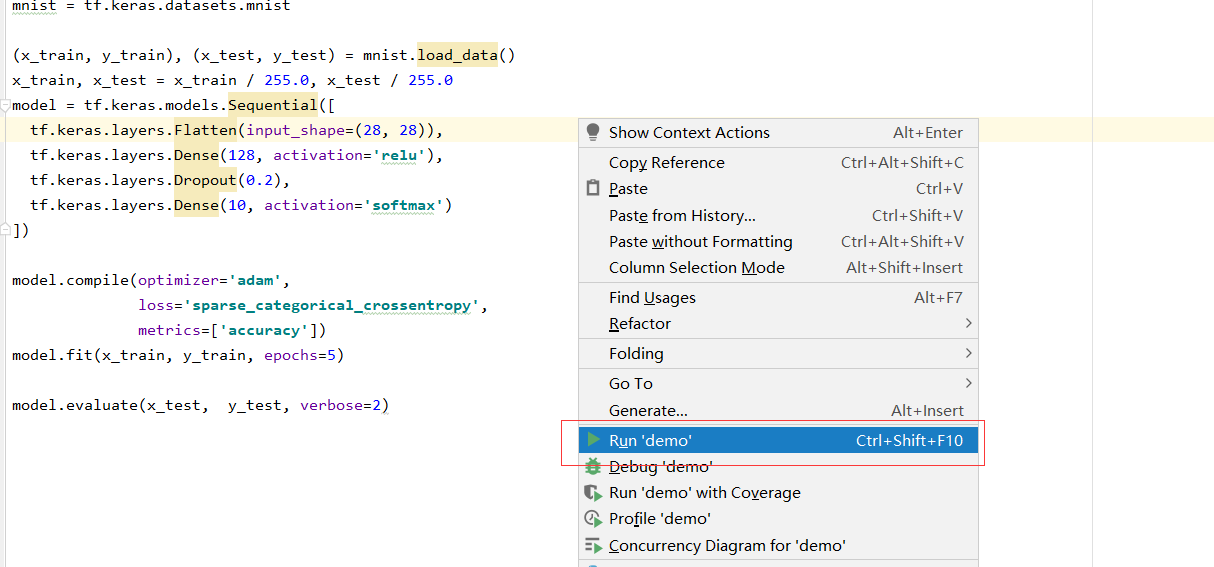
注意:第一次运行毕竟慢,下面是运行效果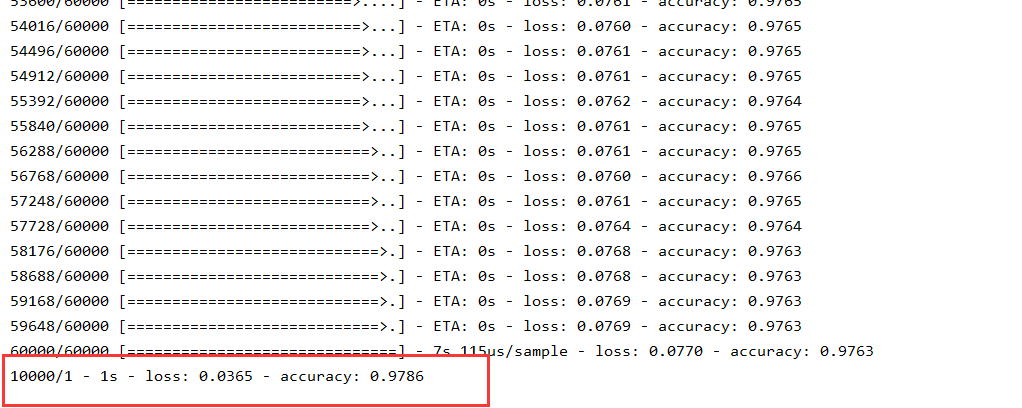
所有的安装和测试都已完成。


【推荐】国内首个AI IDE,深度理解中文开发场景,立即下载体验Trae
【推荐】编程新体验,更懂你的AI,立即体验豆包MarsCode编程助手
【推荐】抖音旗下AI助手豆包,你的智能百科全书,全免费不限次数
【推荐】轻量又高性能的 SSH 工具 IShell:AI 加持,快人一步
· winform 绘制太阳,地球,月球 运作规律
· 震惊!C++程序真的从main开始吗?99%的程序员都答错了
· AI与.NET技术实操系列(五):向量存储与相似性搜索在 .NET 中的实现
· 超详细:普通电脑也行Windows部署deepseek R1训练数据并当服务器共享给他人
· 【硬核科普】Trae如何「偷看」你的代码?零基础破解AI编程运行原理