ELK进行搭建准备环境
1.重命名主机名hostnamectl
2.做域名解析/etc/hosts文件
cat >> /etc/hosts <<EOD
192.168.8.101 elk01
192.168.8.102 elk02
192.168.8.103 elk03
EOD
3.防火墙关闭,及关闭selinux
4.主机无密码登录
elk01生成密钥对
ssh-keygen -t rsa -P '' -f ~/.ssh/id_rsa -q
设置免密登录
for host in 192.168.8.{101..103};do ssh-copy-id $host;done
然后登录域名测试
5.同步数据
所有节点安装数据同步工具rsync
yum -y install rsync
#######编写同步脚本
vim /usr/local/sbin/data_rsync.sh
start
##############################
#!/bin/bash
##Author ZhangSan
if [ $# -ne 1 ];then
echo "Usage: $0 /path/to/file(绝对路径)"
exit
fi
#判断文件存在
if [ ! -e $1 ];then
echo "[ $1] dir orf file not find !"
exit
fi
##获取父路径
fullpath=`dirname $1`
basename=`basename $1`
cd $fullpath
for i in {01..03}
do
###使得终端变为绿色
tput setaf 2
echo "=========== rsyncing elk${i}:$basename ===================="
###使得终端变为原来颜色
tput setaf 7
##########将数据同步到其他两个节点
rsync -az $basename `whoami`@elk${i}:$fullpath
if [ $? -eq 0 ];then
echo "命令执行成功!"
fi
done
###############################################
end
#############数据测试
添加脚本权限
chmod +x data_rsync.sh
elk01添加测试数据:

elk02、elk03同步数据成功!!


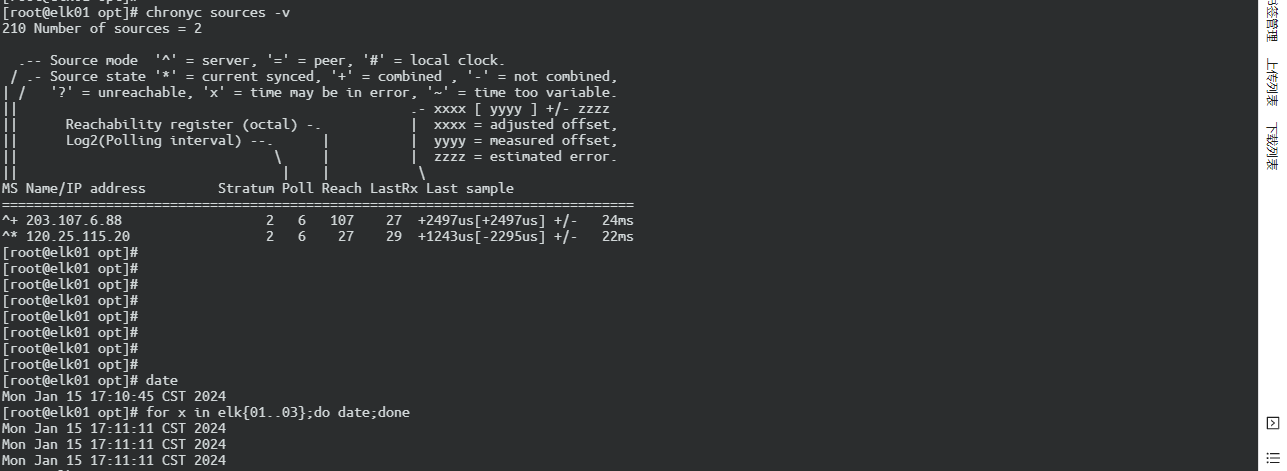
yum -y install ntpdate chrony


