【Pytest学习1】环境准备,pytest学习,Pycharm安装pytest,编写简单的测试函数,pycharm运行的三种方式
pytest简介
pytest是python的一种单元测试框架,与python自带的unittest测试框架类似,但是比unittest框架使用起来更简洁,效率更高。根据pytest的官方网站介绍,它具有如下特点:
- 非常容易上手,入门简单,文档丰富,文档中有很多实例可以参考
- 能够支持简单的单元测试和复杂的功能测试
- 支持参数化
- 执行测试过程中可以将某些测试跳过(skip),或者对某些预期失败的case标记成失败
- 支持重复执行(rerun)失败的case
- 支持运行由nose, unittest编写的测试case
- 可生成html报告
- 方便的和持续集成工具jenkins集成
- 可支持执行部分用例
- 具有很多第三方插件,并且可以自定义扩展
pytest安装
1、直接安装
pip install -U pytest
安装成功:查看安装版本
C:\Users\Ursalink>pytest --version
pytest 6.1.2
安装成功:查看安装版本
pip show pytest
显示结果:
C:\Users\Ursalink>pip show pytest
Name: pytest
Version: 6.1.2
Summary: pytest: simple powerful testing with Python
Home-page: https://docs.pytest.org/en/latest/
Author: Holger Krekel, Bruno Oliveira, Ronny Pfannschmidt, Floris Bruynooghe, Brianna Laugher, Florian Bruhin and others
Author-email: None
License: MIT
Location: g:\1.python\python3.9.0\lib\site-packages
Requires: attrs, iniconfig, colorama, py, toml, pluggy, atomicwrites, packaging
Required-by: allure-pytest
2、pycharm的安装上安装pytest
File -> Settings ->选择python的版本 ->点击加号
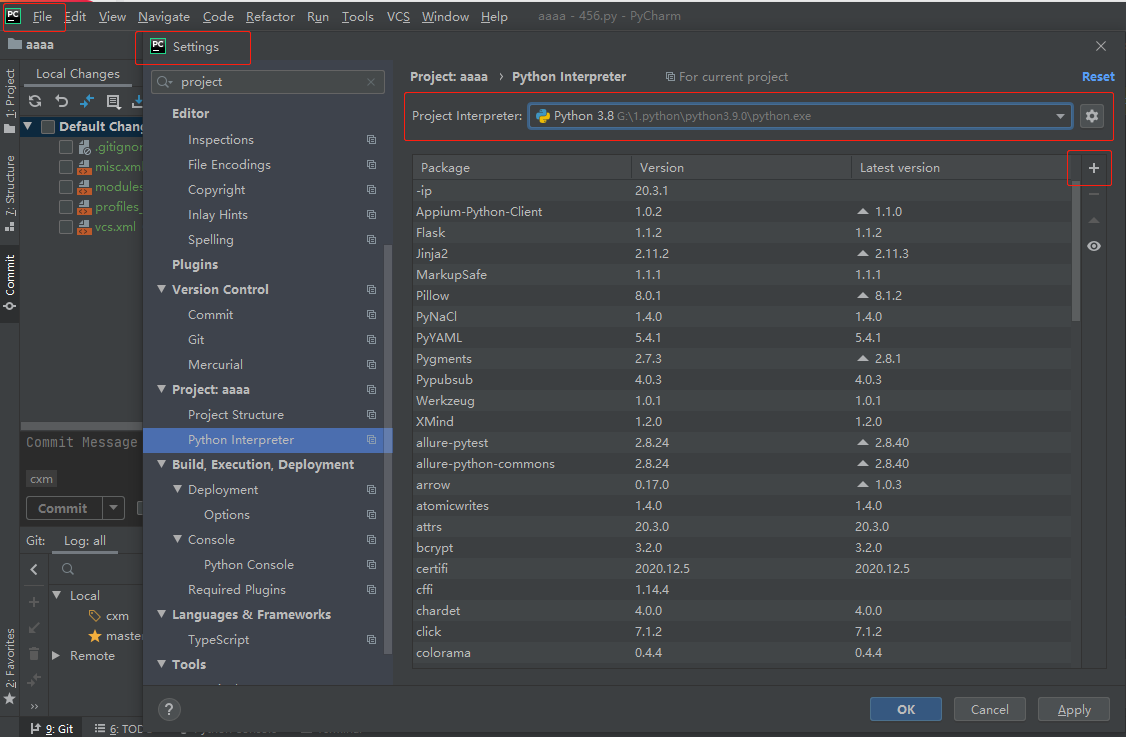
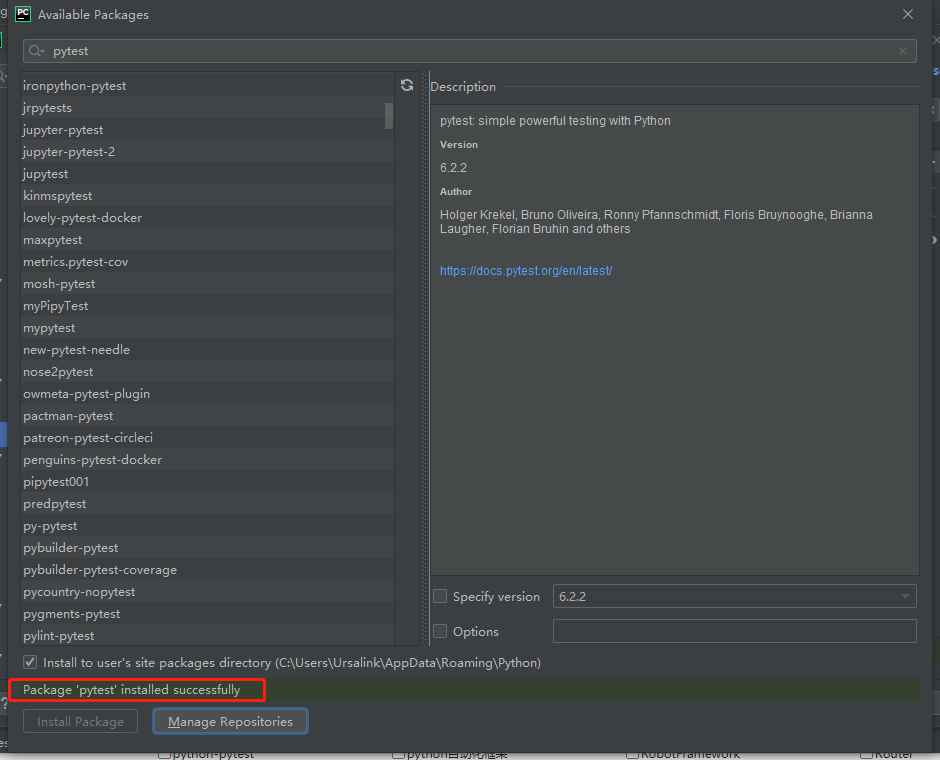
选择当前的文件进行安装
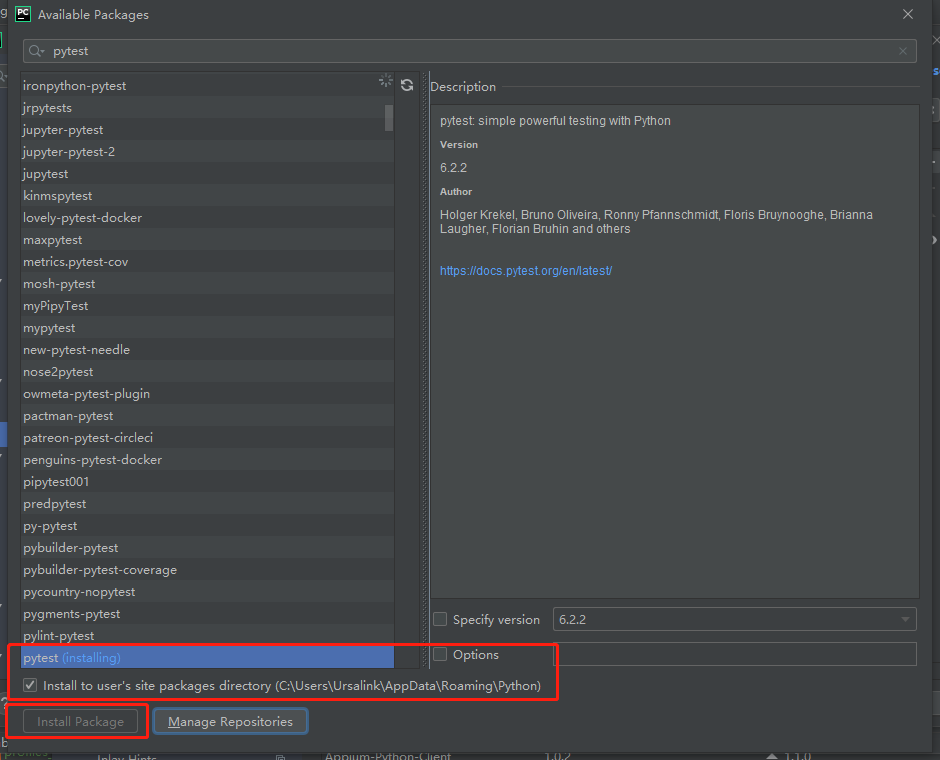
搜索pytest 安装当前文件
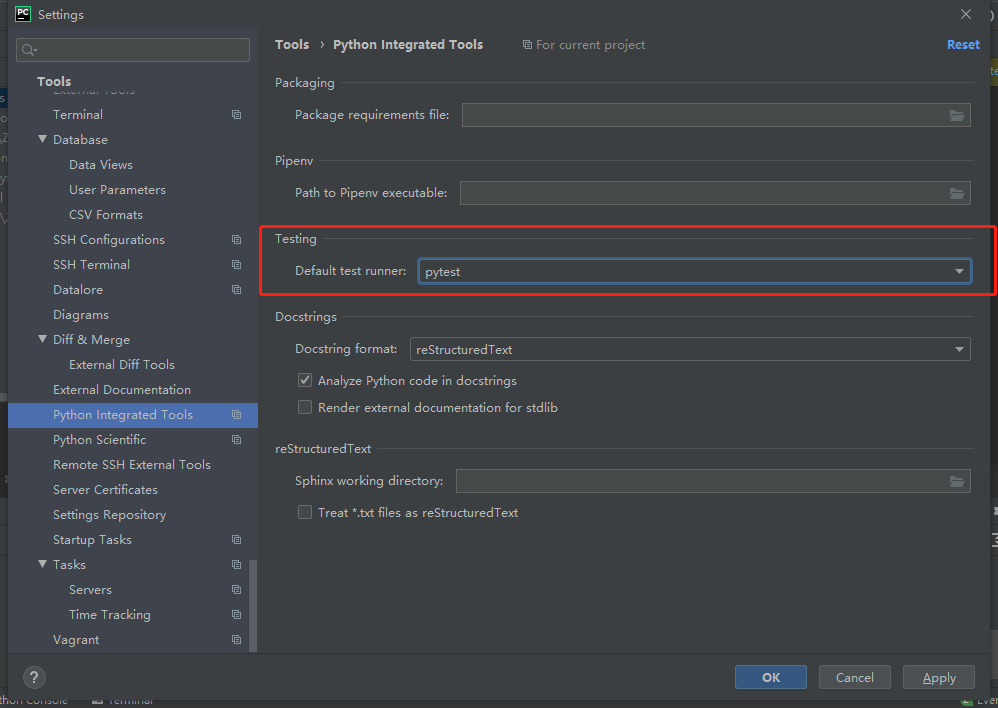
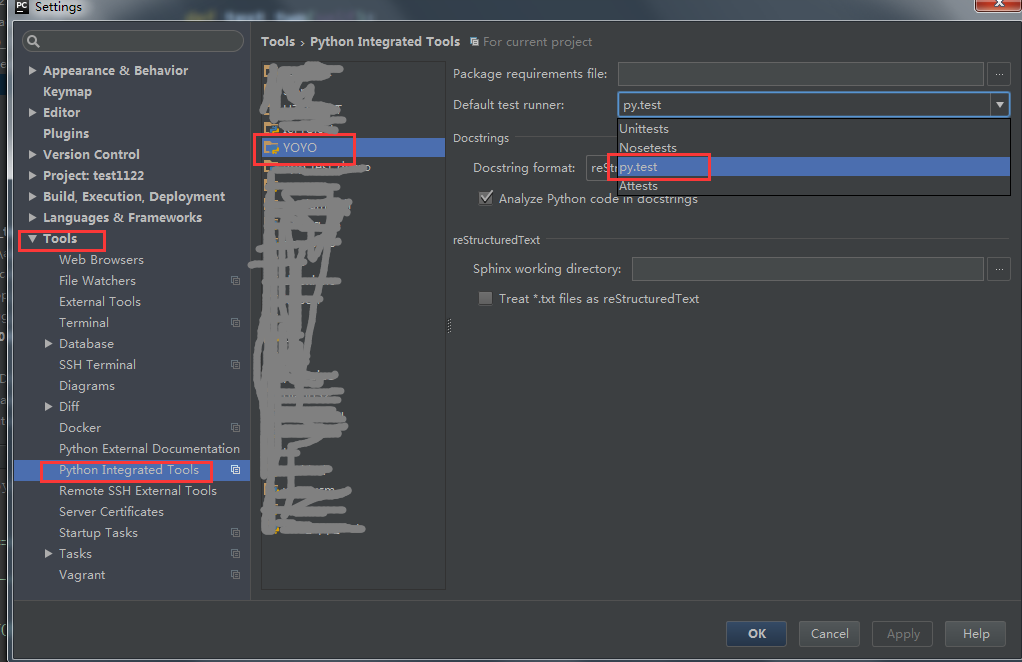
装好之后 以pytest方式运行部分代码,需要改该工程设置默认的运行器:file->Setting->Tools->Python Integrated Tools->项目名称->Default test runner->选择pytest,pytest是可以兼容unittest框架代码的

解决方案如下:
1. 修改工程设置默认的运行器为pytest,file->Setting->Tools->Python Integrated Tools->项目名称->Default test runner->选择pytest后pytest不生效,如果和上面一样的去选择但是不生效,
则可以点击pycharm的右上角的 Edit Configurations,如图: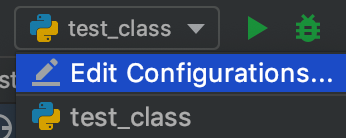
2. 将python改为python test,然后点击【apply】-【OK】按钮,就可以有运行pytest脚本了

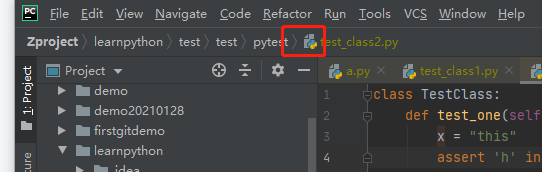

写个测试类
1.一个测试类中包含多个测试用例,文件名要写成 test_XXXX 类名要写成大写 Test 开头,方法名要写成 test_XXX
class TestClass:
    def test_one(self):
        x = "this"
        assert 'h' in x

    def test_two(self):
        x = "hello"
        assert hasattr(x, 'check')
在命令行下去运行当前的用例
第一次测试通过,第二次测试失败,可以在断言中轻松查看失败的原因。
PS G:\1.python\Zproject\learnpython\test\test\pytest> py.test -q test_class.py
.F                                                                                                               [100%]
====================================================== FAILURES =======================================================
_________________________________________________ TestClass.test_two __________________________________________________

self = <test_class.TestClass object at 0x000001F2C677E820>

    def test_two(self):
        x = "hello"
>       assert hasattr(x, 'check')
E       AssertionError: assert False
E        +  where False = hasattr('hello', 'check')

test_class.py:8: AssertionError
=============================================== short test summary info ===============================================
FAILED test_class.py::TestClass::test_two - AssertionError: assert False
1 failed, 1 passed in 0.46s
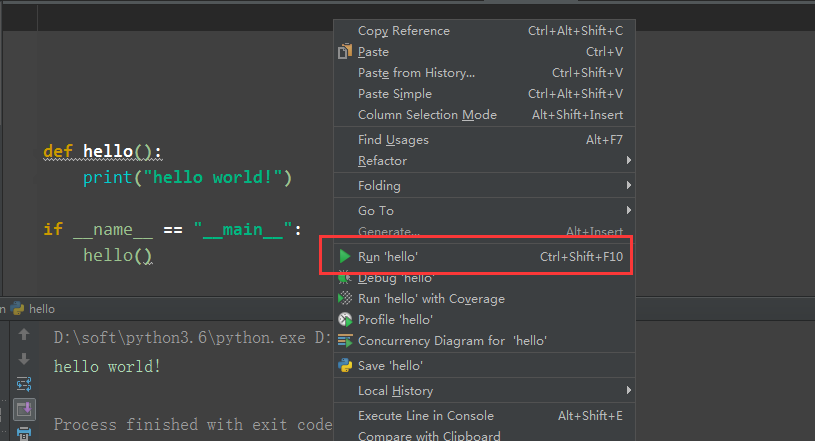
pycharm运行三种方式
1.以xx.py脚本方式直接执行,当写的代码里面没用到unittest和pytest框架时,并且脚本名称不是以test_开头命名的,此时pycharm会以xx.py脚本方式运行
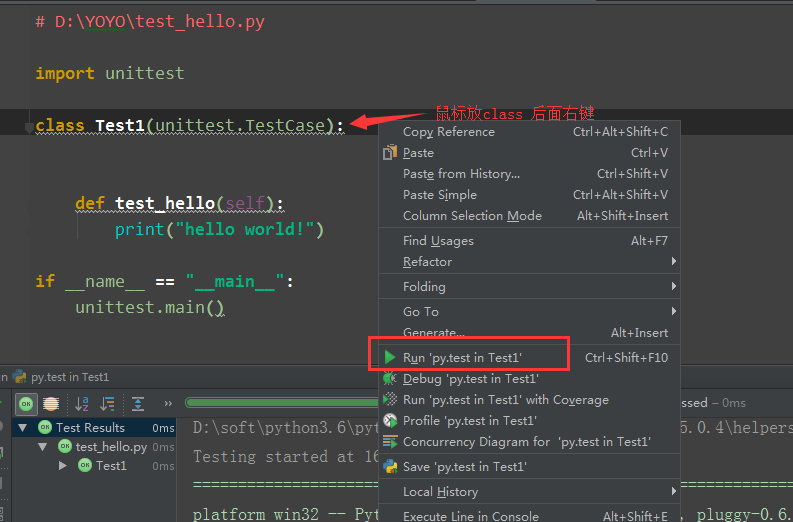
2.当脚本命名为test_xx.py时,用到unittest框架,此时运行代码,pycharm会自动识别到以unittest方式运行

3.以pytest方式运行,需要改该工程设置默认的运行器:file->Setting->Tools->Python Integrated Tools->项目名称->Default test runner->选择py.test
备注:pytest是可以兼容unittest框架代码的
pycharm写pytest代码
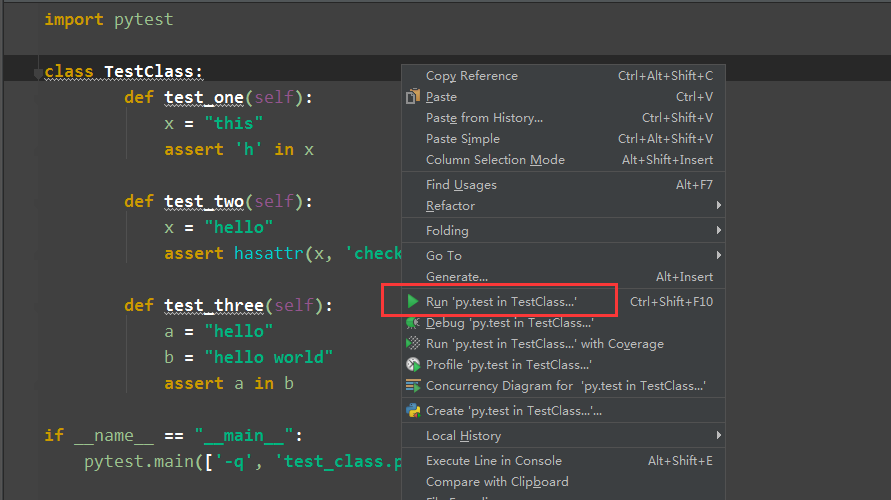
1.在pycharm里面写pytest用例,先导入pytest
import pytest

class TestClass:
        def test_one(self):
            x = "this"
            assert 'h' in x

        def test_two(self):
            x = "hello"
            assert hasattr(x, 'check')

        def test_three(self):
            a = "hello"
            b = "hello world"
            assert a in b

if __name__ == "__main__":
    pytest.main('-q test_class.py')
运行结果
.F.                                                                      [100%]
================================== FAILURES ===================================
_____________________________ TestClass.test_two ______________________________

self = <YOYO.test_class.TestClass object at 0x00000000039F9080>

    def test_two(self):
        x = "hello"
>       assert hasattr(x, 'check')
E       AssertionError: assert False
E        +  where False = hasattr('hello', 'check')

test_class.py:11: AssertionError
============================== warnings summary ===============================
<undetermined location>
  passing a string to pytest.main() is deprecated, pass a list of arguments instead.

-- Docs: http://doc.pytest.org/en/latest/warnings.html
1 failed, 2 passed, 1 warnings in 0.06 seconds
2.运行结果“.F. ” 点是代表测试通过,F是Fail的意思,1 warnings是用于pytest.main('-q test_class.py')里面参数需要传list,多个参数放list就不会有警告了
pytest.main(['-q', 'test_class.py'])
pycharm设置pytest
1.新建一个工程后,左上角file->Setting->Tools->Python Integrated Tools->项目名称->Default test runner->选择py.test
2.改完之后,再重新建个脚本(注意是先改项目运行方式,再写代码才能出来),接下来右键运行就能出来pytest运行了
3.pytest是可以兼容unittest脚本的,之前写的unittest用例也能用pytest框架去运行
参考博主:上海悠悠

 浙公网安备 33010602011771号