
Nginx 添加SSL 及 stream 支持
十年河东,十年河西,莫欺少年穷
学无止境,精益求精
1、添加SSL支持,用于HTTPS加密请求
1、查看nginx的现有配置,并复制粘贴到文本文件
[root@localhost sbin]# whereis nginx
nginx: /usr/sbin/nginx /etc/nginx /usr/share/nginx
[root@localhost sbin]# cd  /usr/sbin
[root@localhost sbin]# ./nginx -V
nginx version: nginx/1.20.2
built by gcc 4.8.5 20150623 (Red Hat 4.8.5-44) (GCC)
configure arguments: --prefix=/usr/share/nginx --sbin-path=/usr/sbin/nginx --modules-path=/usr/lib64/nginx/modules --conf-path=/etc/nginx/nginx.conf --error-log-path=/var/log/nginx/error.log --http-log-path=/var/log/nginx/access.log --pid-path=/run/nginx.pid --lock-path=/run/lock/subsys/nginx --user=nginx --group=nginx
[root@localhost sbin]#
将 configure arguments 后面的内容复制粘贴到 文本文件
也就是这块:
--prefix=/usr/share/nginx --sbin-path=/usr/sbin/nginx --modules-path=/usr/lib64/nginx/modules --conf-path=/etc/nginx/nginx.conf --error-log-path=/var/log/nginx/error.log --http-log-path=/var/log/nginx/access.log --pid-path=/run/nginx.pid --lock-path=/run/lock/subsys/nginx --user=nginx --group=nginx
2、备份sbin目下的二进制 nginx 文件,防止升级失败时无法还原
[root@localhost sbin]# whereis nginx
nginx: /usr/sbin/nginx /etc/nginx /usr/share/nginx
[root@localhost sbin]# cd /usr/sbin
[root@localhost sbin]# mv nginx nginxold
3、进入Nginx的安装目录
注:通过压缩包安装的nginx的安装路径是压缩包的解压路径,但通过yum安装的nginx的安装目录,鄙人查了大量资料没找到具体路径
我的安装路径是:

4、执行升级命令 --with-http_ssl_module
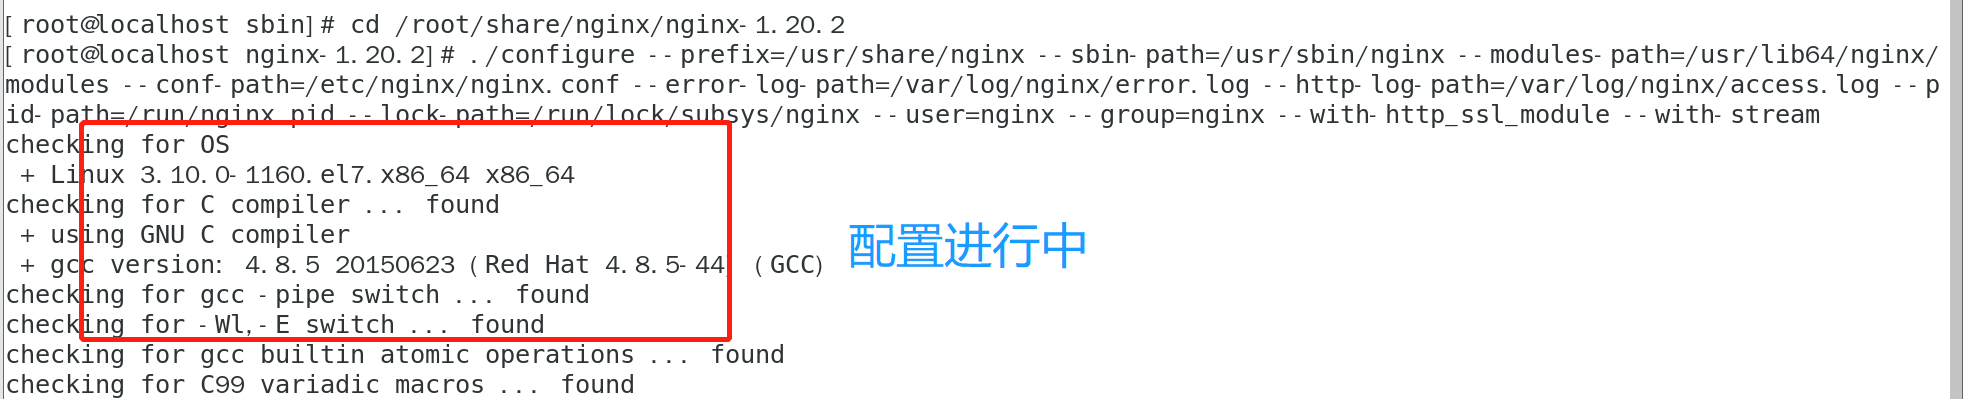
./configure --prefix=/usr/share/nginx --sbin-path=/usr/sbin/nginx --modules-path=/usr/lib64/nginx/modules --conf-path=/etc/nginx/nginx.conf --error-log-path=/var/log/nginx/error.log --http-log-path=/var/log/nginx/access.log --pid-path=/run/nginx.pid --lock-path=/run/lock/subsys/nginx --user=nginx --group=nginx --with-http_ssl_module

说明:通过 ./configure 进行配置,蓝色箭头所指的是刚才我们粘贴到txt文件的内容 ,红色框内为我们要 添加的ssl支持模块
按下 Enter 键,进行配置
如下

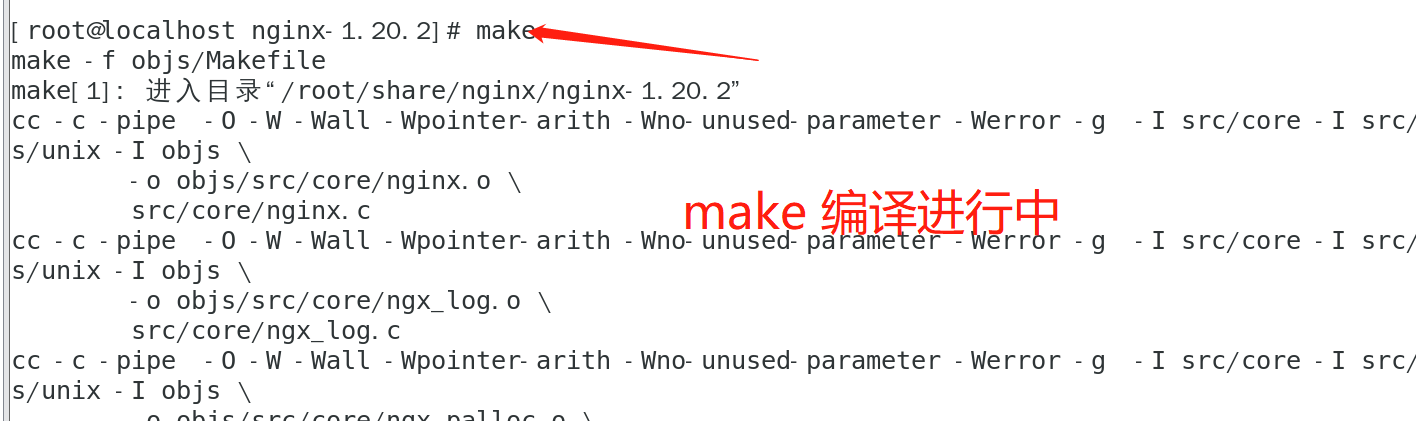
5、输入 make 进行升级 【注意:此处不要输 make install】
make
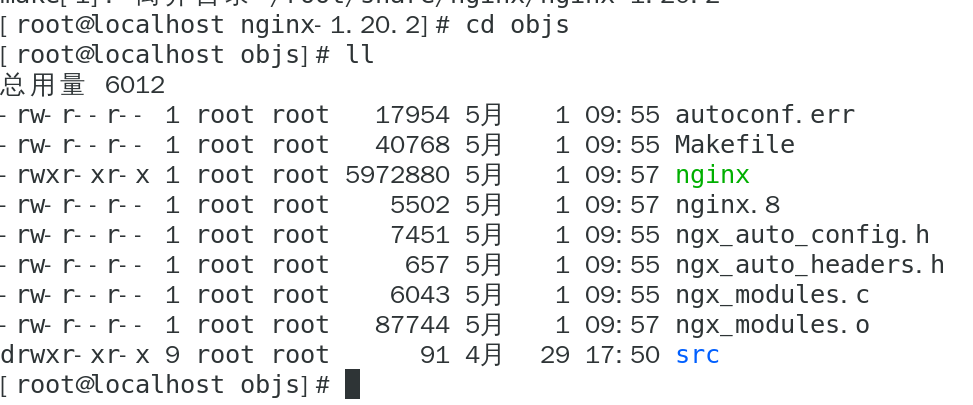
make 执行完毕后,就会生成一个 objs目录,在这个objs目录中就有 nginx的 二进制可执行文件
cd objs
ll
6、复制objs目录下的nginx二进制文件 到 /usr/sbin 目录下,并在上一层执行:make upgrade
[root@localhost objs]# cp nginx /usr/sbin/
[root@localhost objs]# cd ../
[root@localhost nginx-1.20.2]# make upgrade

注:执行 make upgrade 时要返回到 objs 的上一层
待执行完毕后,通过nginx -V 就可以看到新添加的SSL模块了
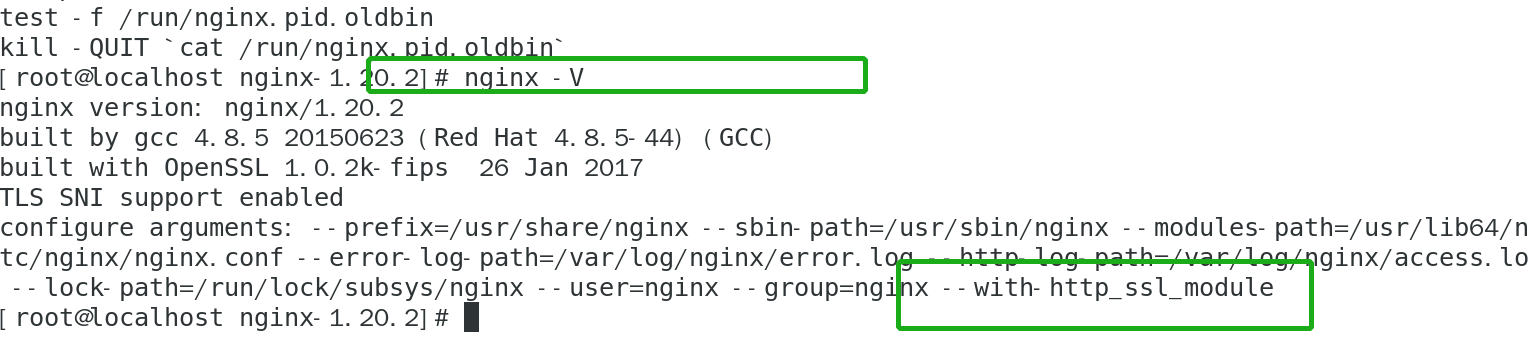
至此 SLL 模块添加完毕。
在nginx中,添加模块的方法都是一样的,唯一的区别是 模块的名称
2、添加stream 模块,开通 TCP 端口侦听
添加 stream 模块和 添加 ssl 模块类似,唯一的区别是把 --with-http_ssl_module 替换为 --with-stream
1、备份nginx可执行文件 并 复制粘贴 nginx配置到 txt 文件中
[root@localhost sbin]# whereis nginx
nginx: /usr/sbin/nginx /etc/nginx /usr/share/nginx
[root@localhost sbin]# cd /usr/sbin
[root@localhost sbin]# ./nginx -V
nginx version: nginx/1.20.2
built by gcc 4.8.5 20150623 (Red Hat 4.8.5-44) (GCC)
built with OpenSSL 1.0.2k-fips  26 Jan 2017
TLS SNI support enabled
configure arguments: --prefix=/usr/share/nginx --sbin-path=/usr/sbin/nginx --modules-path=/usr/lib64/nginx/modules --conf-path=/etc/nginx/nginx.conf --error-log-path=/var/log/nginx/error.log --http-log-path=/var/log/nginx/access.log --pid-path=/run/nginx.pid --lock-path=/run/lock/subsys/nginx --user=nginx --group=nginx --with-http_ssl_module
[root@localhost sbin]# mv nginx nginxold
2、进行nginx安装目录,通过 ./configure 执行 添加的配置 --with-stream
[root@localhost sbin]# cd /root/share/nginx/nginx-1.20.2
[root@localhost nginx-1.20.2]# ./configure --prefix=/usr/share/nginx --sbin-path=/usr/sbin/nginx --modules-path=/usr/lib64/nginx/modules --conf-path=/etc/nginx/nginx.conf --error-log-path=/var/log/nginx/error.log --http-log-path=/var/log/nginx/access.log --pid-path=/run/nginx.pid --lock-path=/run/lock/subsys/nginx --user=nginx --group=nginx --with-http_ssl_module --with-stream

3、按下enter键,执行配置,配置完毕后,输入 make 进行编译,编译成功后,进入 objs文件夹
进入 objs 目录,复制文件 到 /usr/sbin
cd objs
4、复制 objs 目录下的 nginx二进制可执行文件到 /usr/sbin 目录,最后执行 make upgrade 指令,执行 make upgrade 时要返回上一层目录
[root@localhost objs]# cp nginx /usr/sbin/
[root@localhost objs]# cd ../
[root@localhost nginx-1.20.2]# make upgrade
5、查看是否添加成功
[root@localhost nginx-1.20.2]# nginx -V

截止到这,两个模块的支持添加成功
@天才卧龙的博客

 浙公网安备 33010602011771号