

第5篇 如何制作并上传自己的项目模版并生成nuget程序包
轻松快捷创建自己的nuget包,具体步骤如下
1. 创建content文件夹,存放模版源码(bin和obj都不要,只留源码),
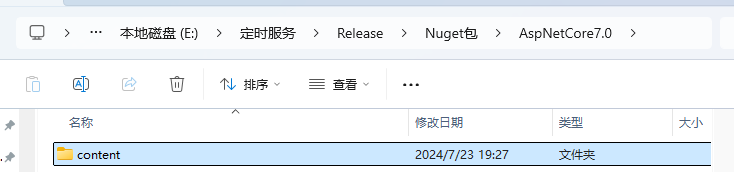
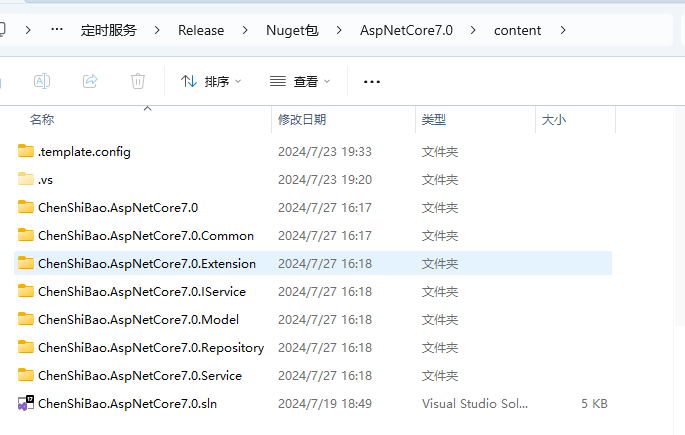
在content下再创建:.template.config/template.josn,
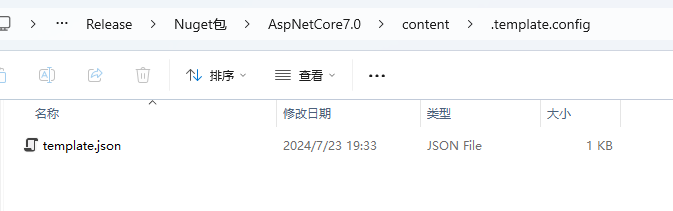
template.josn 文件格式如下
{
"$schema": "http://json.schemastore.org/template",
"author": "Chenshibao",
"classifications": [ "Web/WebApi" ],
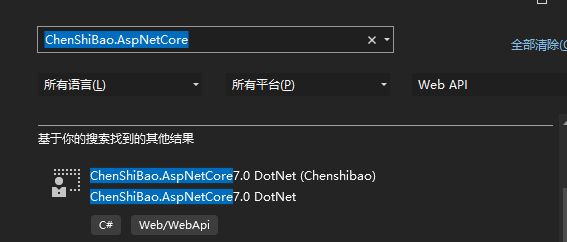
"name": "ChenShiBao.AspNetCore7.0 DotNet",
"identity": "ChenShiBao.AspNetCore7.0.Template",
"shortName": "csbaspnet7tpl",
"tags": {
"language": "C#" ,
"type": "project"
},
"sourceName": "ChenShiBao.AspNetCore7.0", /*此处与解决方案名称一致,安装项目时自动替换成项目名称*/
"preferNameDirectory":true
}
2.创建license文件夹,并创建一个license.txt文件:可以不写license内容

3.官网下载nuget.exe程序拷到与content同级目录
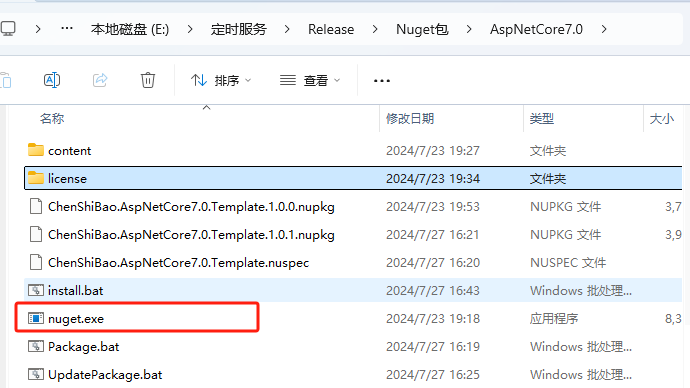
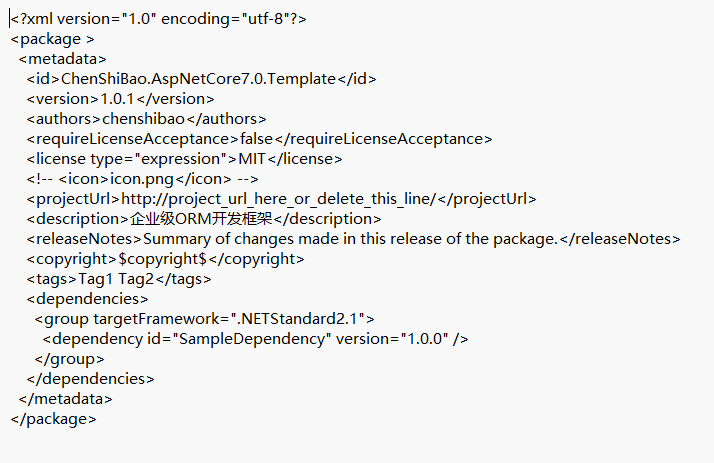
4.打开控制台,cmd切换到content同级目录,执行nuget spec命令,生成对应的ChenShiBao.AspNetCore7.0.Template.nuspec文件
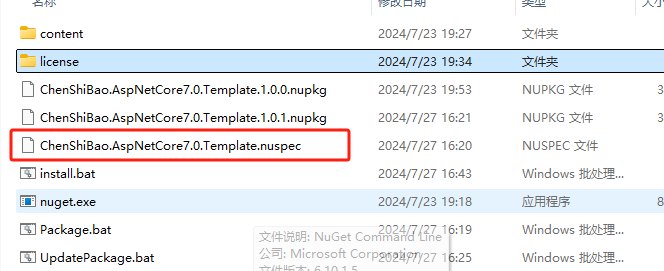
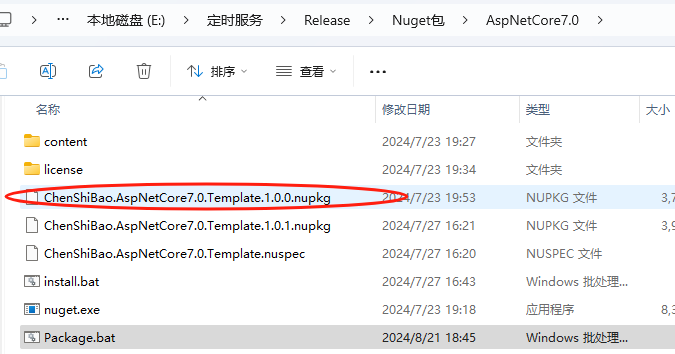
5.新建一个Package.bat文件,内容如下,双击Package,生成项目模版 ChenShiBao.AspNetCore7.0.Template.1.0.0.nupkg
nuget pack ChenShiBao.AspNetCore7.0.Template.nuspec
pause
你可以打开查看并修改包里的内容
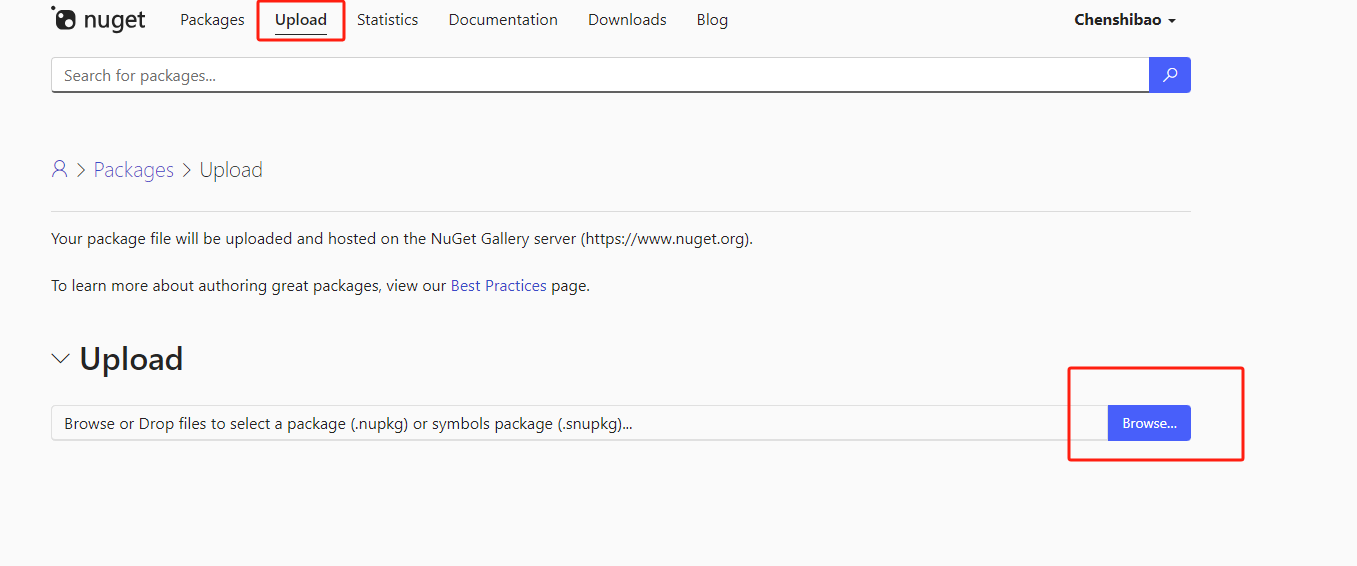
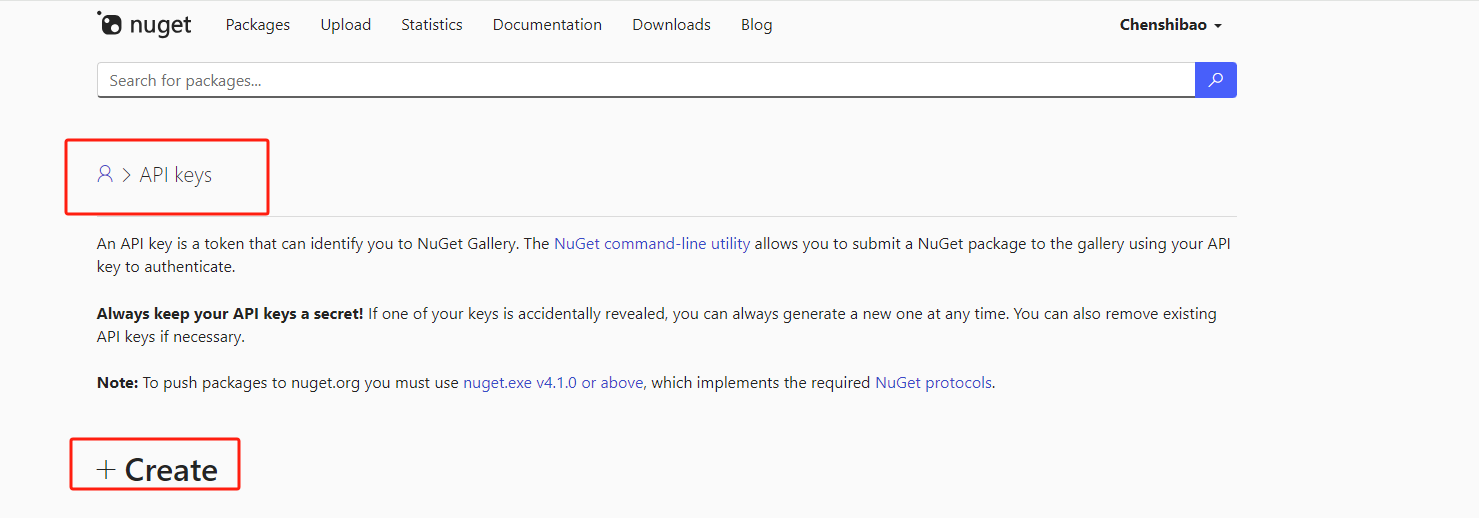
6.注册nuget账号【已有就登录】,提交ChenShiBao.AspNetCore7.0.Template.1.0.0.nupkg 项目模板,同时生成一个nuget的apiKey,等待一段时间,就可以在vs2022中看到
7.等nuget生效后,重新打开vs2022,就可以创建自己的项目模版了


【推荐】编程新体验,更懂你的AI,立即体验豆包MarsCode编程助手
【推荐】凌霞软件回馈社区,博客园 & 1Panel & Halo 联合会员上线
【推荐】抖音旗下AI助手豆包,你的智能百科全书,全免费不限次数
【推荐】博客园社区专享云产品让利特惠,阿里云新客6.5折上折
【推荐】轻量又高性能的 SSH 工具 IShell:AI 加持,快人一步
· 2分钟学会 DeepSeek API,竟然比官方更好用!
· .NET 使用 DeepSeek R1 开发智能 AI 客户端
· 10亿数据,如何做迁移?
· 推荐几款开源且免费的 .NET MAUI 组件库
· c# 半导体/led行业 晶圆片WaferMap实现 map图实现入门篇