docker私有仓库harbor搭建部署
1.安装docker-ce
yum remove -y docker docker-common container-selinux docker-selinux docker-engine
yum install -y yum-utils device-mapper-persistent-data lvm2
yum-config-manager --add-repo https://download.docker.com/linux/centos/docker-ce.repo
yum install docker-ce -y
curl -sSL https://get.daocloud.io/daotools/set_mirror.sh | sh -s http://bc437cce.m.daocloud.io
2.安装docker-compose
pip install docker-compose
3.下载离线安装包:wget https://storage.googleapis.com/harbor-releases/release-1.7.0/harbor-offline-installer-v1.7.5.tgz,解压到/data/目录下
4.生成https证书:https://www.cnblogs.com/chenjw-note/p/6213880.html
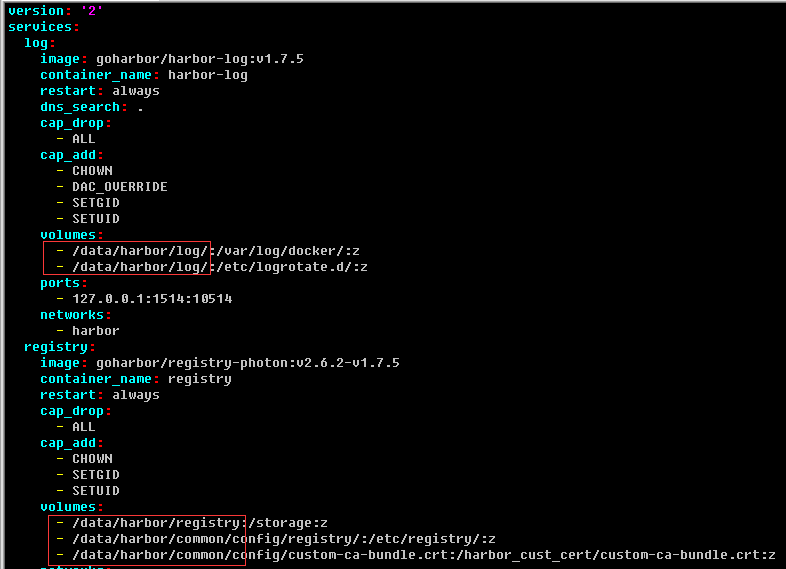
5.修改harbor.conf和docker-compose.yml,注意定义数据卷路径
harbor.conf
hostname = xxxxxxxx    #IP地址
ui_url_protocol = https   #使用htts
ssl_cert = /data/harbor/cert/server.crt
ssl_cert_key = /data/harbor/cert/server.key
#生成https证书:https://www.cnblogs.com/chenjw-note/p/6213880.html
secretkey_path = /data/harbor
harbor_admin_password = xxxxx    #admin密码
docker-compose.yml #自定义相关路径即可

6.初始化配置文件: ./prepare
7.执行install.sh脚本安装harbor并同时启动harbor服务
8.注意:/data/harbor/ 目录下的文件不可以删除,因为后面管理使用到yaml文件
9.停止Harbor:
$ sudo docker-compose stop
Stopping nginx ... done
Stopping harbor-jobservice ... done
Stopping harbor-ui ... done
Stopping harbor-db ... done
Stopping registry ... done
Stopping harbor-log ... done
10.停止后重新启动Harbor:
$ sudo docker-compose start
Starting log ... done
Starting ui ... done
Starting mysql ... done
Starting jobservice ... done
Starting registry ... done
Starting proxy ... done
11.访问地址:https://ip地址
账号:admin
密码:xxxxx
一些事情一直在干,说不定以后就结果了呢
本文来自博客园,作者:chenjianwen,转载请注明原文链接:https://www.cnblogs.com/chenjw-note/articles/10951179.html


 浙公网安备 33010602011771号