Module 3 - Azure - Web Apps
2019-04-25 09:41 jetwill 阅读(432) 评论(0) 收藏 举报Module 3 - 微软云 Azure - Web Apps
1. Create new Web application in the Azure Portal
Azure Portal -> App Services -> Add -> Web App。
在这个过程中,Azure Portal 会要求你创建一个 Resource Group(资源组),在资源组里面,你会看到 App Service, App Service Plan, Application Insights(Optional)。
2. Deploy your application from Visual Studio to Azure by using deployment slot
首先在个人电脑上安装 Microsfot Visual Studio Community 2019;
然后按照教程 在Azure中创建ASP.net Core Web App 一步一步操作即可。
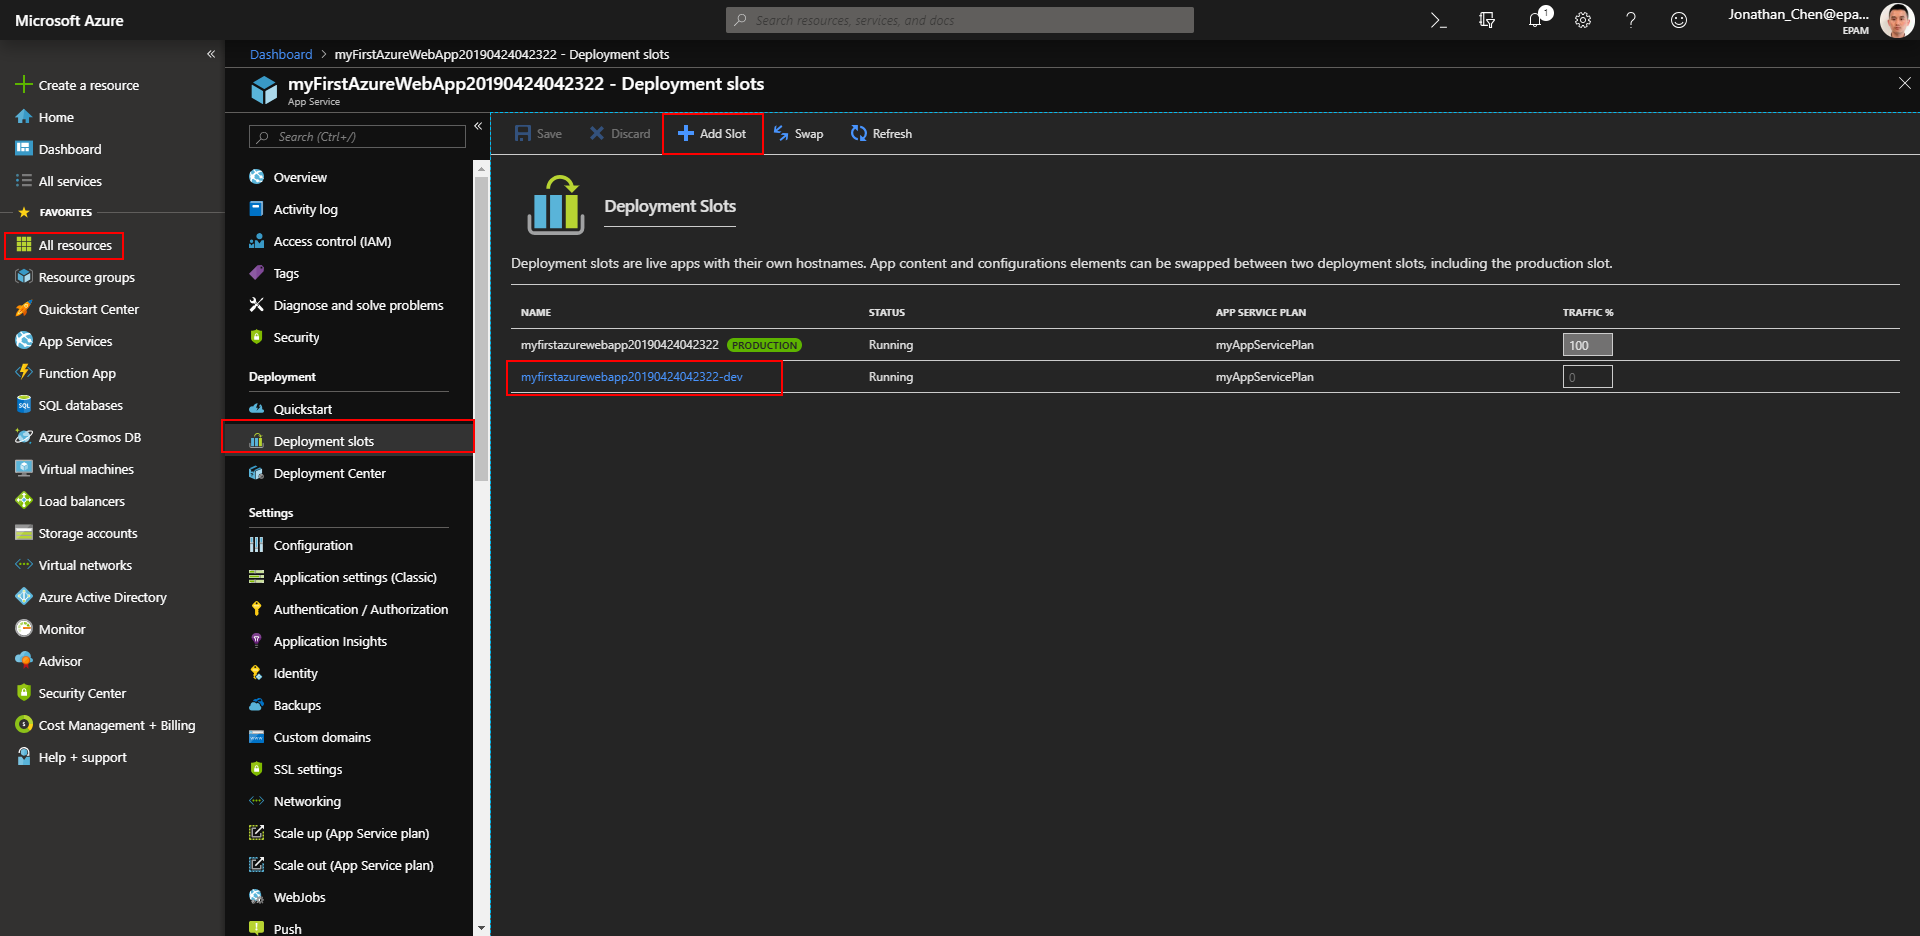
完成之后,在 Azure Portal 选中你所创建的 App Service,再选择 Deployment Slot,再选择 Add Slot,即可创建一个Slot(插槽)。
比如说,你可以为 Dev、SIT、UAT、PreProd(Staging)、PROD、BCP等分别创建不同的插槽。插槽的妙处在于你可以在类似生产的环境进行验证之后,然后对 Staging 和 Production 的内容进行交换(Swap)。
Add Slot
3. Move you project to Version Control system (Git or TFS) and set up Continuous Deployment process from your VC system to Azure
我选择的仓库托管中心是 GitHub,所以首先确保在 github.com 拥有自己的账号。
并且在个人电脑上安装 Git 的客户端。确保可以在本地磁盘打开 Git Bash。
Git 中 SSH key 生成步骤 按照该文章的说明,运行 ssh-keygen -t rsa -C "youremail@example.com" 在 ~/.ssh 目录下生成私钥 id_rsa 和公钥 id_rsa.pub,
并且需要把公钥的内容配置到 GitHub 网站。
在 GitHub 上新建一个仓库,名字和我的 Visual Studio 的项目的名字一致 myFirstAzureWebApp。
然后在本地磁盘的 myFirstAzureWebApp 项目文件夹下打开 Git Bash,
通过以下命令建立 本地库 和 远程库 之间的联系。
echo "# myFirstAzureWebApp" >> README.md
git init
git status
git add --all
git commit -m "first commit" -a
git remote add origin git@github.com:kingmax-chan/myFirstAzureWebApp.git
git push -u origin master
以后的新增开发一般通过 git status, git add, git commit, git push 等命令,就可以满足基本需求。
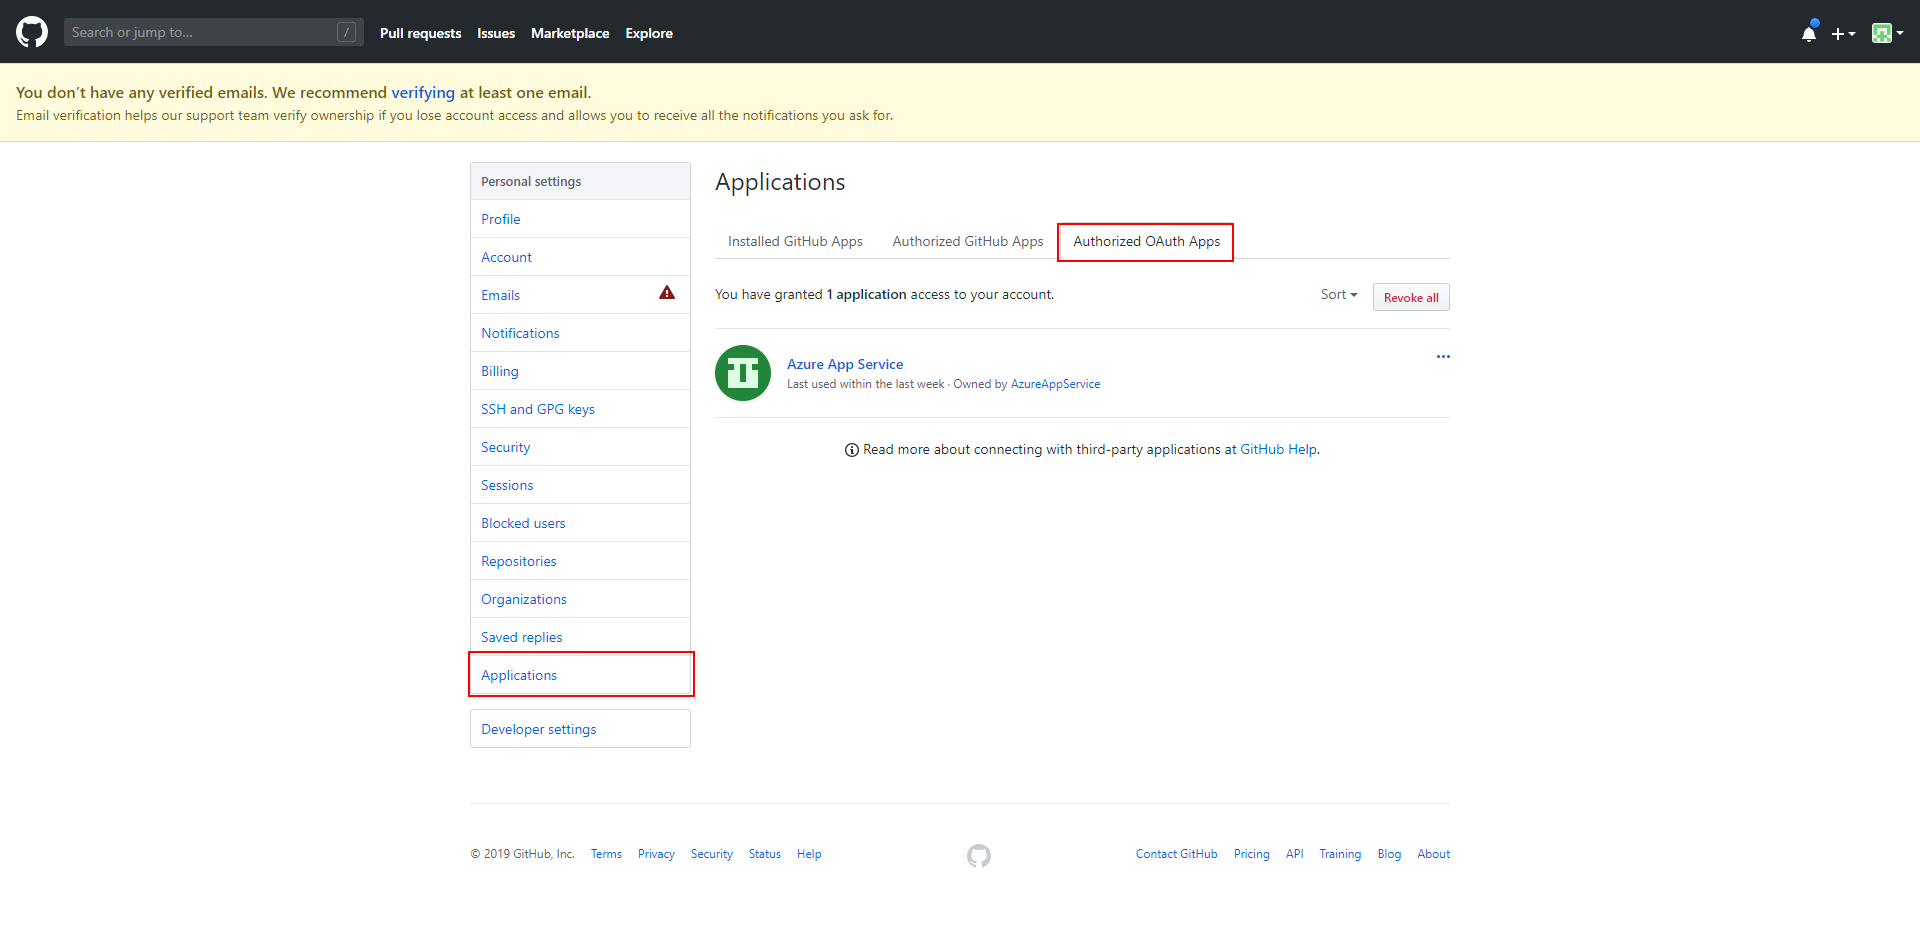
在 GitHub 授权给 Azure App Service。
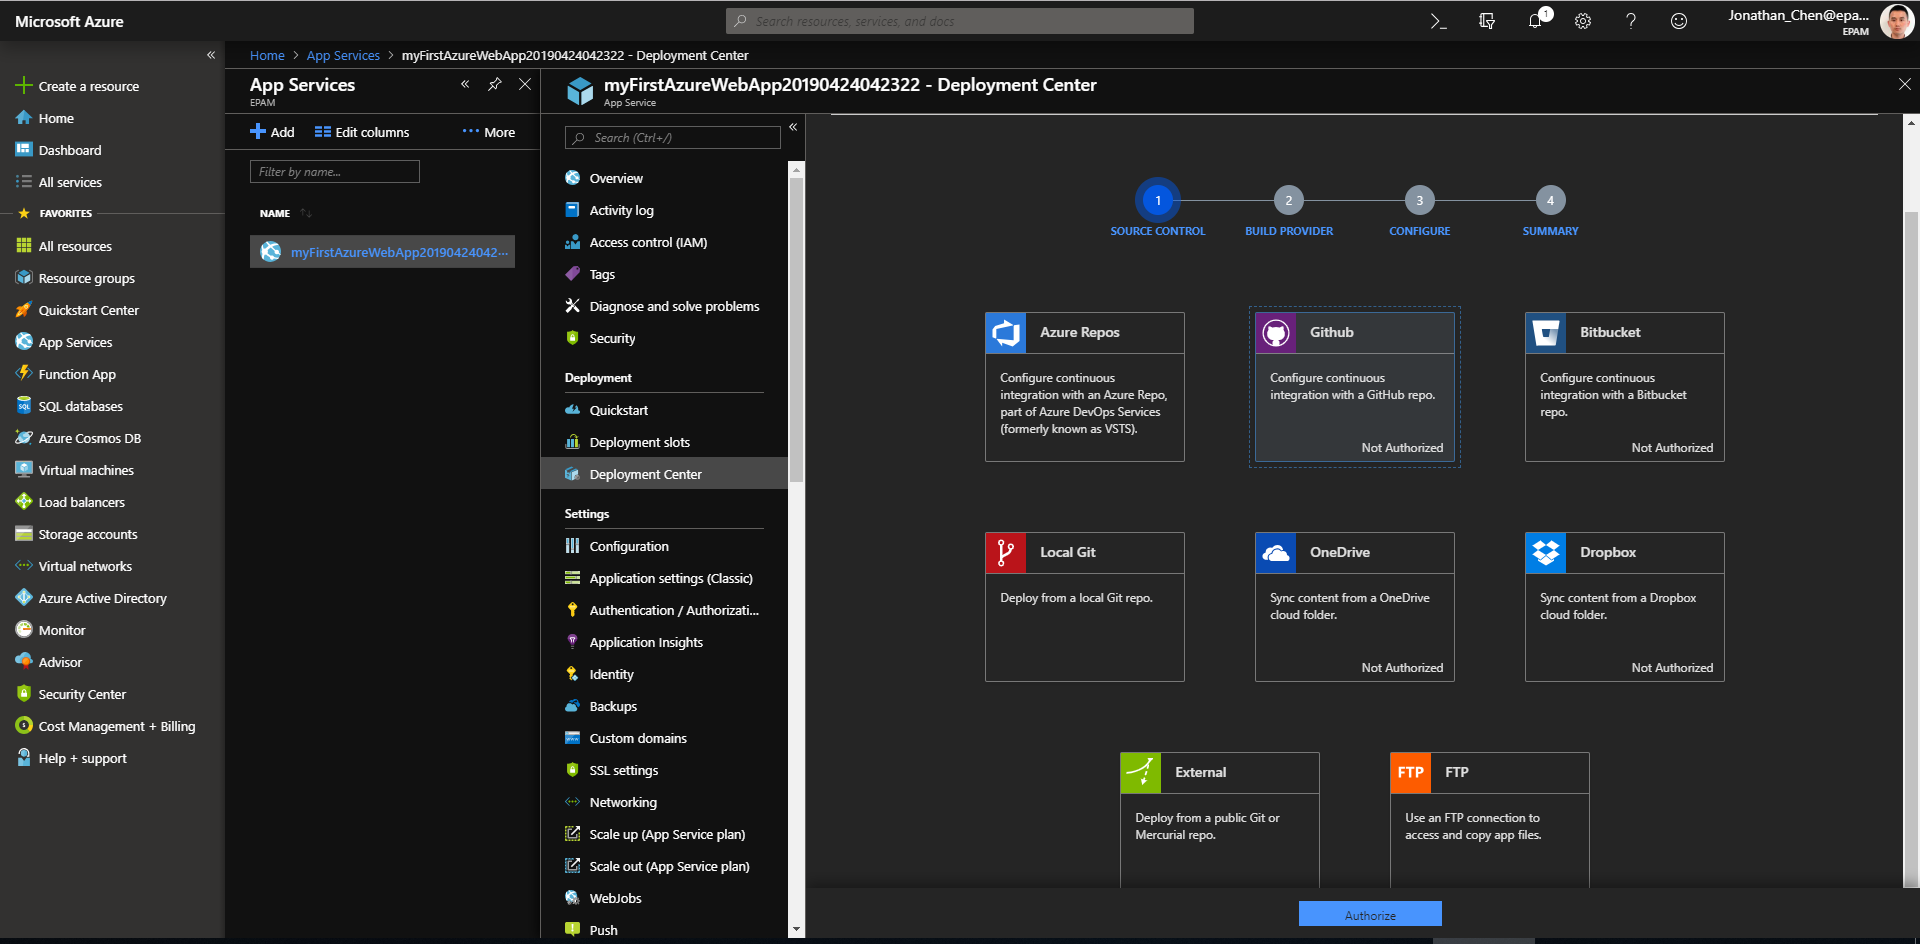
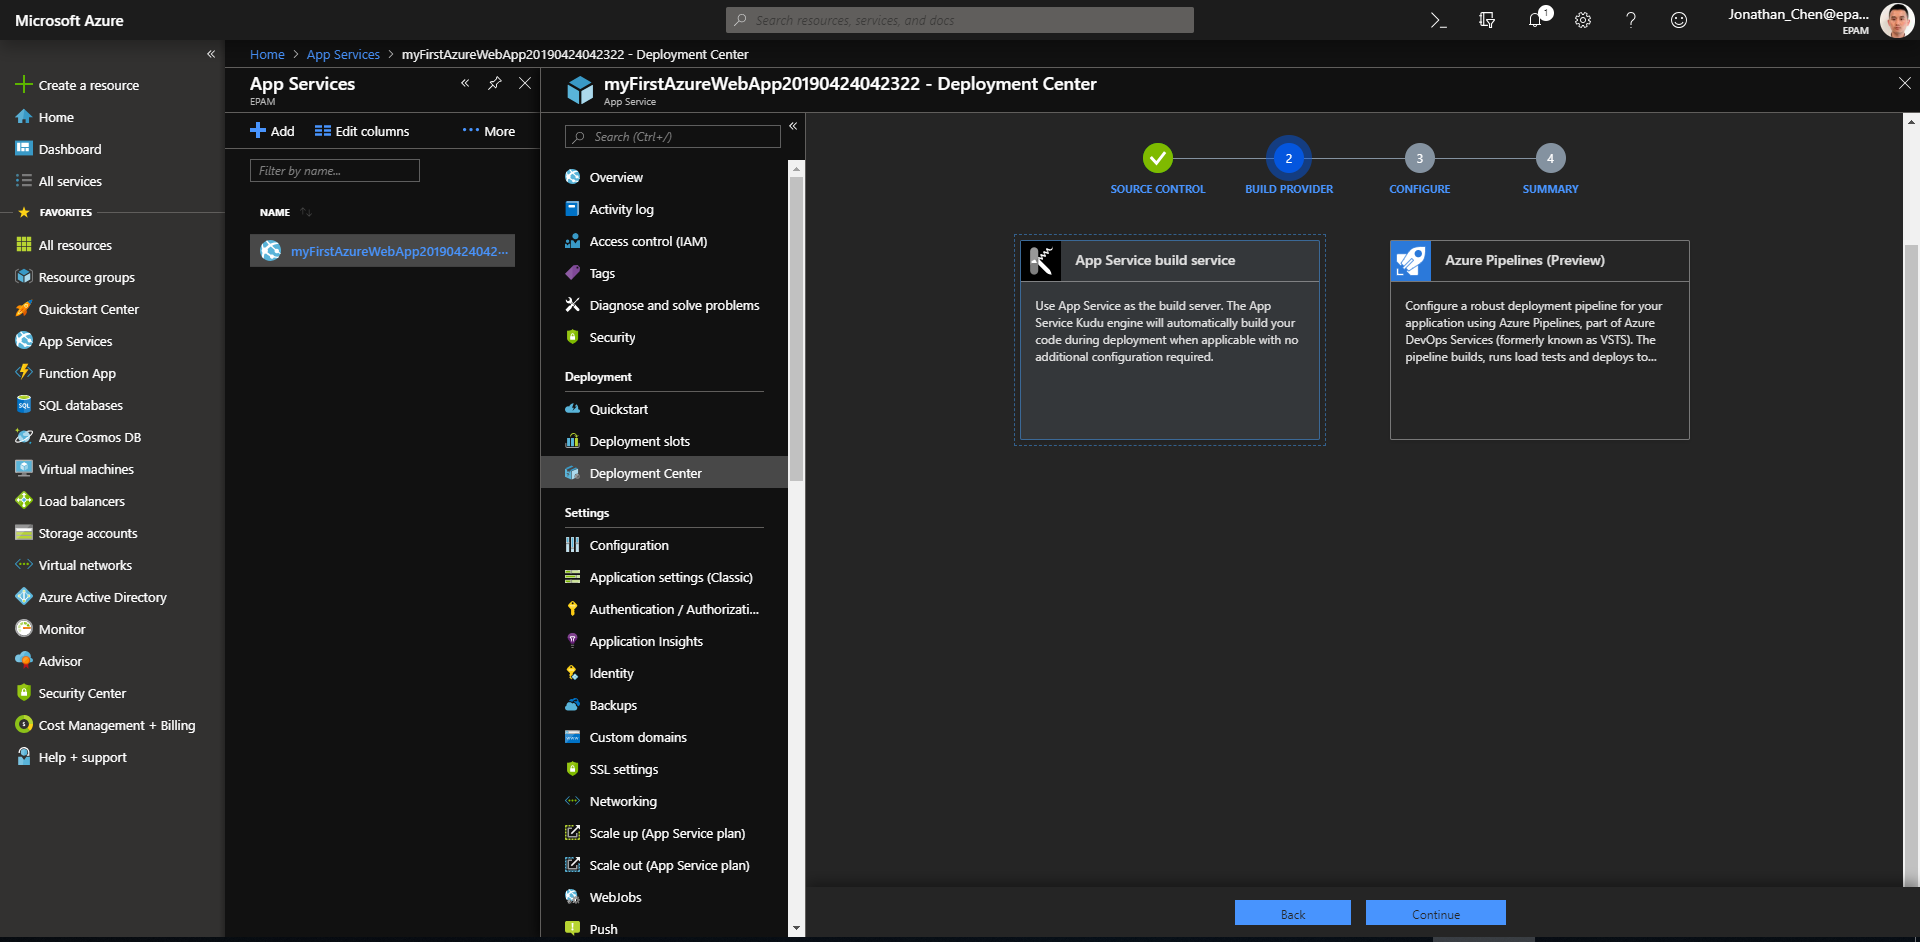
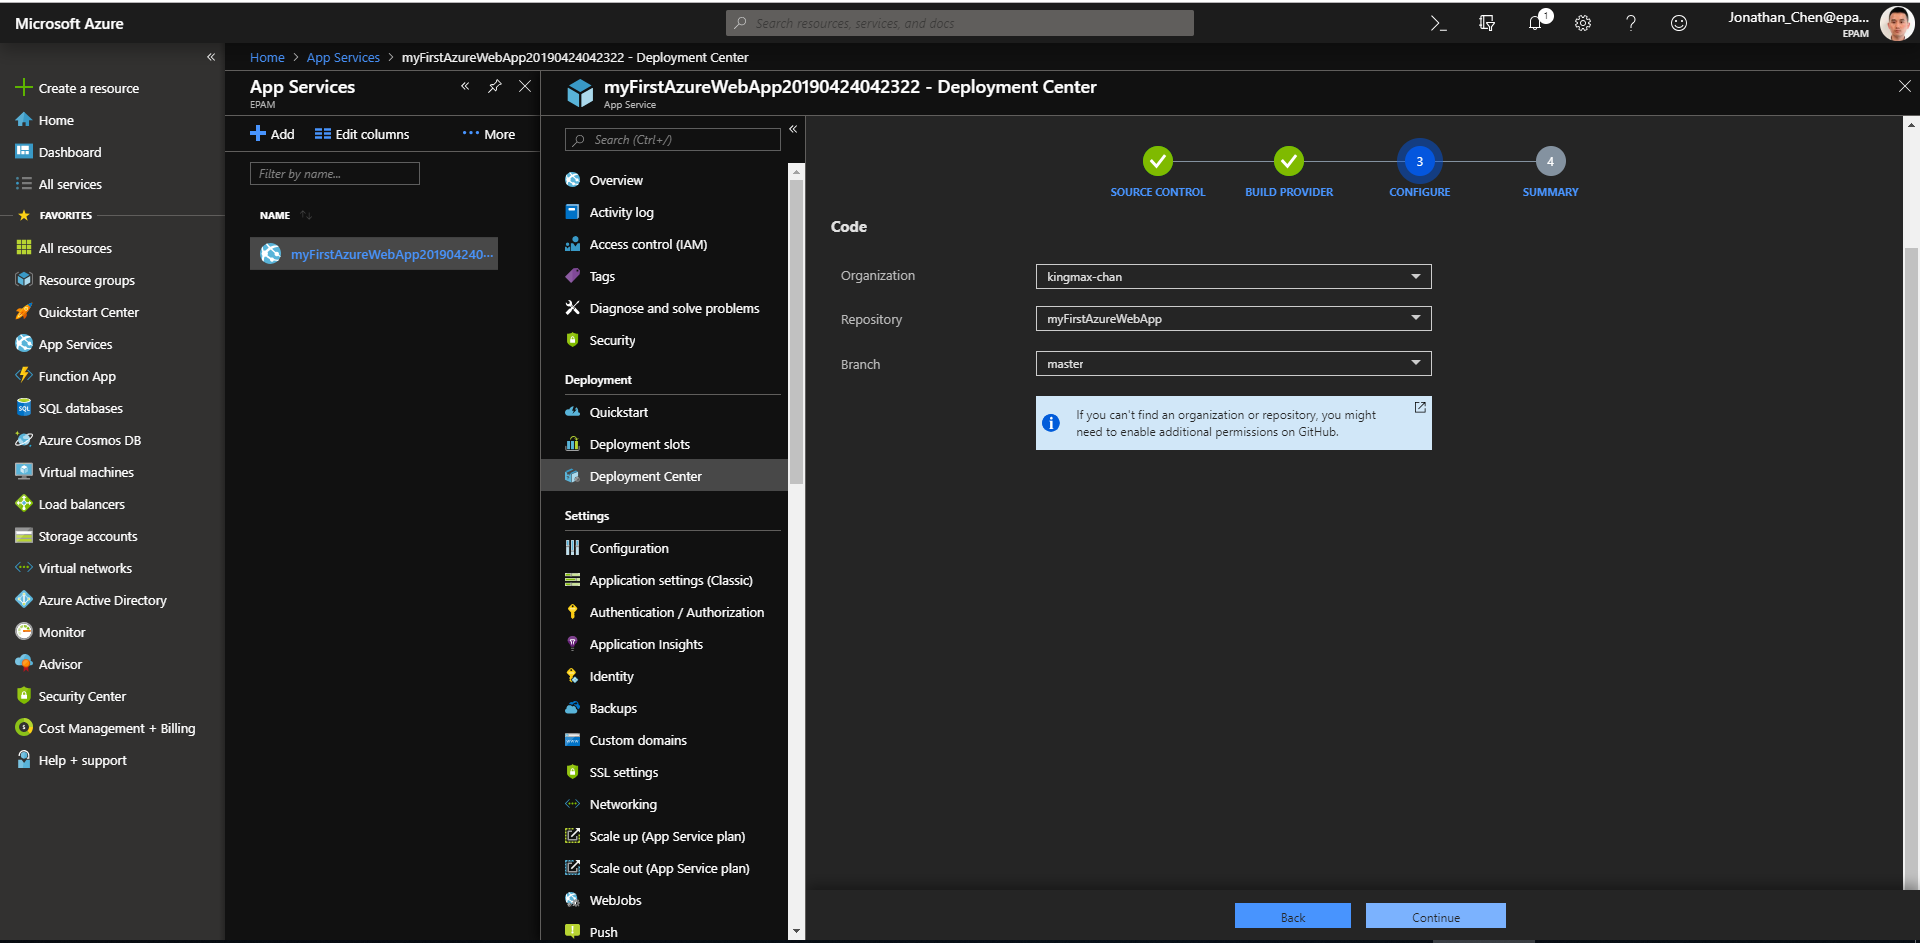
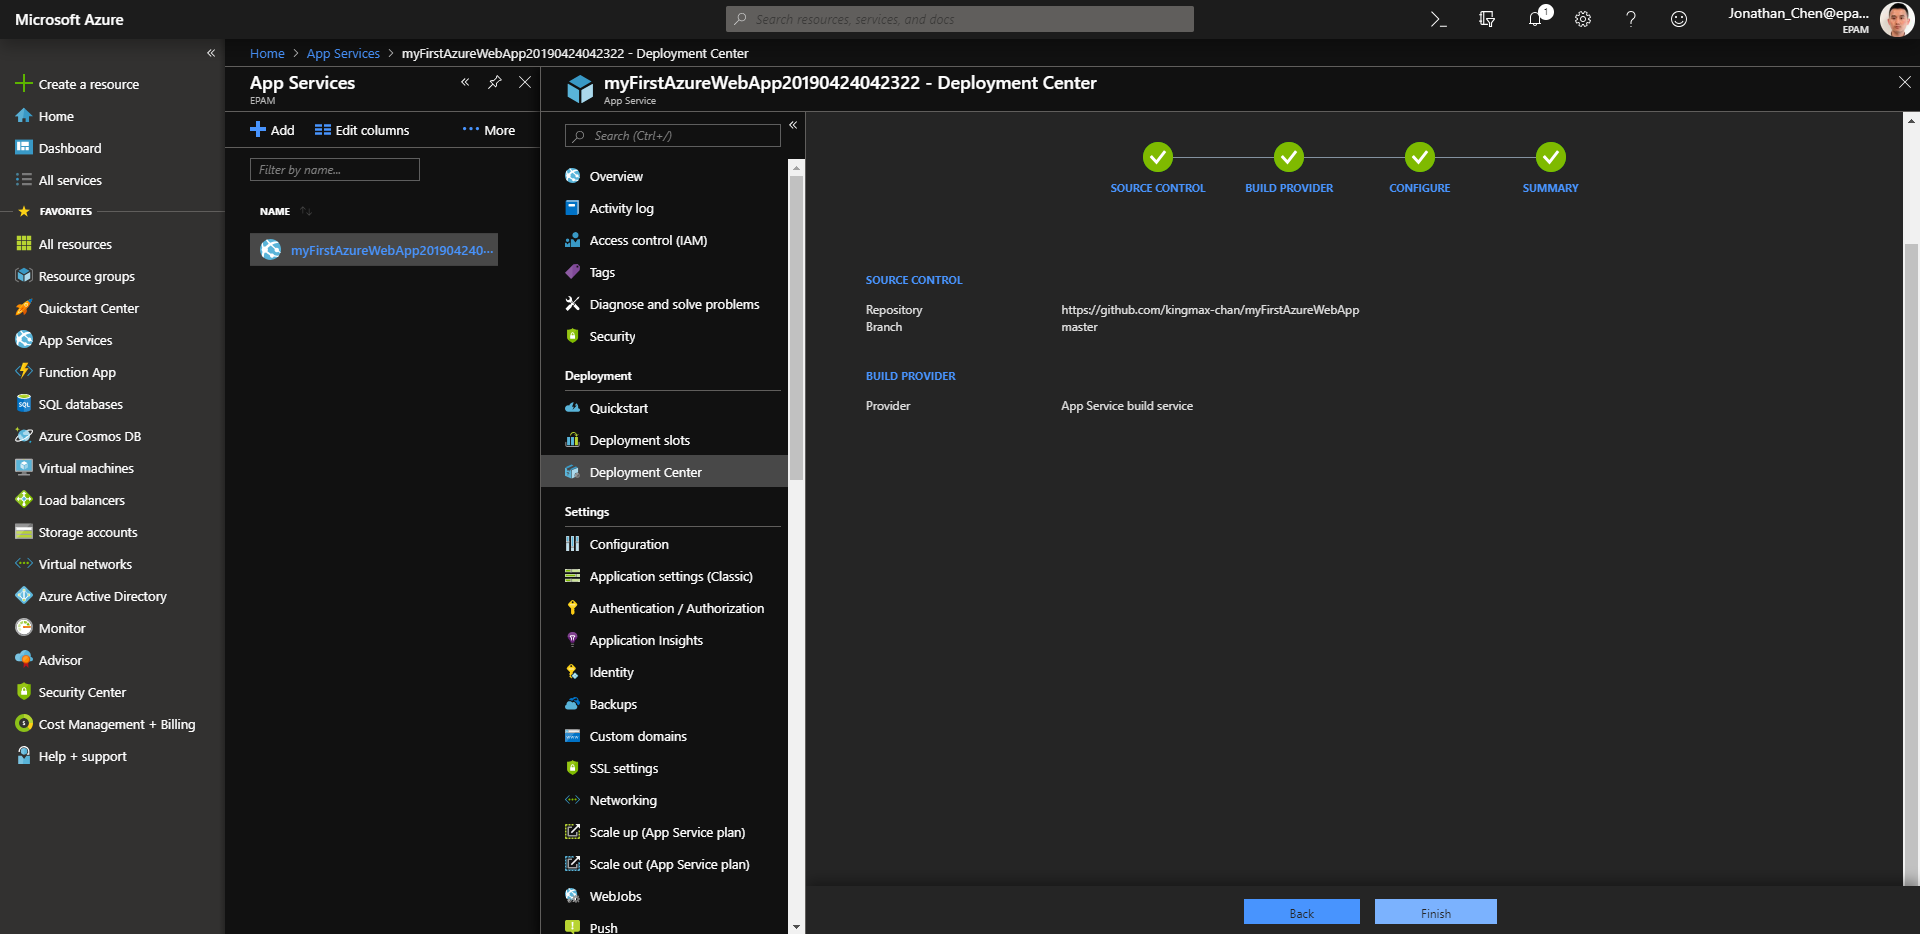
通过 Azure Portal -> App Services -> Deployment Center -> Source Control -> Build Provider -> Configure -> Summary,
可以建立 GitHub 的特定代码库 到 Azure的特定App Service 或 Web App 之间的联系。
建立本地库--》远程库--》Azure Web Serice 的联系之后,以后每次在本地进行 git push 操作,都会向远程库推送,进而触发Azure中对应的App Service的 Build 和 Deploy 的操作。
而这一系列的动作,除了 git push,都是自动进行的。
Deployment Center ---> Source Control
Deployment Center ---> Build Provider
Deployment Center ---> Configure
Deployment Center ---> Summary


 浙公网安备 33010602011771号